Looking for a Wasteland walkthrough in Stellar Blade? This page will demonstrate how to discover every collectible and resource in the large sandbox area, which represents one of the bigger maps in Shift Up's console debut like the Great Desert. As part of our Stellar Blade guide, our Wasteland walkthrough will detail the locations of Cans, Design Patterns, Beta Cores, Body Cores, Exospines, Passcodes, Camps, and more.
Subscribe to Push Square on YouTube168k
Where Are All Collectibles and Resources in the Wasteland in Stellar Blade?
Below you'll find a full Wasteland walkthrough, which details the locations of all key collectibles and resources in the Stellar Blade stage.
Wasteland
Camp: All Camps
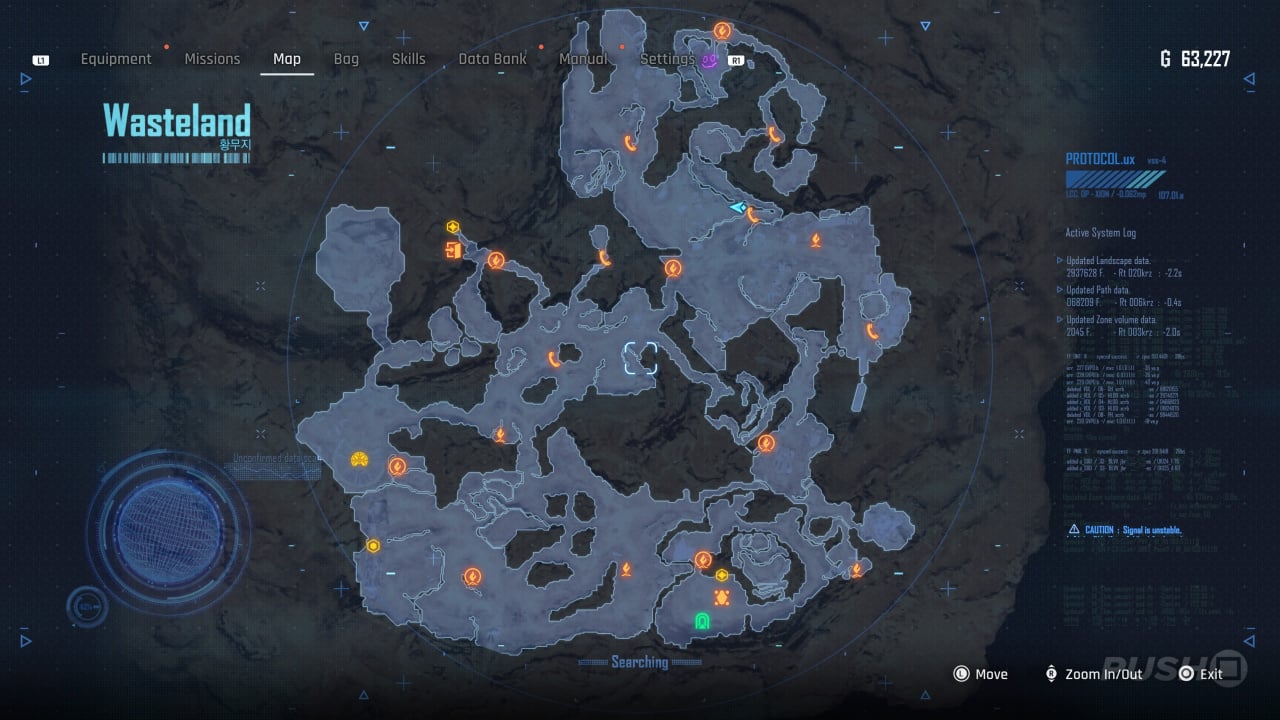
This screenshot reveals the location of all Camps in the Wasteland. In total, there 13 Camps in the Wasteland. Please note, only 11 Camps are pictured. This is because you'll discover a further two Camps during the final mission of the game, which can't be accessed until the end of the game.
Exospine: Impact-Type Exospine
Just east of the entrance area of the Wasteland, there's an opening with a trio of corpses and a red box. When you attempt to open this you'll have to deal with a dozen enemies. Clear them out and then open the box again for the Impact-Type Exospine.
Design Pattern: Racer's High
The easiest way to access this part of the Wasteland is with double-jump from the south-east of the entrance to the area. Follow the canyon around to a red box, with the Racer's High blueprint inside. Alternatively, you can drop off the ledge in the area north of the Solar Tower.
Can: The Haven Green Tea
You will need double-jump for this. Where you find Racer's High, look down off the ledge and drop off, using your double jump to reach the swing bars. Then platform your way across swing bars and yellow hand holds until you reach a ladder. Climb up to find a cool box, with The Haven Green Tea can inside.
Can: GrainT Corn
In the central part of the Wasteland, on the path with an advertisement for the North Lake Mall, interact with the vending machine for the GrainT Corn can.
Exospine: Camouflage-Type Exospine
When climbing the Solar Tower in the Wasteland, there's a red box at the top next to the control panel. Open it for the Camouflage-Type Exospine.
Can: Potential Tempest
Opposite the Solar Tower, in the western part of the Wasteland, there are four computer consoles. You can power three on the ground, but you'll need to drag a yellow trolley to a nearby container in order to operate the fourth. Once they're all turned on, you can open a chest, which contains the Potential Tempest can.
Passcode: Aerial
In the south-western part of the Wasteland, directly below the Solar Tower, there's a way to get inside the lower decks of a giant cargo ship. Beneath here, there's a container you can enter with a human body you can scan. Cross into another container and kill the robot for the Passcode. Use your drone scanner to locate it if you're stuck.
Special Reward: La Vie en Rose
You'll unlock the Special Reward named La Vie en Rose when you complete the Recruit Passcode Specialists quest. It's in a red box inside a locked container on the cargo ship. Refer to All Passcode Specialists Locations for more information on how to open this.
Can: Mountain Sparkle Halla
In the western part of the Wasteland, just north of the Supply Camp named Western Great Canyon, there's a wall you can climb followed by a series of monkey bars. Follow this sequence along until you reach an area with a couple of Hedgeboars. There's a cool box up here with the Mountain Sparkle Halla can inside.
Beta Core #1
In the same area where you find the Mountain Sparkle Halla can, just to the side of the cool box, you'll see a glowing corpse slumped against the wall. Interact with it for the Beta Core.
Adam's Clothes: Junkman
From the area where you found the Mountain Sparkle Halla can, there's a bridge you can take across to the other side of the canyon. You'll find more Hedgeboars over here, as well as a red box with the Junkman outfit for Adam.
Can: Behemoth Green
Right next to the Western Great Canyon, there's a puzzle involving a couple of balls you need to roll onto pressure pads. You'll find the second ball just up the hill to the side, guarded by some Naytibas. Direct them both to the pressure pads to open the cool box and collect Behemoth Green.
Can: Cryo Café Original
On the very west side of the map, go through the giant ship and explore outside it. You'll find the Cryo Café Original can on the ground at the back.
Lily's Clothes: Rainy Day
In the large oasis-like area, north of the Solar Tower and to the western-most part of the Wasteland, dive deep underwater for the Rainy Day outfit that Lily can wear. It's in a red box.
Can: Elixir Green
Just above the fast travel phone box, east of the Central Scrap Plains, you'll find a couple of metal platforms with the Elixir Green can upon them. Use the nearby ramp to jump up to the top, then platform your way across and drop down.
Can: Cryo Zero
To the north-east of the Central Great Canyon, at the top of a plus-shaped segment on the map, there's a box you can open which reveals a flying dart board. Follow it south, shooting it each time it pauses, and eventually it'll drop the Cryo Zero can.
Can: Nectar Orange
Right next to the Central Great Canyon, there's a billboard that says 'Bottom'. Just to the side of it is a box you can move. Position it so you can reach the beam protruding from the billboard, and climb up to open the cool box with the Nectar Orange can inside.
Body Core #1
Directly above Altess Levoire, in an alcove in the area north of the Central Great Canyon, you'll find a corpse with a Body Core.
Exospine: Eagle Eye-Type Exopsine
As you head to the southern part of the Wasteland during the mission Altess Levoire, just to the right of an elevator is a red box with the Eagle Eye-Type Exospine inside.
Body Core #2
In the southern part of the Wasteland, just off the main path when you're following the mission objectives for Altess Levoire, defeat a group of enemies and then smash the boxes at the back of the area. Scan the body for the Body Core.
Can: GrainT Barley
Not far from the Altess Levoire entrance, there's an area with a locked entrance. You need to climb up the canyon to its west, then use the swing bars and yellow hand holds to make a descent. Cross the bridge and drop in. Your objective here is to place all three carts on the bottom-left pressure point so that the number on the screen reads 23. This will open up the grate, where there's a cool box inside. Open it for the GrainT Barley can.
Passcode: Aaron's Locker
As part of the quest Looking for My Brother, head to eastern part of the Wasteland and interact with the console. This will cause three dart boards to appear. Shoot them down and then interact with the body for the Passcode.
Beta Core #2
In around the scrap heap, scan the large pile of junk to find a human corpse nestled underneath. Interact with it for the Beta Core.
Beta Core #3
In the area with all the wall running apparatus, just north of the Junkyard, there's a shadowed alcove you can enter which leads to three wall running surfaces. Platform your way across these then follow the path down to tunnel with a glowing corpse inside. Interact with it for the Beta Core.
Can: Pixie Zero
Just north of the Junkyard, look for a collapsed road with a robot trapped underneath. If you shoot the beam panels (use your drone scanner to highlight them if you need help), you'll free the robot, who'll reward you with the Pixie Zero can.
Can: The Machinetta Cafe Latte
In the Plant, which is located south-east of the Wasteland, there are three panels which you need to push maintenance trolleys onto. When you do, this will release a crate which contains the Machinetta Cafe Latte.
Can: Cryo the Clear
During the descent of the Forbidden Area, during the Life of Scavengers quest, about halfway down there's a closed gate you can open. Head inside the alcove for the Cryo the Clear can on the ground.
Design Pattern: Sporty Yellow
After defeating the Brute during the Life of Scavengers quest, head into the cave just beyond the corpse you need to scan to progress the mission and open the red box for the Sporty Yellow costume blueprint.
Can: Corsair Lager
In the northern-most part of the Wasteland, just to the west of D1g-g2r's Scrapyard, there's a control panel you can interact with which will cause a yellow platform to lower. You need to sprint, avoiding missiles, to reach the platform before it raises back up. When you get to the top, open the cool box for the Corsair Lager can.
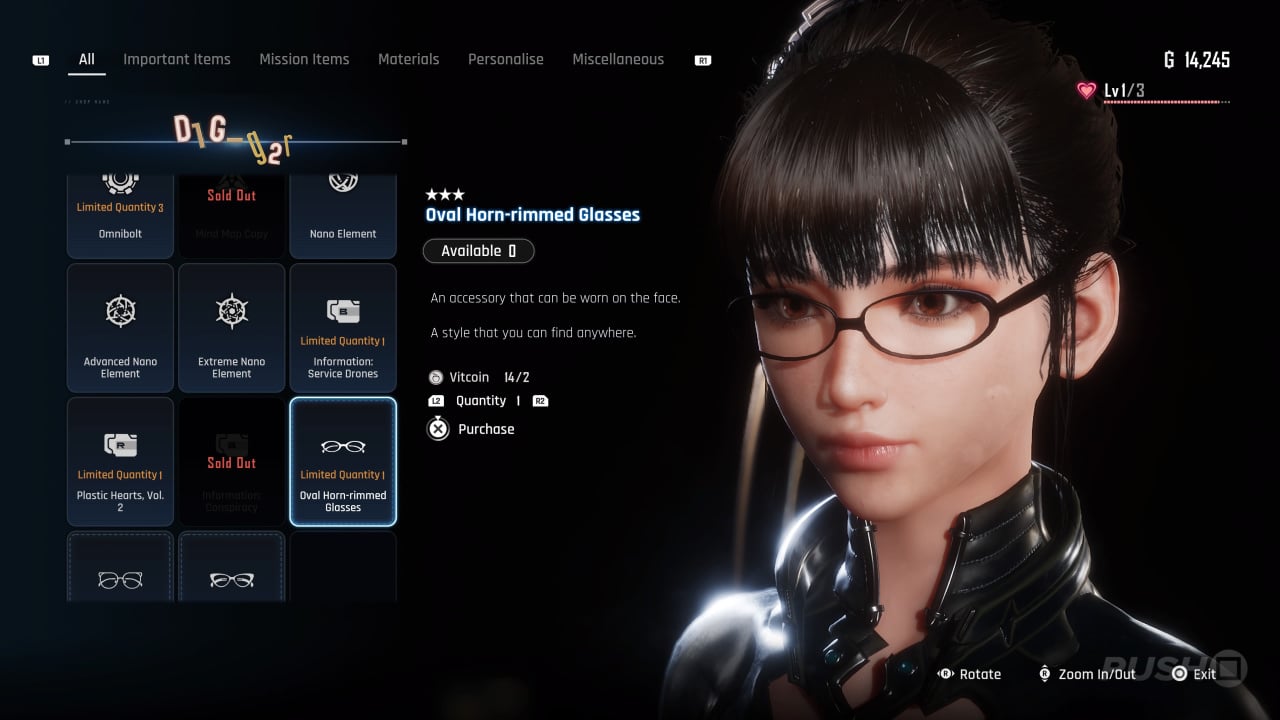
Accessory: Oval Horn Rimmed Glasses
You can purchase the Oval Horn Rimmed Glasses from D1g-g2r at Affinity Level 1. Please note, D1g-g2r will move to Xion after you complete his quest.
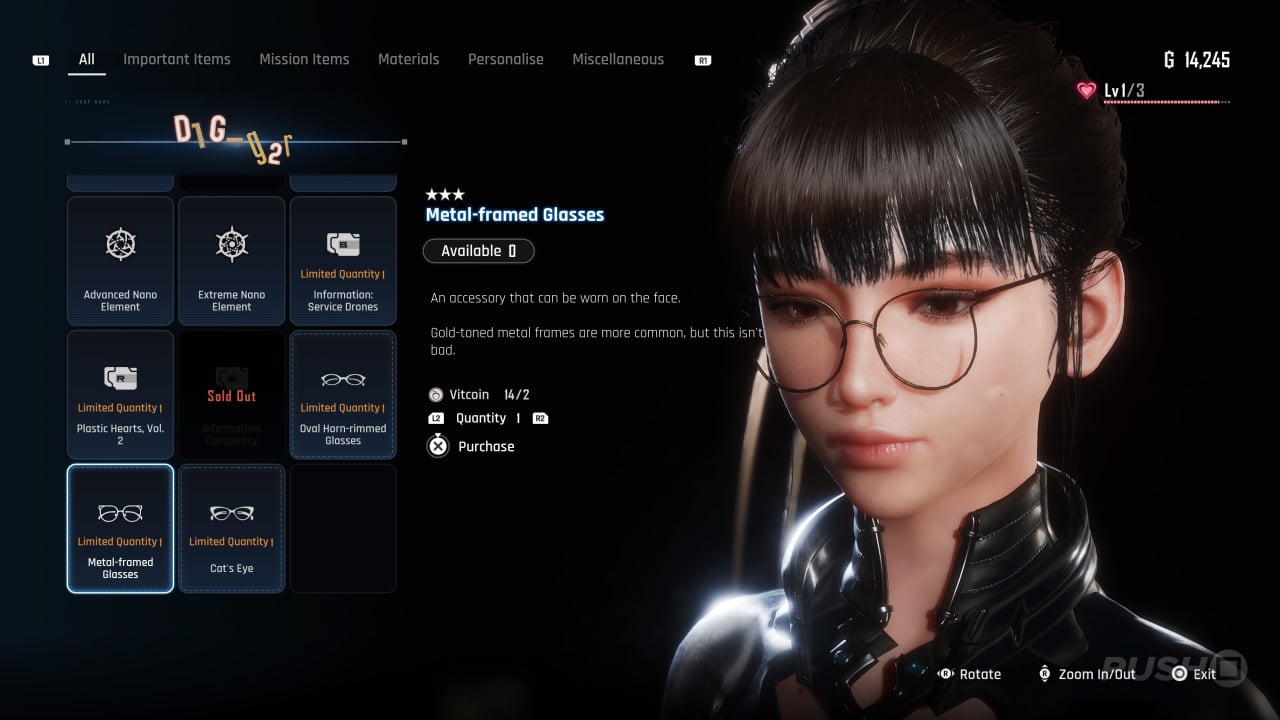
Accessory: Metal-Framed Glasses
You can purchase the Metal-Framed Glasses from D1g-g2r at Affinity Level 1. Please note, D1g-g2r will move to Xion after you complete his quest.
Accessory: Cat's Eye

You can purchase the Cat's Eye from D1g-g2r at Affinity Level 1. Please note, D1g-g2r will move to Xion after you complete his quest.
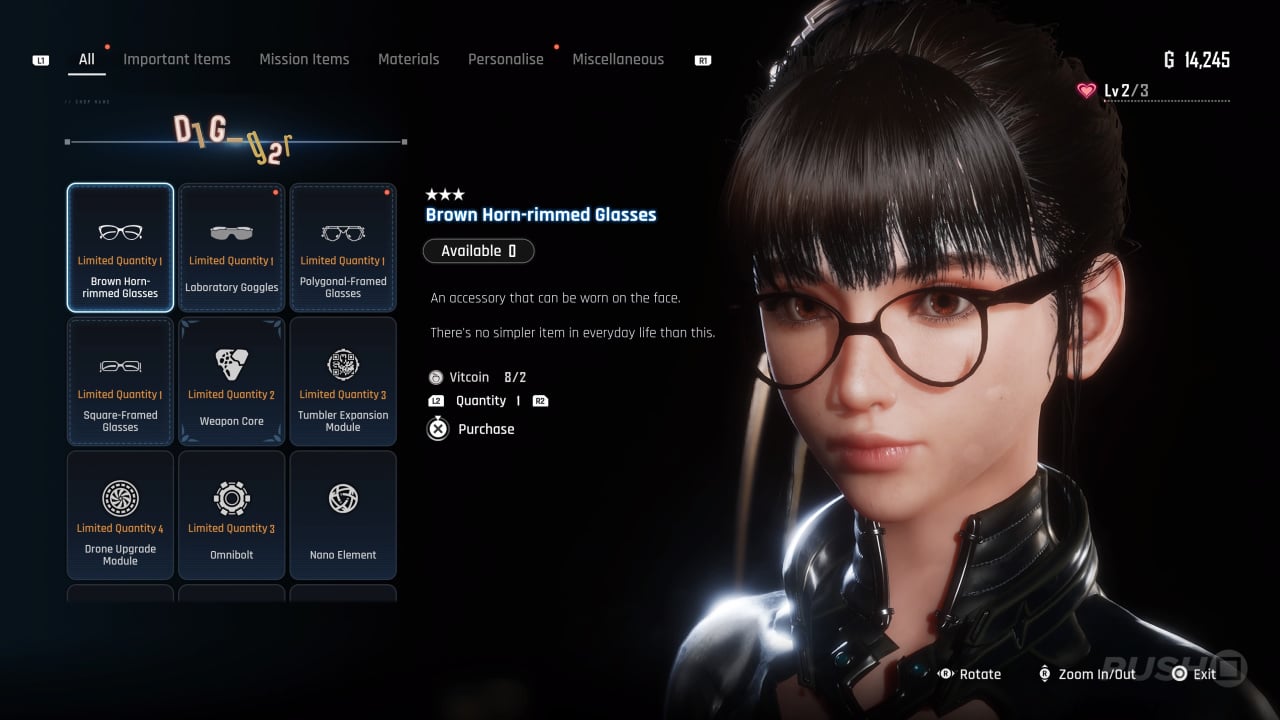
Accessory: Brown Horn-Rimmed Glasses
You can purchase the Brown-Rimmed Glasses from D1g-g2r at Affinity Level 2. Please note, D1g-g2r will move to Xion after you complete his quest.
Accessory: Laboratory Goggles
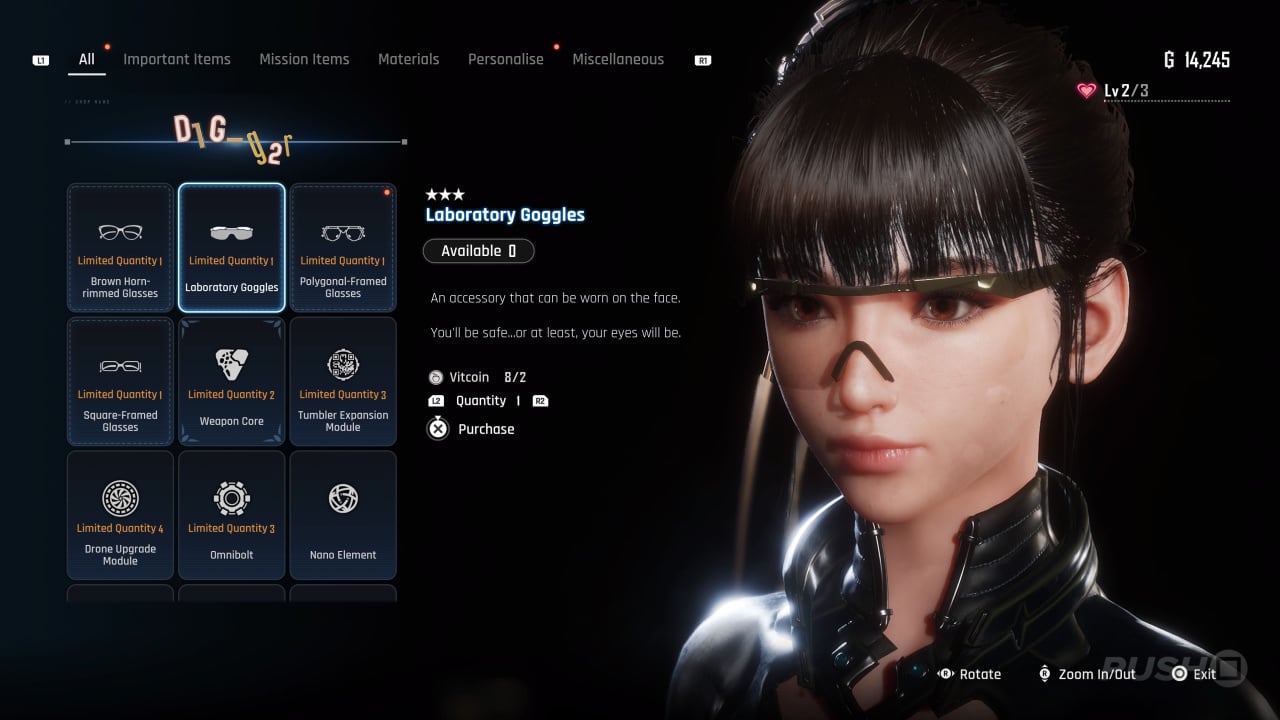
You can purchase the Laboratory Goggles from D1g-g2r at Affinity Level 2. Please note, D1g-g2r will move to Xion after you complete his quest.
Accessory: Polygonal-Framed Glasses
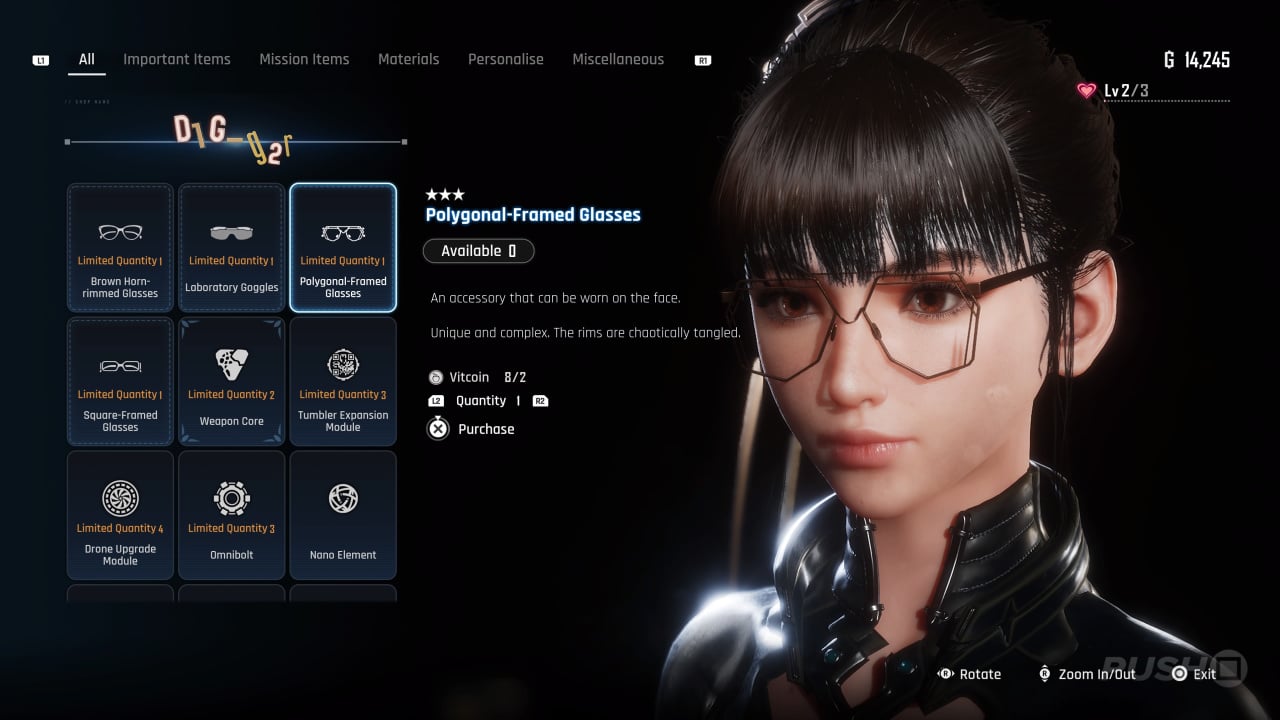
You can purchase the Polygonal-Framed Glasses from D1g-g2r at Affinity Level 2. Please note, D1g-g2r will move to Xion after you complete his quest.
Accessory: Square-Framed Glasses
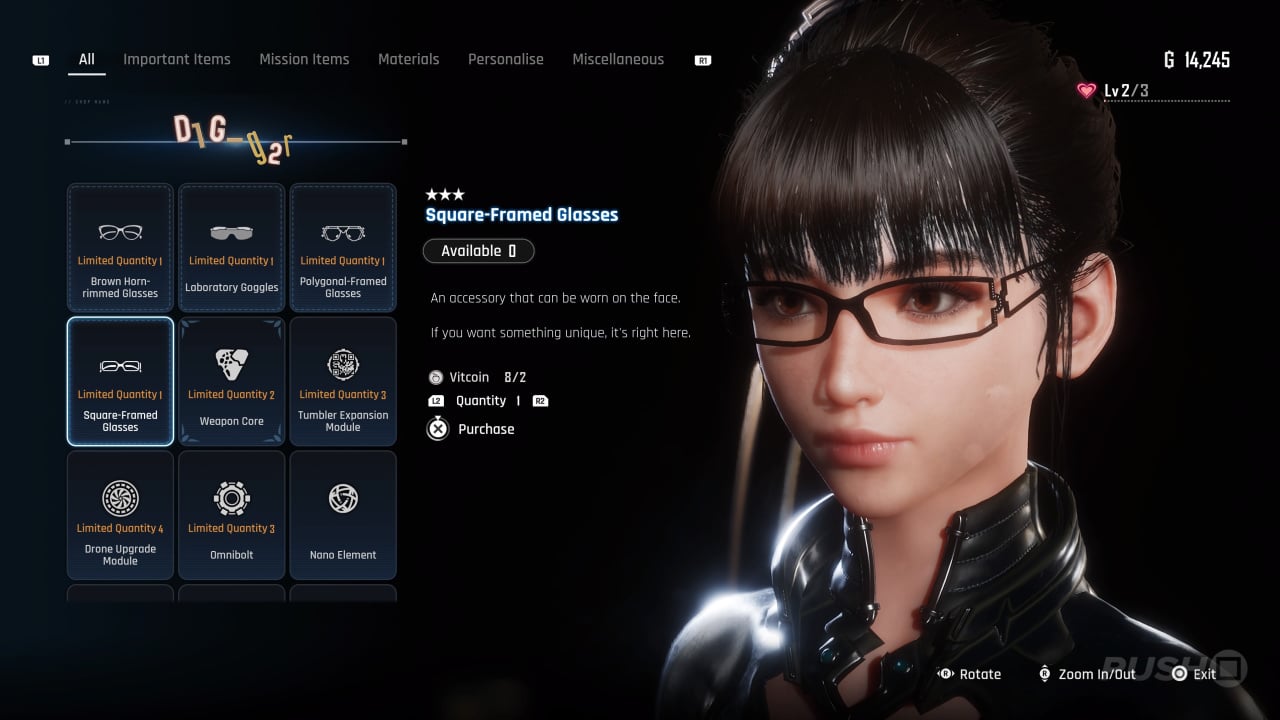
You can purchase the Square-Framed Glasses from D1g-g2r at Affinity Level 2. Please note, D1g-g2r will move to Xion after you complete his quest.
Accessory: Classic Round Glasses
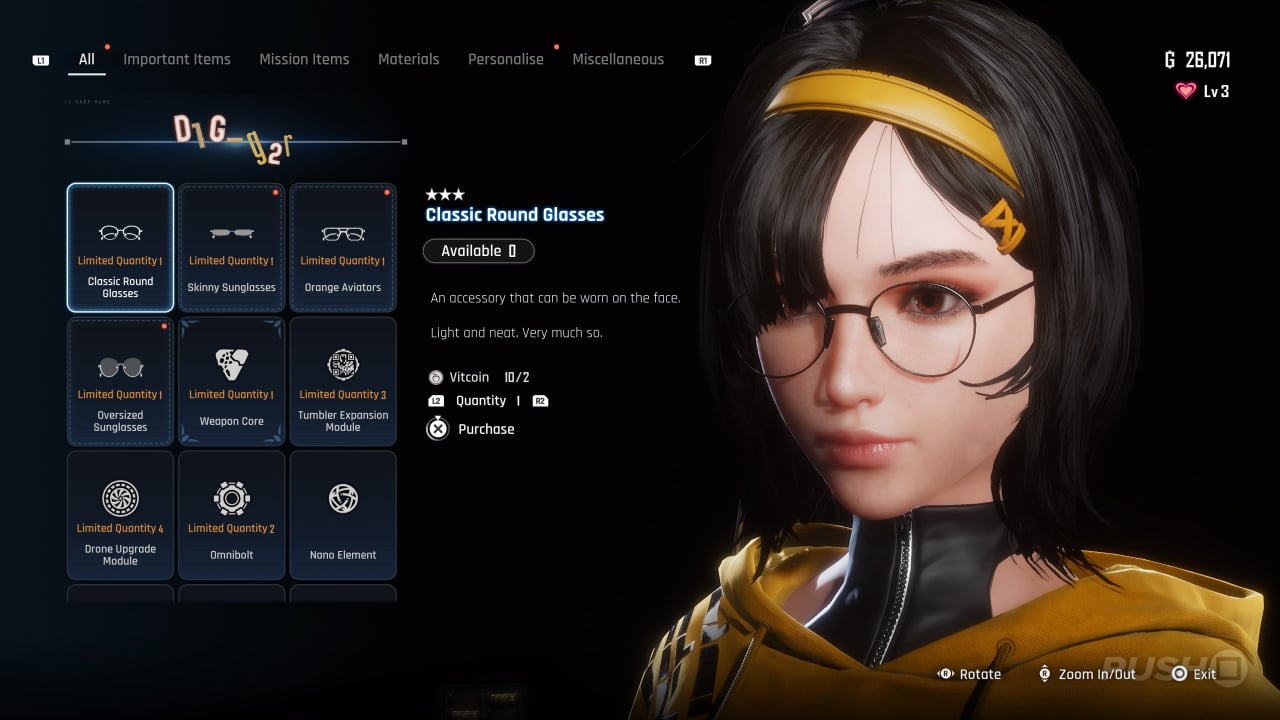
You can purchase the Classic Round Glasses from D1g-g2r at Affinity Level 3. Please note, D1g-g2r will move to Xion after you complete his quest.
Accessory: Skinny Sunglasses
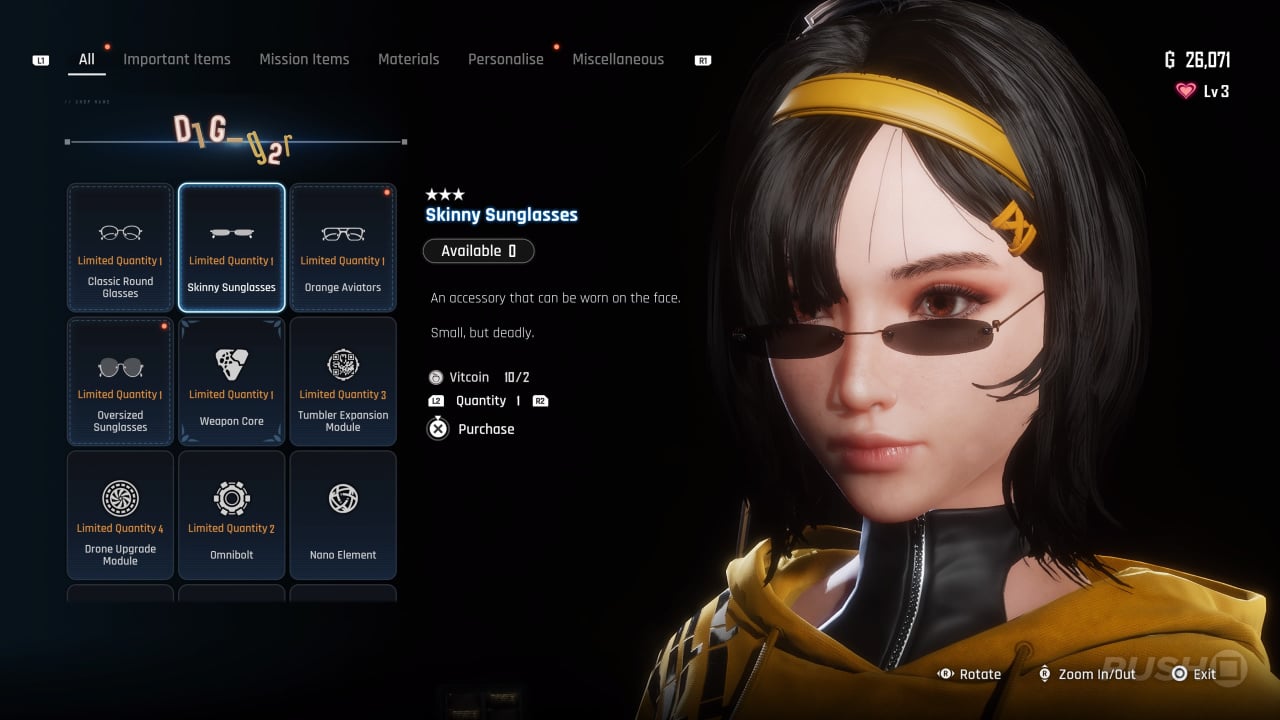
You can purchase the Skinny Sunglasses from D1g-g2r at Affinity Level 3. Please note, D1g-g2r will move to Xion after you complete his quest.
Accessory: Orange Aviators
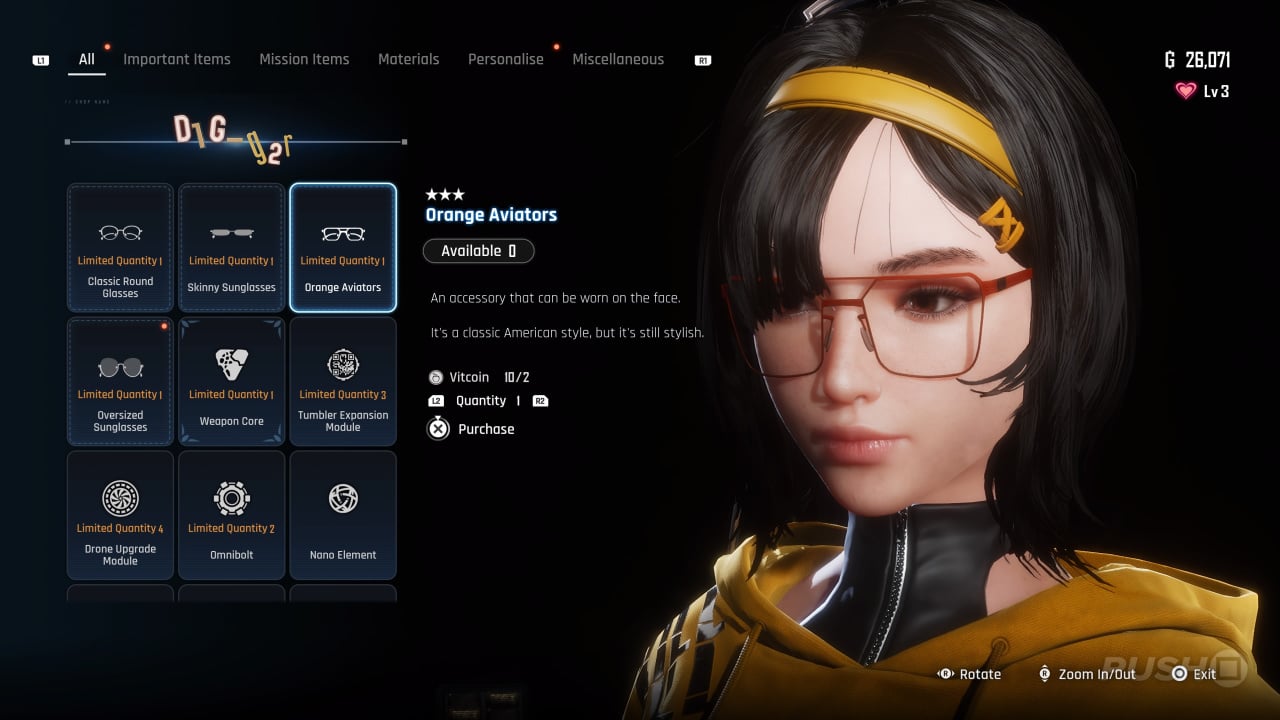
You can purchase the Orange Aviators from D1g-g2r at Affinity Level 3. Please note, D1g-g2r will move to Xion after you complete his quest.
Accessory: Oversized Sunglasses
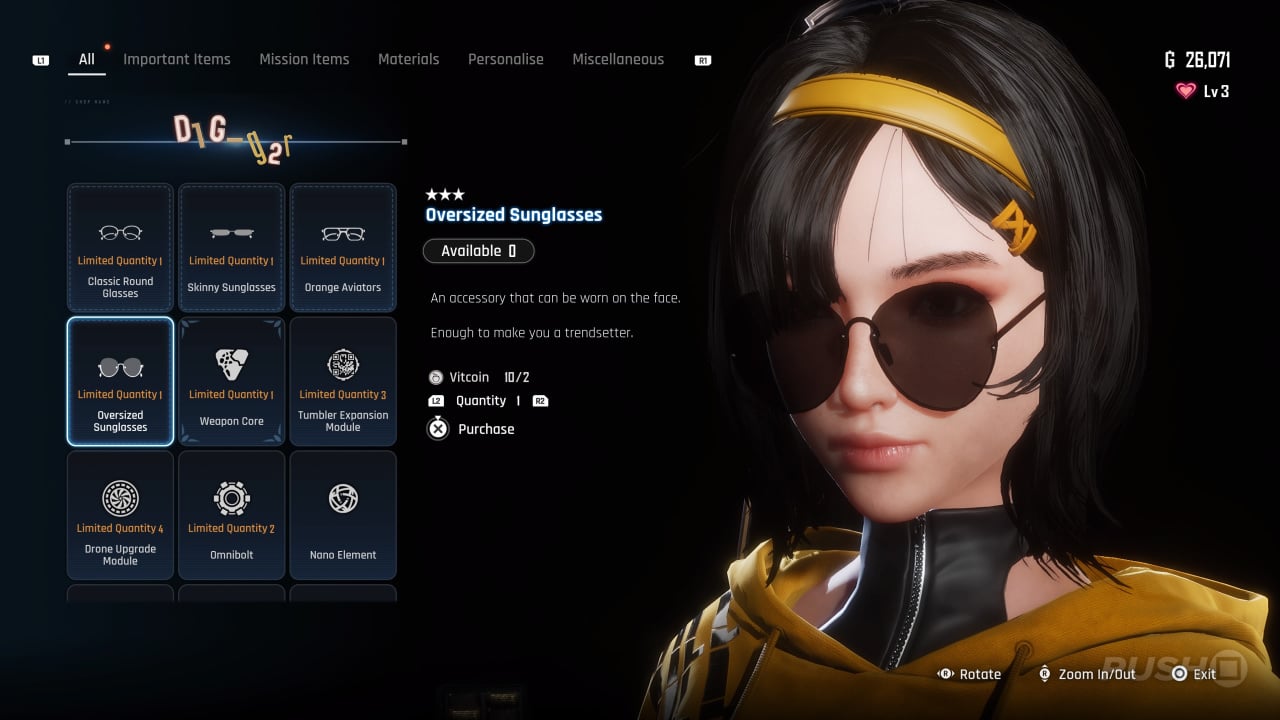
You can purchase the Oversized Sunglasses from D1g-g2r at Affinity Level 3. Please note, D1g-g2r will move to Xion after you complete his quest.
Design Pattern: Holiday Rabbit
In the Wasteland Basin, just south-east of D1g-g2r's Scrapyard, defeat the Corrupter and then open the red box in the path just ahead for the Holiday Rabbit costume blueprint.
Design Pattern: Cyber Magician
In the north-eastern corner of the Wasteland, just south of D1g-g2r's Scrapyard, there's an area where you need to push a trio of trolleys onto pressure pads. This culminates in a chest which requires you to shoot white dart boards in order to reduce a counter from 10. Once you've done this, you'll get the Cyber Magician costume blueprint.
Can: Bayern Hefe Weissbier
There's a phone box fast travel point on the pathway just south of D1g-g2r's Scrapyard. Behind a broken down building you'll find a vending machine, with the Bayern Hefe Weissbier can inside.
Did you find this Wasteland walkthrough in Stellar Blade helpful? Take a look at our Stellar Blade guide, and let us know in the comments section below.


Comments 0
Wow, no comments yet... why not be the first?
Leave A Comment
Hold on there, you need to login to post a comment...