Looking for a Matrix 11 walkthrough in Stellar Blade? This page will demonstrate how to discover every collectible and resource in the behemoth stage, which is one of the bigger levels in Shift Up's console debut. As part of our Stellar Blade guide, our Matrix 11 walkthrough will detail the locations of Cans, Design Patterns, Beta Cores, Body Cores, Exospines, Passcodes, Camps, and more.
Where Are All Collectibles and Resources in Matrix 11 in Stellar Blade?
Below you'll find a full Matrix 11 walkthrough, which details the locations of all key collectibles and resources in the Stellar Blade stage.
Subway Station
Accessory: Blue Point
When you first enter the Matrix 11 subway station, pass through the first car and enter the one behind it. At the back, in a red box, is the Blue Point accessory for Eve.
Design Pattern: Daily Knitted Dress
A little deeper into the subway of Matrix 11, after the area with three Skullings, there's a train to the left with 'Save Us, Save Mankind' painted on it. At the back is a red box, with the Daily Knitted Dress costume blueprint inside.
Camp #1
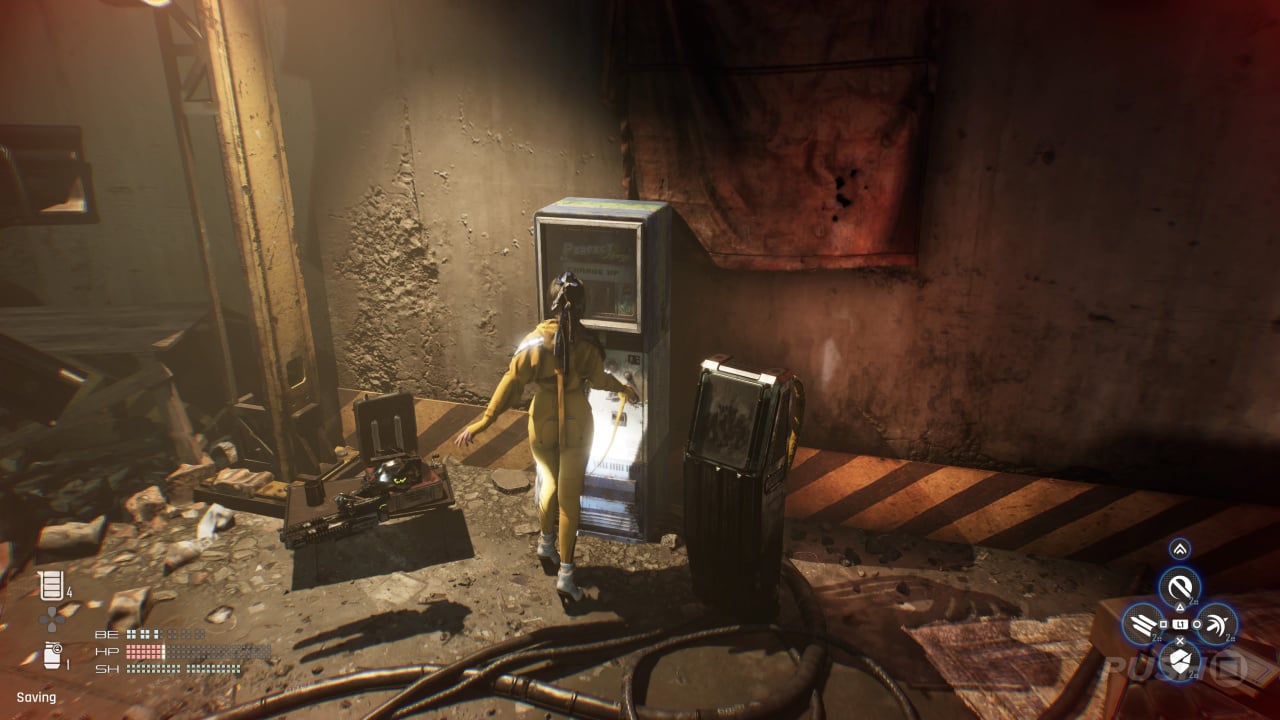
After the first encounter with the Skull Berserker, climb down a ladder and Adam will notify you this area looks like a safe place to rest. Naturally, there's a Camp here.
Exospine: Reflex-Type Exospine
Still in the Matrix 11 subway station, shortly after the previously mentioned Camp, you'll reach an area where a train rolls down the tunnel and almost kills you. Follow it down the hill after successfully dodging it, and you'll discover a red case with the Reflex-Type Exospine inside. It's just before the area named Landfill.
Passcode: Landfill
Shortly before the Landfill area, after the train almost kills you by rolling down the subway tunnel, take the door on the right and you'll find a corpse slumped against a sealed door. Examine it to get the Passcode. Then once you've gone down the elevator and deeper into the Landfill, you'll reach an area with lots of Skullings. Kill them all and use the Passcode to open the box for the Fusion Cell you need to progress.
Landfill
Body Core #1
Shortly after you get the Fusion Cell from the Landfill, there are a bunch of difficult enemies after Adam mentions he can "see the light". Defeat them and then deal with the Hive blocking the doorway on the left. Behind it is a corpse with the Body Core on it.
Camp #2
Once you've defeated all the Skullings and collected the Body Core, head out into the light Adam mentioned and you can't miss the Camp on your left.
Collapsed Rail Bridge
Supply Camp #1
After the action sequence with all the collapsing train cars, you'll be encouraged by Adam to take a rest at the Supply Camp beyond the enormous steel doors.
Adam's Clothes: Chameleon
In the area immediately after the Supply Camp, you'll first need to take care of a Hive. Platform across to the other side and use your Drone Scanner to see a red box behind the train cab. Platform over to it to get the Chameleon clothes for Adam.
Beta Core #1
At the end of the Collapsed Rail Bridge, head inside the penultimate train car, and slumped against the seats at the back is a corpse which contains a Beta Core.
Body Core #2
As you work your way towards the Rail Yard, you'll need to deal with more Skullings. The first blockage you encounter has a corpse sitting atop a walkway; interact with it for the Body Core. It's just before the area where there's a Hive protecting a crate and the fancy Camp.
Camp #3
Keep following the railway track and Adam will alert you to two potential points of interest: a path ahead or a Camp. He'll suggest you use the Camp as he wants to "take his headset off".
Rail Yard
Can: Cryo Café Vanilla
Immediately after the fight with the Stalker, you'll need to operate a machine to wash a train car in order to get the password for the next area. In front of the console, just to the left on a concrete platform, is the Cryo Café Vanilla can.
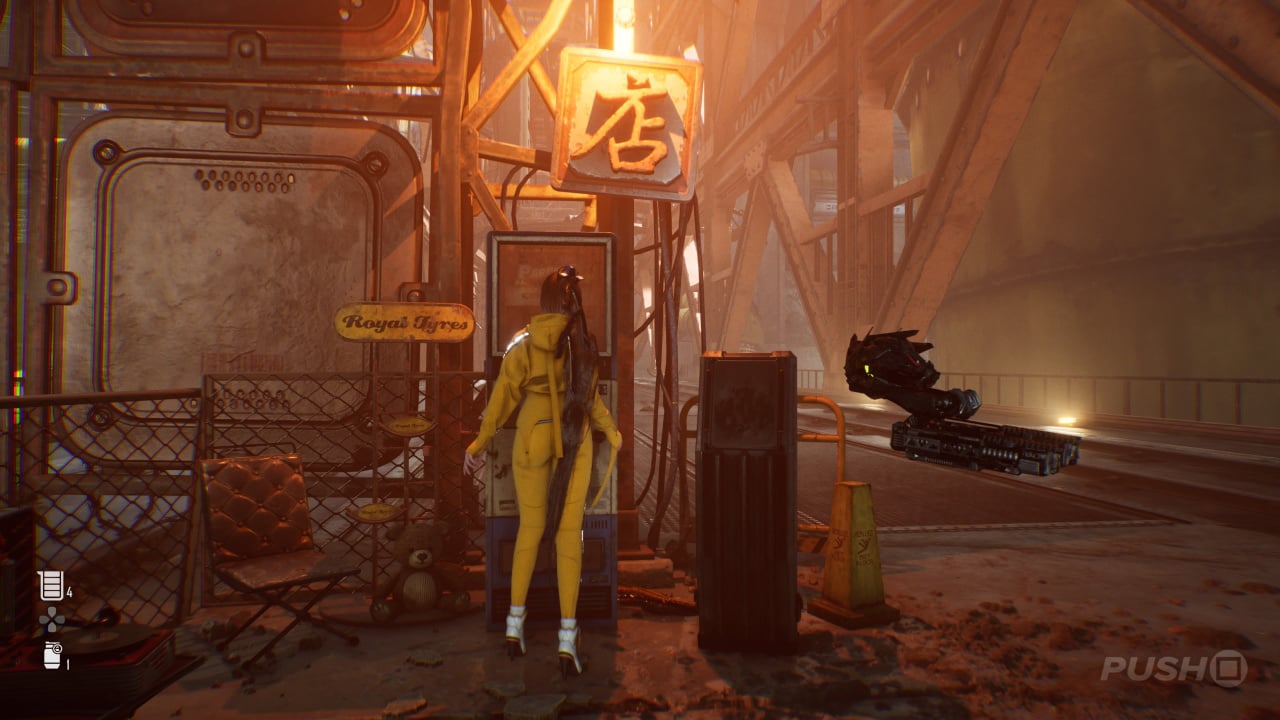
Supply Camp #2

Clean the train car to get the password for the console, and then enter the next area. Eve will immediately sit down at the Supply Camp, triggering a cutscene.
Underground Sewer
Passcode: Underground Sewer
When you reach the Underground Sewer, two paths will open up. You can either take a ladder to the right or a corridor to the left. Go down the ladder first and defeat the Naytiba at the bottom. Scan the corpse to get the Passcode, then climb back up the ladder and go down the corridor. You'll be ambushed by some difficult enemies, but once you've dealt with them, you can enter the passcode to get a Fusion Cell and other resources.
Design Pattern: Daily Mascot
While you're getting the abovementioned Passcode, you'll be ambushed by some Naytiba who'll blast a hole in the wall. Once you've taken care of everything, head through the hole and open the red box on the other side to get the Daily Mascot design blueprint.
Exospine: Burst Trance-Type Exospine
In the Underground Sewer, take the opposite path away from the floodgate controller machine. There's a room, blocked off by some boxes you can break, with a couple of Naytibas inside. Defeat them and open the red box for the Burst Trance-Type Exospine.
Beta Core #2
Once you've successfully flooded the room and raised the water levels, follow the waypoint to your next objective. You'll need to swim across to an area you couldn't previously reach. Before you do, just to the right of the flashing console, you'll see a glowing corpse behind a fence. Dive underwater and then resurface behind the fence. Interact with the corpse to get the Beta Core.
Camp #4
Eve will complain that she's "going round in circles". At the bottom of the staircase, you'll find a Camp.
Rotten Labyrinth
Passcode: Hideout
Near to the start of the Rotten Labyrinth, you'll reach a corridor where you need to use a Fusion Cell to open the big doors at the end. Climb up the first yellow ladder on the left and use the bar to traverse to the opposite side. Defeat the robot up here to get the Passcode. You can use it to open the chest in the hideout a bit further down the path.
Beta Core #3
Near to the start of the Rotten Labyrinth, there's a corridor where you need to use a Fusion Cell to open the gates at the end. Just behind the receptor for the Fusion Cell is a room you can drop into with a couple of Naytiba inside. Defeat them and then scan the body for the Beta Core.
Hideout
Exospine: Beta Trance-Type Exospine
After reaching the Hideout in the Rotten Labyrinth, take the opposite path from the gate where you need to enter the Fusion Cell to a corridor with enemies. A red box with the Beta Trance-Type Exospine is inside.
Camp #5
It wouldn't really make sense if the Hideout didn't have a Camp, would it? Climb up the yellow ladder to the upper-level and activate it.
Design Pattern: Daily Force
In the Hideout after the Rotten Labyrinth, jump across the gap from the Camp and open the red box on the ledge opposite the camp. You'll find the Daily Force outfit inside.
Beta Core #4
Shortly after the Hideout, once you've inserted the Fusion Cell and dealt with a Hive, take a branching tunnel off to the right and follow it until you see a corpse with the Beta Core on it.
Temporary Armoury
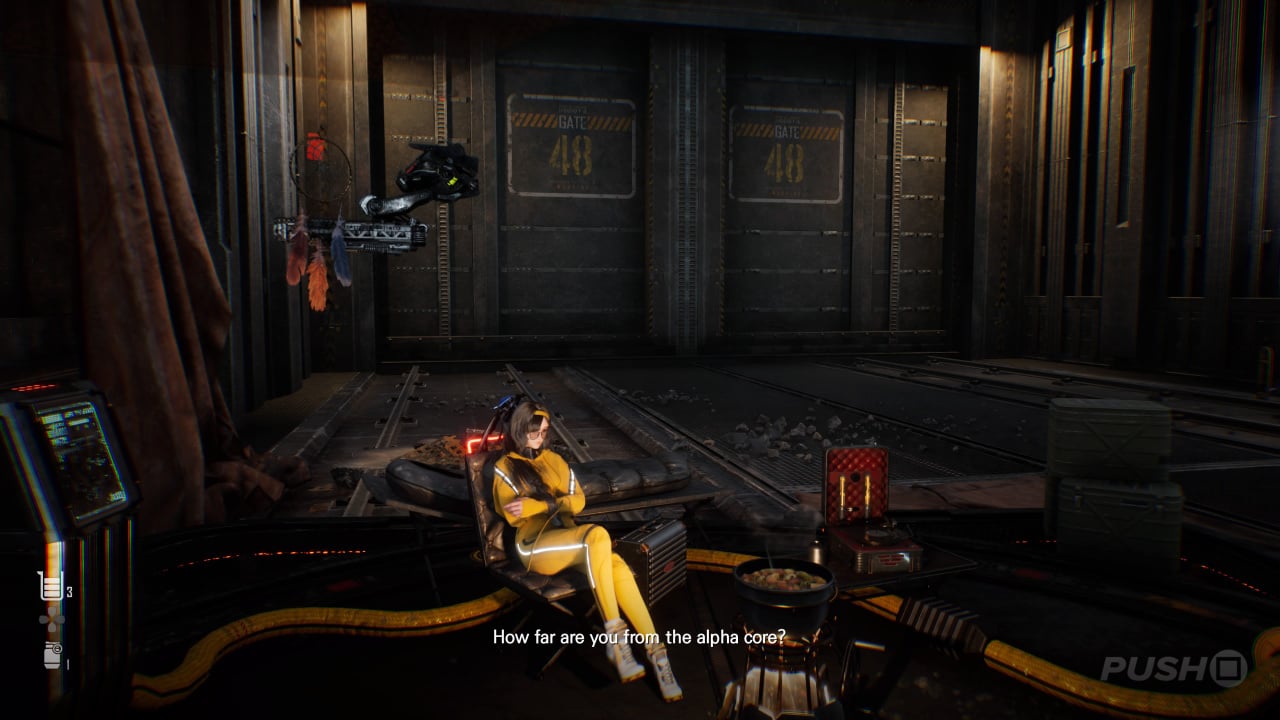
Supply Camp #3
After you've taken the lift down to the Temporary Armoury, immediately after you get off is a Supply Camp.
Can: Newfoundland Dry
Immediately after the fight with the Juggernaut, take the stairs at the back-right of the room and drop down into the lower area that's blocked off by debris and containers. You'll find the Newfoundland Can on the floor, next to a crate.
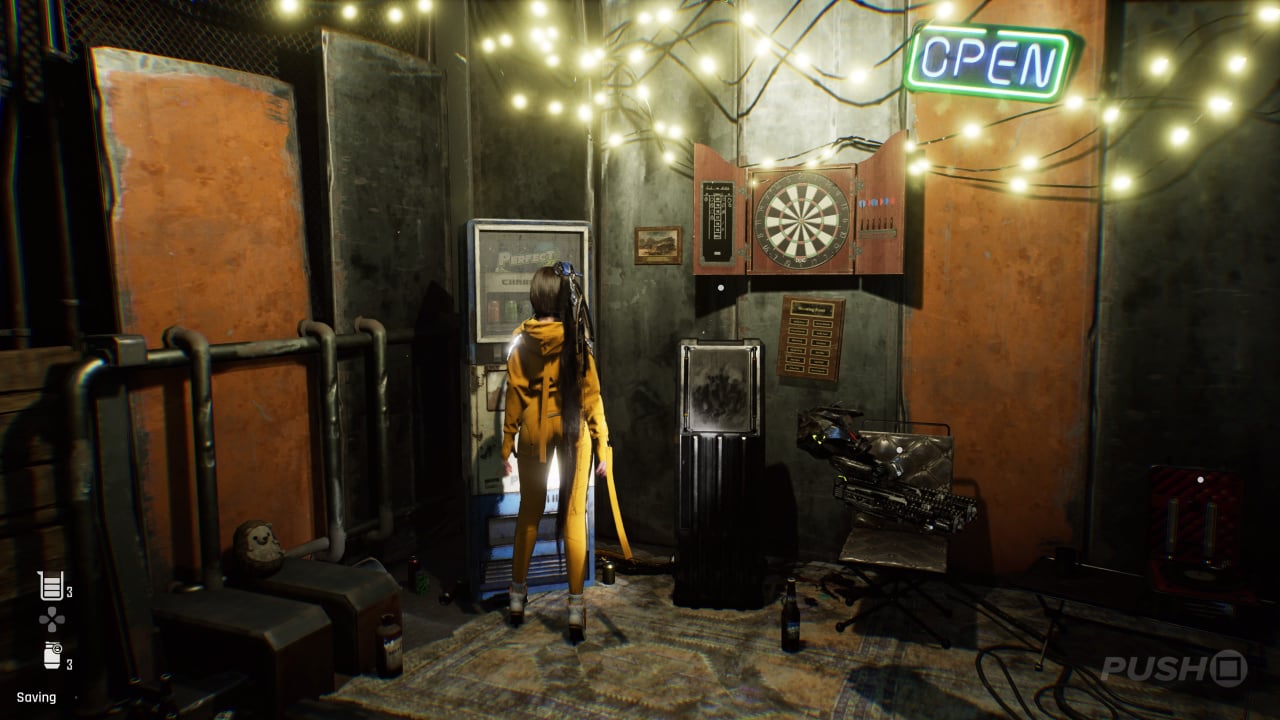
Camp #6

After defeating the Juggernaut, climb the yellow ladder at the very back of the room, and then follow the waypoint to your left. The Camp is just against the wall on the right.
Train Graveyard
Passcode: Gate 4
At the far end of the Train Graveyard, dive underwater and into a train car and scan the corpse to get the Passcode. You'll find Gate 4 about halfway down the tunnel on the left. Dive underwater to interact with the keypad and enter the Passcode.
Body Core #3
As you make your way down to the far-end of the Train Graveyard, on the left you'll see a platform with a glowing corpse. It's opposite where you got the abovementioned Passcode. You need to position a floating wooden plank and climb onto it, then you can reach the platform. Interact with the body for the Body Core.
Can: Corsair Ale
In the very far corner of the Train Graveyard, dive underwater and swim through the mesh at the very back of the area. On a platform surrounded by a yellow fence, you'll find the Corsair Ale can.
Camp #7
Once you finally get out of the water, after entering the Passcode and progressing through Gate 4, you'll climb a staircase. The Camp is immediately on the left.
Supply Camp #4

This one is unmissable. Progress through the remainder of the Train Graveyard, following the waypoints, and you'll eventually reach a Supply Camp behind a Hive. A cutscene will trigger when you get there, meaning this Supply Camp is activated automatically.
Body Core #4
After the previously mentioned Supply Camp, immediately before the Contaminated Water Purification Plant and the Alpha Naytiba, look behind the staircase for a corpse containing a Body Core.
Did you find this Matrix 11 walkthrough in Stellar Blade helpful? Take a look at our Stellar Blade guide, and let us know in the comments section below.


Comments 0
Wow, no comments yet... why not be the first?
Leave A Comment
Hold on there, you need to login to post a comment...