Need a Mallrats walkthrough for The Last of Us 1, including all collectibles? In this The Last of Us 1 guide, we're going to show you how to achieve 100% completion in Mallrats, which is part of The Last of Us: Left Behind expansion.
There are 2x Artefacts and 12x Optional Conversations to find in Mallrats, as Ellie and Riley explore an abandoned mall.
The Last of Us 1: Mallrats Walkthrough
After Back in a Flash, you'll be in a flashback with Riley. Follow Riley up the stairs and down the corridor. Duck under the boarded up doorframe to enter an apartment, and loot the area.
Artefact #1: Wanted Poster
On the table, inside the apartment you enter right at the beginning of the chapter, is an Artefact named Wanted Poster.
Continue to follow Riley into the next room and climb on the cabinet to the next floor. Shimmy along the wall and make your way through a kitchen into a bedroom.
Optional Conversation #1
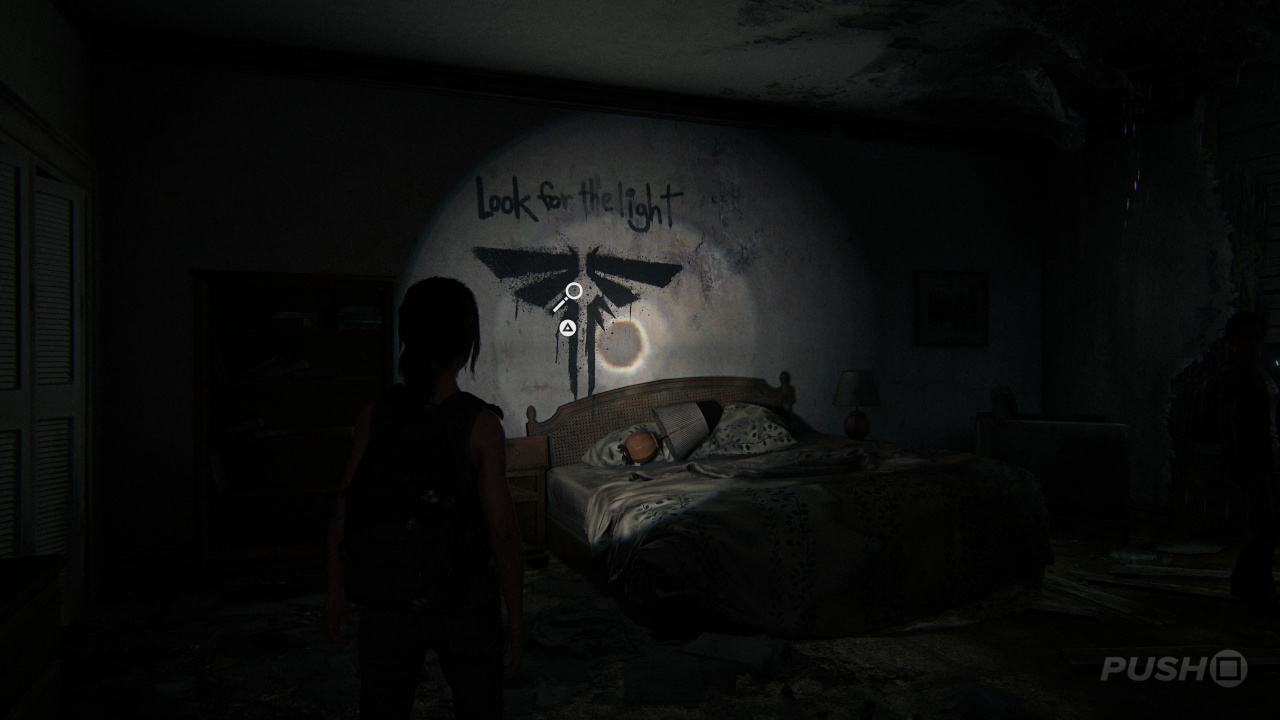
The first of many Optional Conversation opportunities comes shortly after shimmying through the apartment with Riley. You'll see a big Firefly logo painted on the wall, so talk to Riley about it.
Continue to follow Riley forward, under the debris and then down the corridor and up the stairs. Hop the window outside and onto the rooftops.
Once you drop down, Riley will make you hide from the military. Once the coast is finally clear, cross the wet wooden plank to the next rooftop, and then follow Riley forwards and into the hole. You're almost at the mall now. Head down the staircase into the area with all the shops, as Riley teases you about a surprise.
Optional Conversation #2
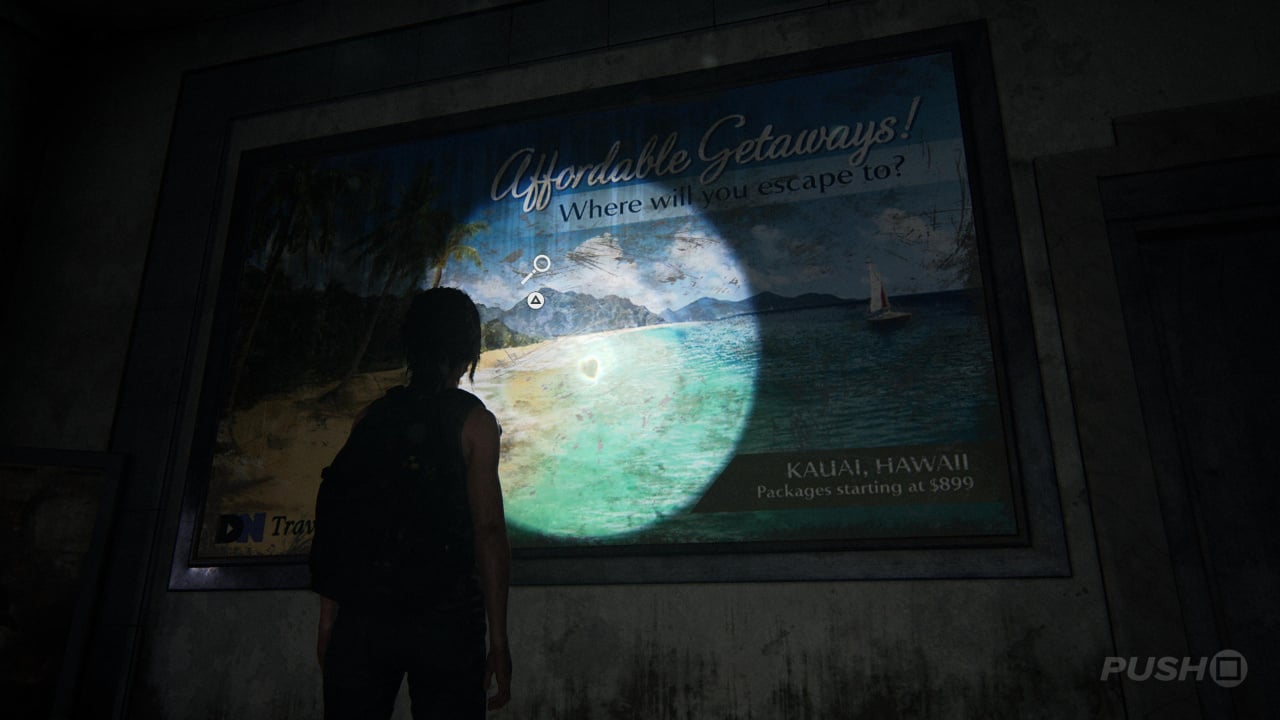
Once you've gone down the staircase and into the mall, turn immediately right and look to the left wall, behind the escalator. There's a poster about Hawaii, which will trigger an Optional Conversation opportunity.
Optional Conversation #3
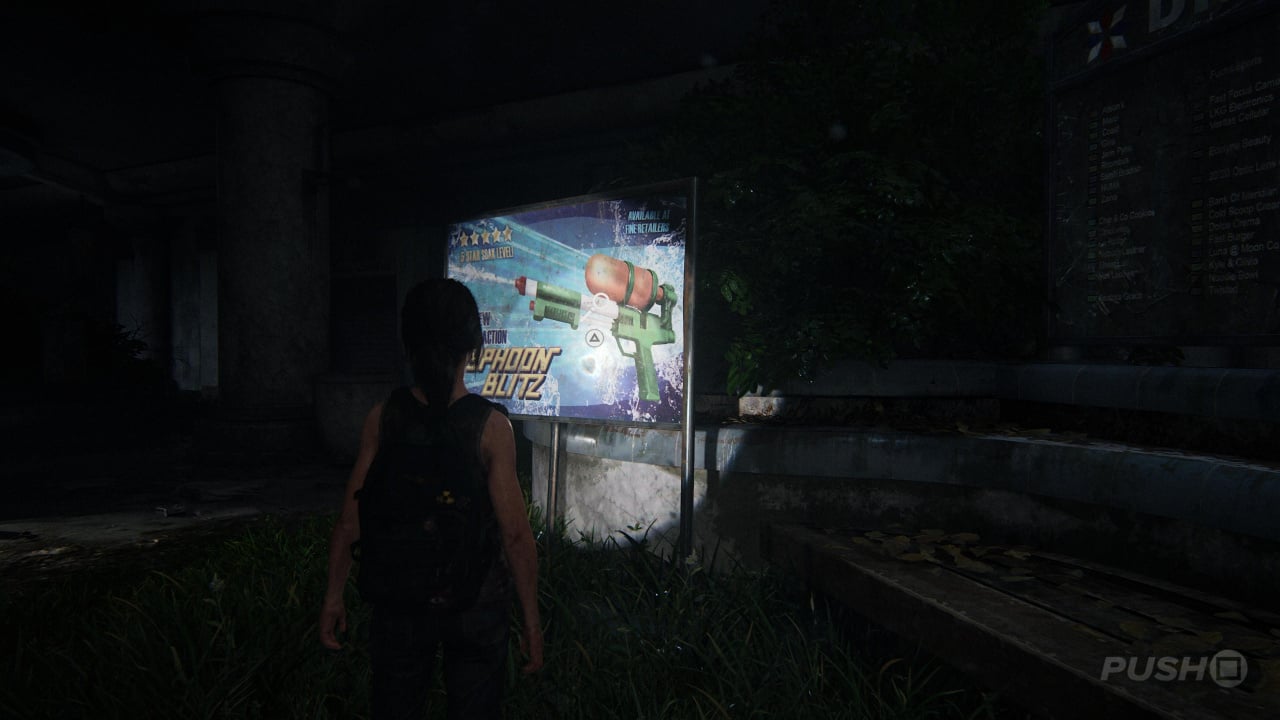
Now move deeper into the mall, beyond the staircase, and on the left side next to the bench and map you'll find a water guns advertisement which triggers another Optional Conversation opportunity.
Optional Conversation #4
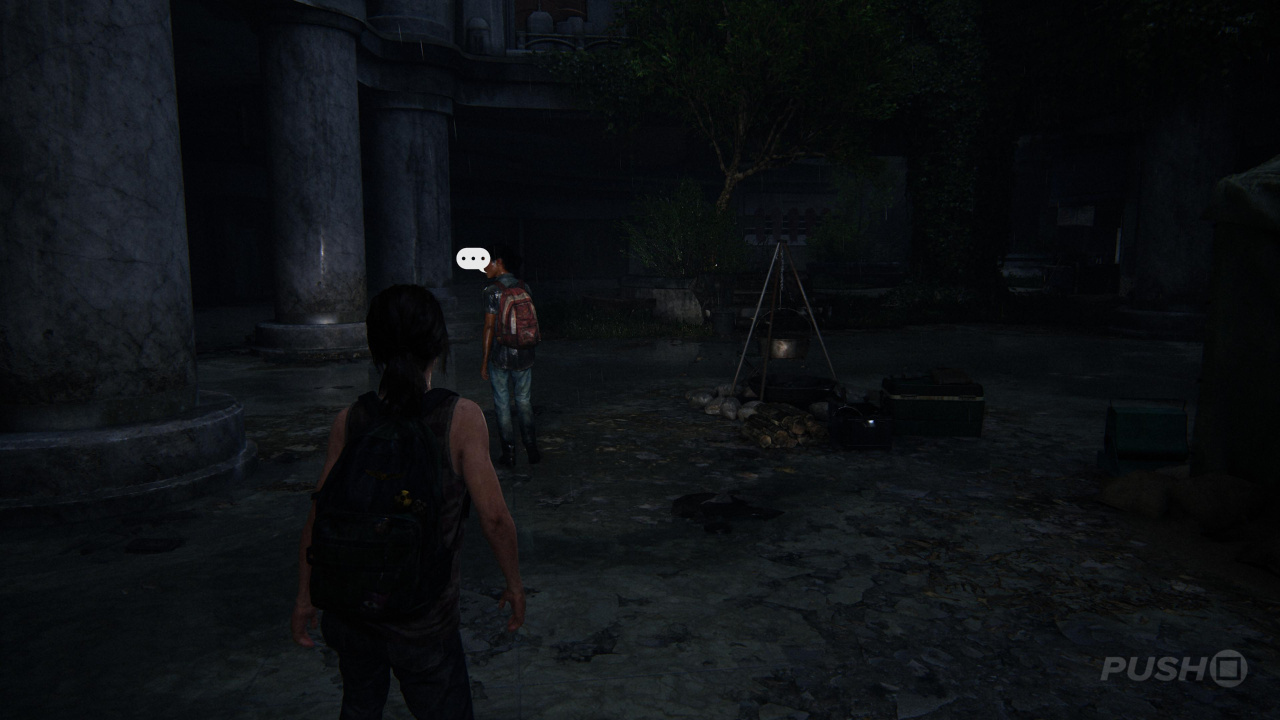
Follow Riley through the mall and down the next staircase to a yellow tent at the bottom. You'll get an Optional Conversation opportunity here.
Optional Conversation #5
Go inside the yellow tent at the bottom of the stairs, and you get an Optional Conversation prompt on the magazines and papers atop the shelves at the back. You can choose to accept or decline a drink with Riley at this point.
Optional Conversation #6
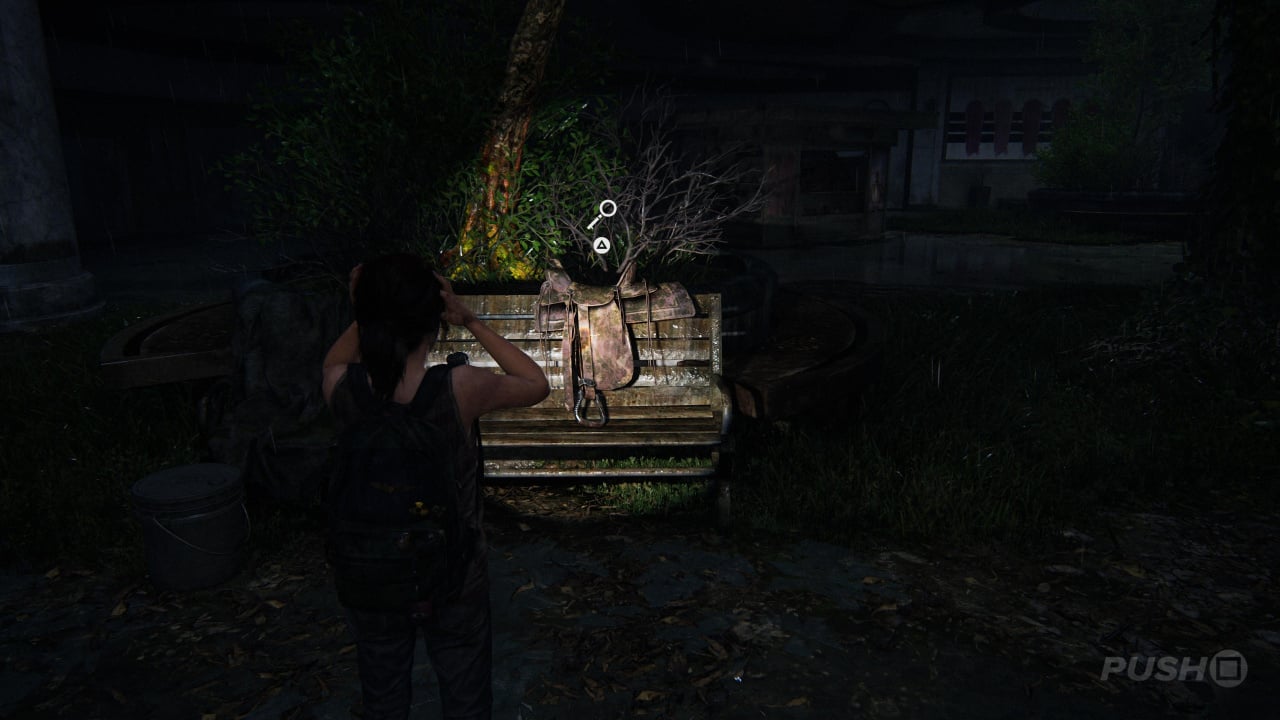
Directly opposite the yellow tent, there's a wooden bench with a horse saddle atop it. Interact with this for another Optional Conversation opportunity.
You'll eventually reach a blocked passage just on the right of where you found the horse saddle. Riley will ask you for help lifting some of the debris, so hold triangle. There's no way forward, though, so boost her up to the Halloween shop on the right. Open the door and prepare for a jump scare on the other side — it's probably not a good idea in the apocalypse! Put on the wolf mask, and tap the triangle button to roar.
Optional Conversation #7

In the back-right corner of the Halloween shop, there's a jar of eyeballs you can interact with which lead to an Optional Conversation opportunity.
Optional Conversation #8
Put on the witch mask in the middle of the store, and then trigger an Optional Conversation opportunity with Riley while you're wearing it.
Optional Conversation #9
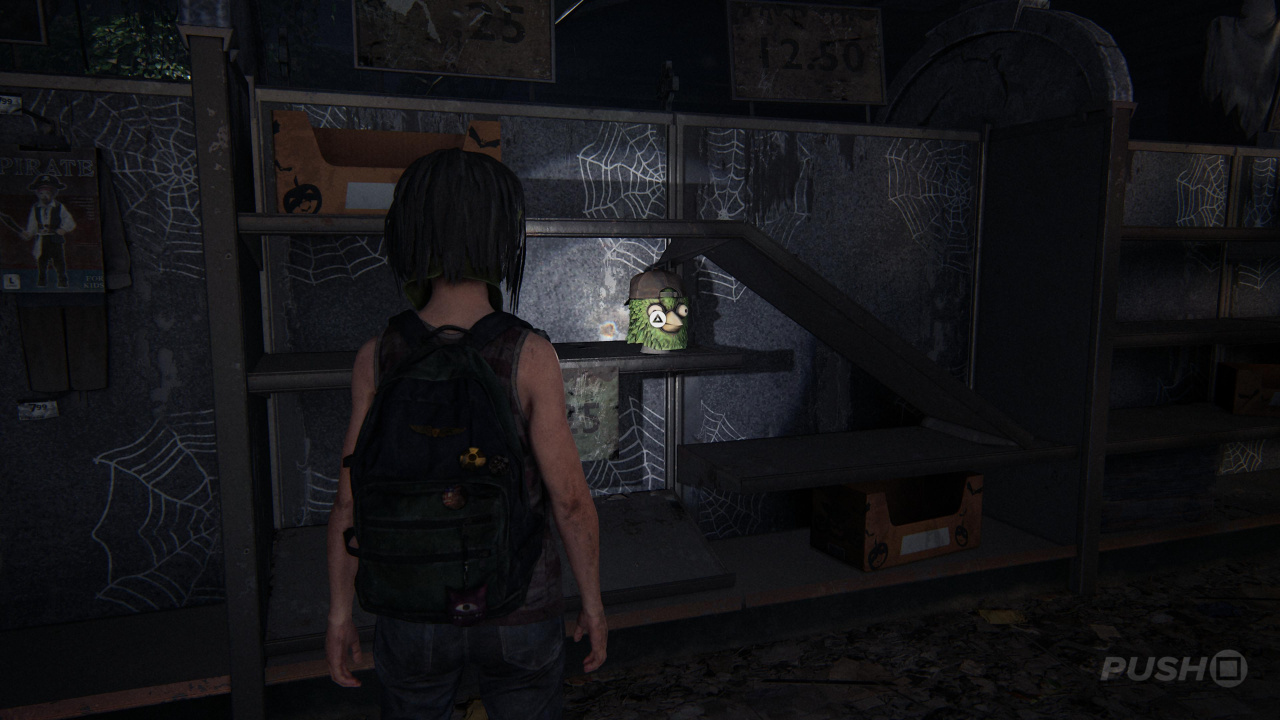
Put on the bird mask which is on the shelf not far from the exit, and you'll immediately get another Optional Conversation with Riley.
Optional Conversation #10
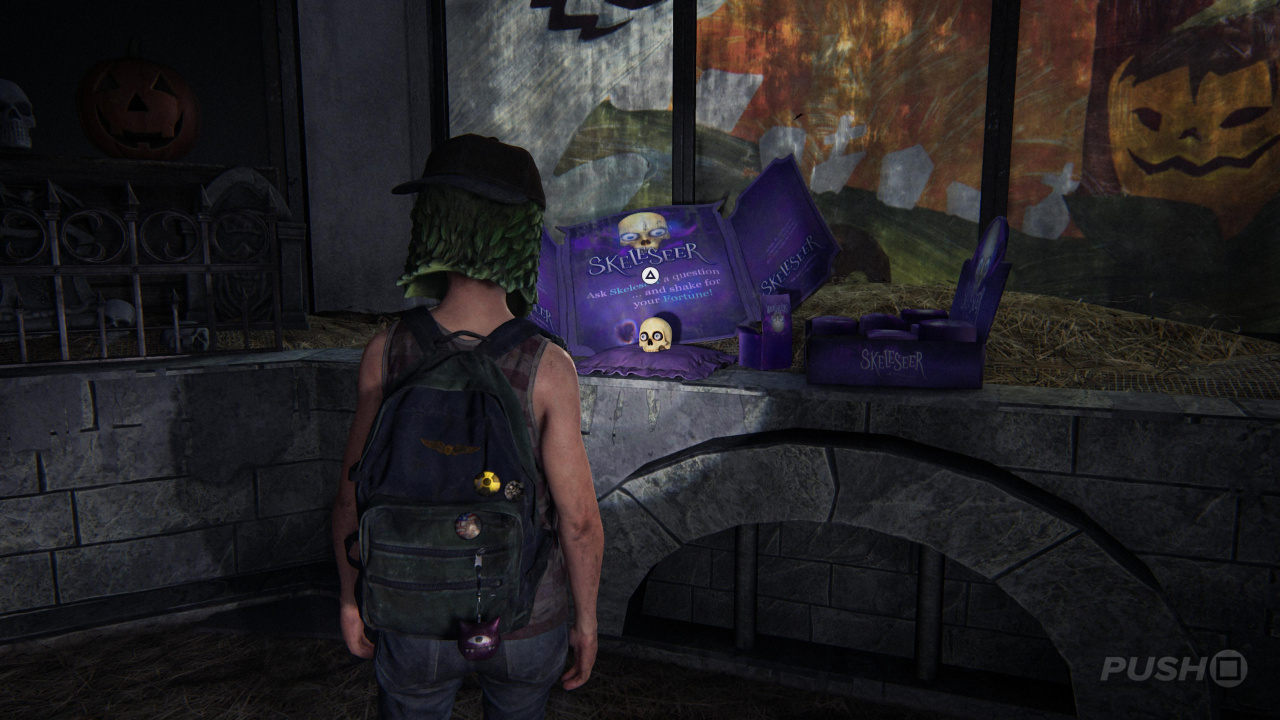
Immediately left of where you enter the Halloween shop, in the corner of the store, there's an item called a Skeleseer. You need to go through all of its dialogue to unlock this Optional Conversation. There are eight fortunes in total. You'll know you've got them all when Ellie asks the question about poker, and Riley says, "I've given up on that — you can have poker."
Optional Conversation #11
Head to the corner of the store, to the right of the exit, where the Dracula display is. Wait for Riley to put on the mask, then trigger the Optional Conversation opportunity.
Once you're ready to leave the store, head through the double doors at the exit. You'll come to a balcony above a carousel. Riley will point out the cars on the lower floor and recommend a competition. Grab a nearby brick and toss it at the windows. You need to smash six windows in total before Riley to unlock the Brick Master Trophy.
Optional Conversation #12
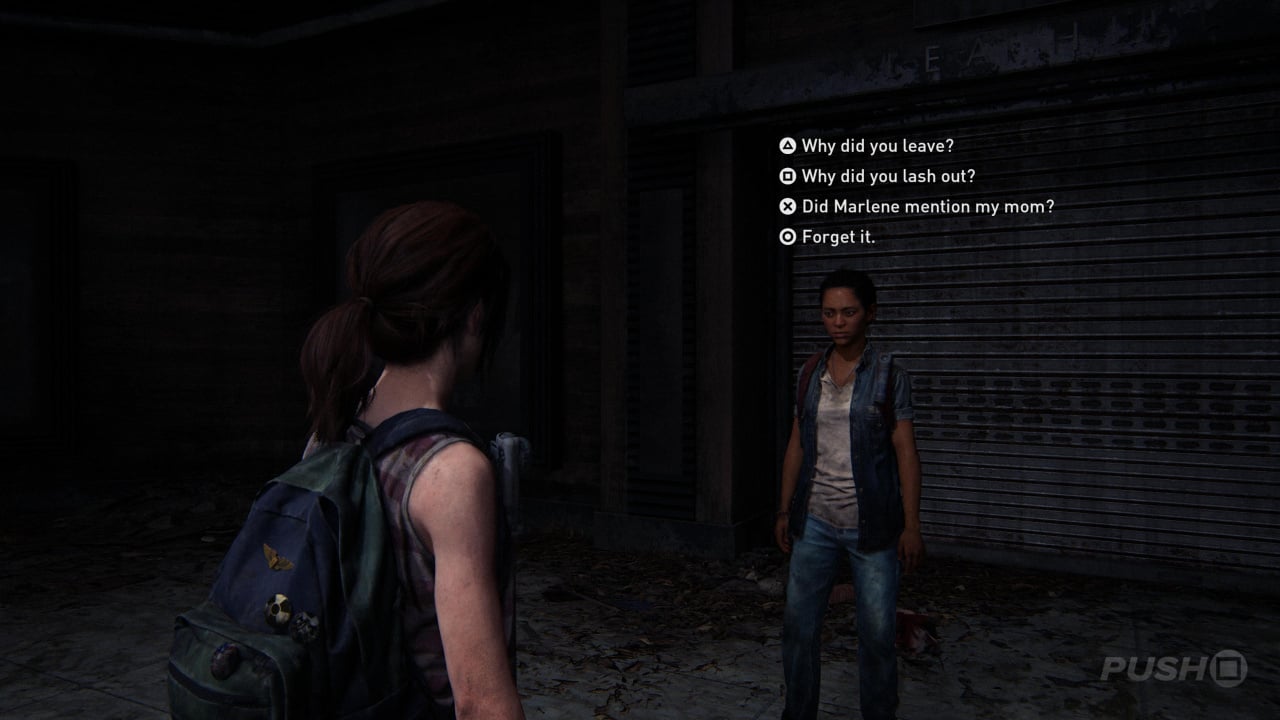
Win the brick throwing competition with Riley for an opportunity to ask a question. This is an Optional Conversation, but you can ask whatever question you like from the options.
Now follow Riley through the double doors and down the stairs into a utility area. She'll tinker with the generator in order to prepare your surprise.
Artefact #2: Warning Note
When Riley is messing with the generators and circuit breakers, head back out into the corridor and retrace your steps a little. Go right into the kitchen and on the counter at the far end of the room is an Artefact named Warning Note.
Return to Riley and flip the generator switch. Then follow Riley to the double doors at the end of the corridor, and have a brief chat with her before you return to the mall, and the story transitions back to the present day in So Close.
Did our Mallrats walkthrough for The Last of Us 1 help? Did you find all Artefacts and Optional Conversations? Check out our The Last of Us 1 guide for much more information on the game, including all collectibles.


Comments 0
Wow, no comments yet... why not be the first?
Leave A Comment
Hold on there, you need to login to post a comment...