 by
by You're back in London and being told to let things go. But this is a James Bond game, and things aren't going to remain quiet for long, eh?
For this part of our 007 First Light walkthrough, we're focusing on Uninivited.
Where Are All Collectibles in 'Uninvited' in 007 First Light?
There are 12 collectibles in Uninvited.
Intel: Bond Family Photo
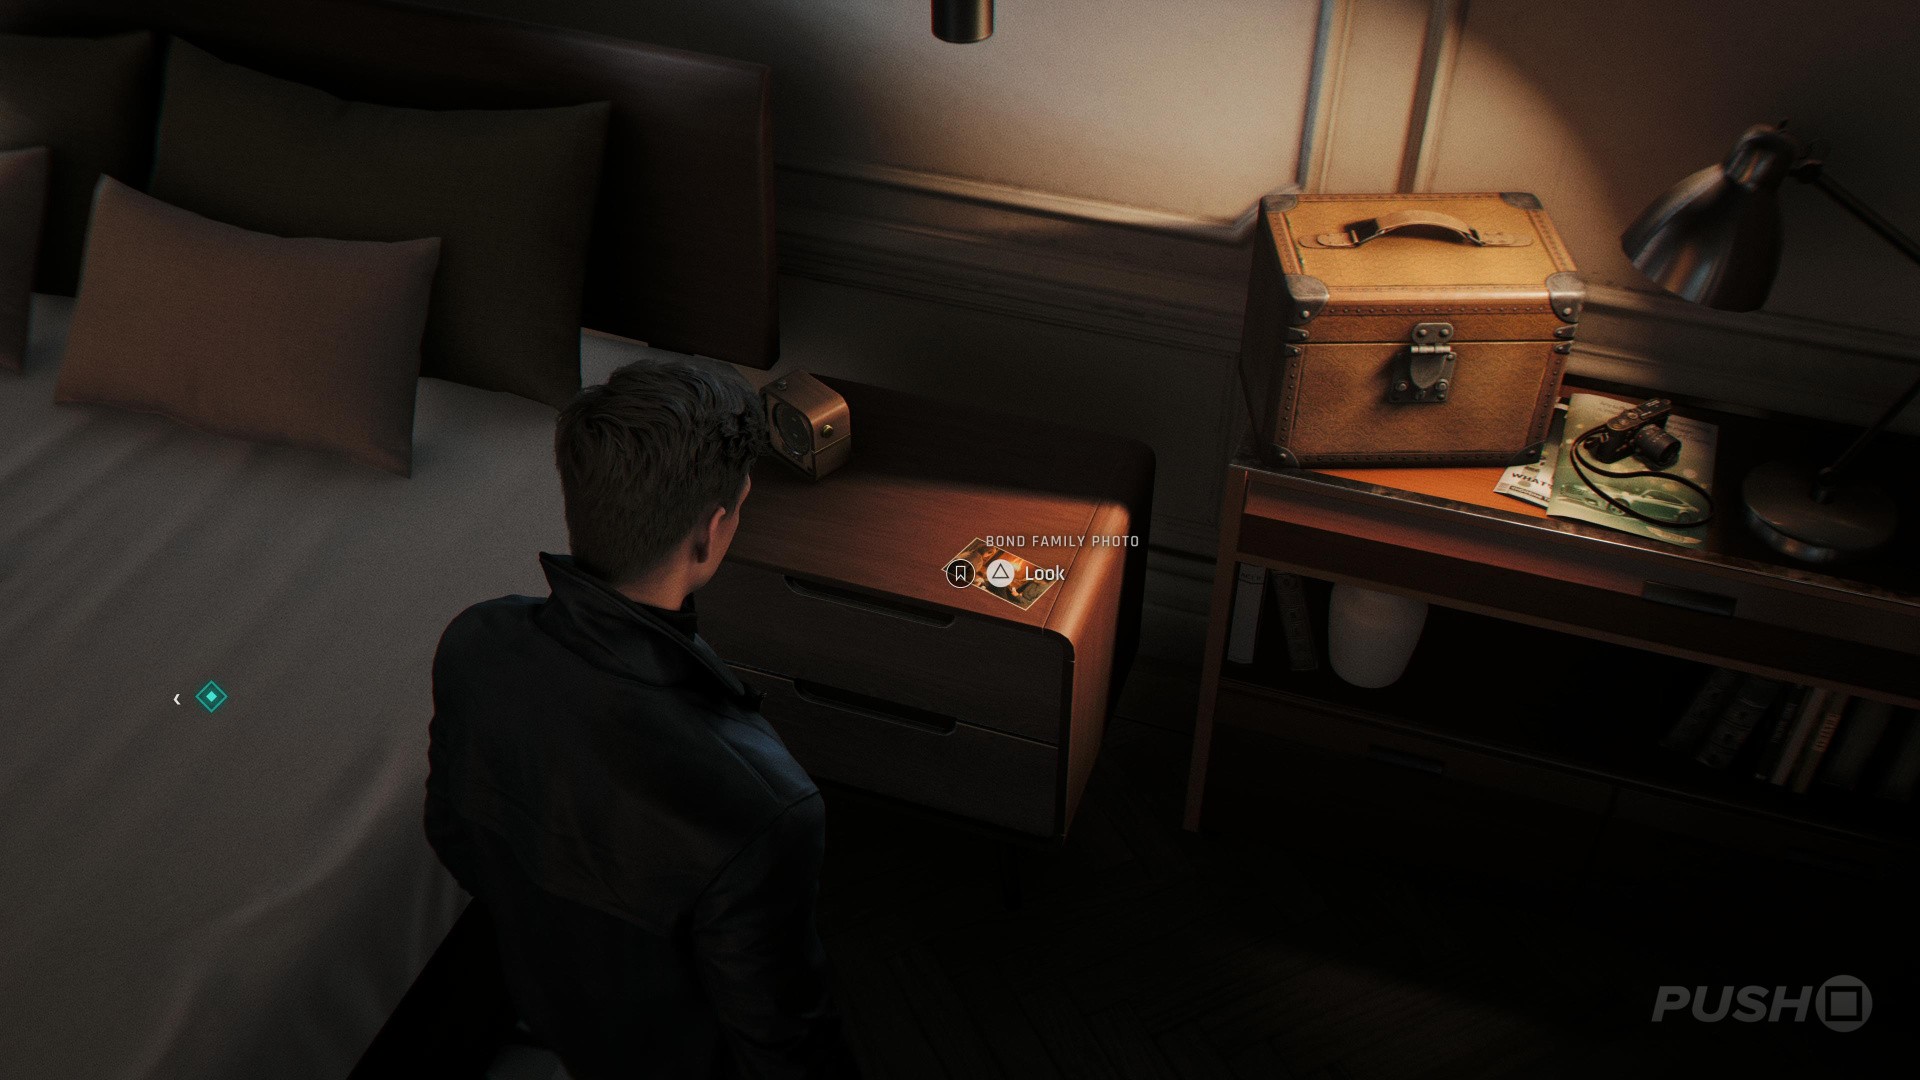
- Enter Bond's bedroom at the back of the apartment
- The collectible is on the bedside table, right of the bed
Card: 8 of Acorns
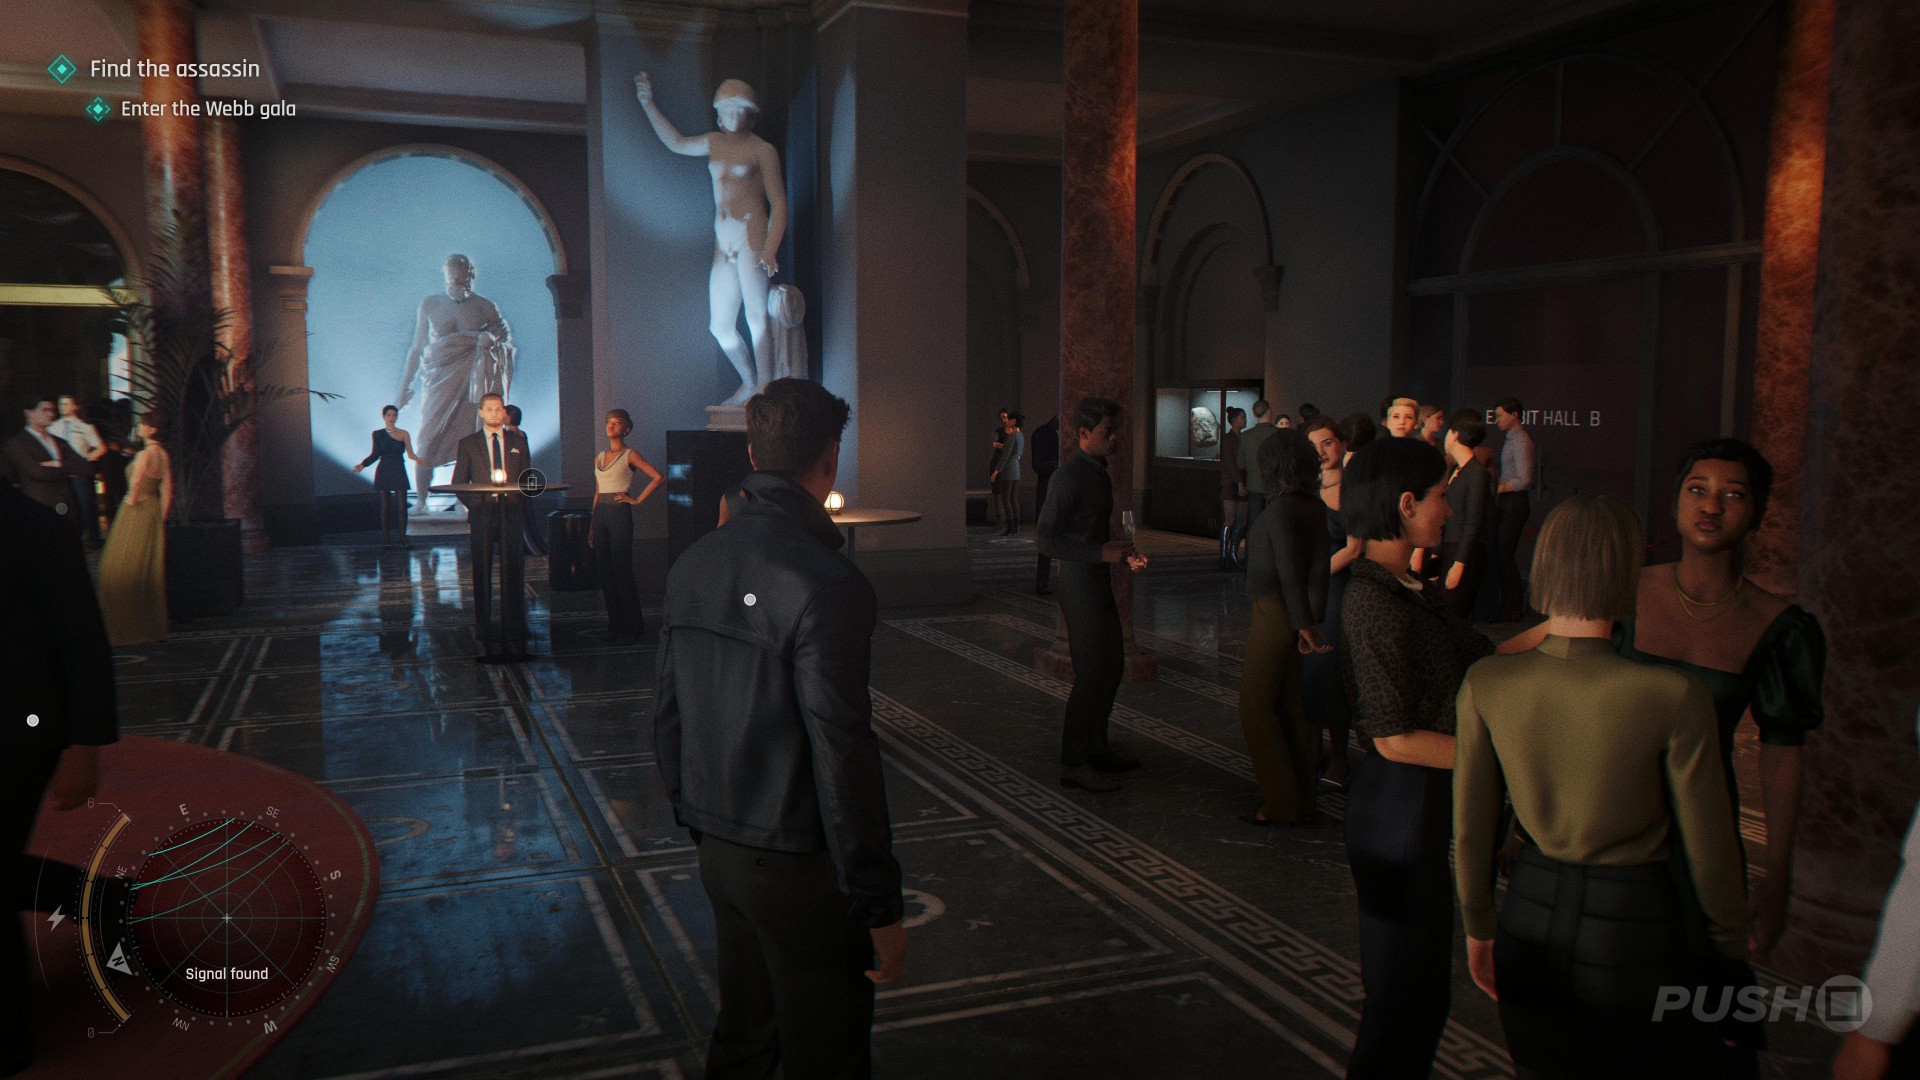
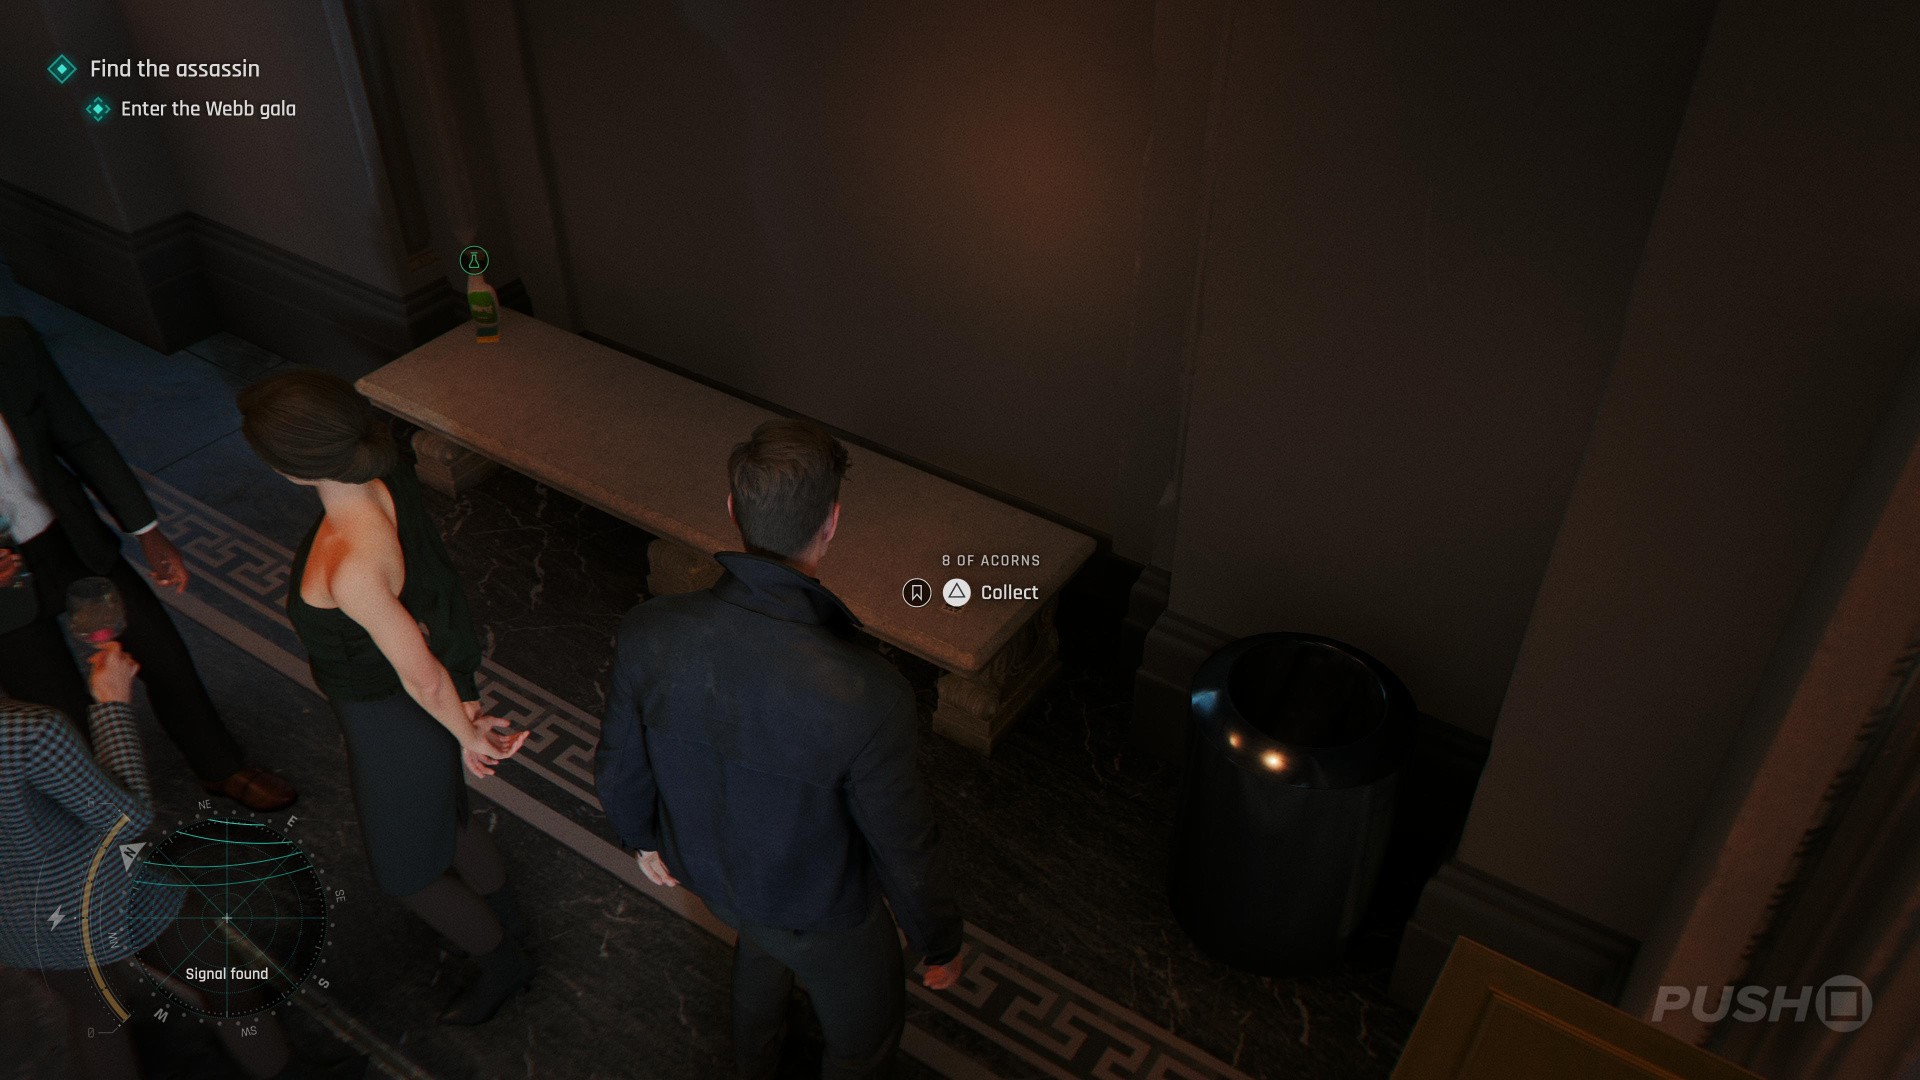
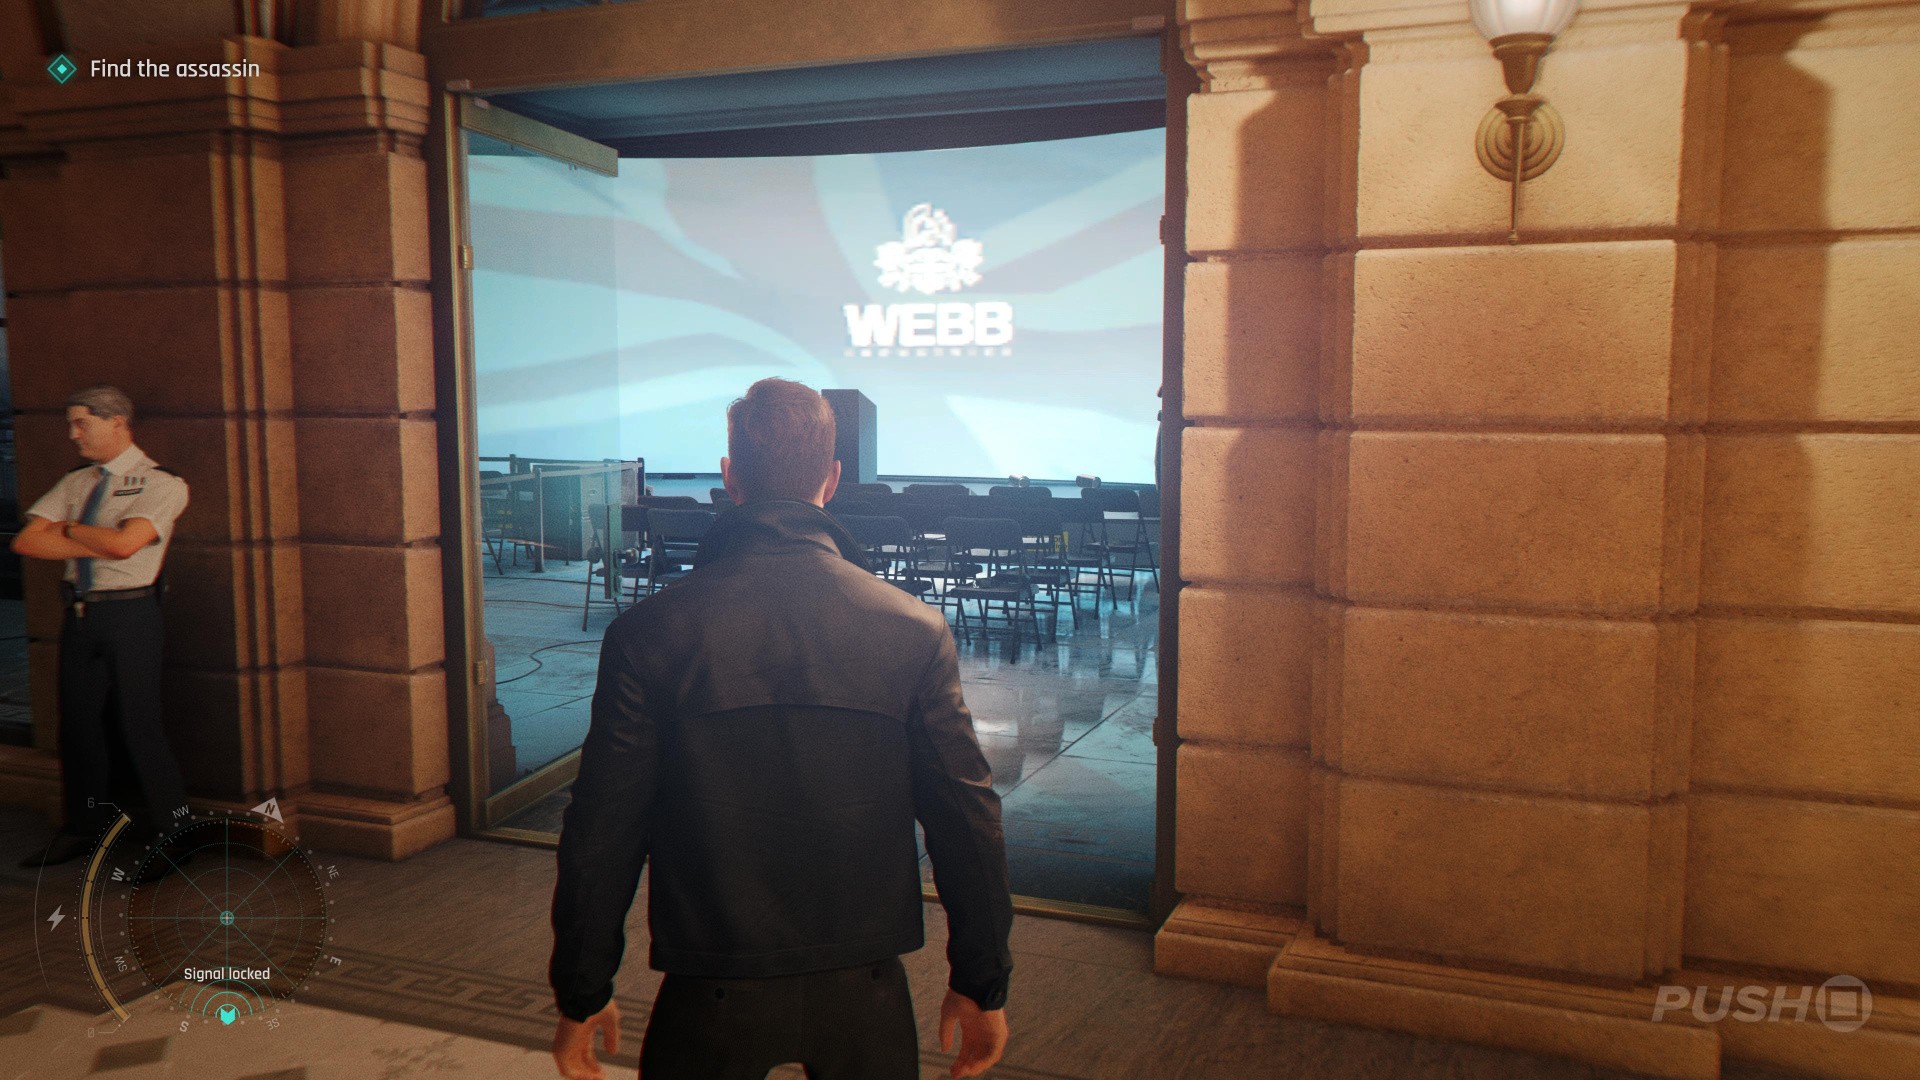
- Upon first entering the Webb Gala, when you need to pilfer an invite
- Look on the bench at the back-right part of the entrance hall for the collectible
Legacy: Concert Poster
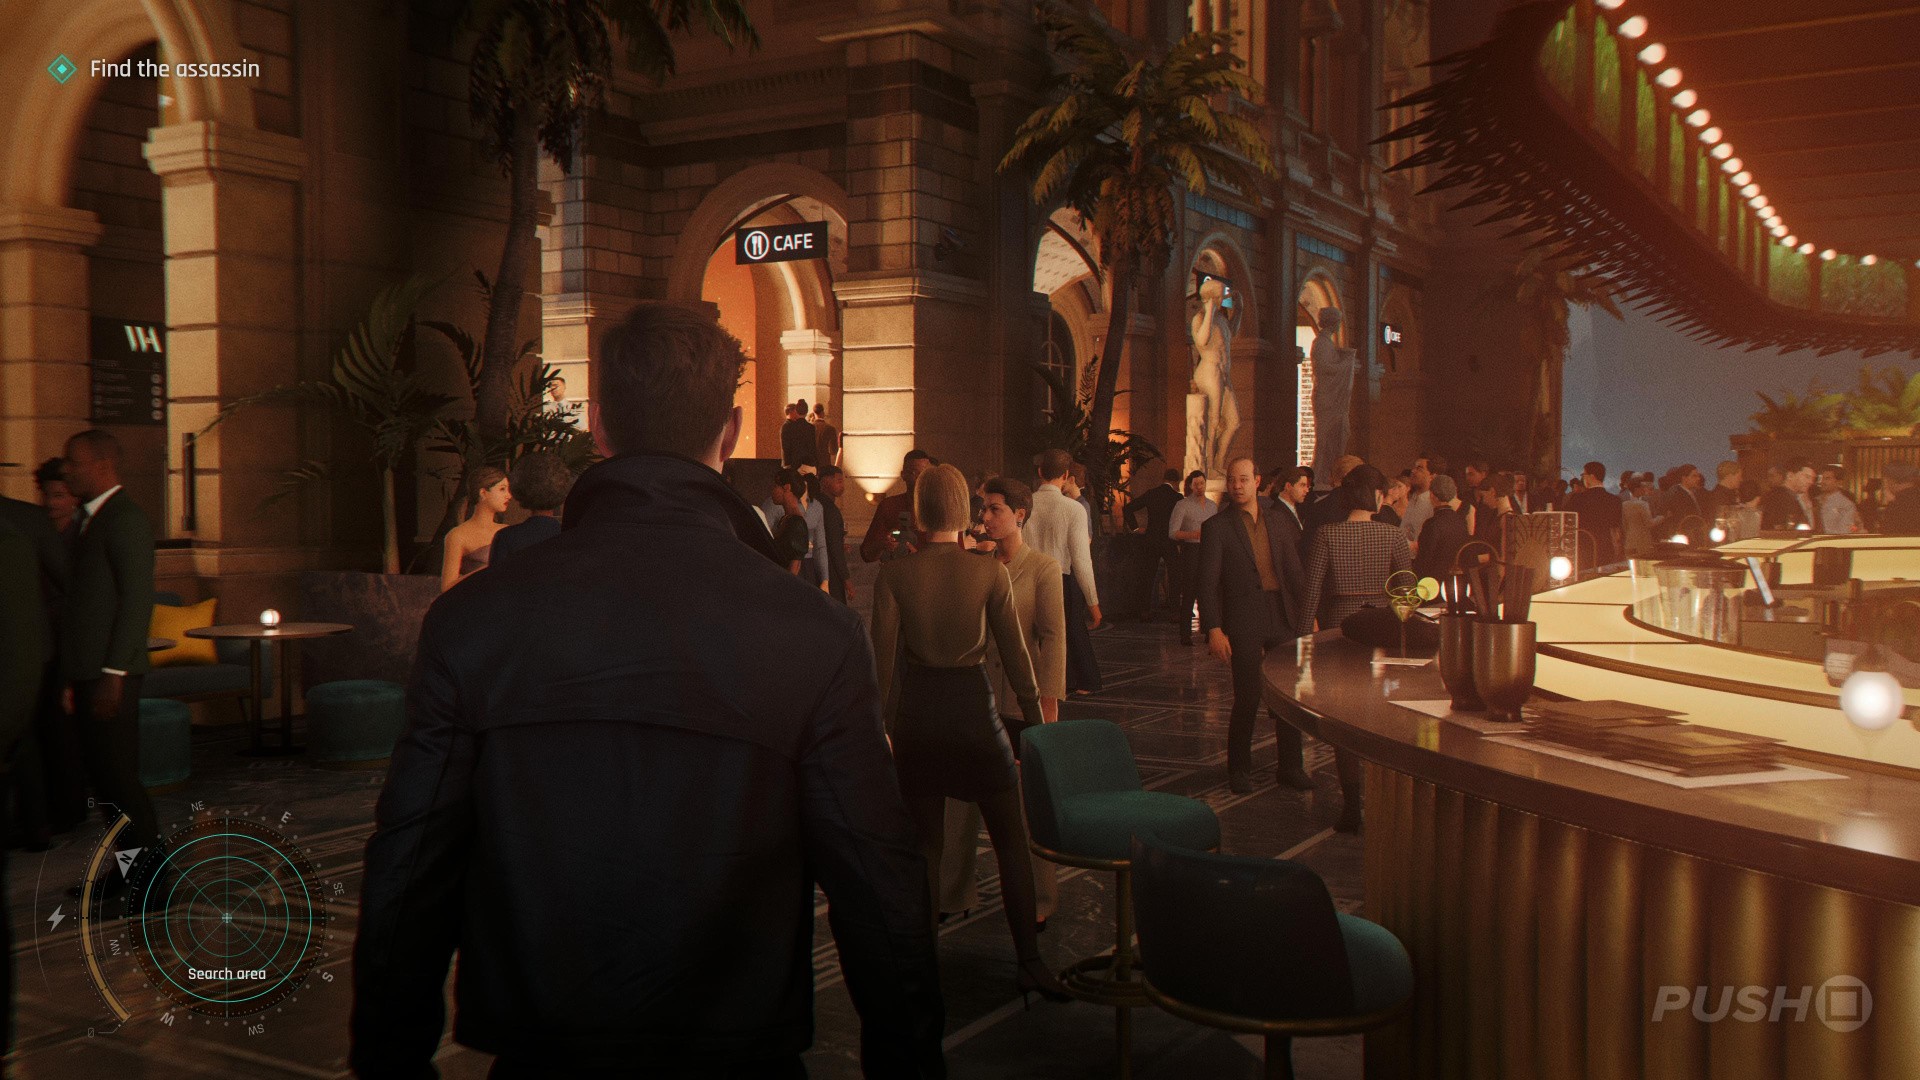
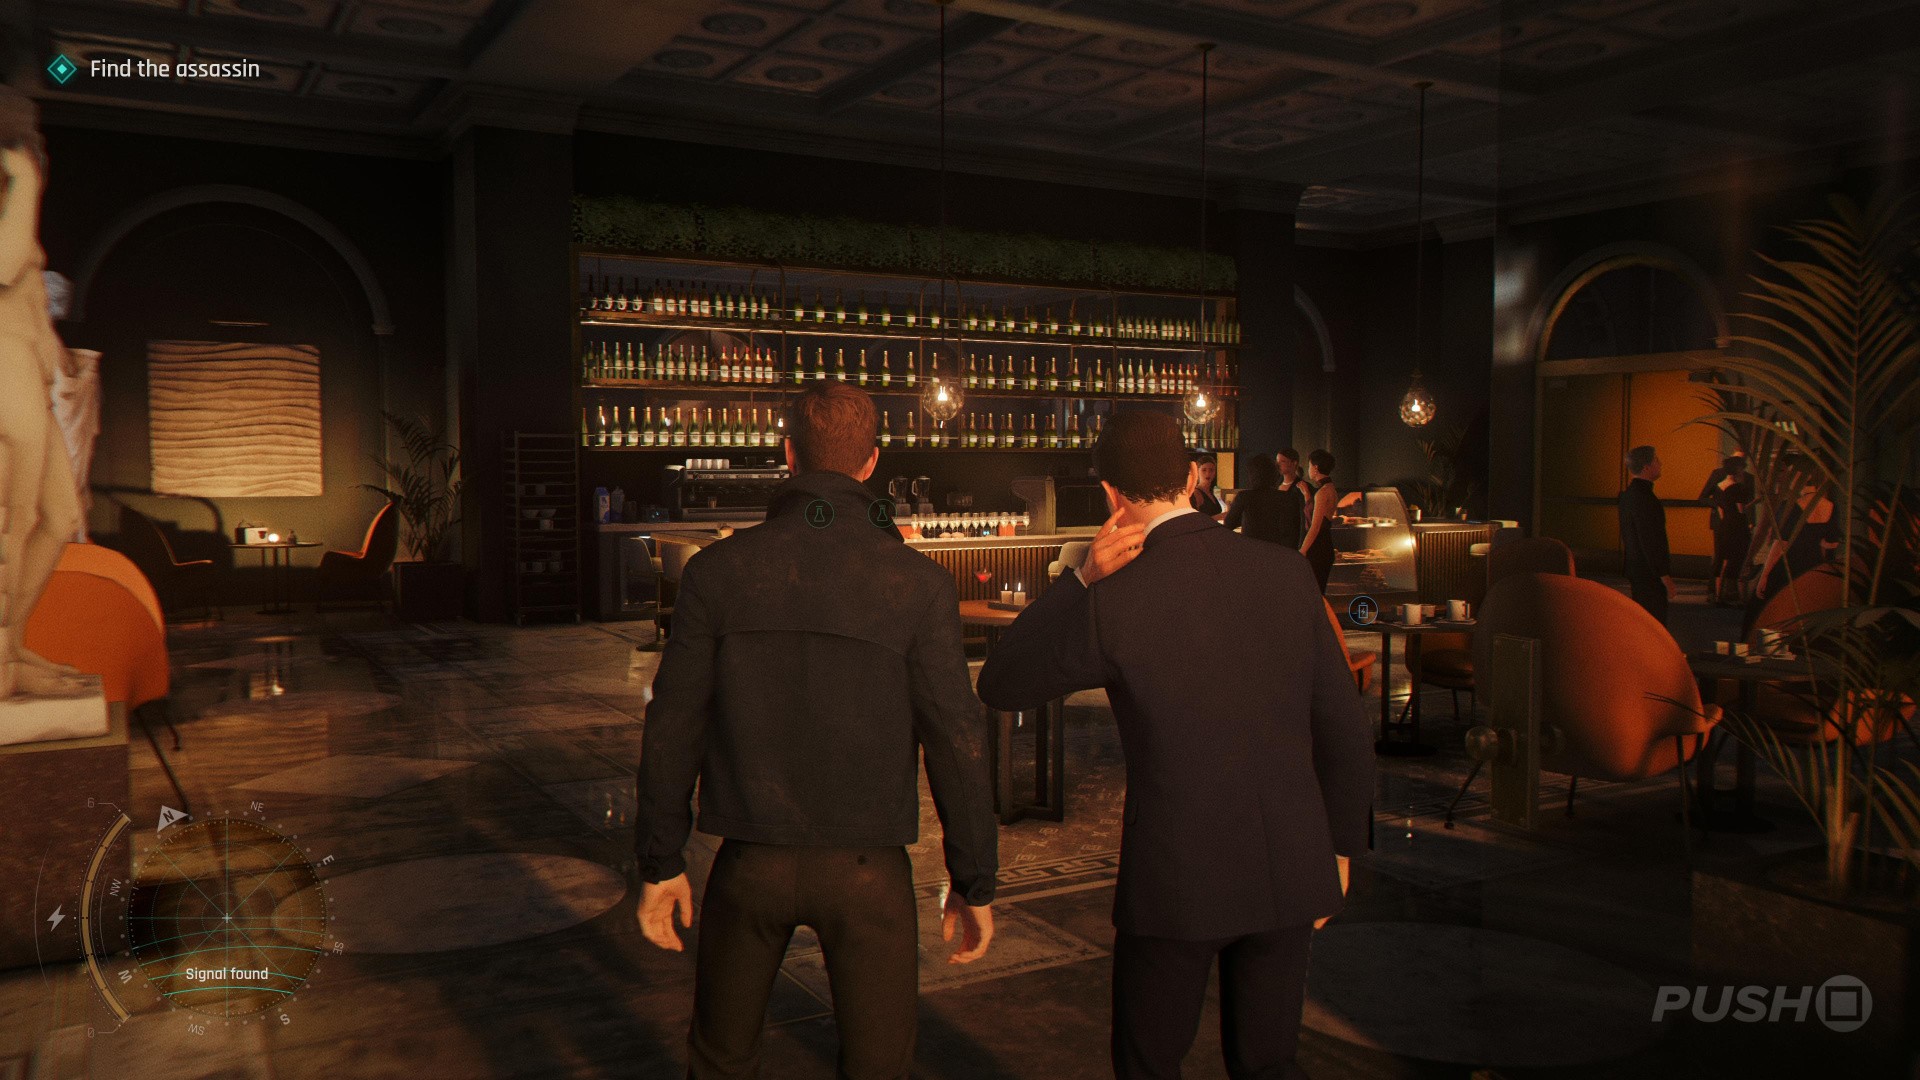
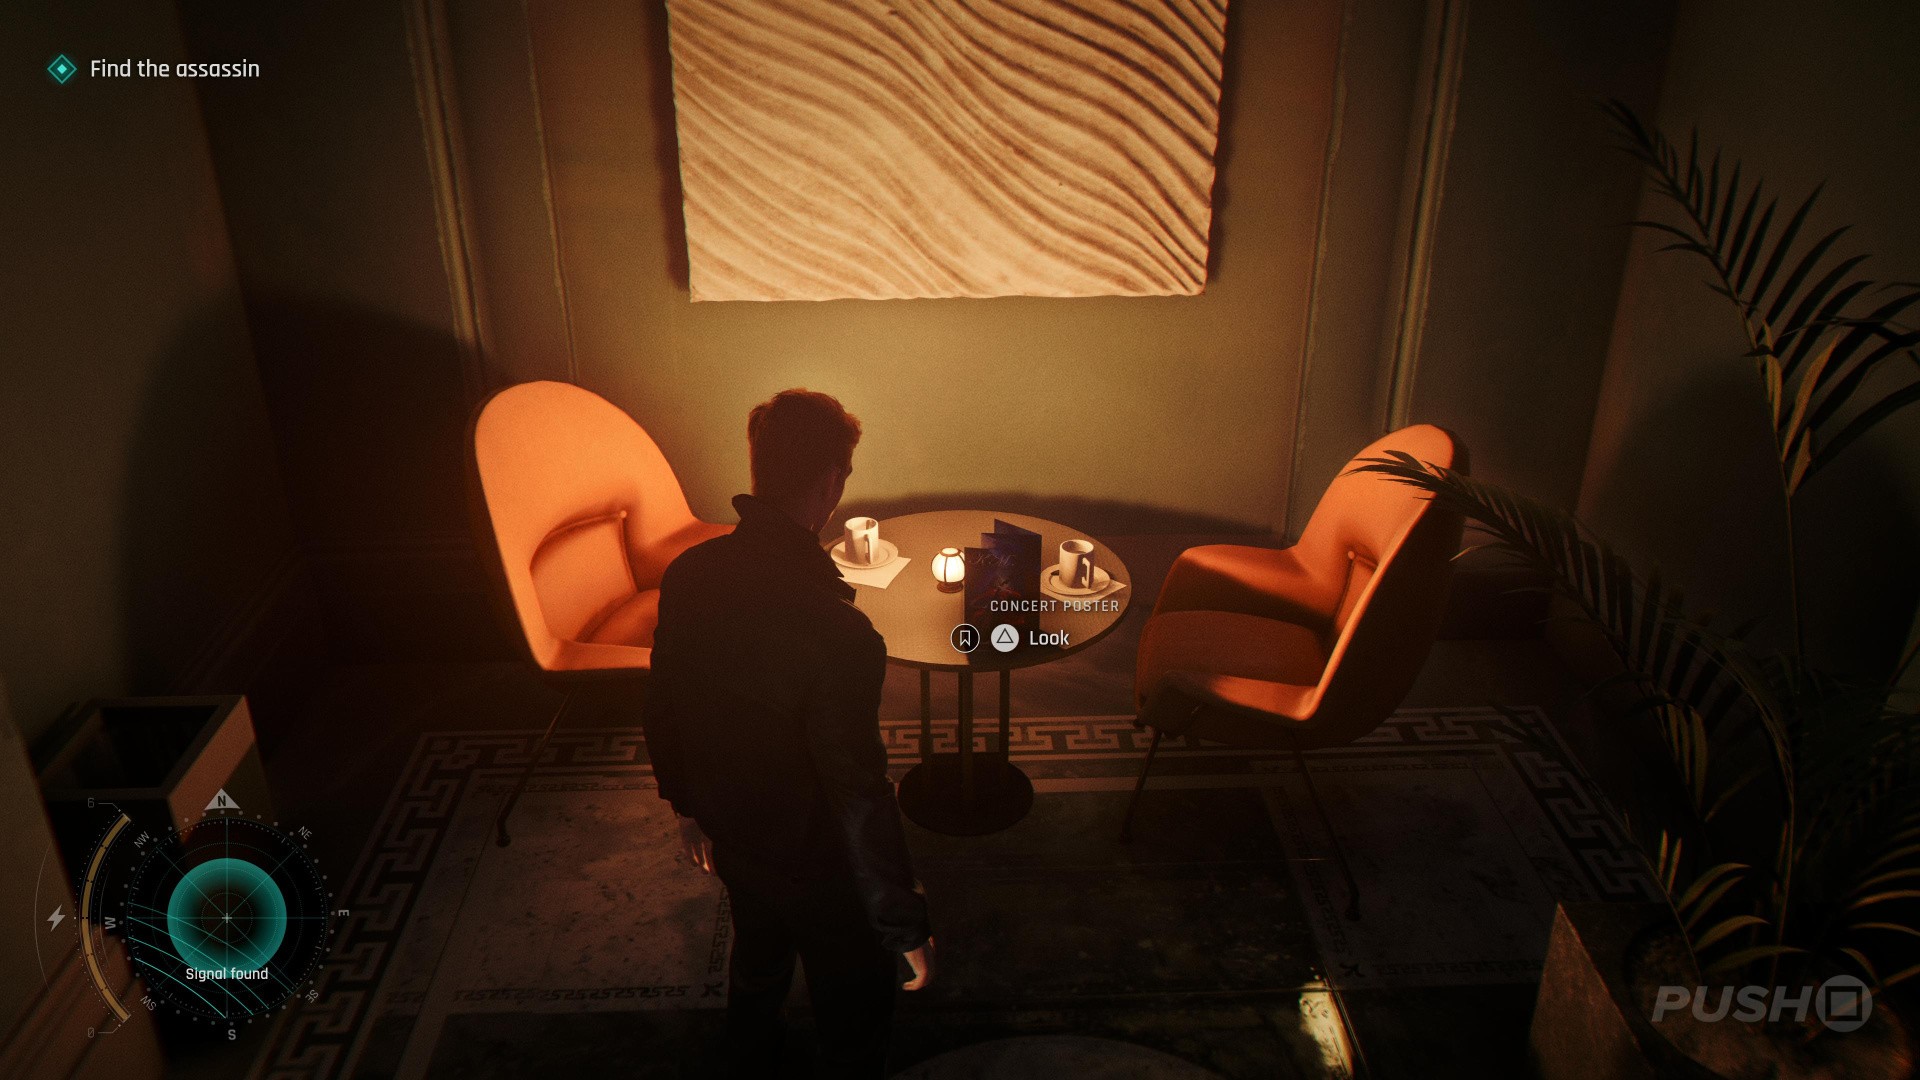
- After presenting your invite and entering the main room of the gala, look for the cafe on the left
- Go inside the cafe and head to the table in the back-right corner of the cafe
- The collectible is on the table
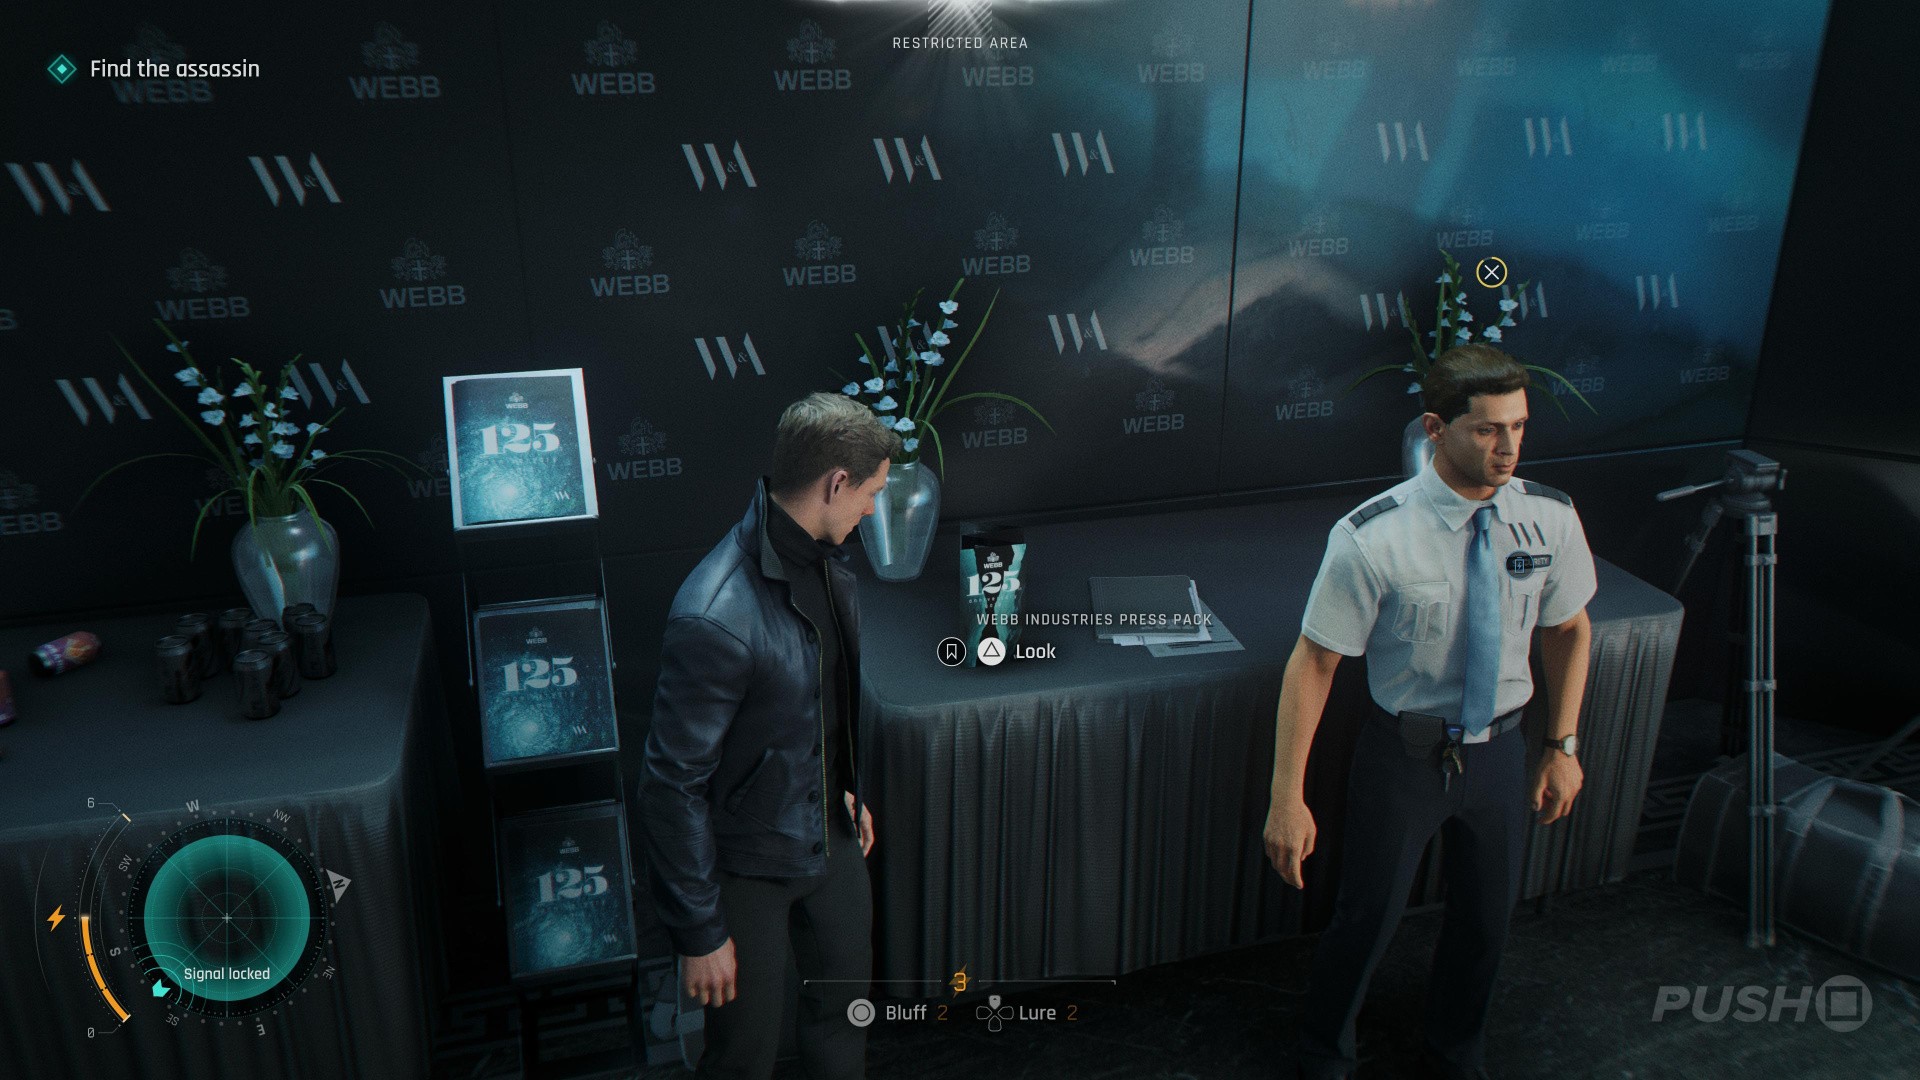
Intel: Webb Industries Press Pack
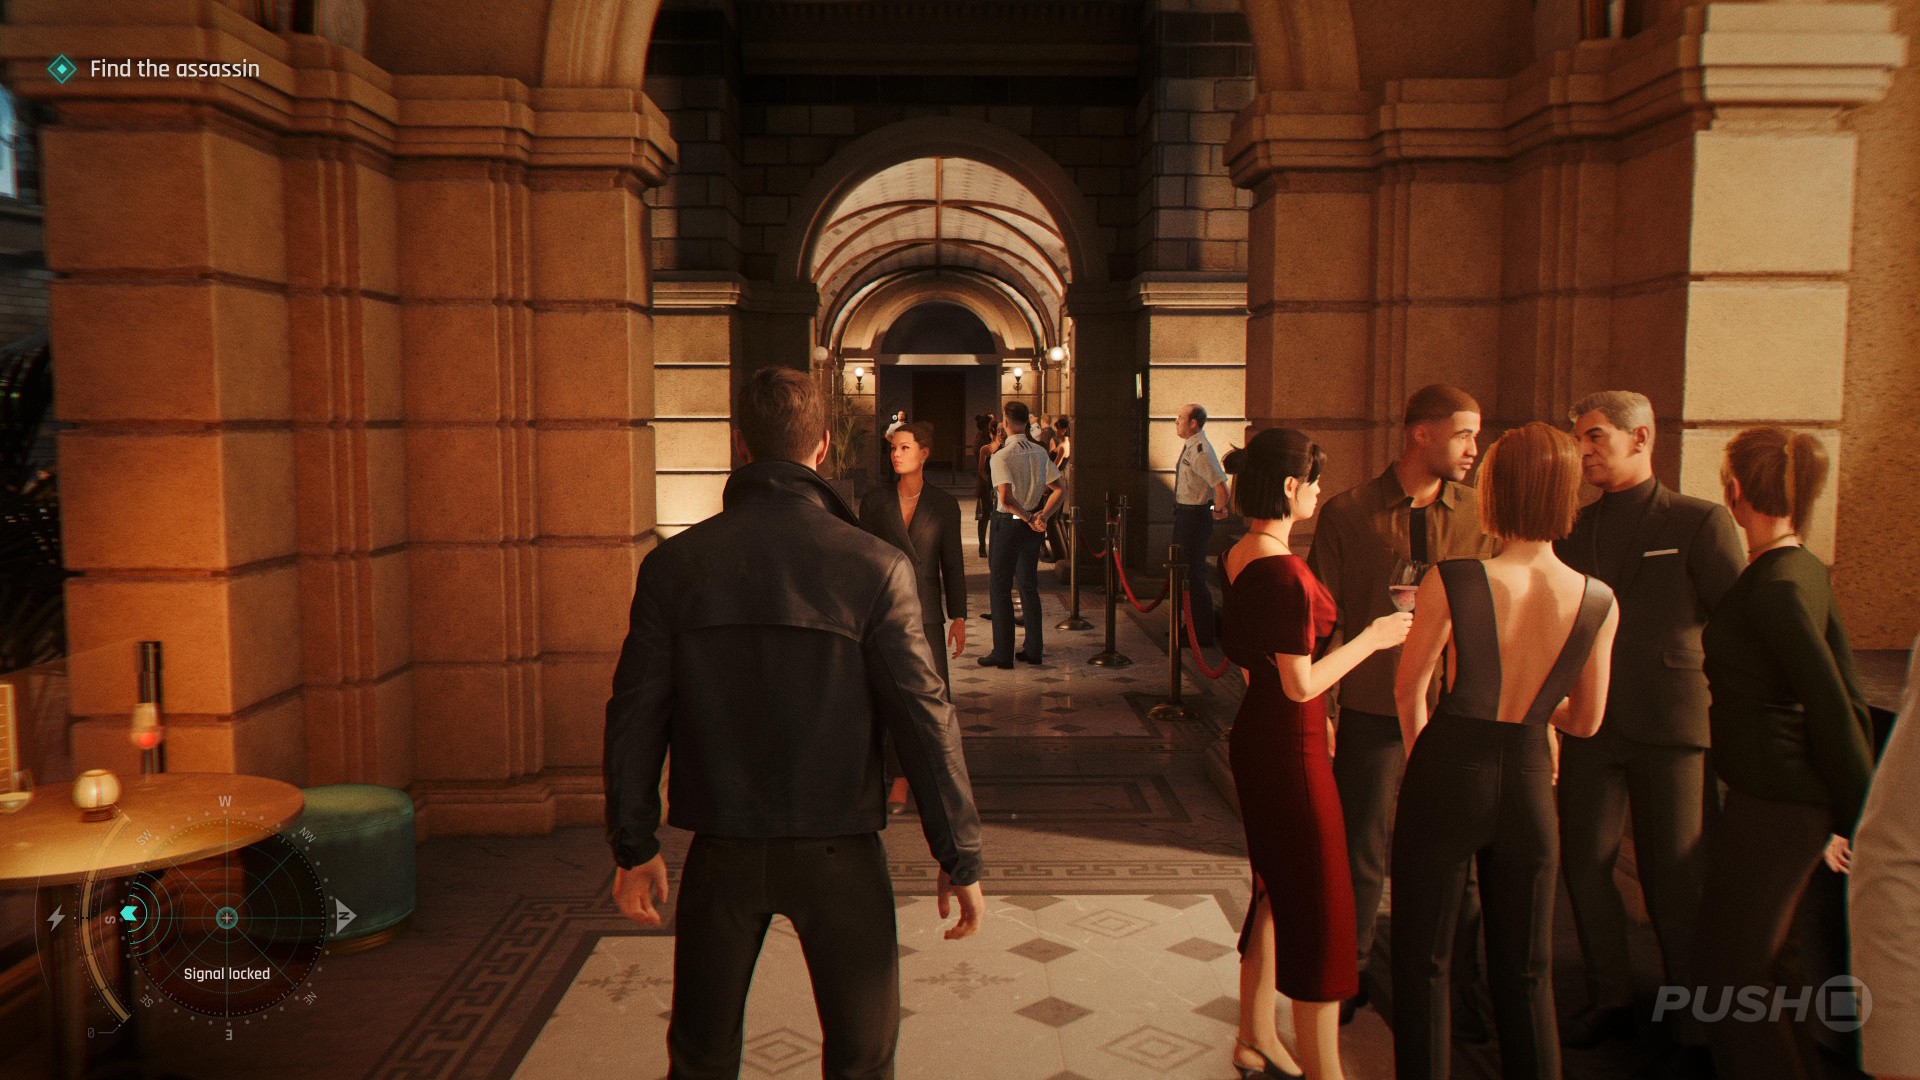
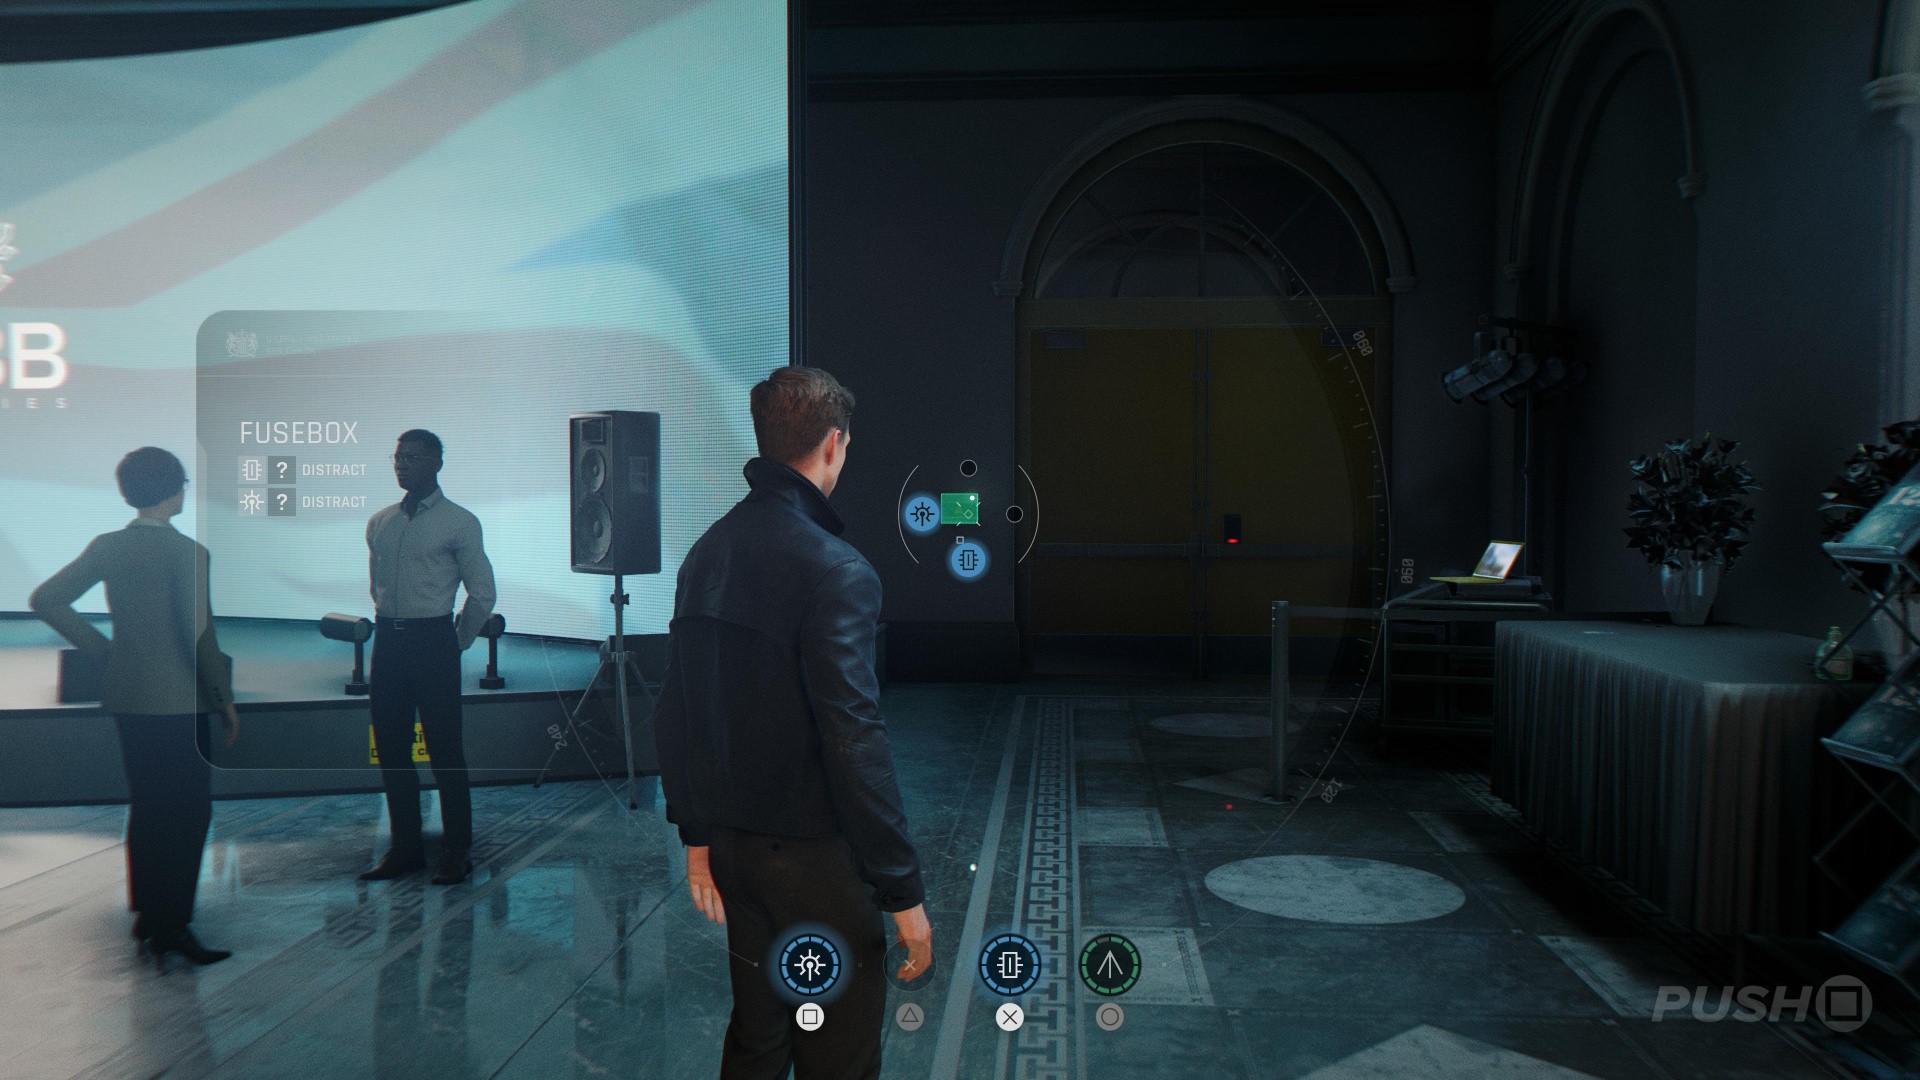
- From the cafe, follow the hallway to the press area with the podium
- Use the fuse box in the right corner of the room to distract the guard
- Then enter the security section on the left of the room and bluff to gain access
- The collectible is on the table next to the other guard
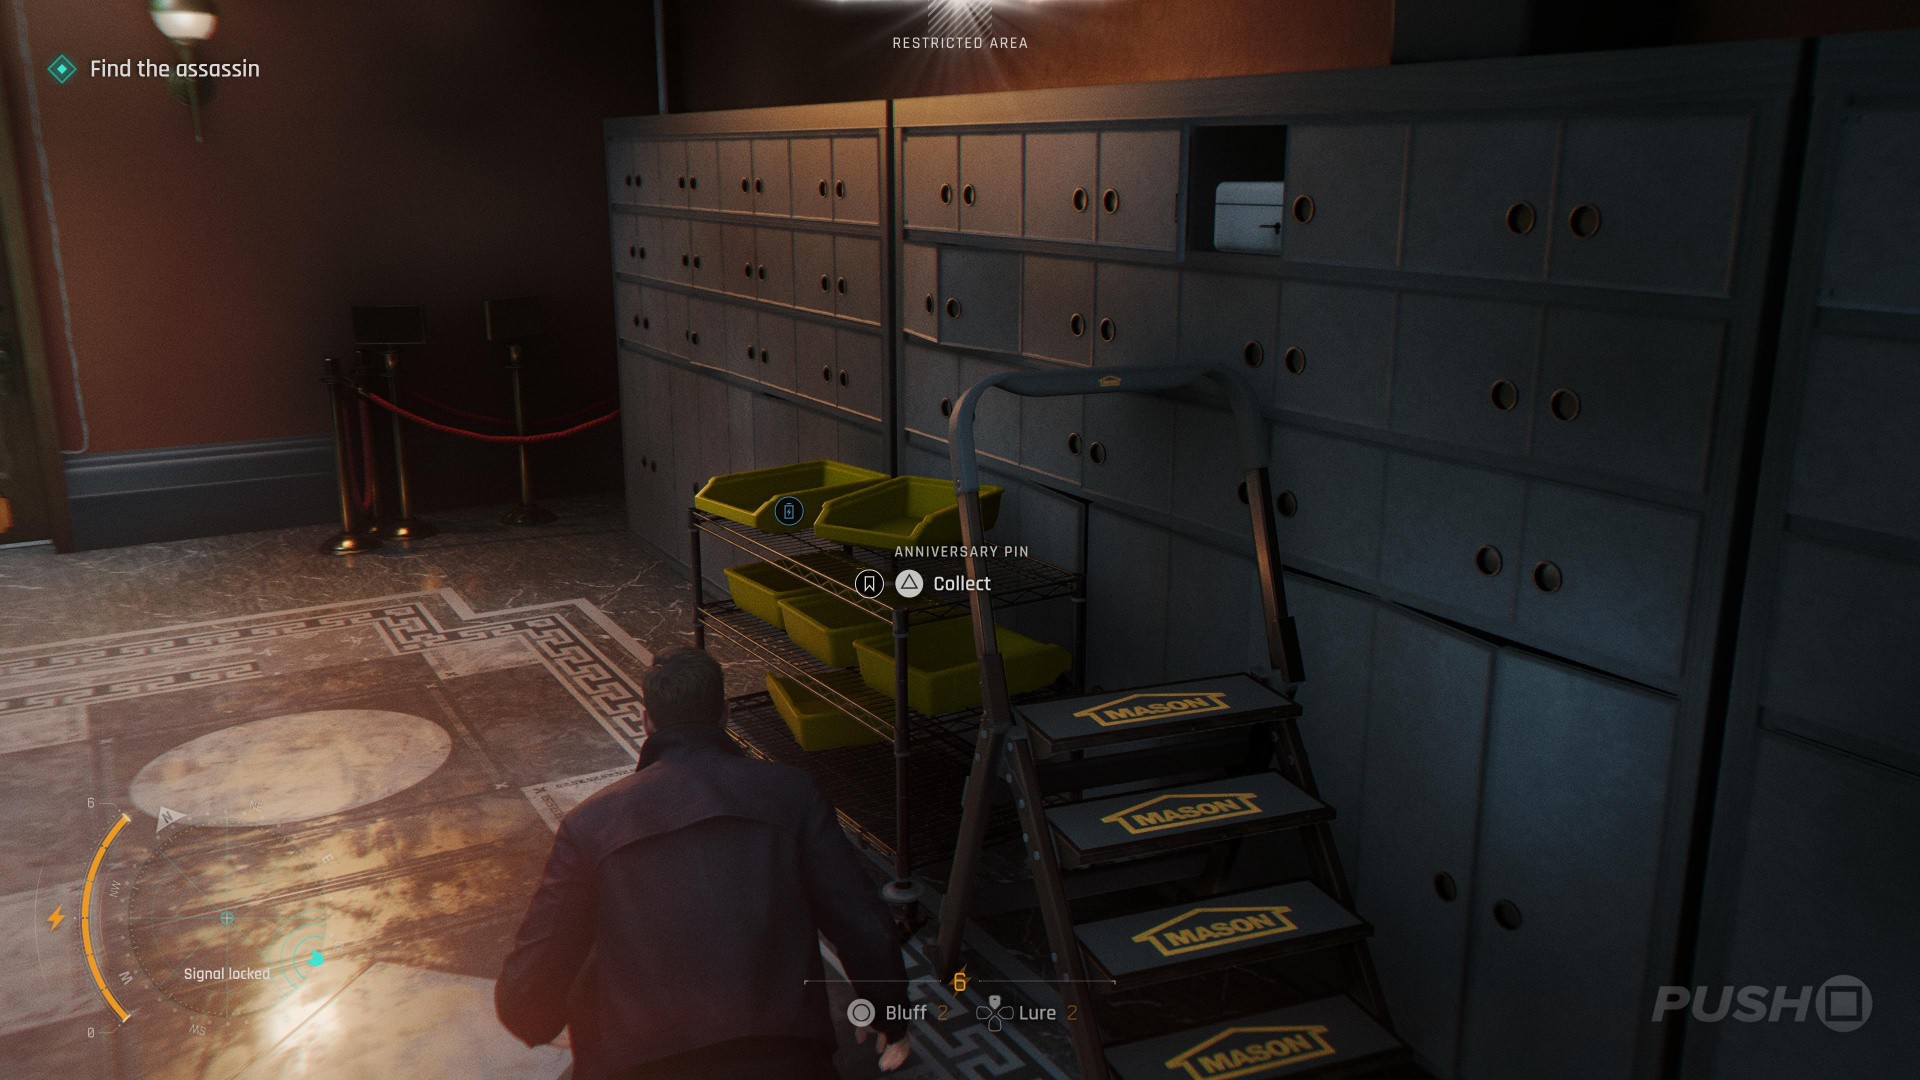
Memento: Anniversary Pin
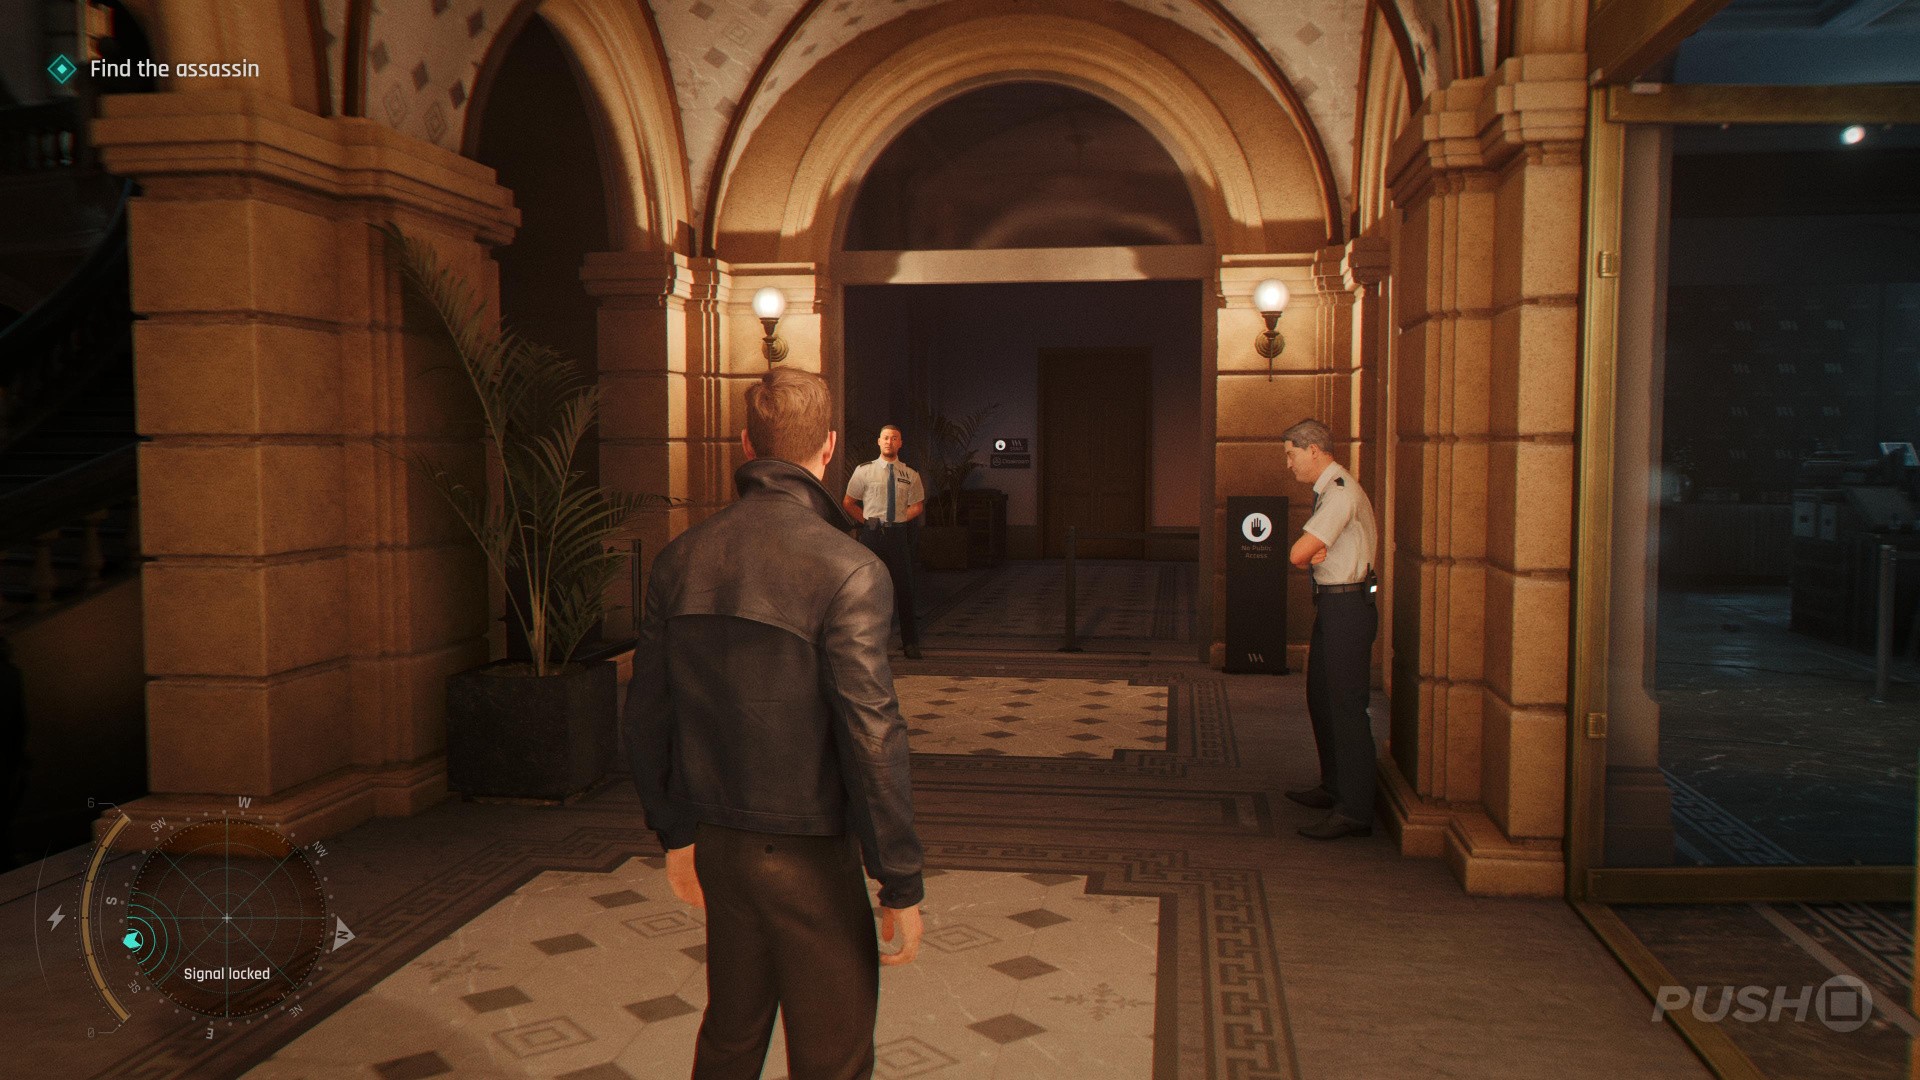
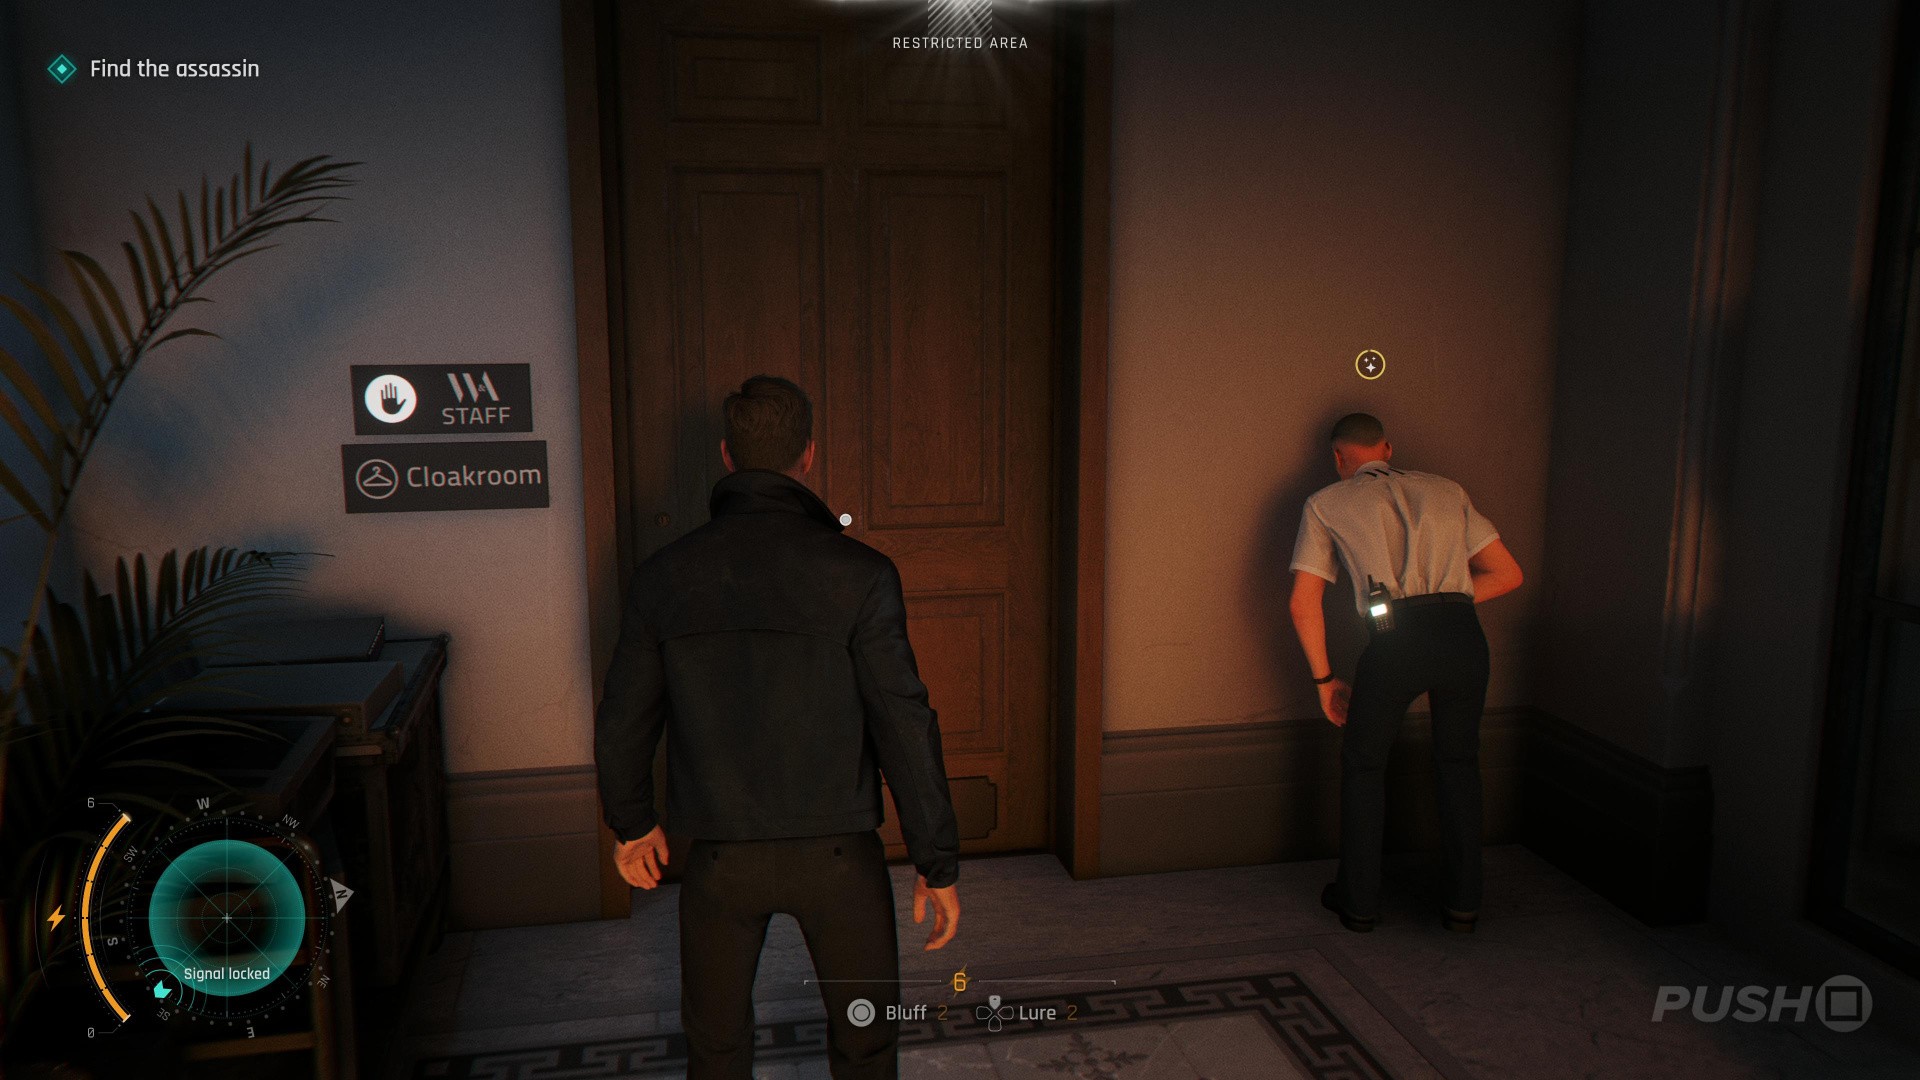
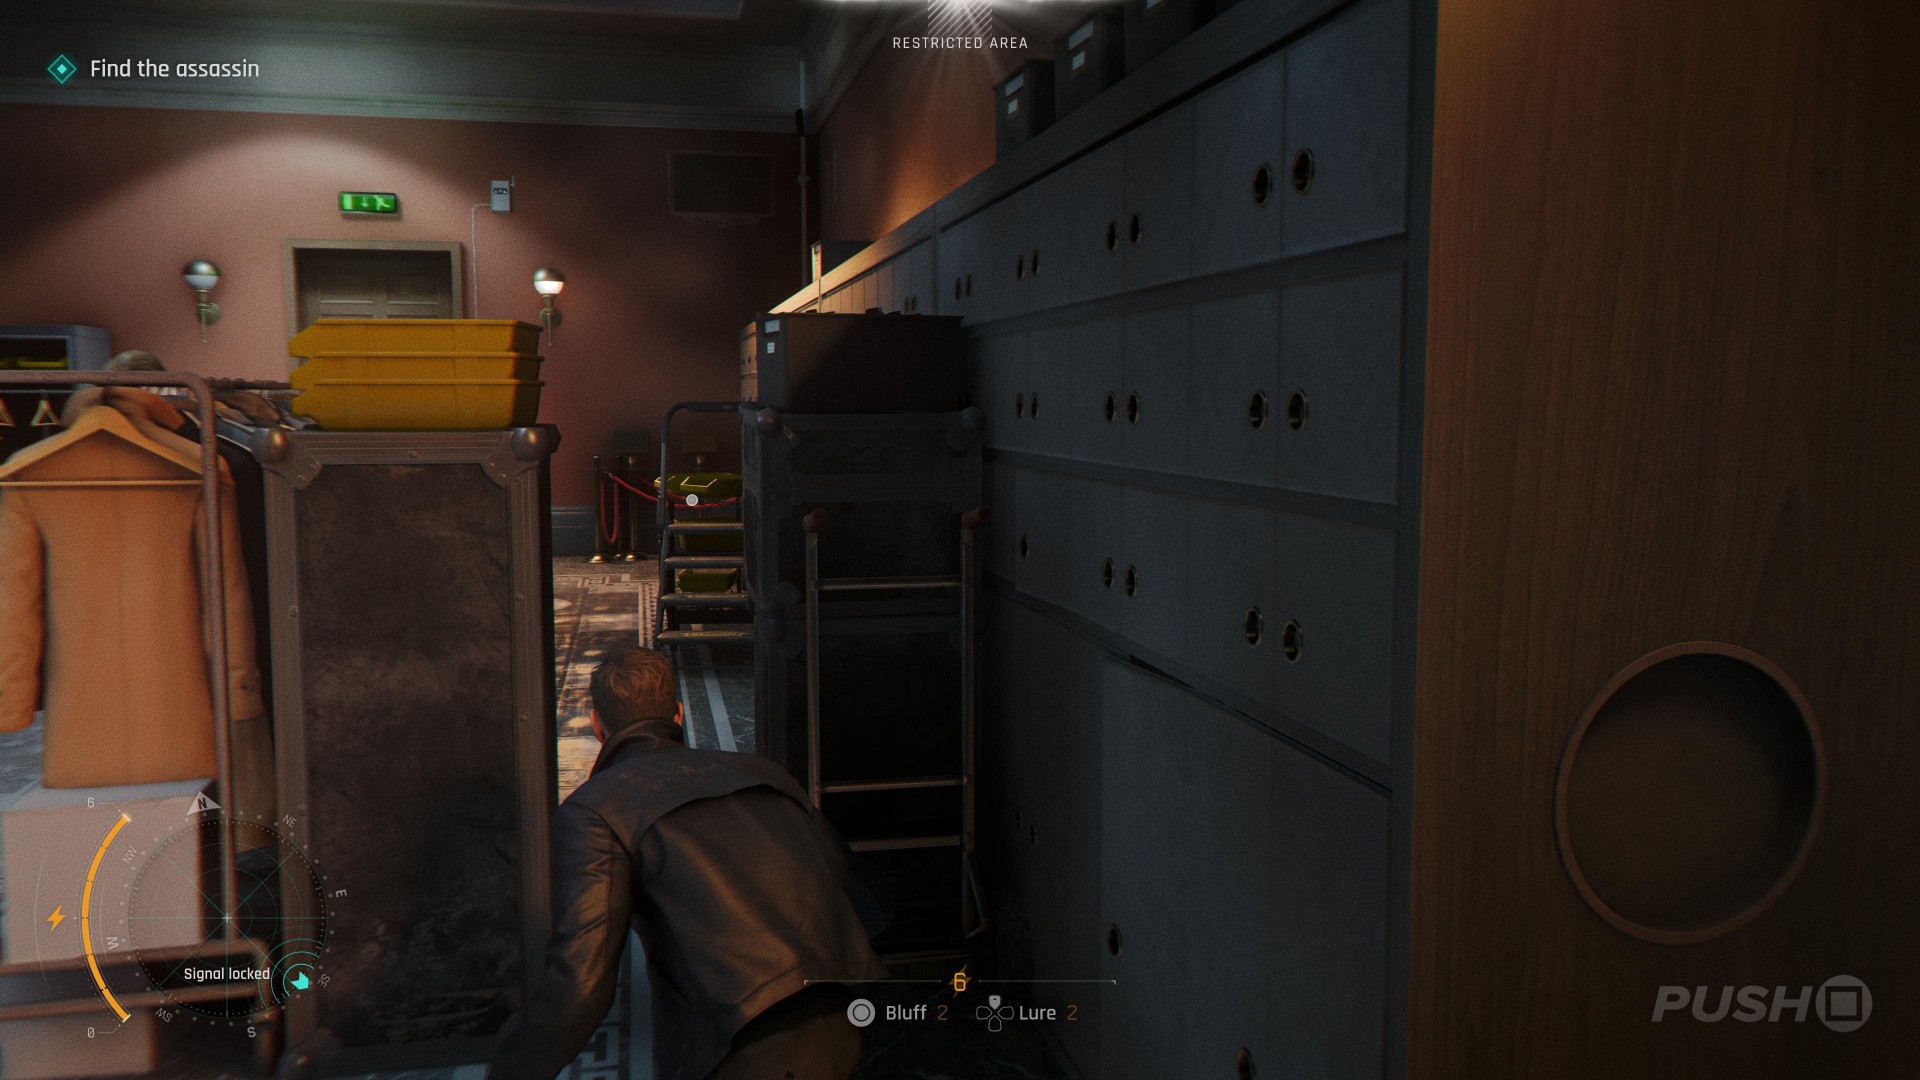
- From the press room, go immediately right to the 'No Public Access' area
- Poison dart the guard standing watch to divert his attention
- Enter the cloakroom and go immediately right, squeezing through the black boxes
- The collectible is on a metal storage next to a step ladder
Card: Ober of Roses
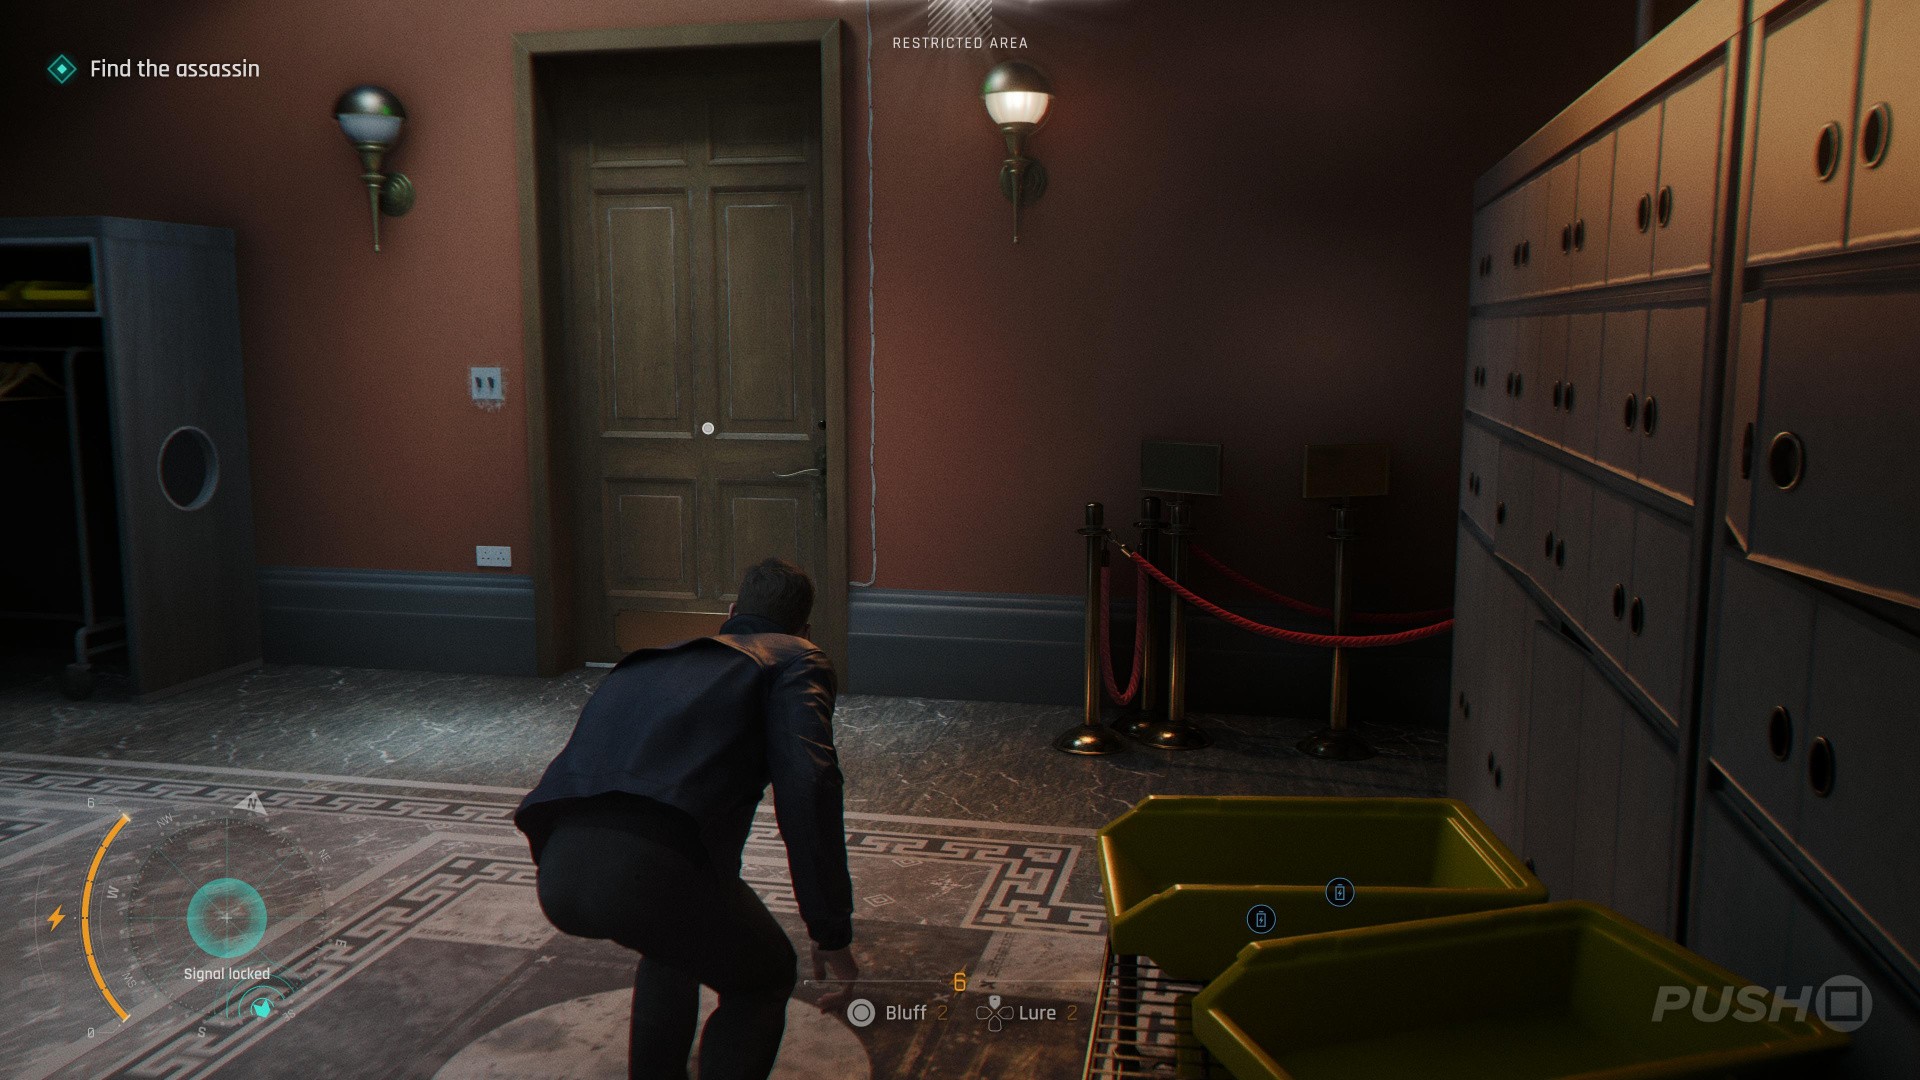
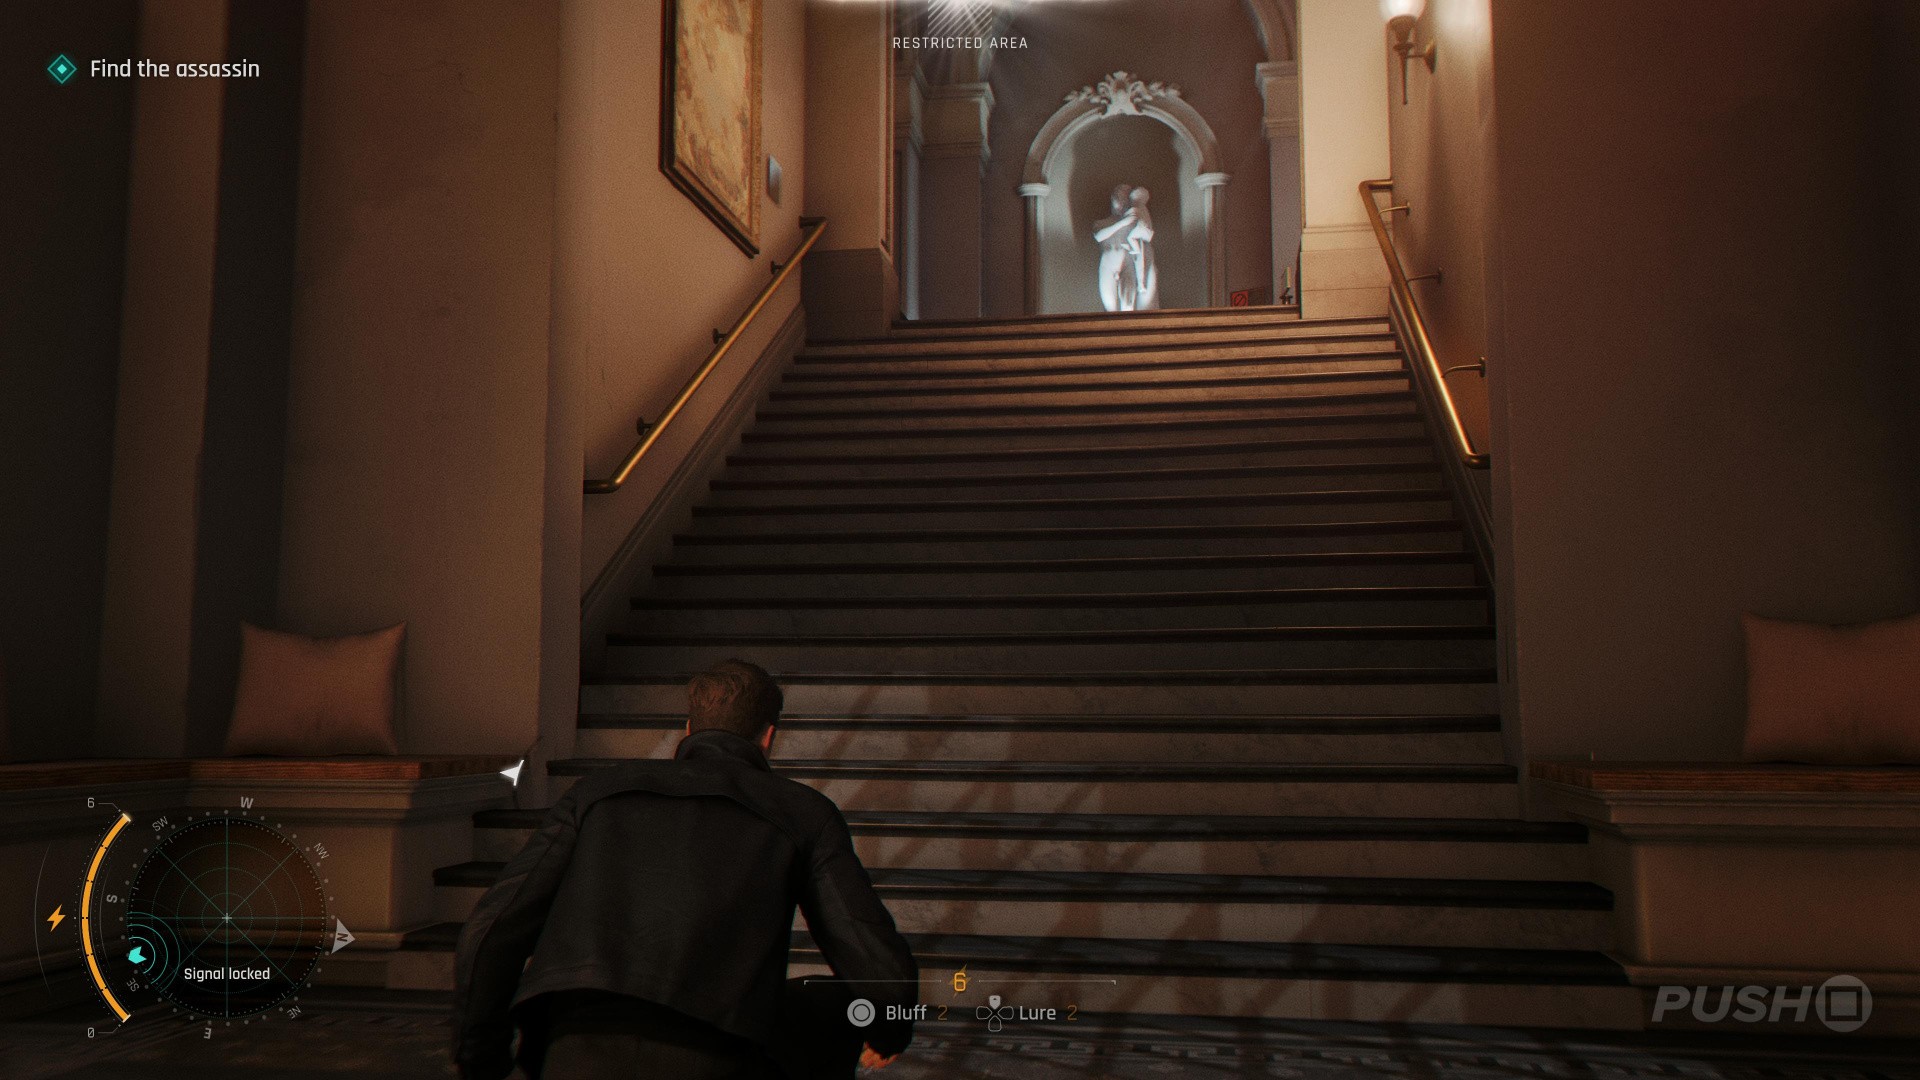
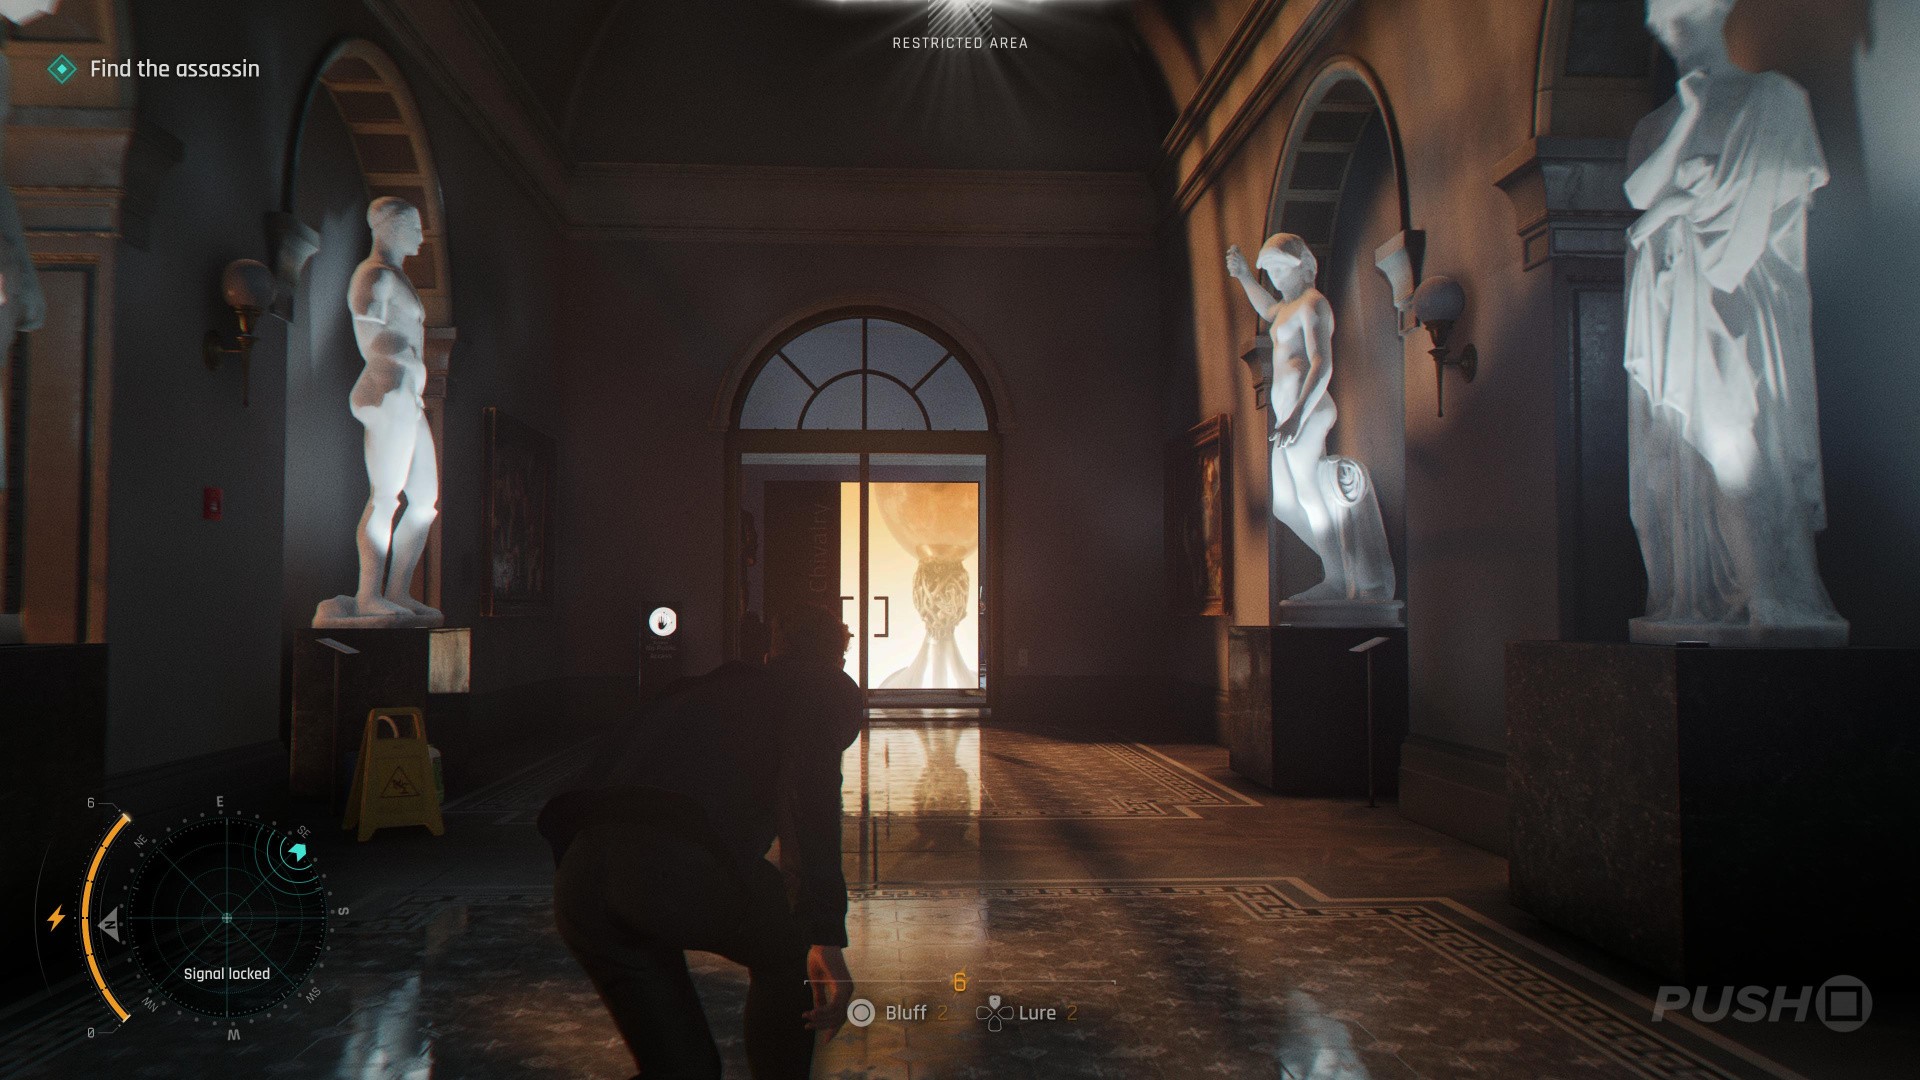
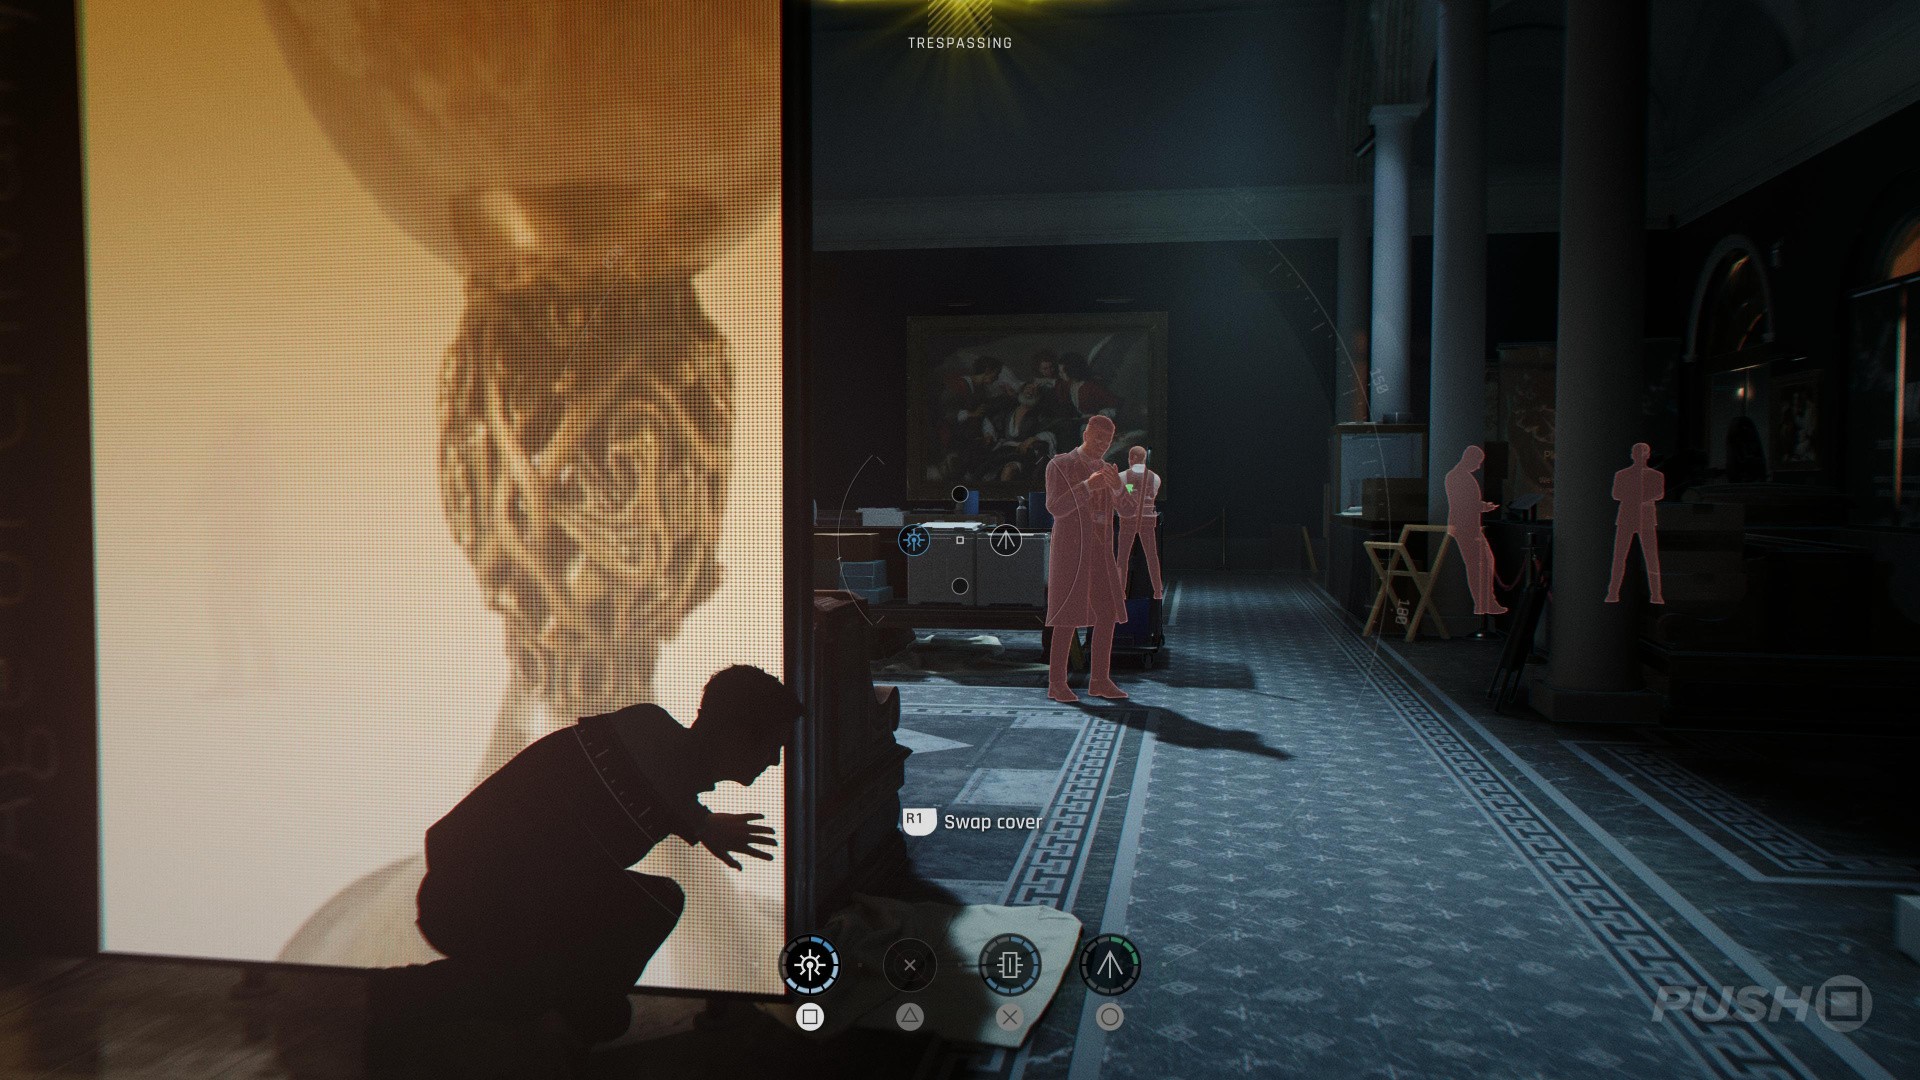
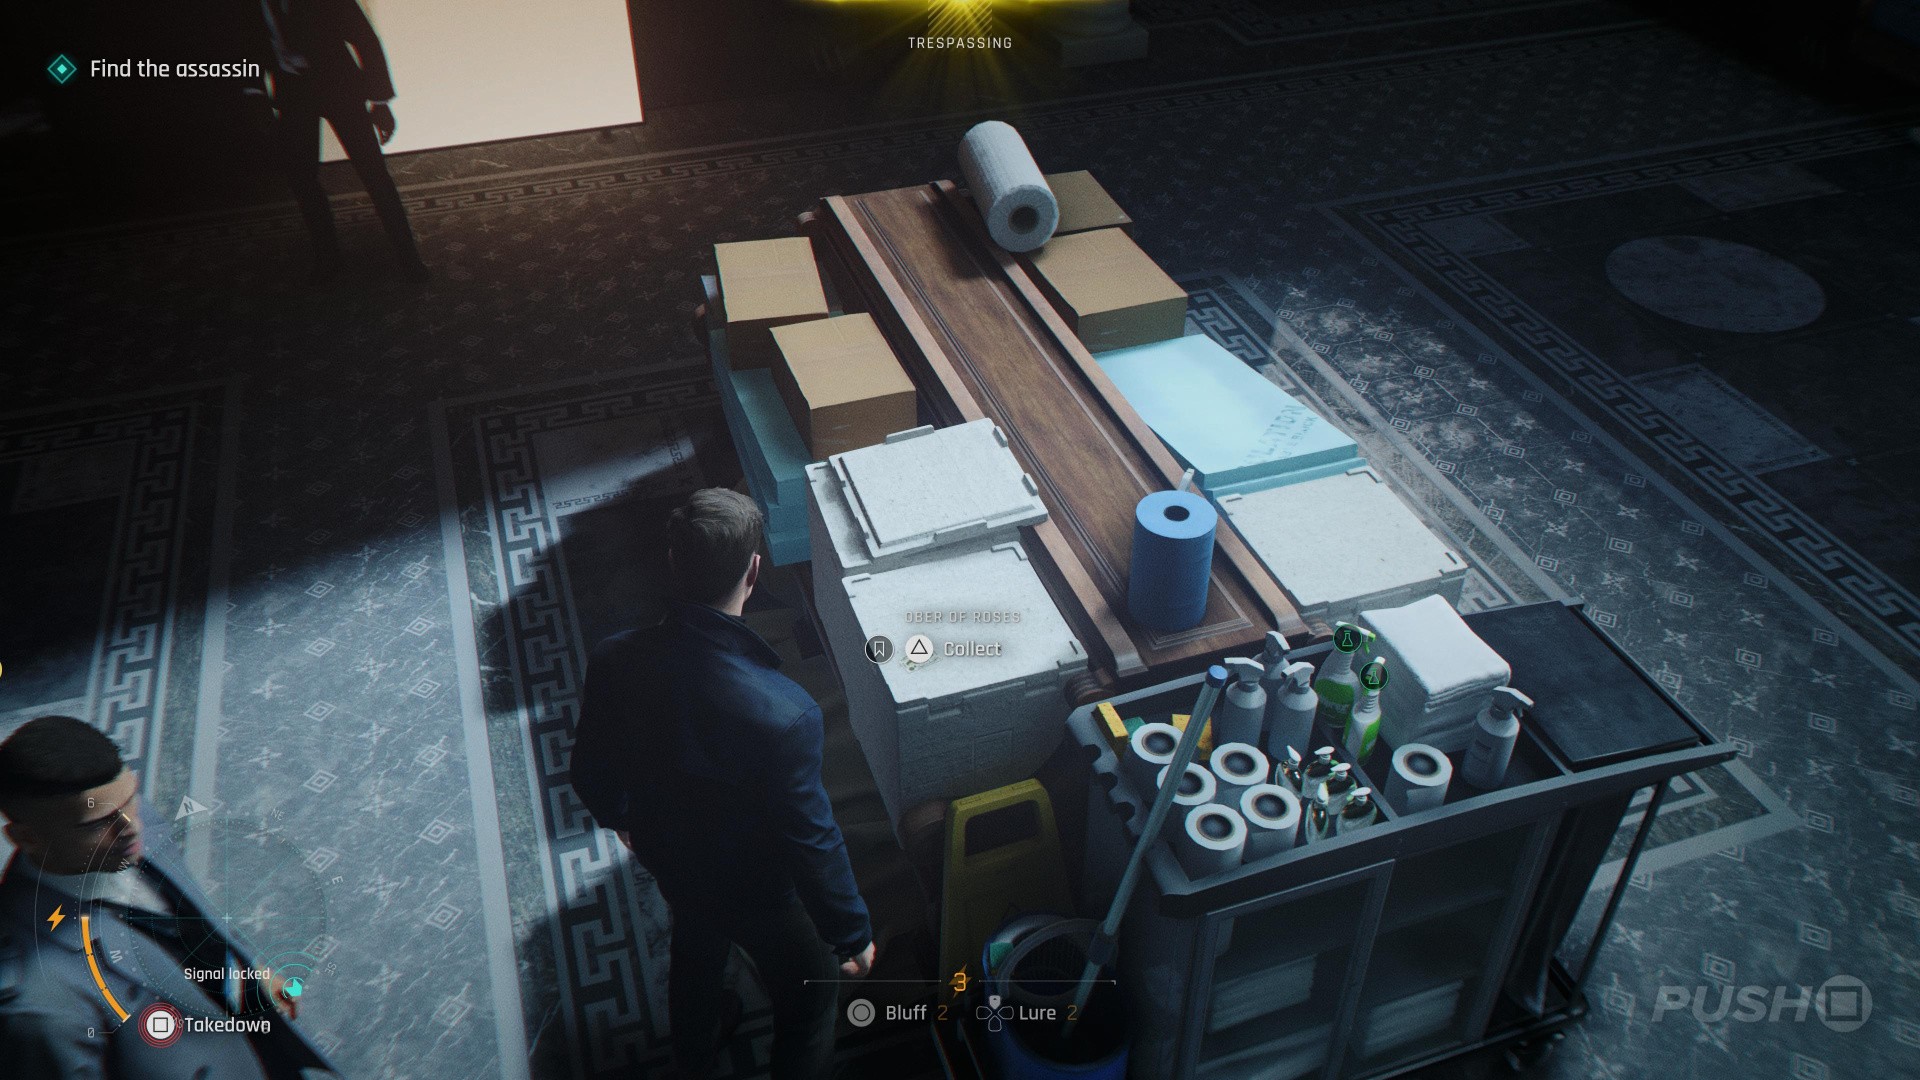
- Immediately after the previous collectible, kick down the door out of the cloakroom
- Go up the stairs to your left and enter the door to the 'Age of Chivalry' museum room
- You can bluff here to temporarily deal with the guards
- The collectible is on a white box in the middle of the room
Intel: Security Notice
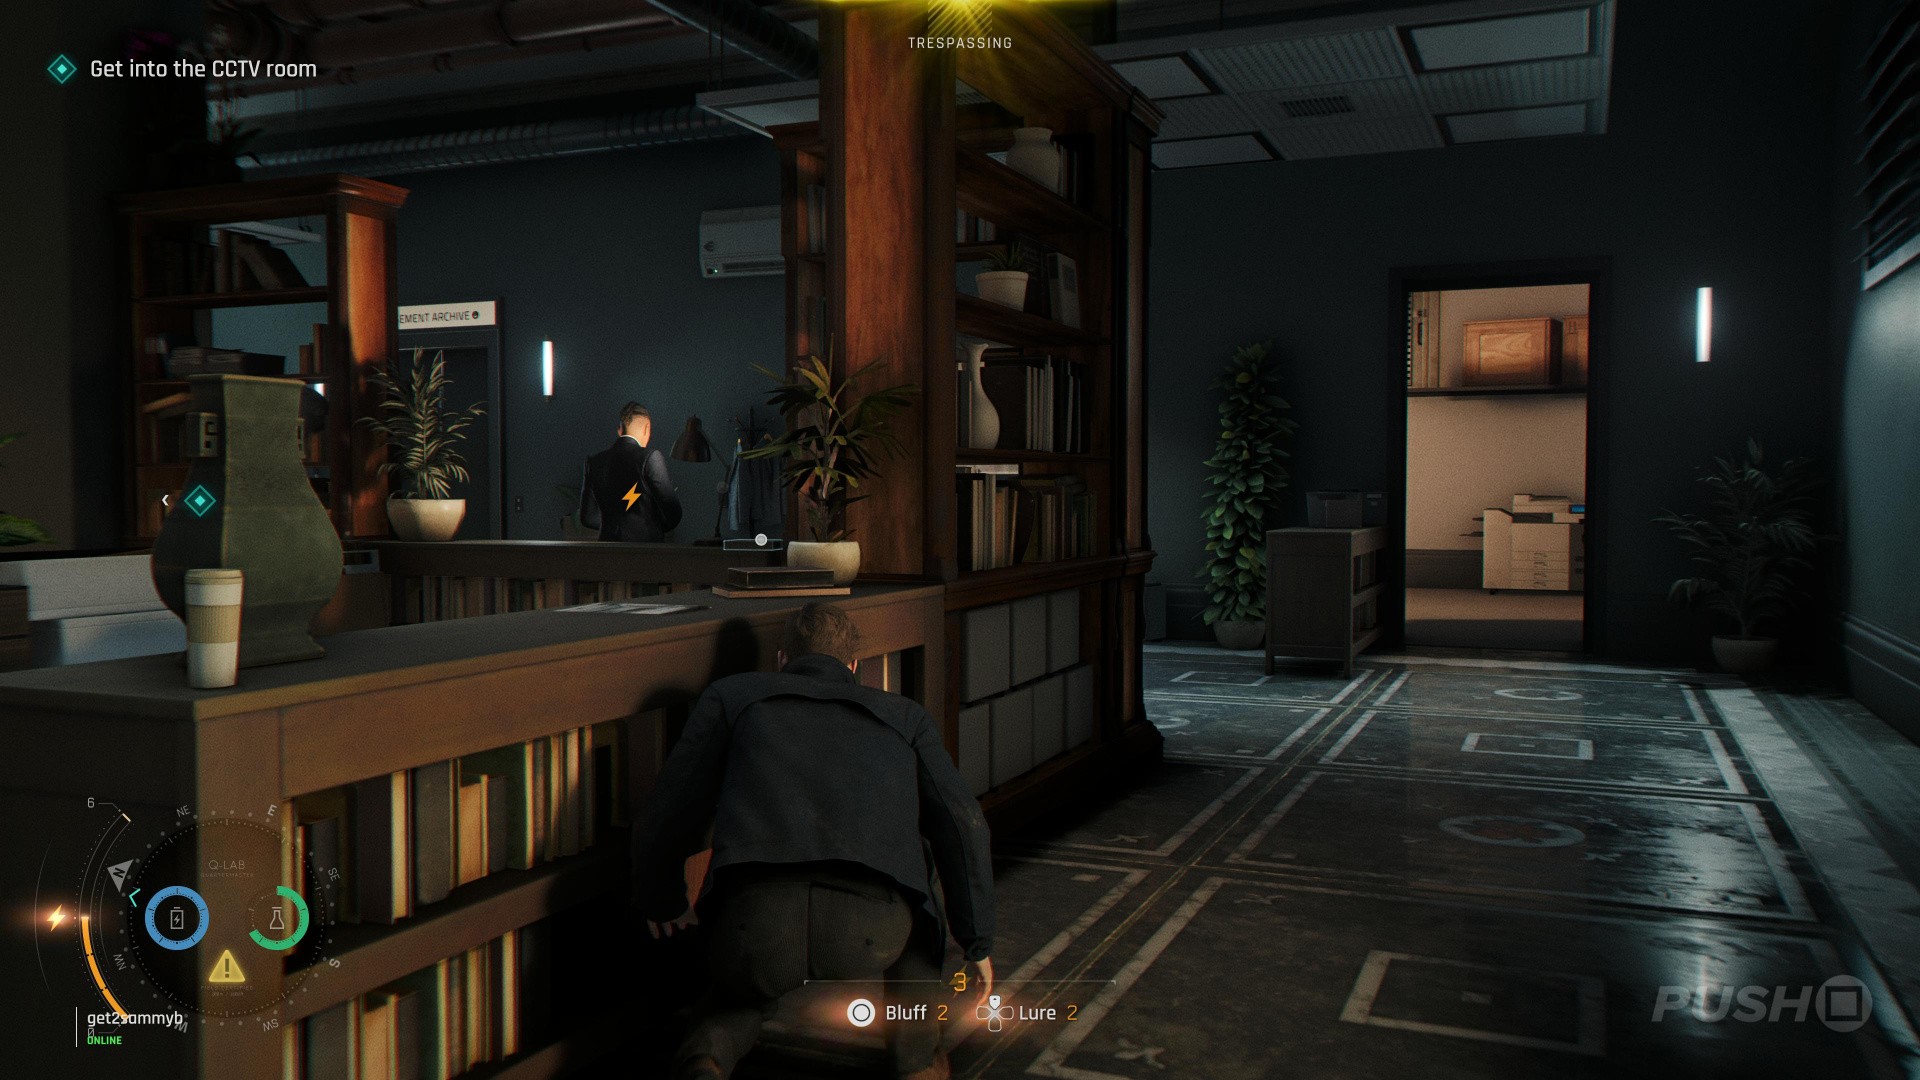
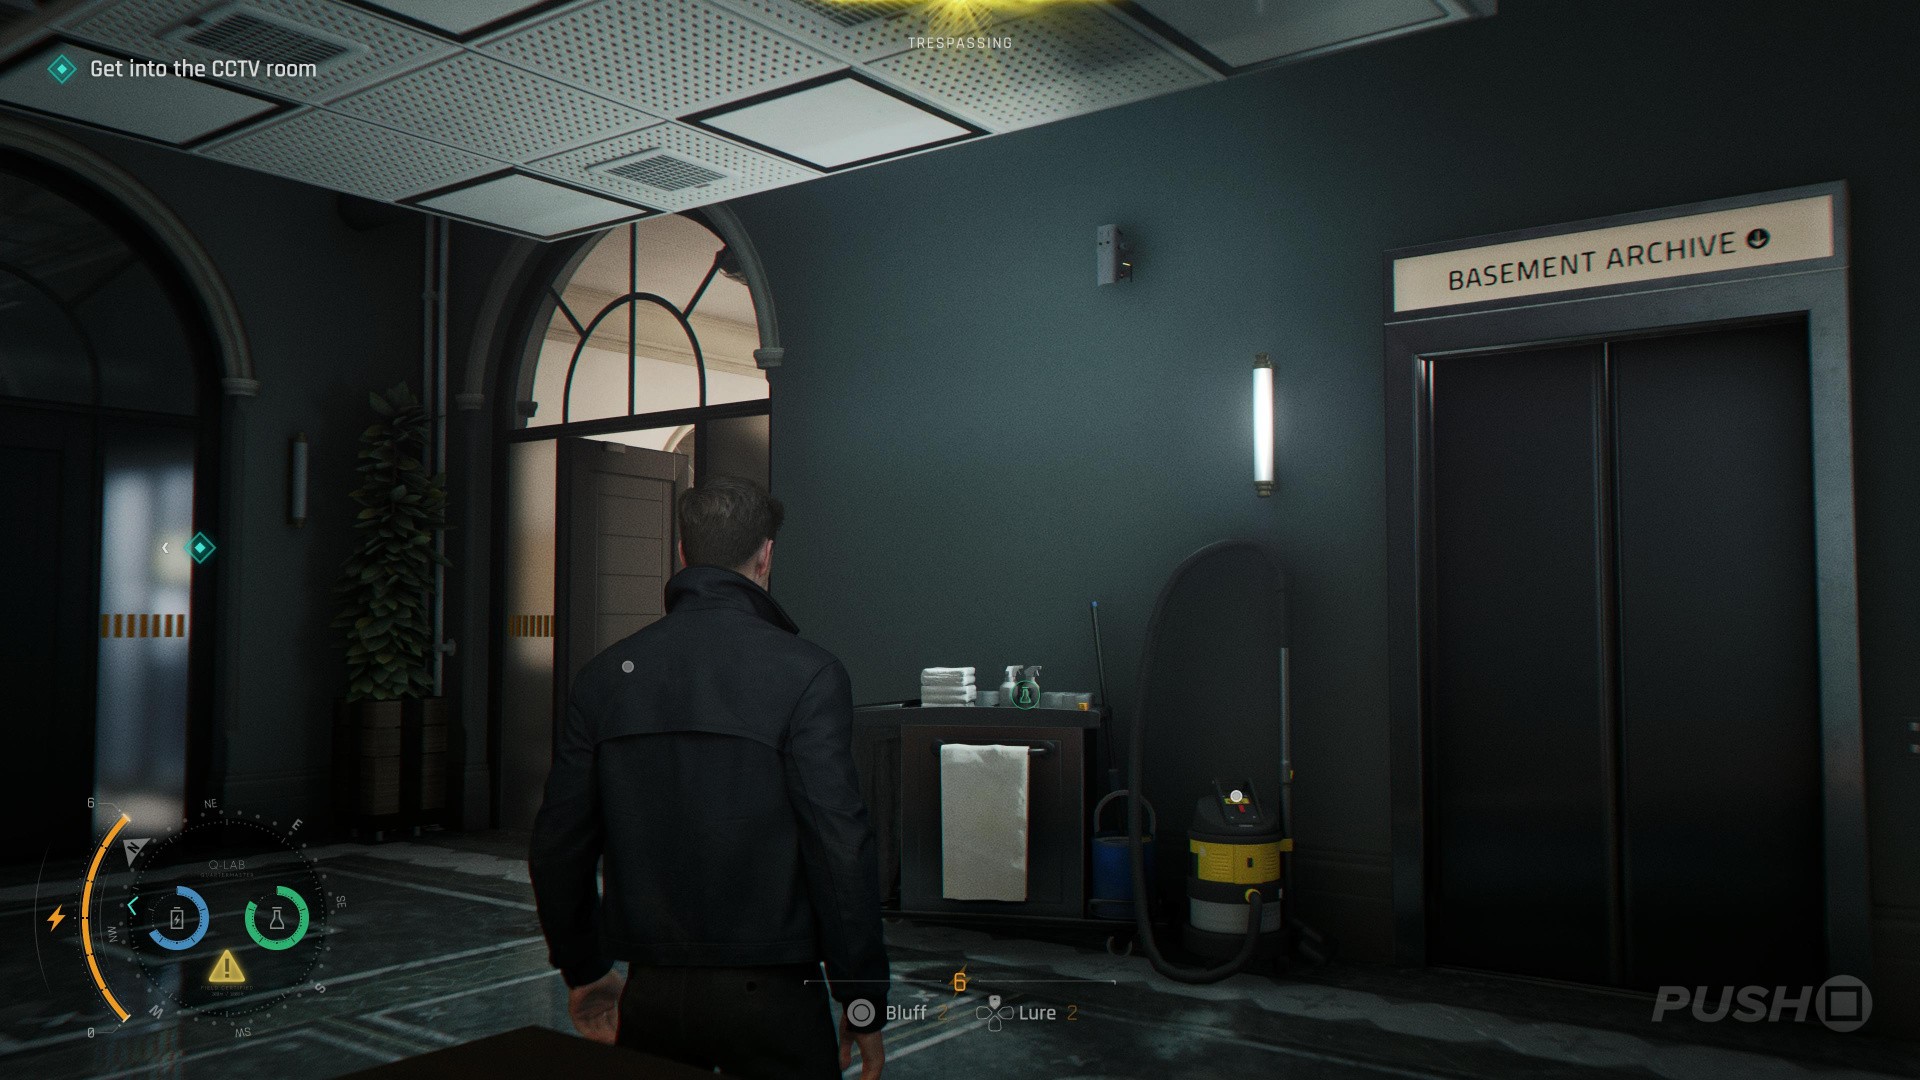
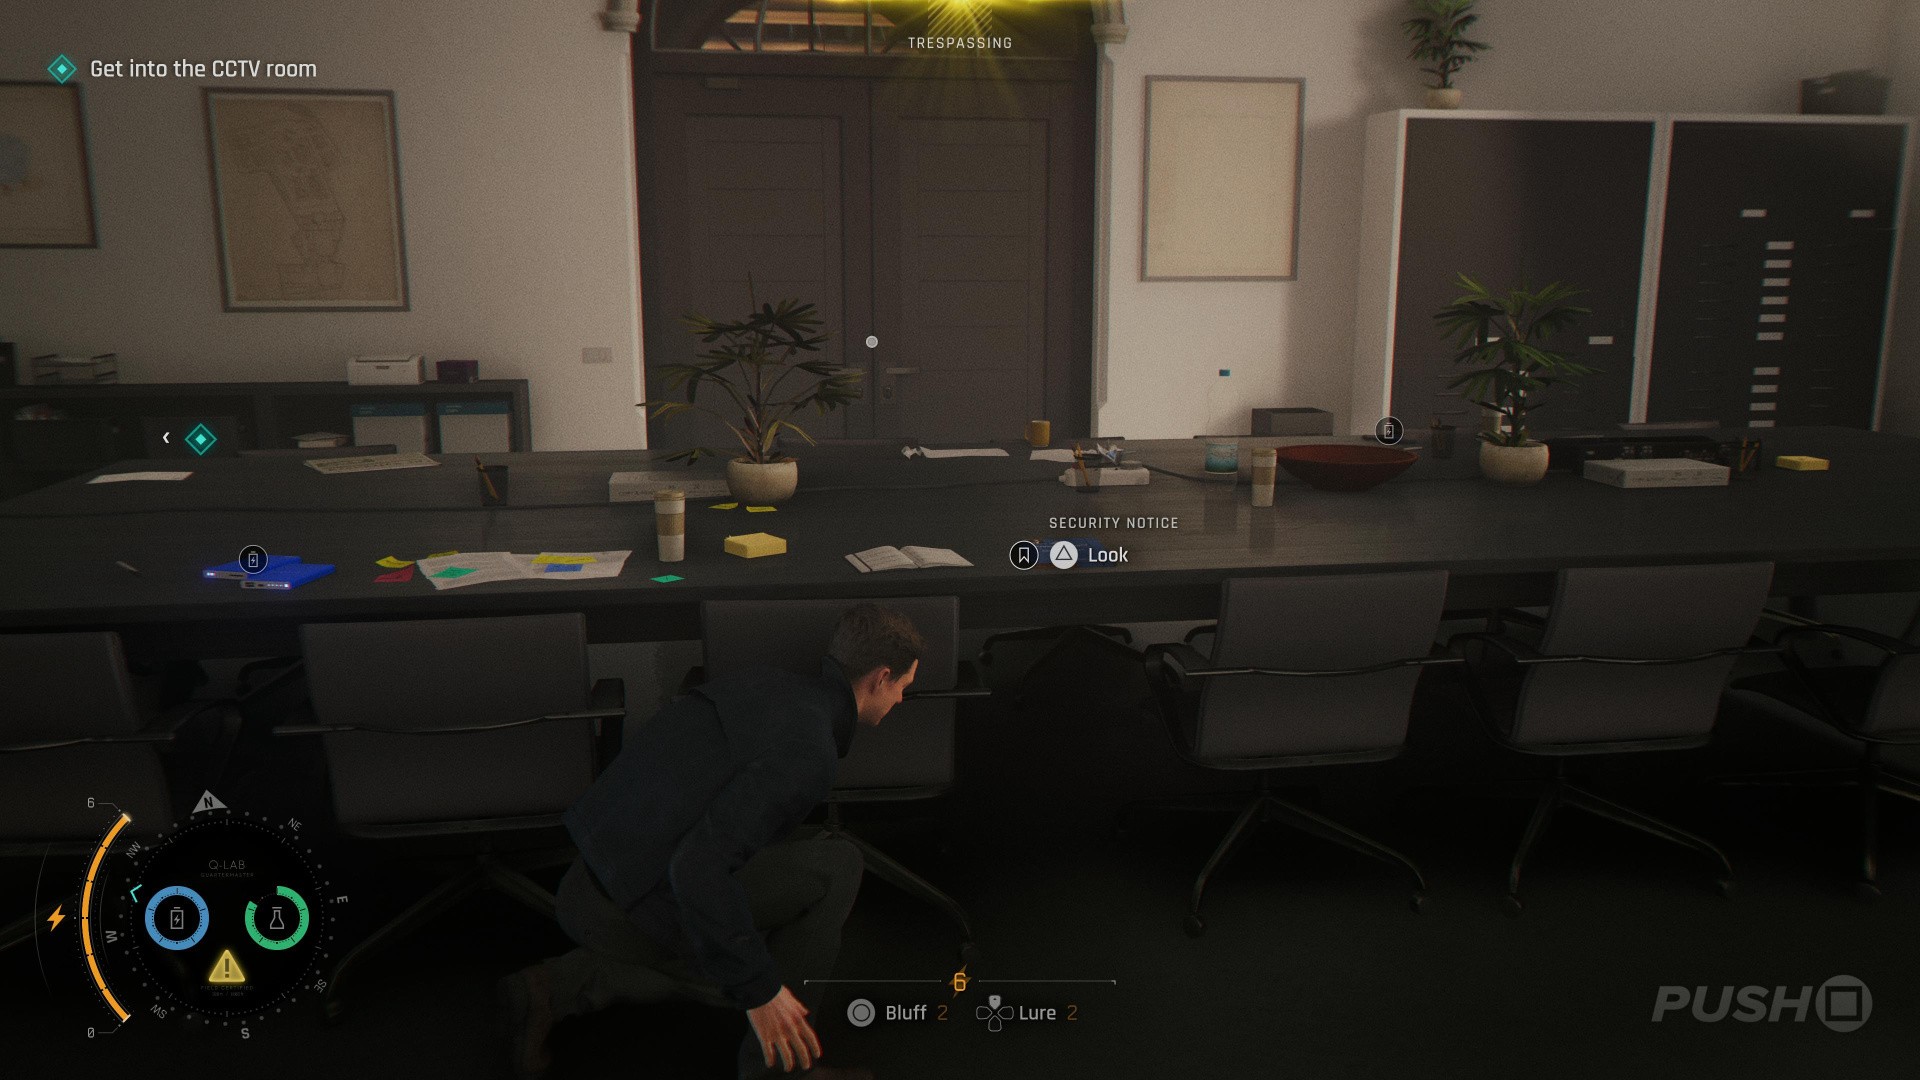
- Once you enter the security room on the second floor, sneak right
- Distract the guard swiping Tinder and disable the security camera
- Go inside the room at the back-right, next to the Basement Archives lift
- The collectible is on the middle of the big conference table
Postcard: Kensington Postcard
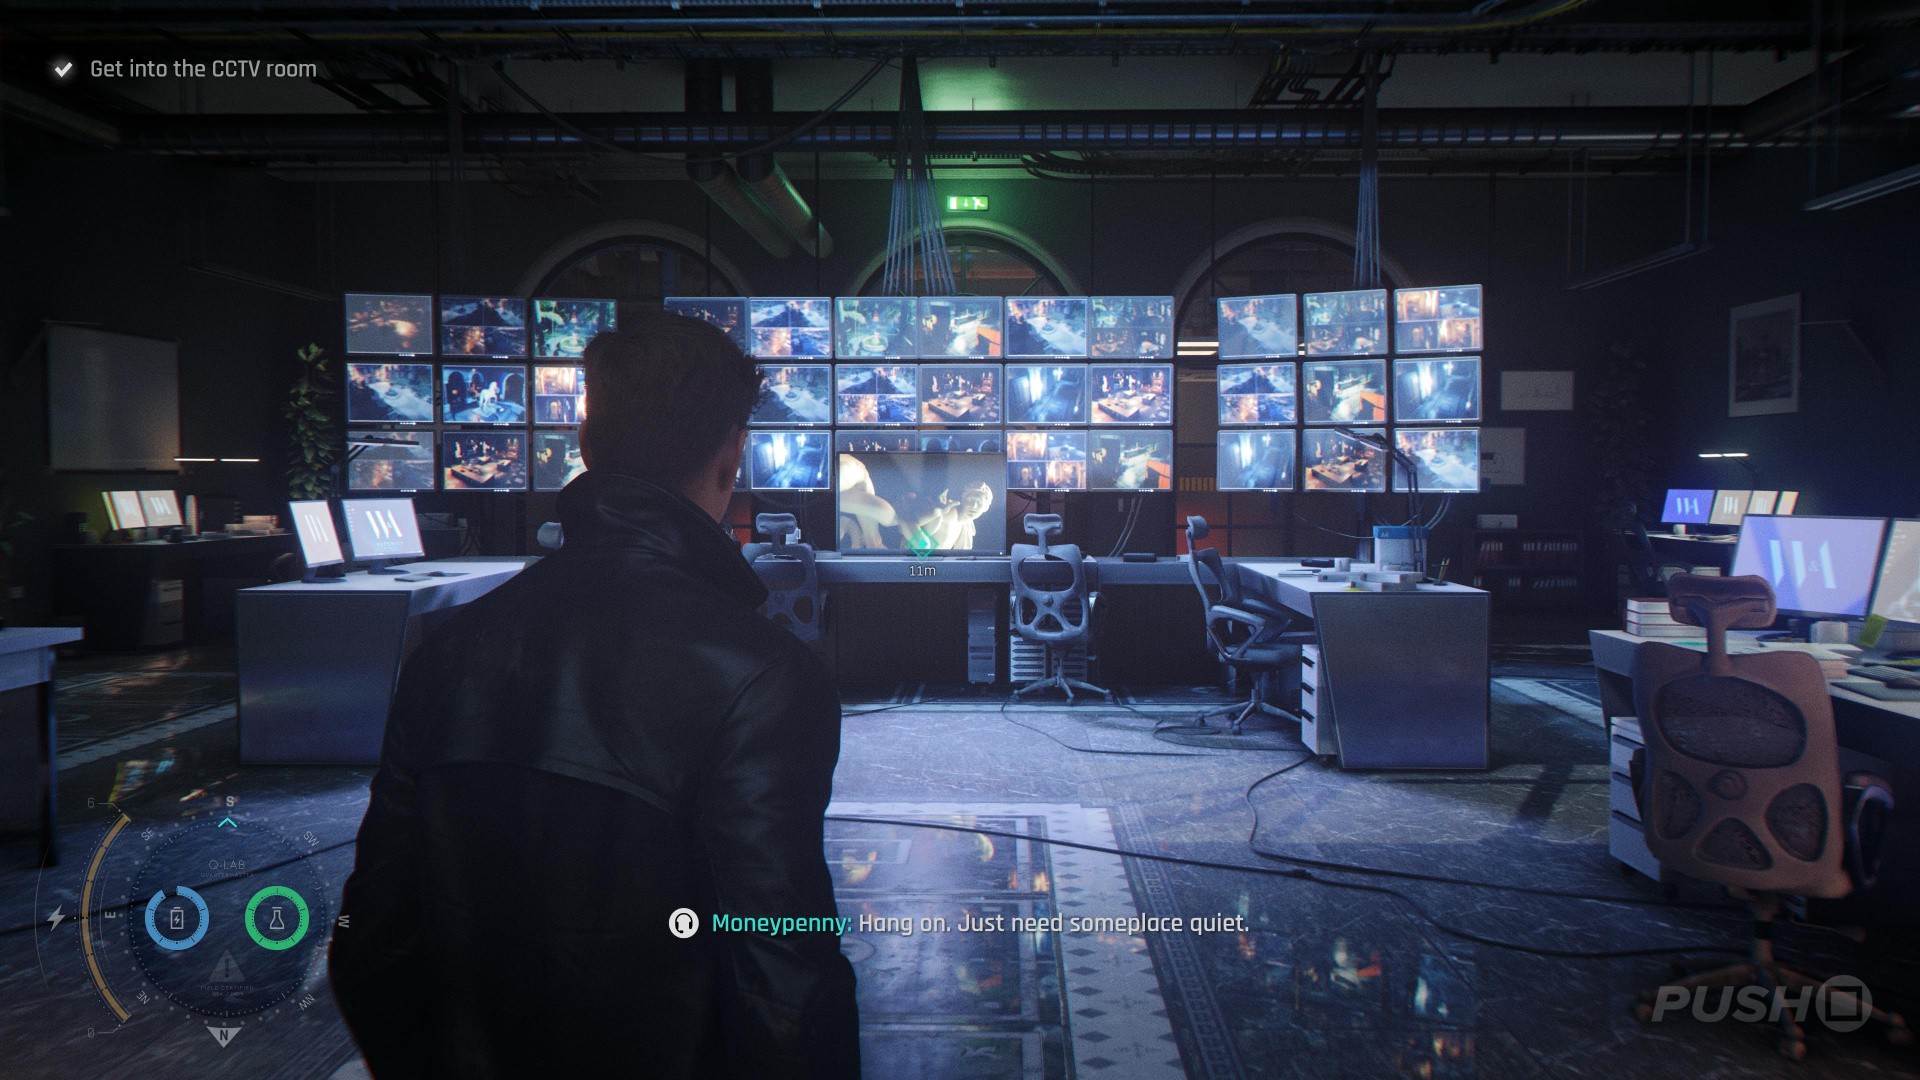
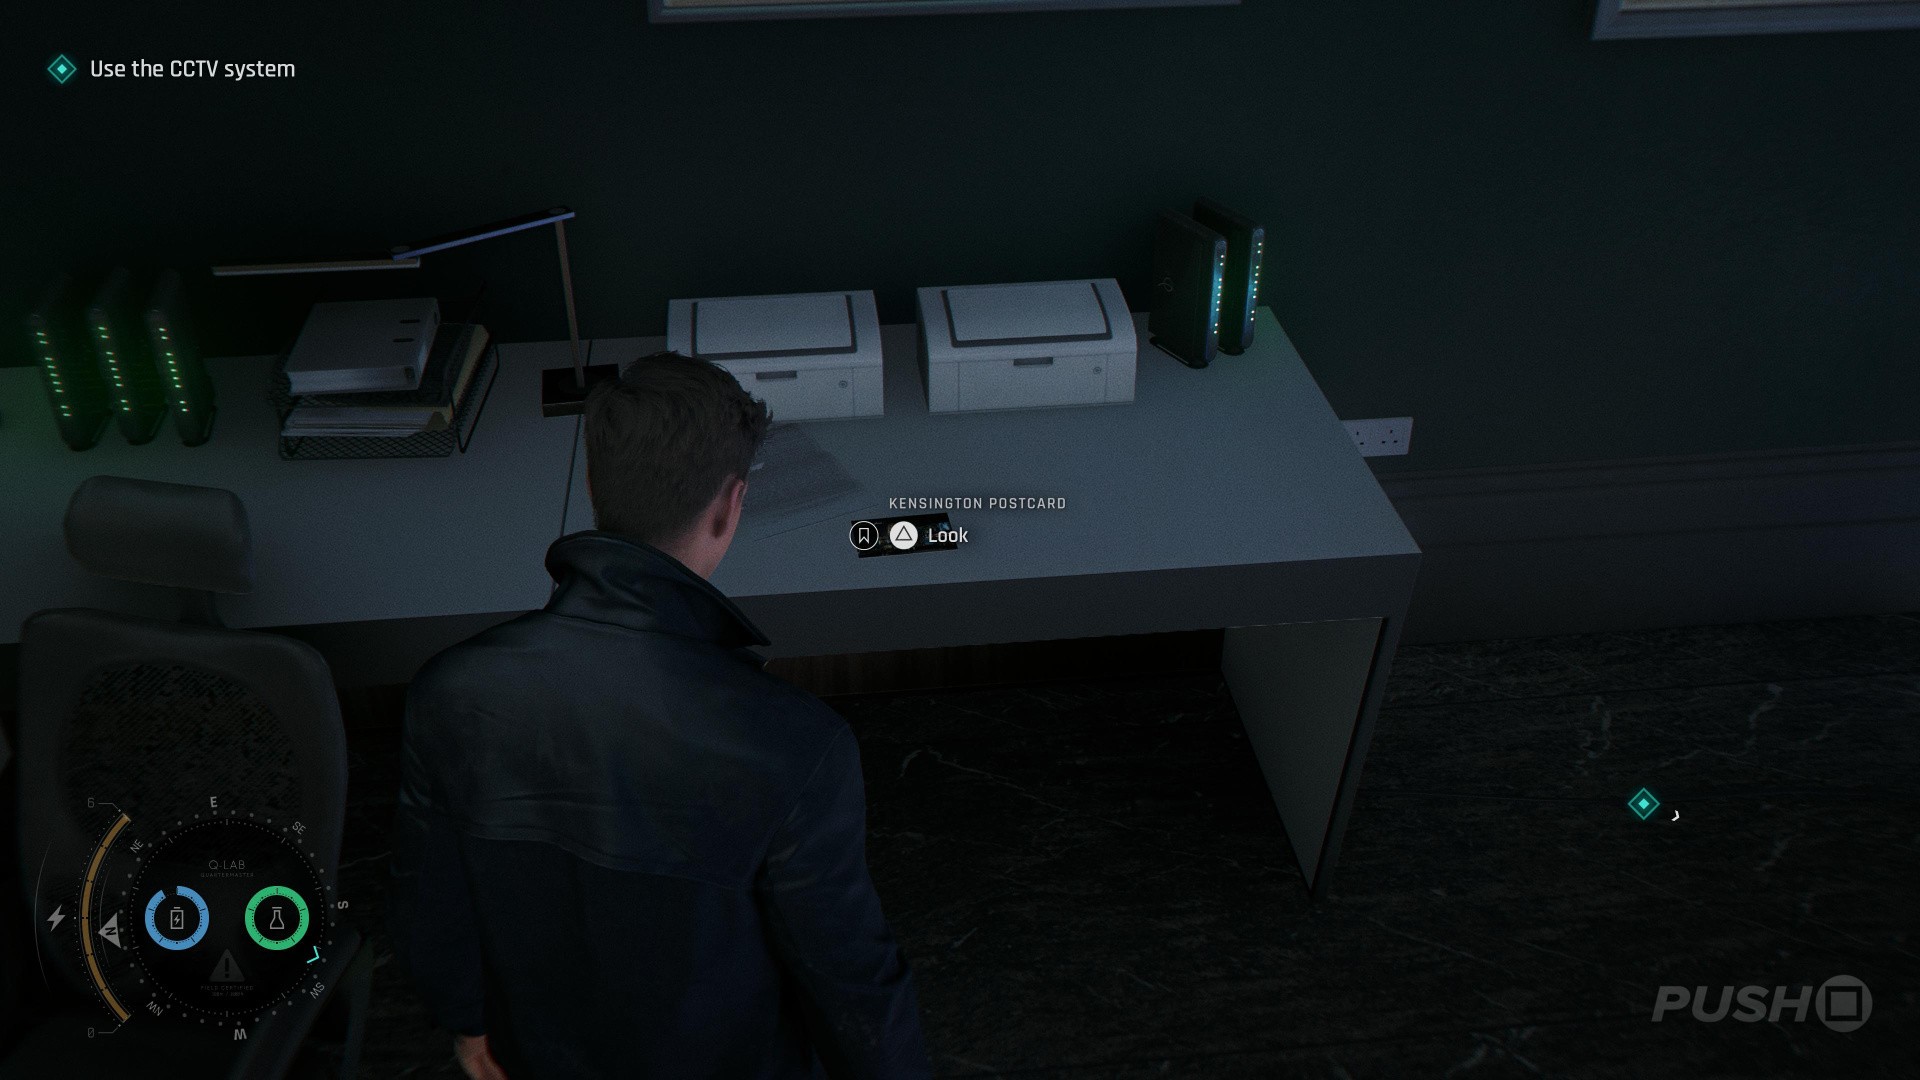
- Upon gaining access to the CCTV room, on the table to your immediate left
Memento: Tero Murto Locket
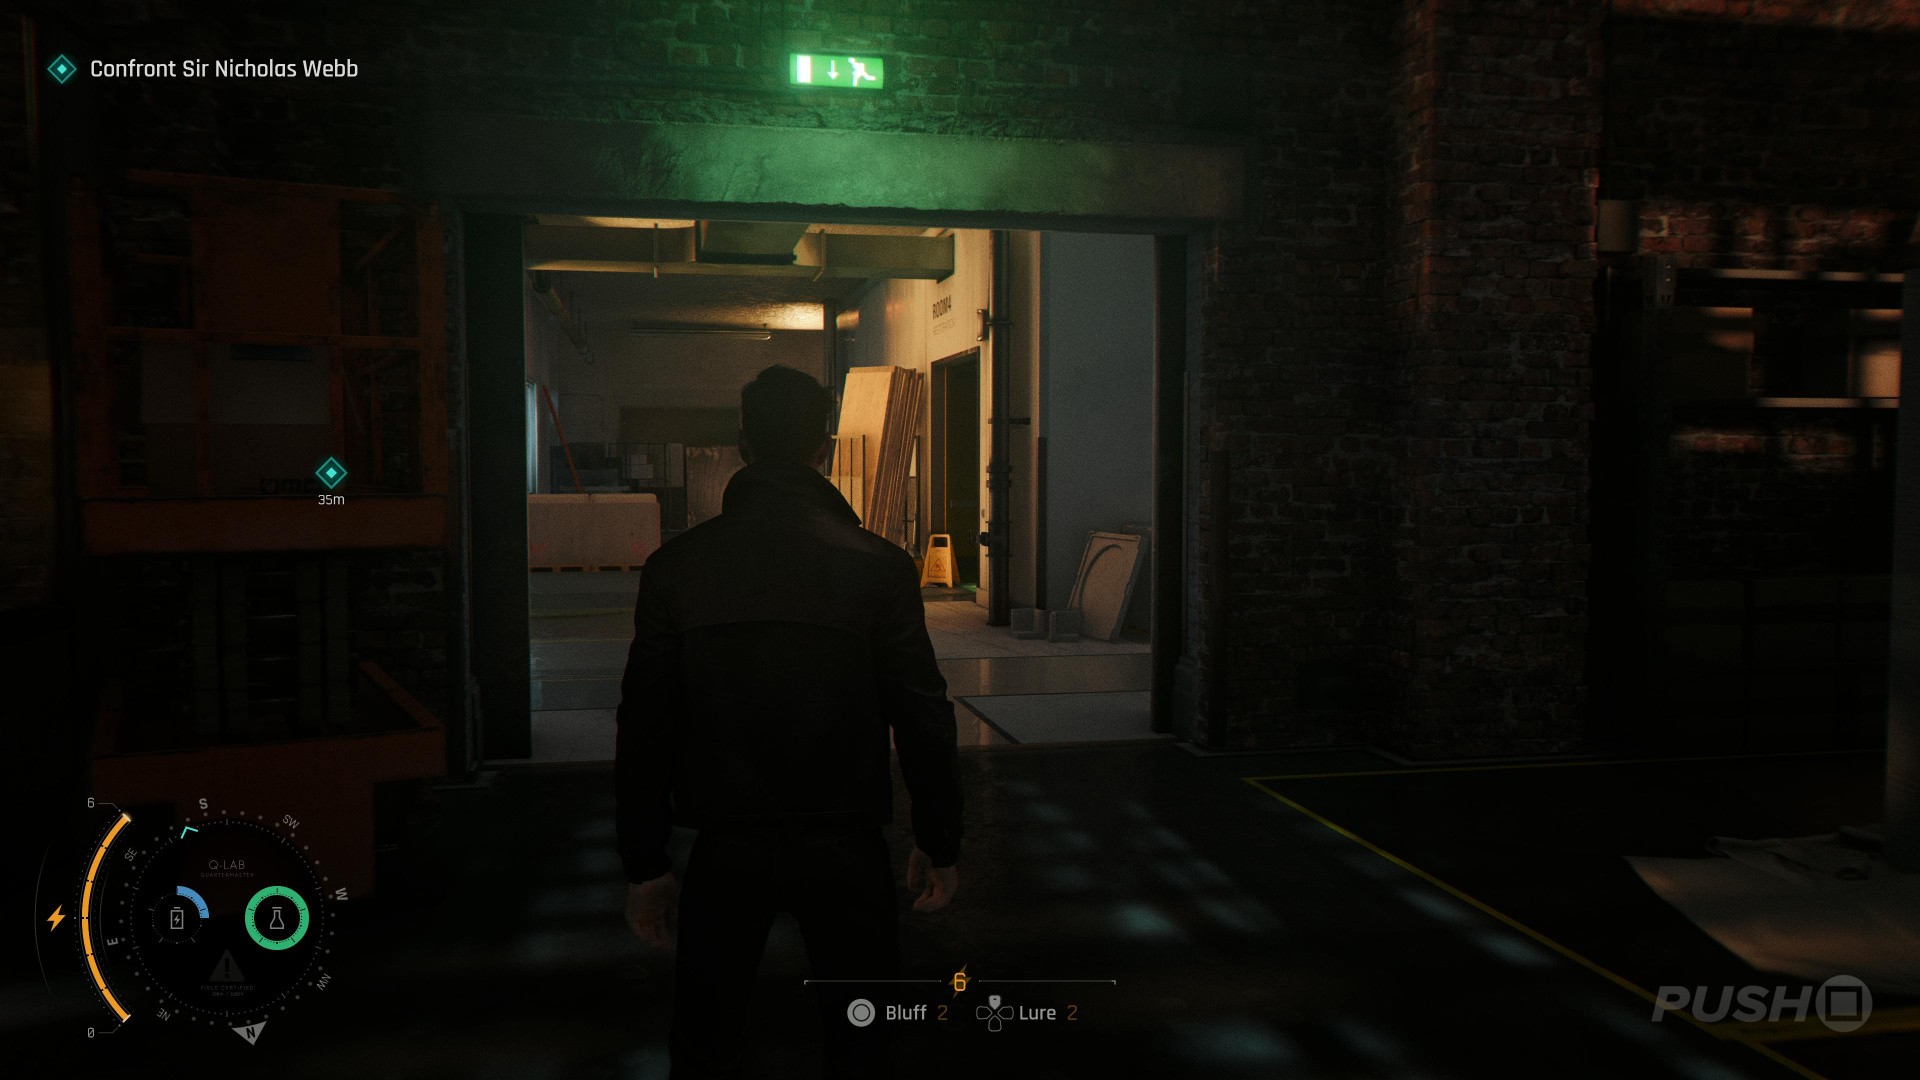
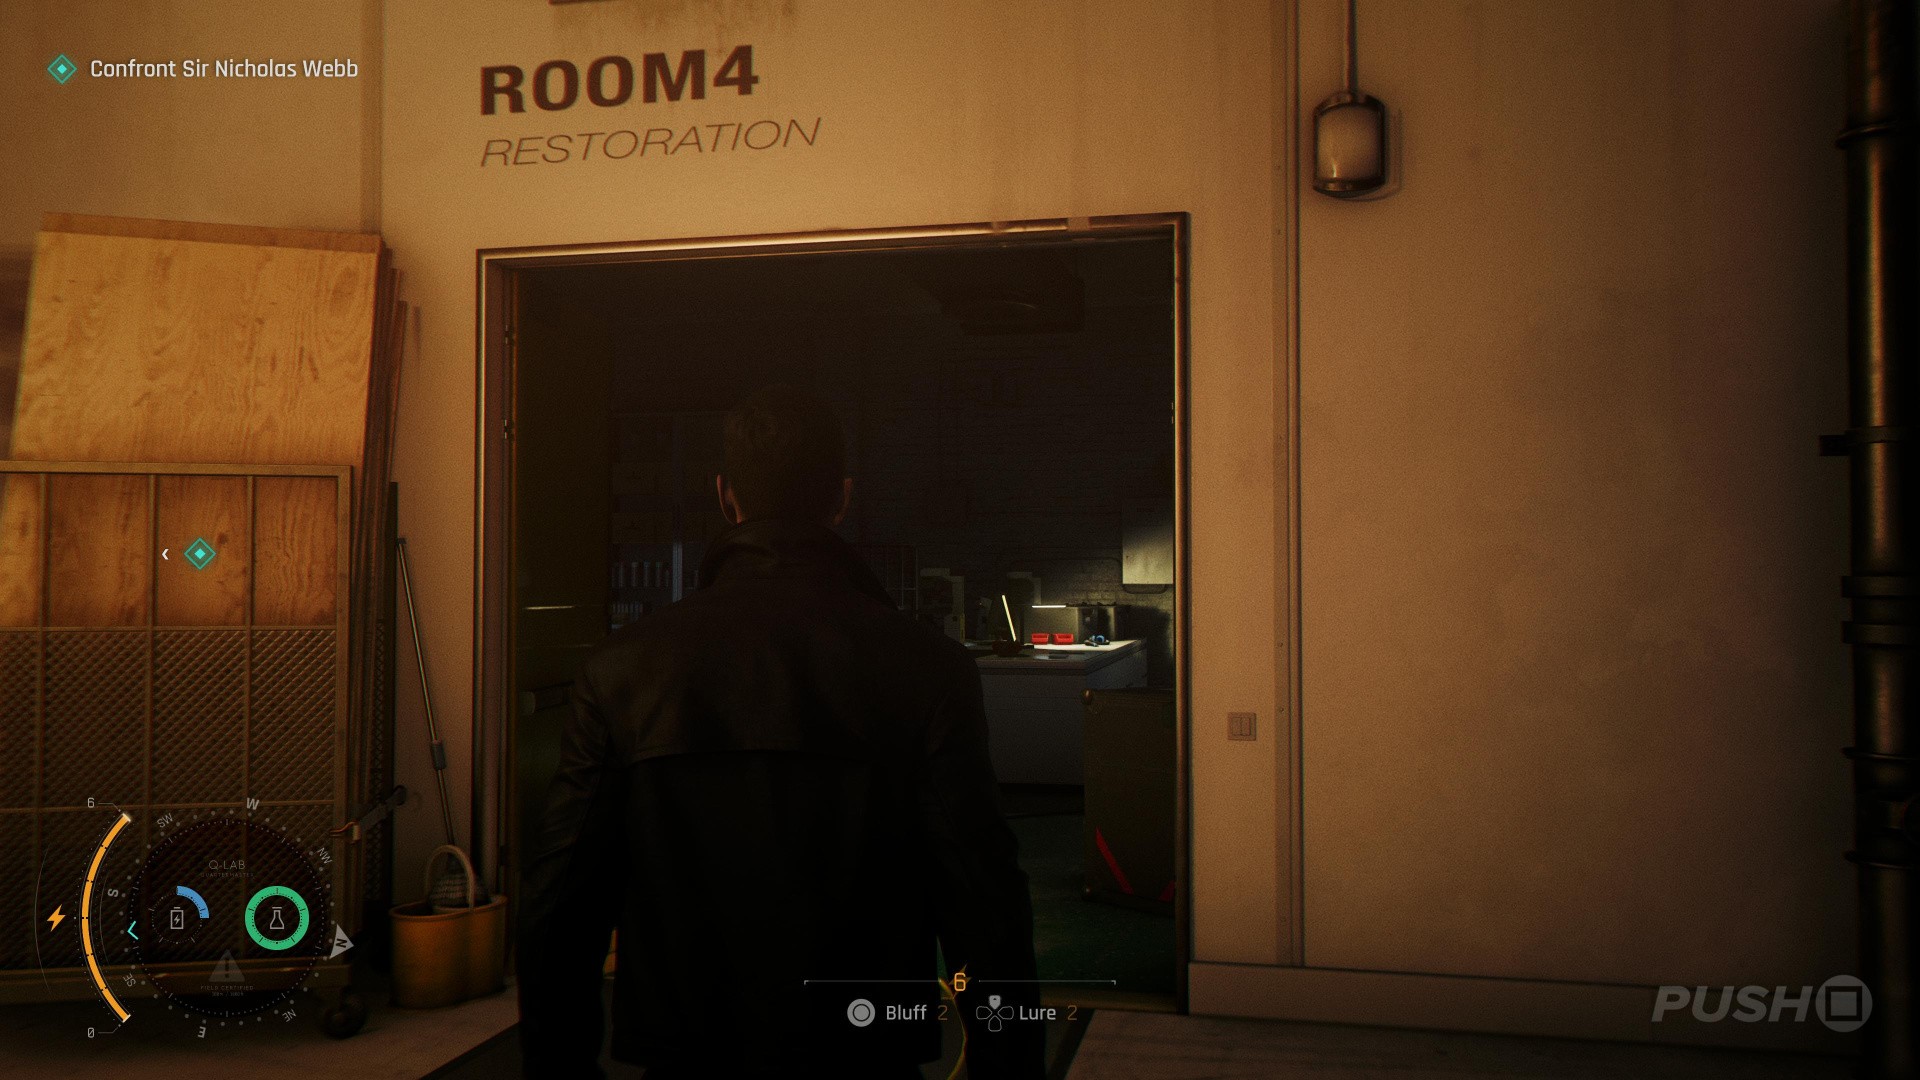
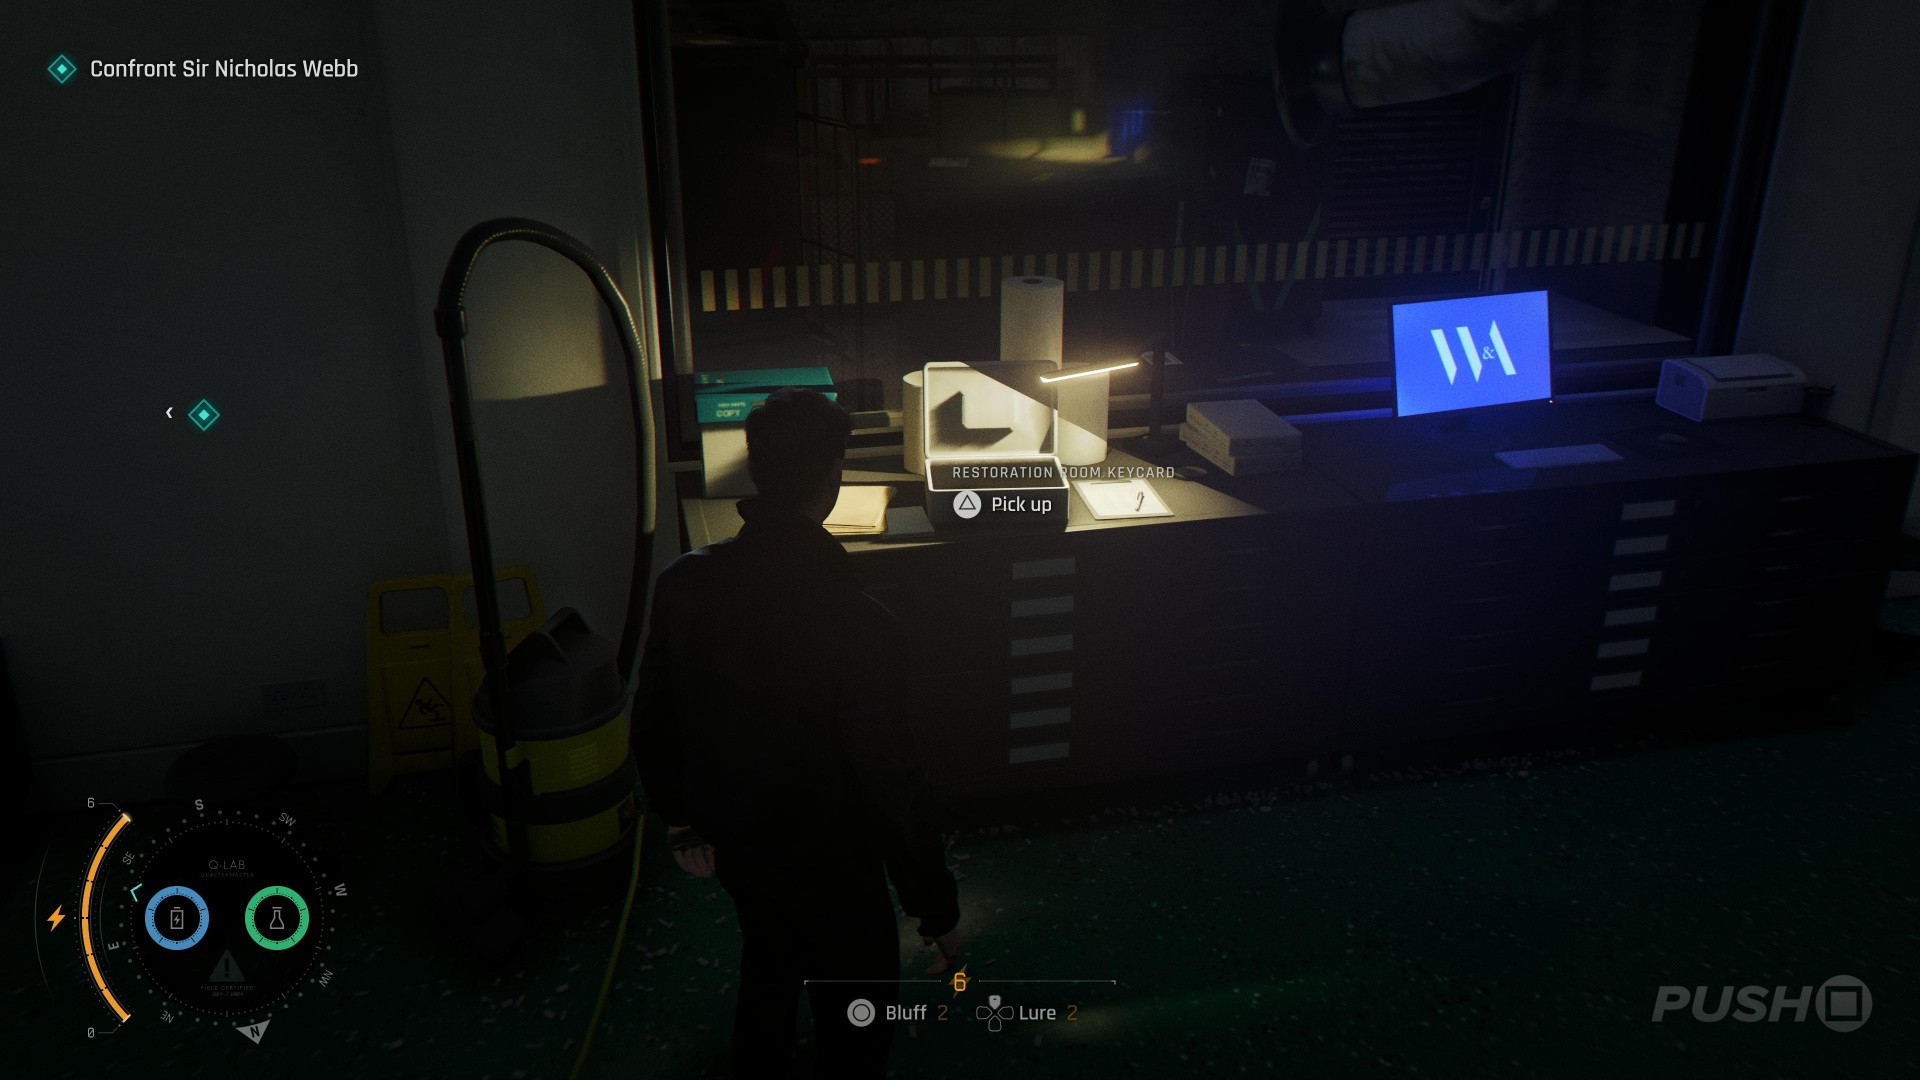
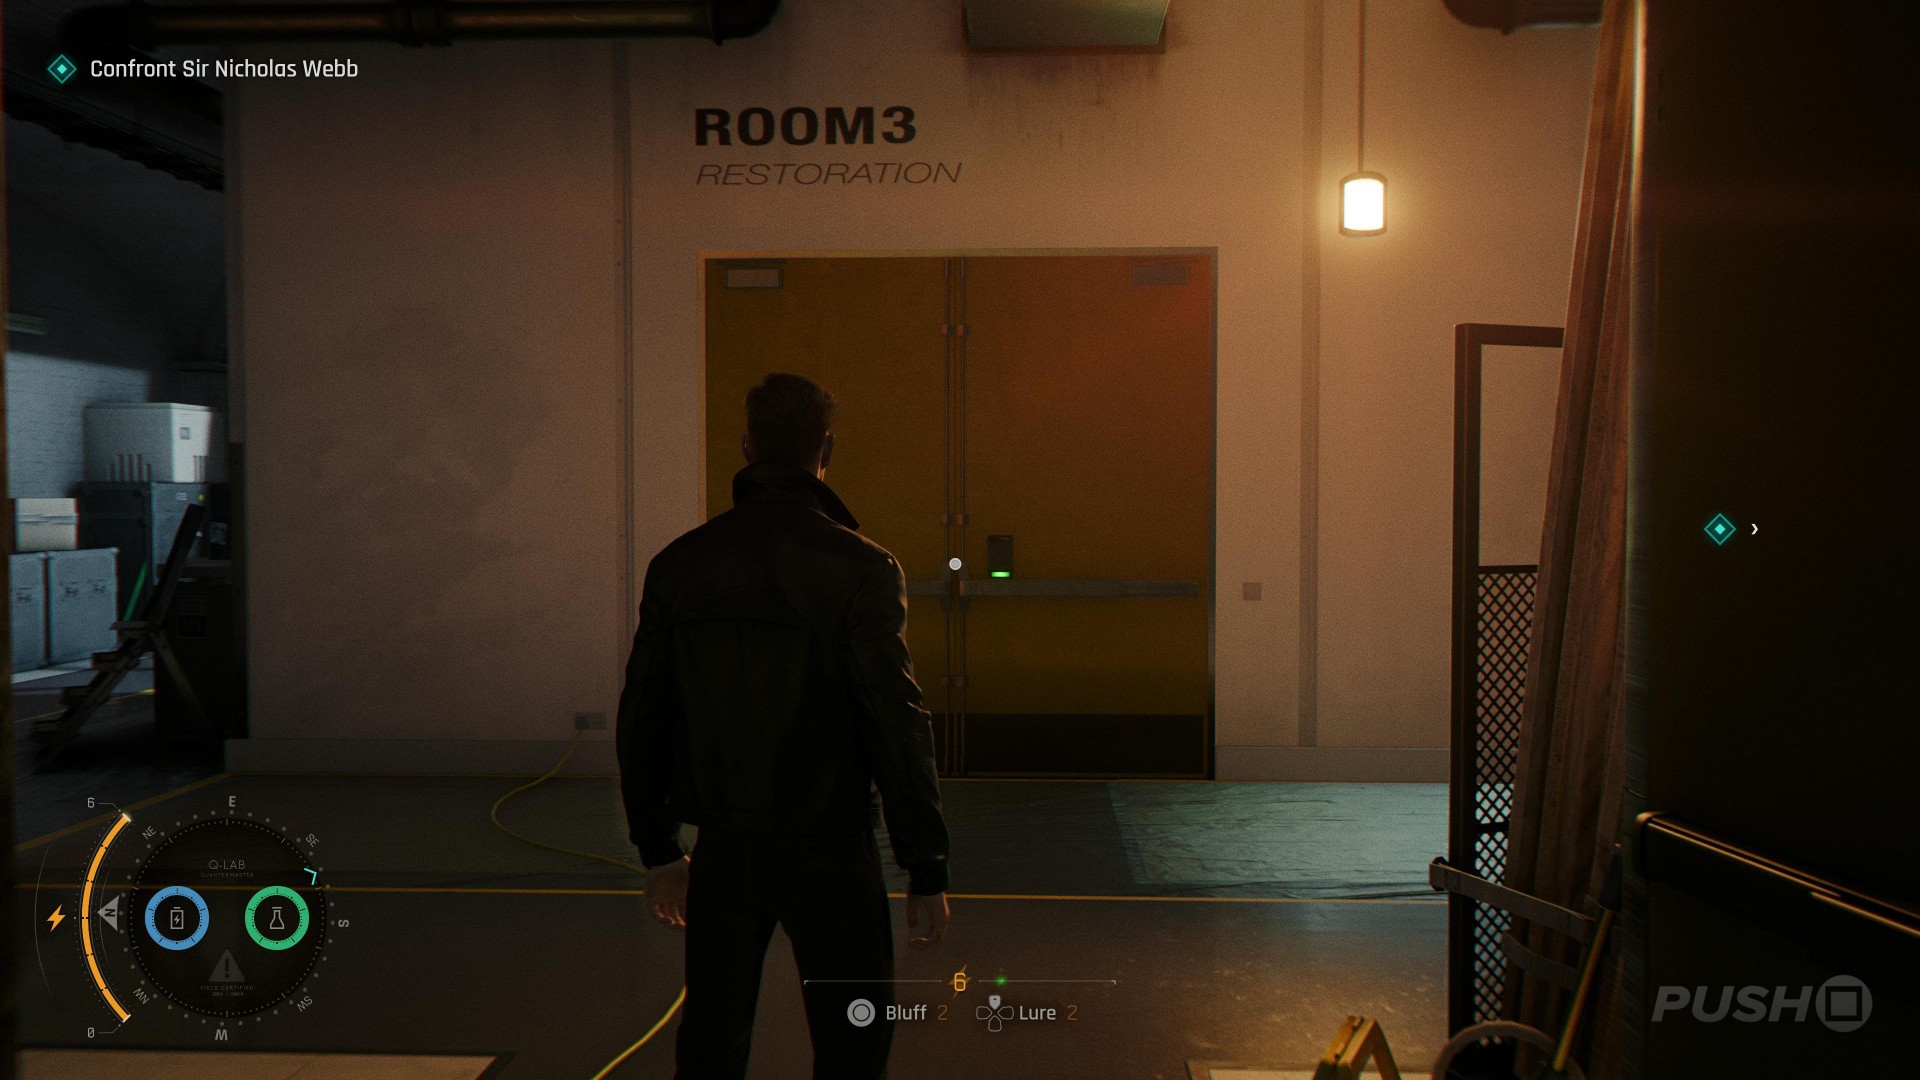
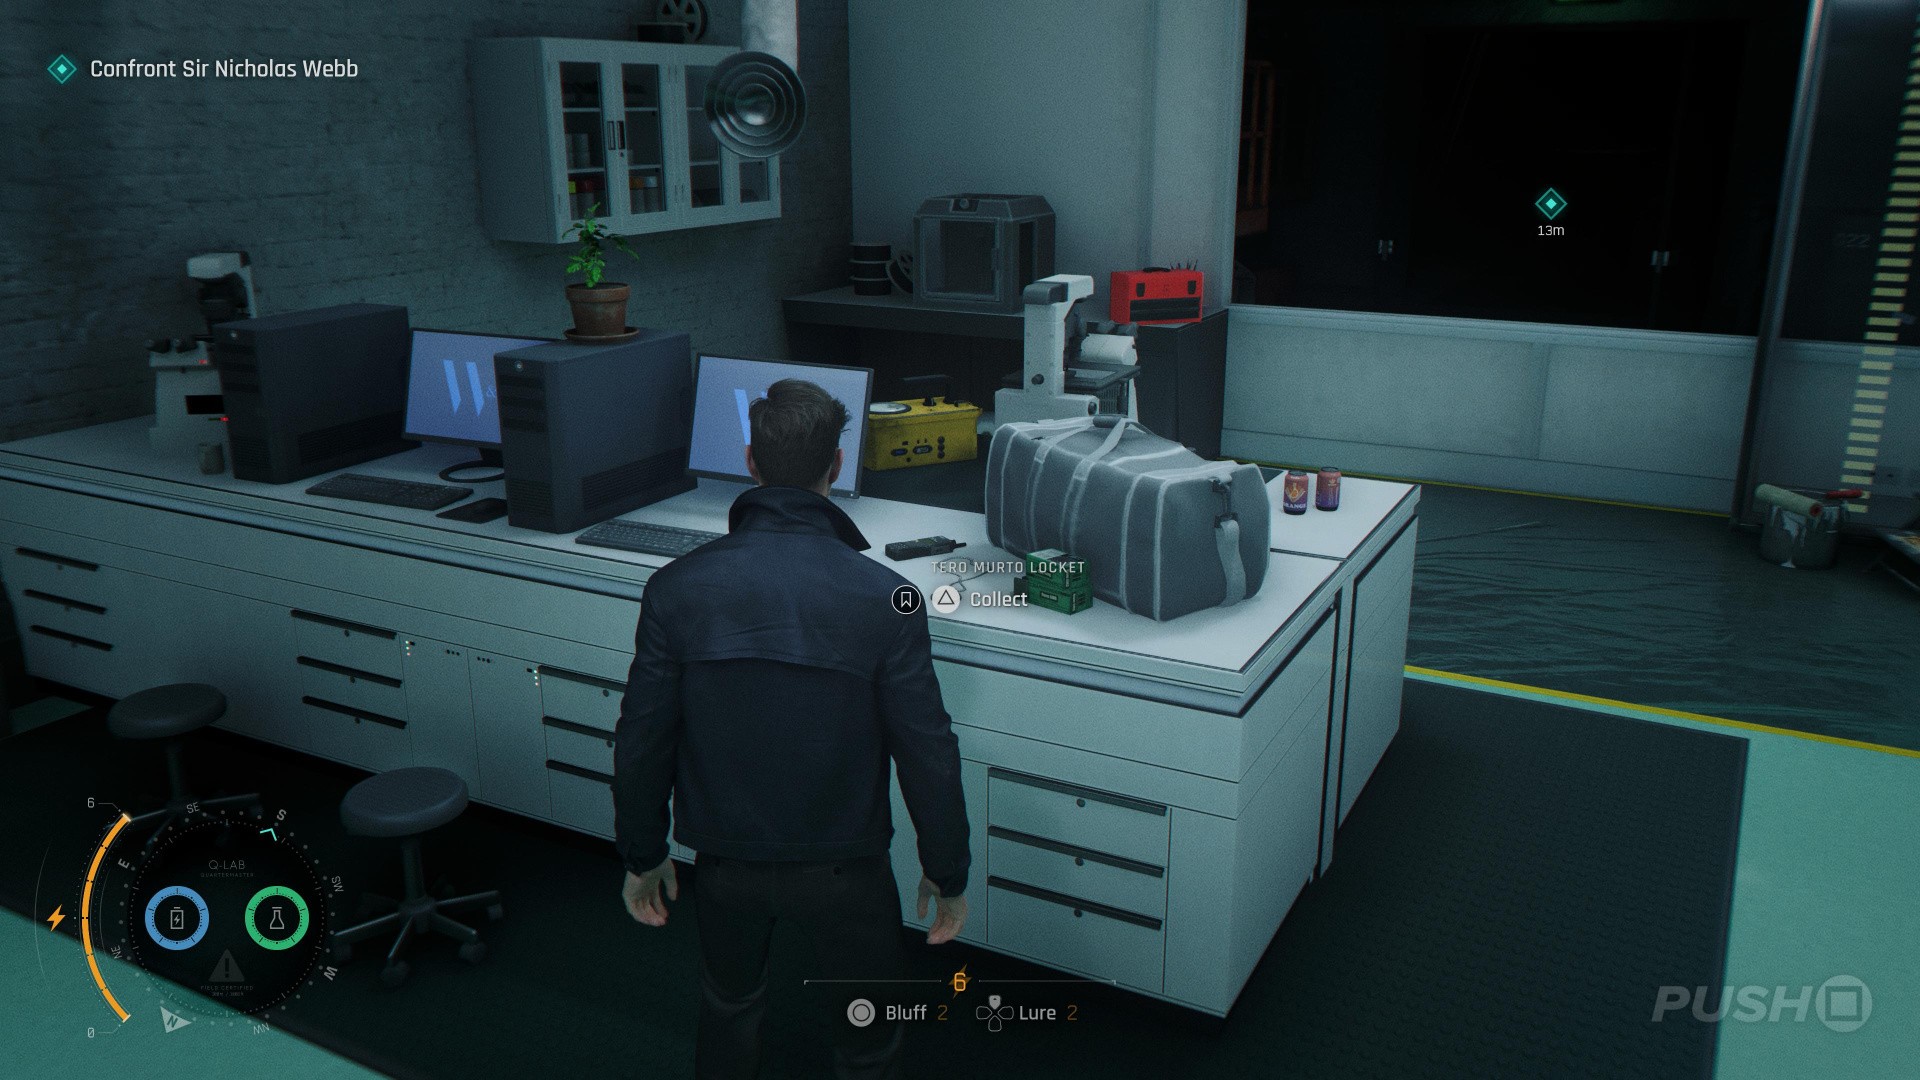
- After the boss fight with Murto, exit to the corridor and go in Room 4 Restoration
- On a table to the left is a white box with the Restoration Room Keycard inside
- Use the keycard to enter Room 3 Restoration opposite
- The collectible is on the desk in the middle of the room next to a duffel bag
Card: King of Shields
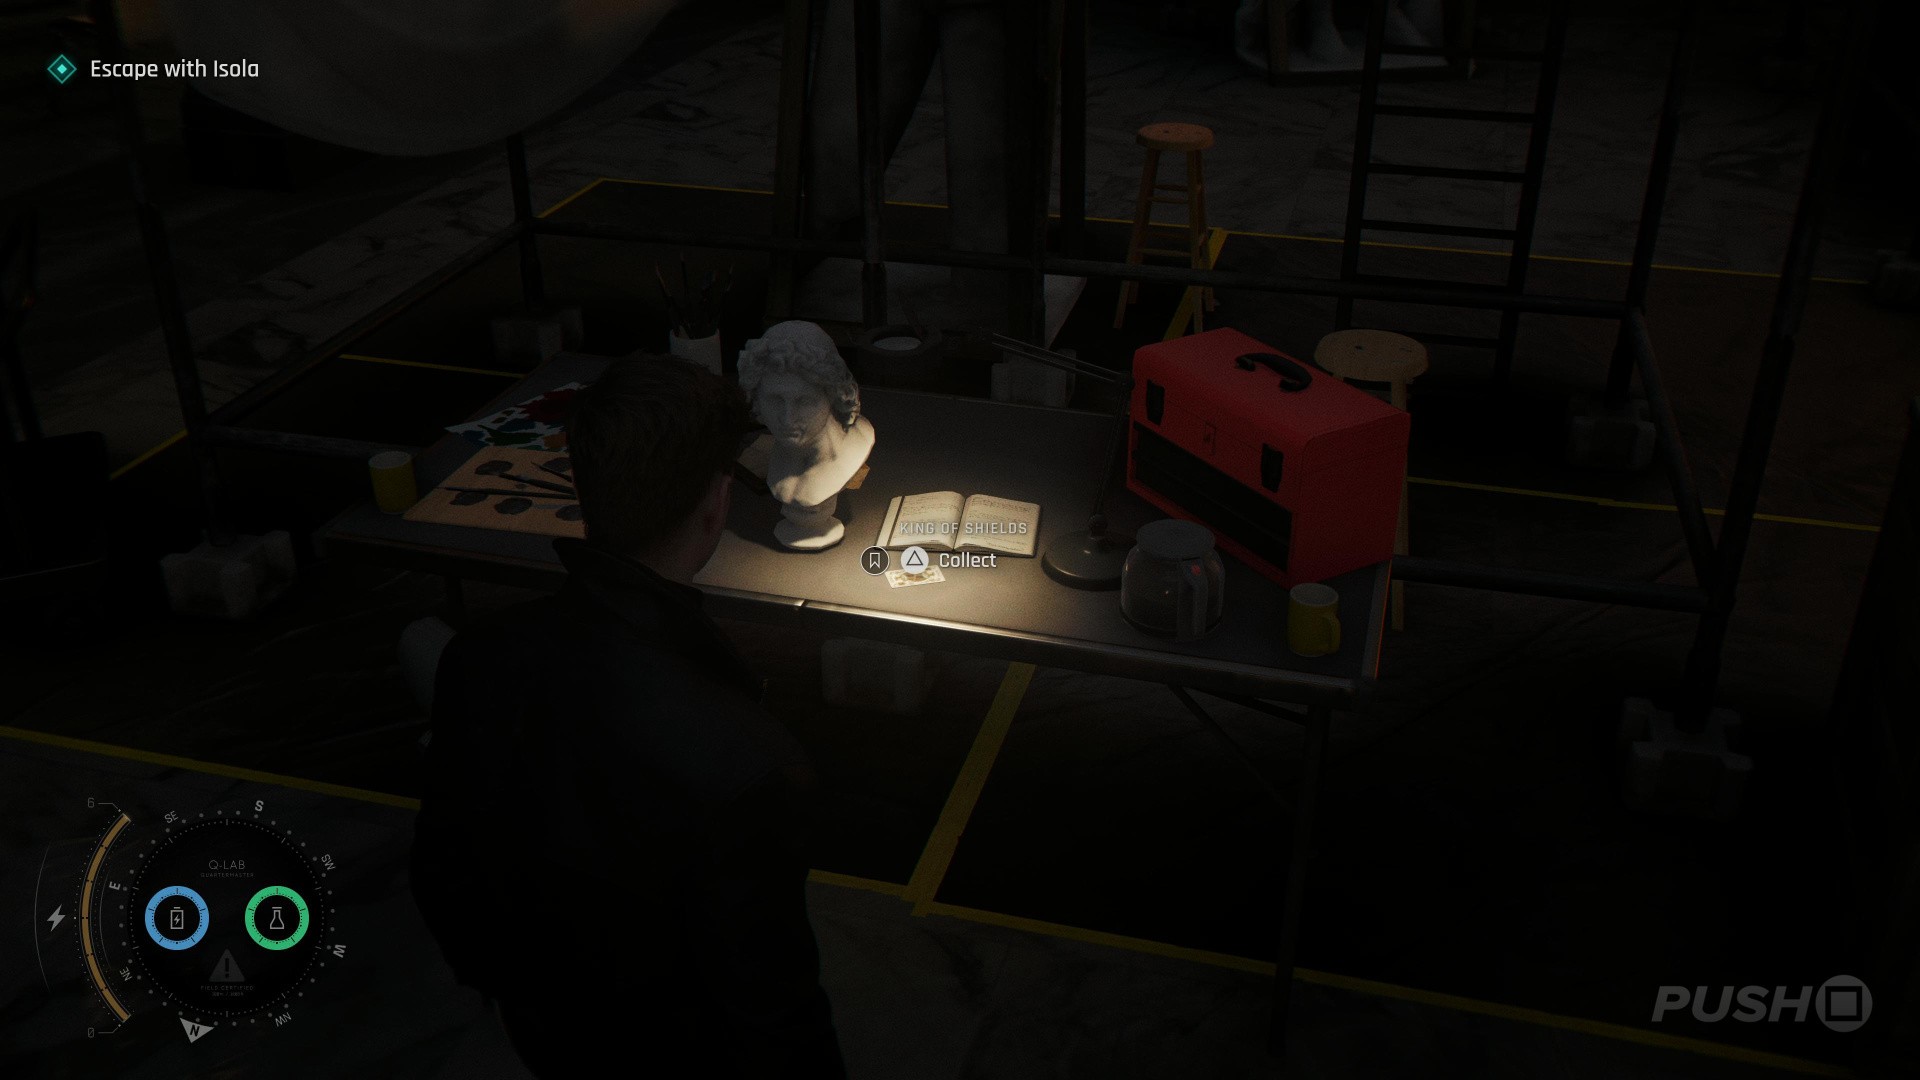
- Immediately after Isola frees you from the chair
- Turn around, the collectible is on the table behind you
Card: 8 of Roses
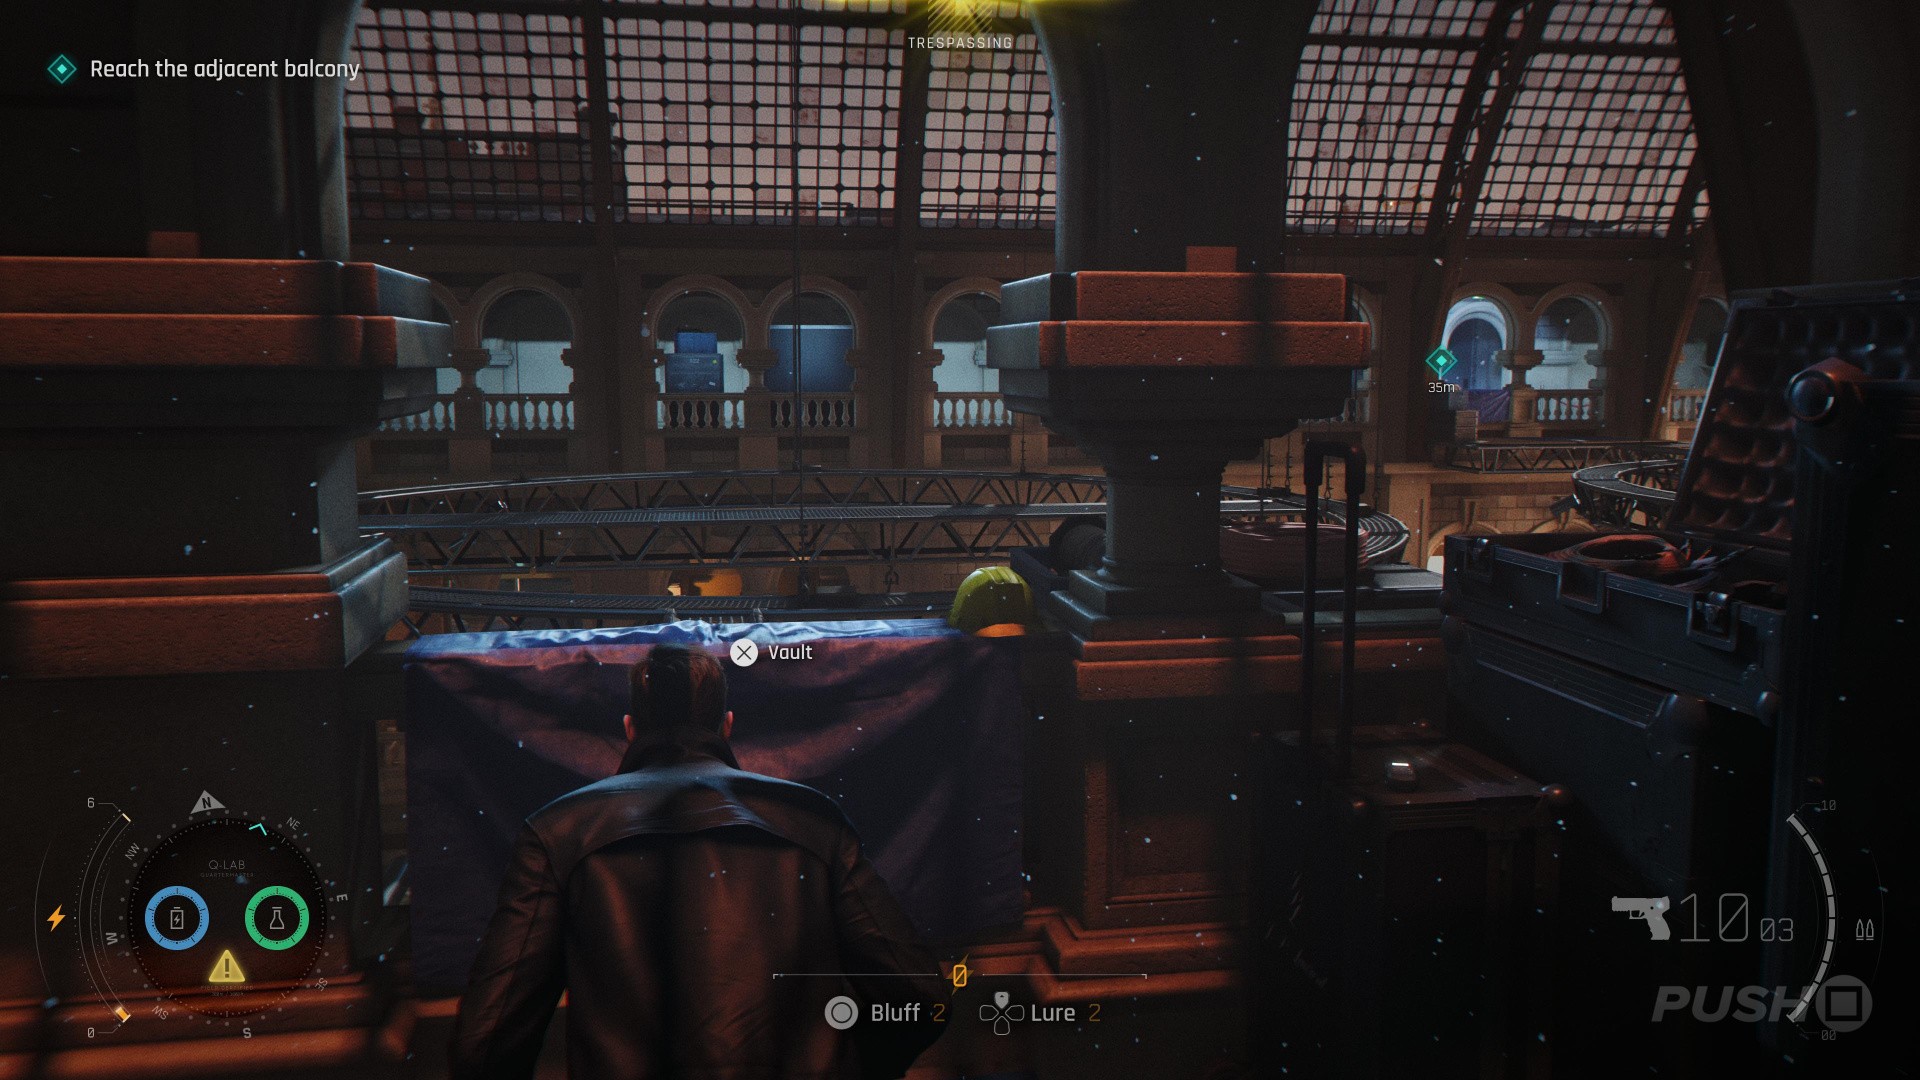
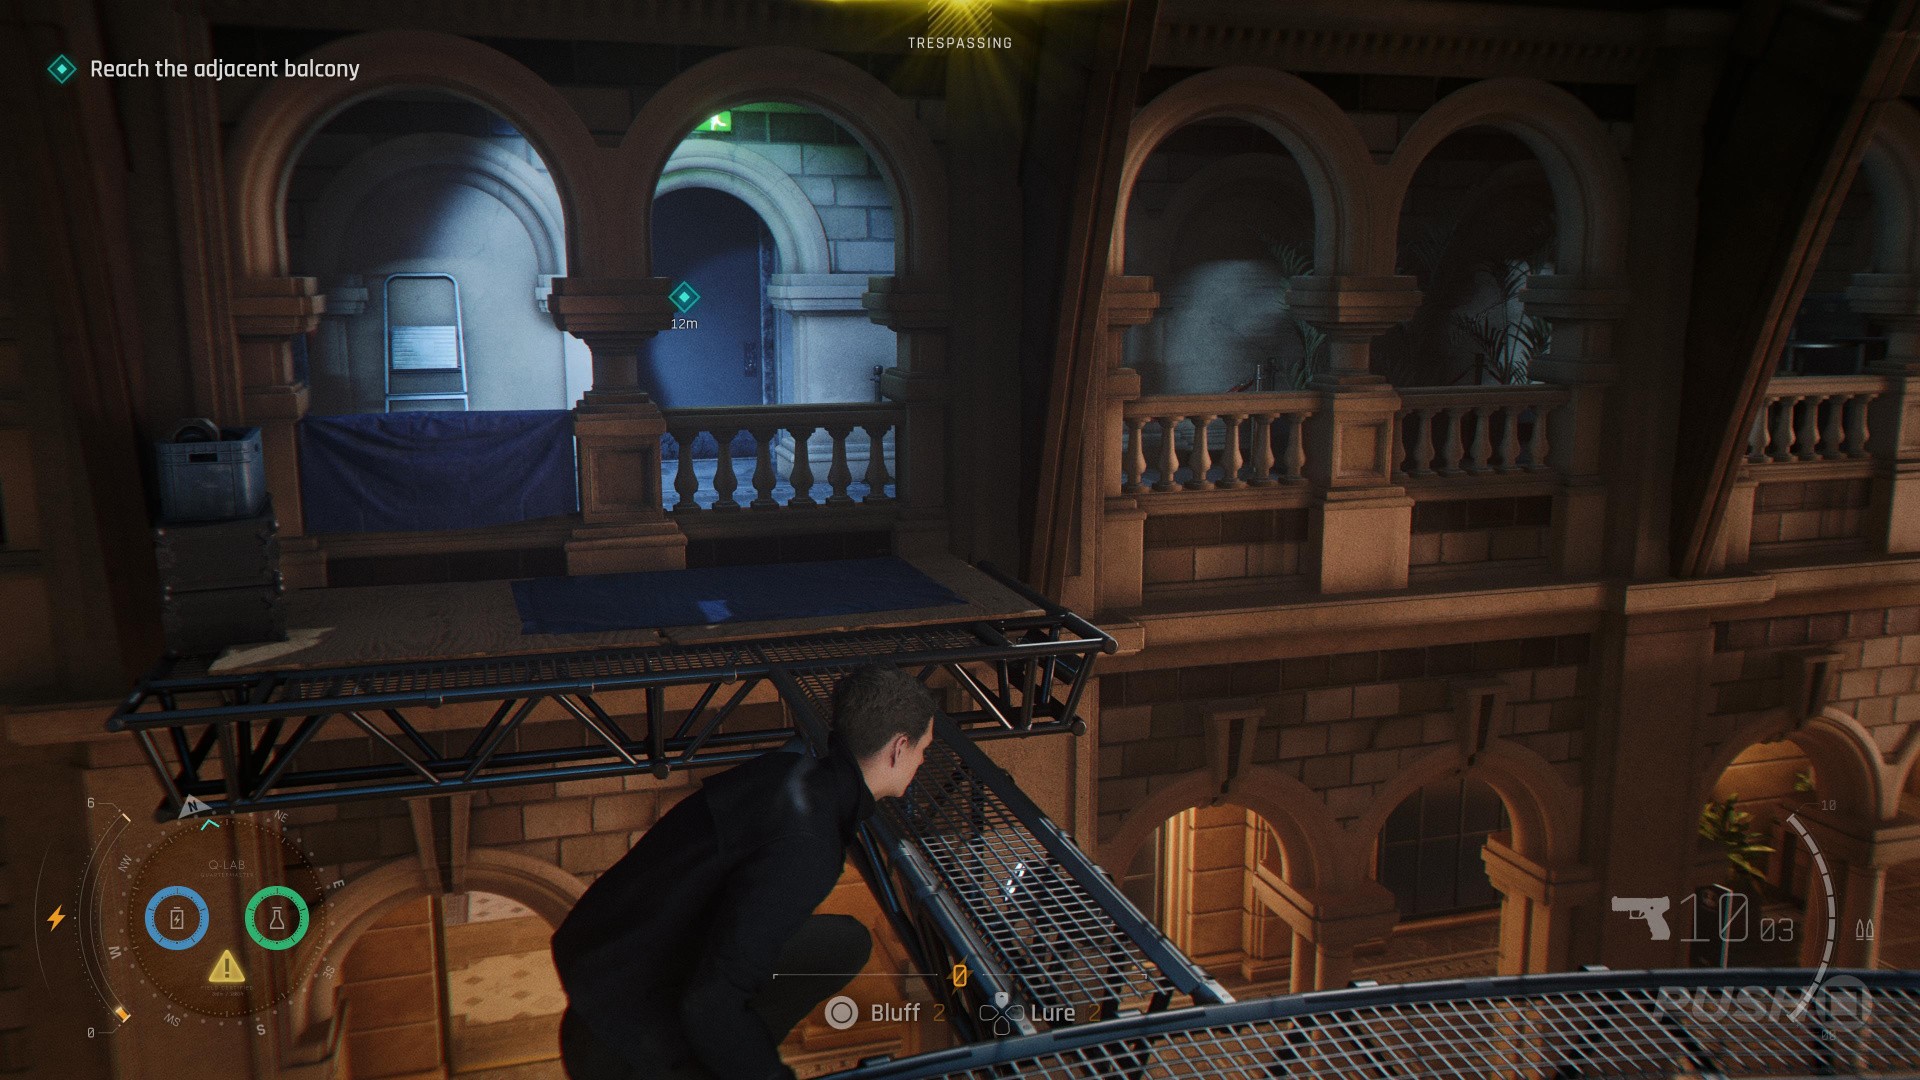
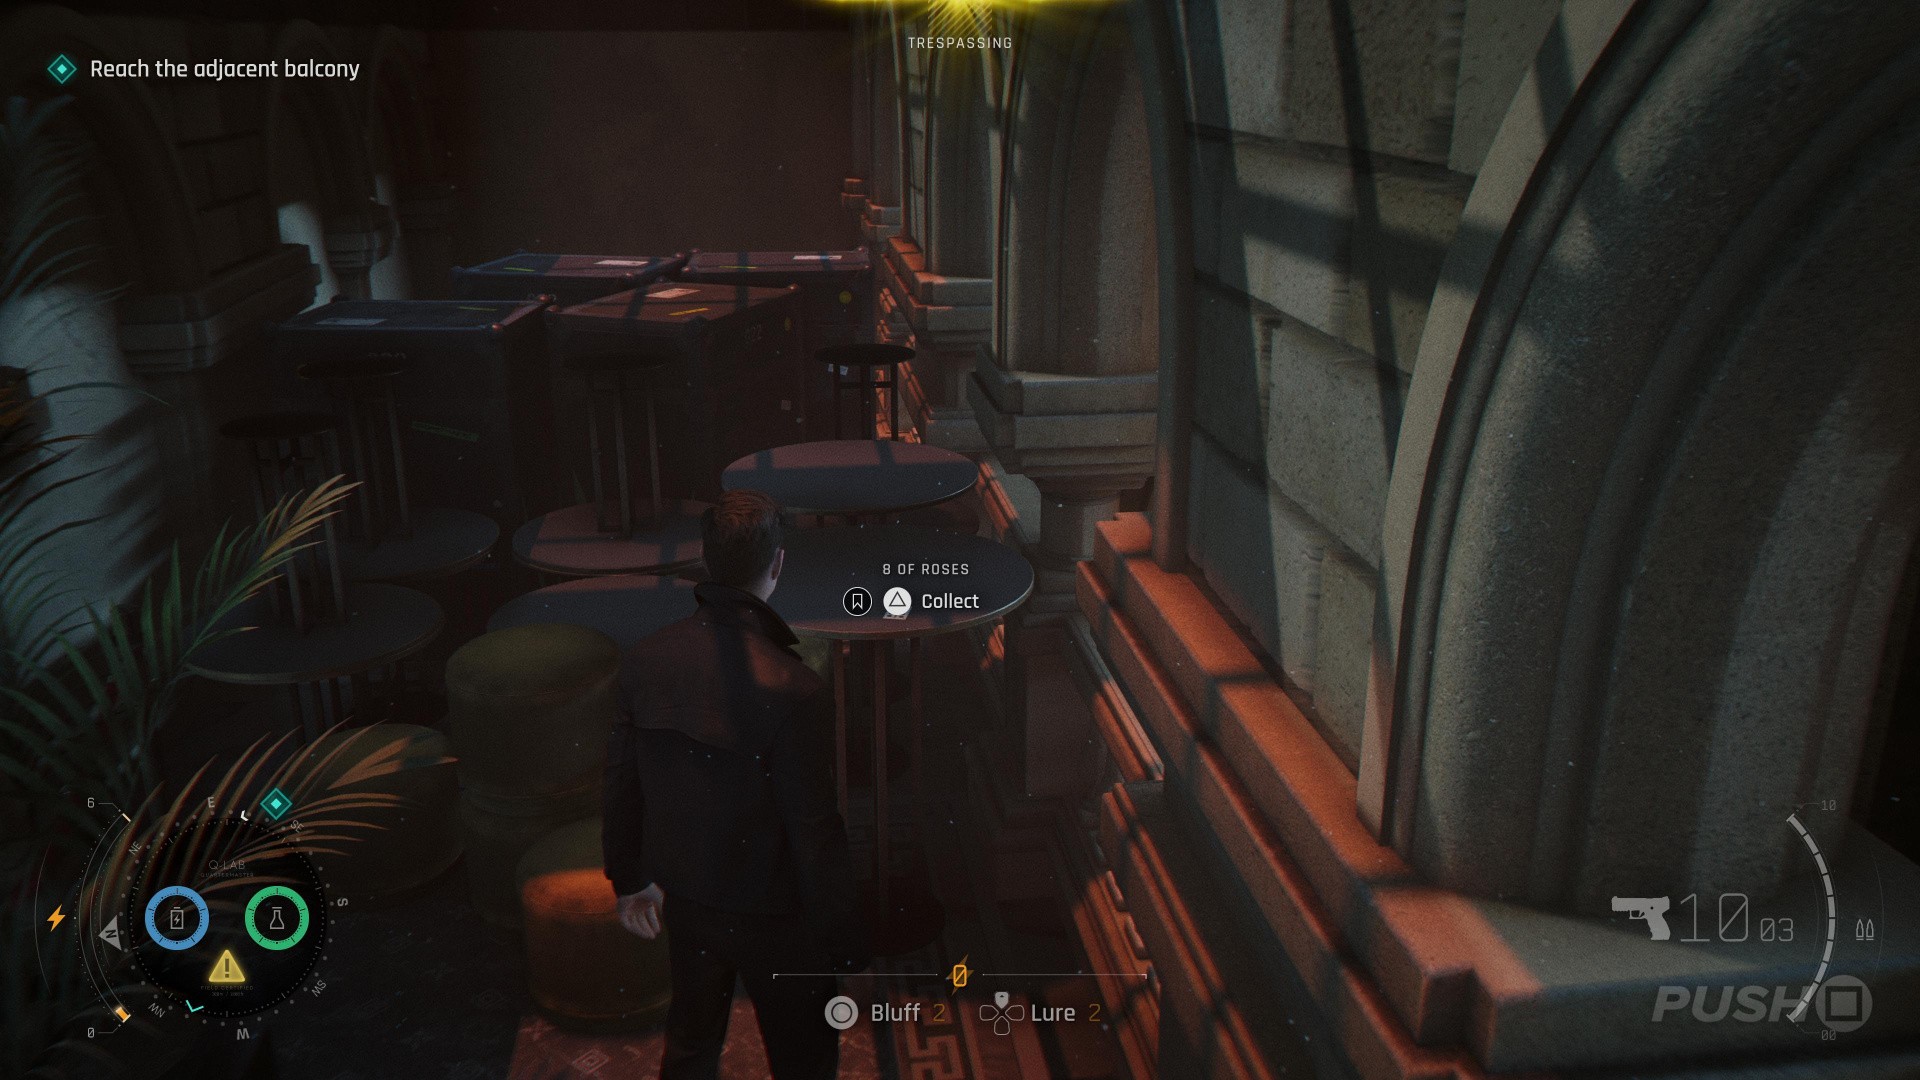
- After the shootout in the workshop, climb across the light rigs to get to the adjacent balcony
- Once you reach the adjacent balcony, immediately head right for the collectible, on a table
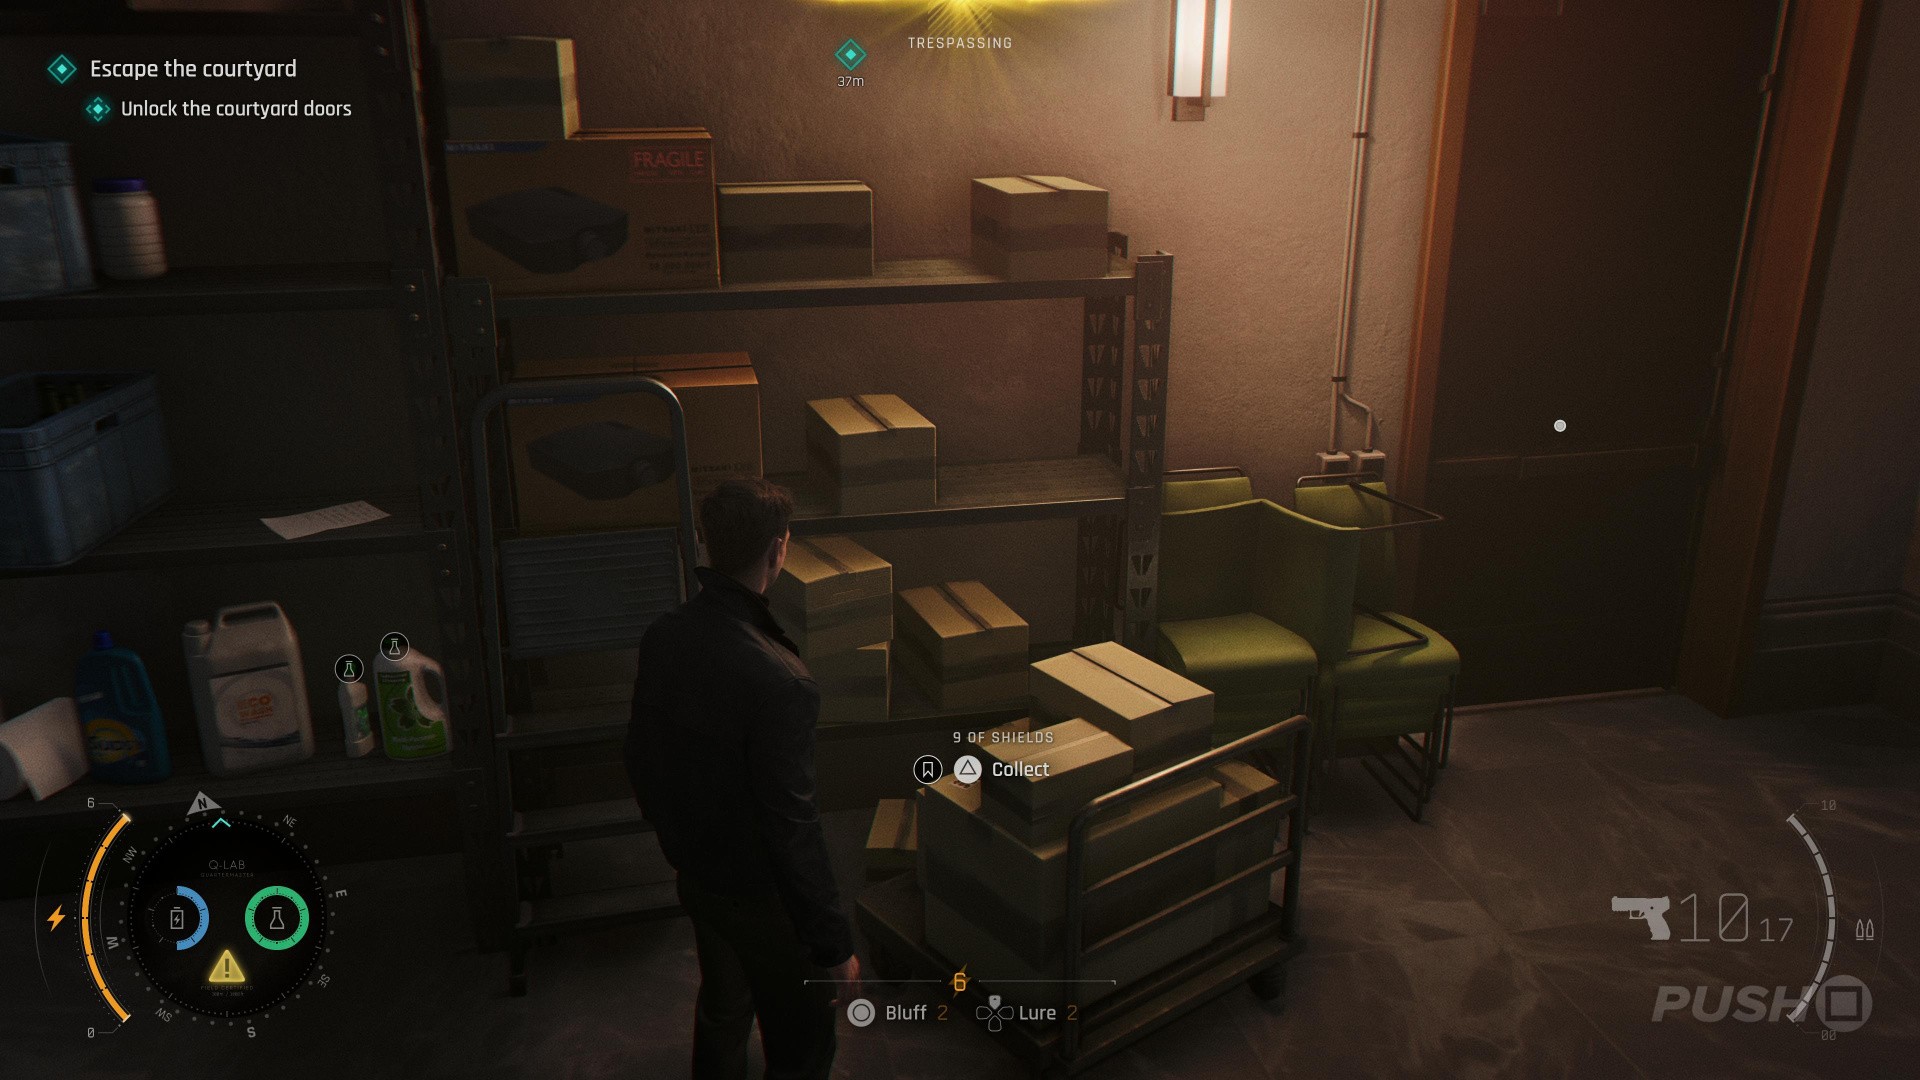
Card: 9 of Shields
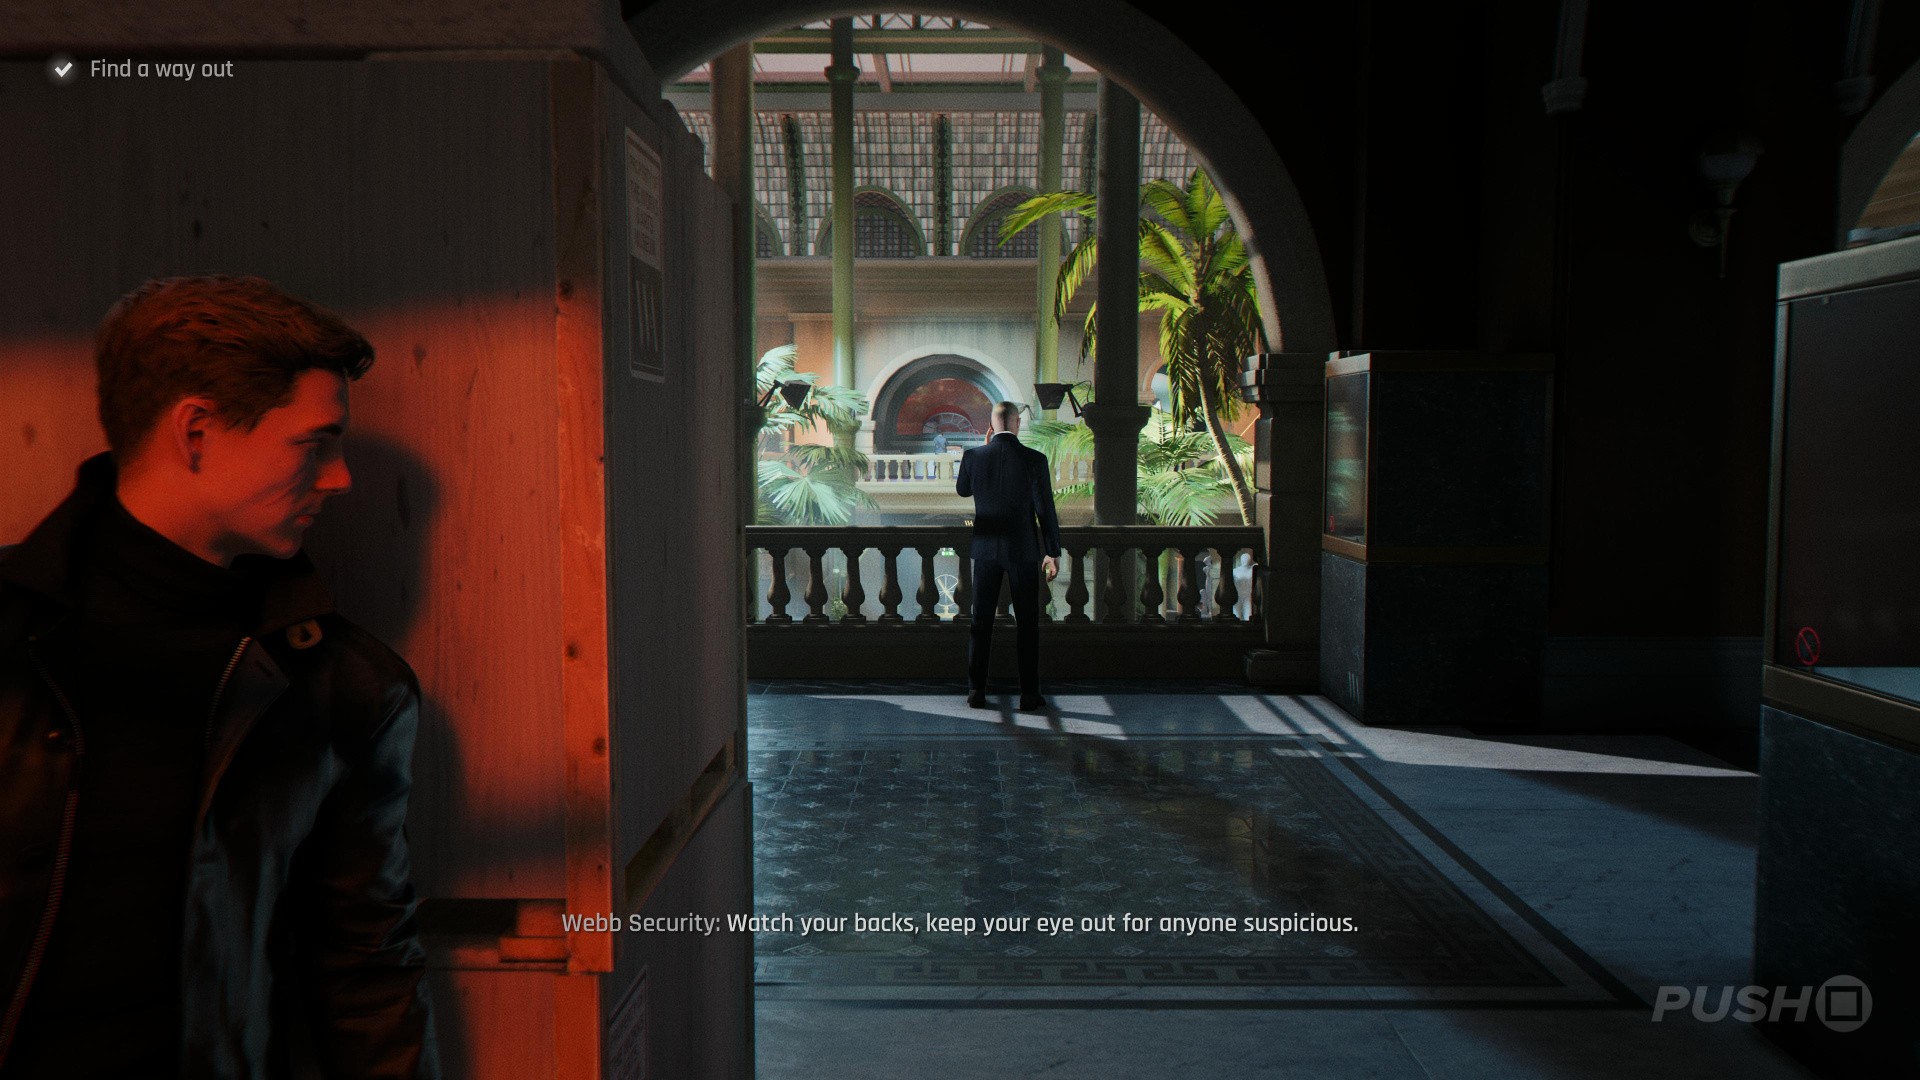
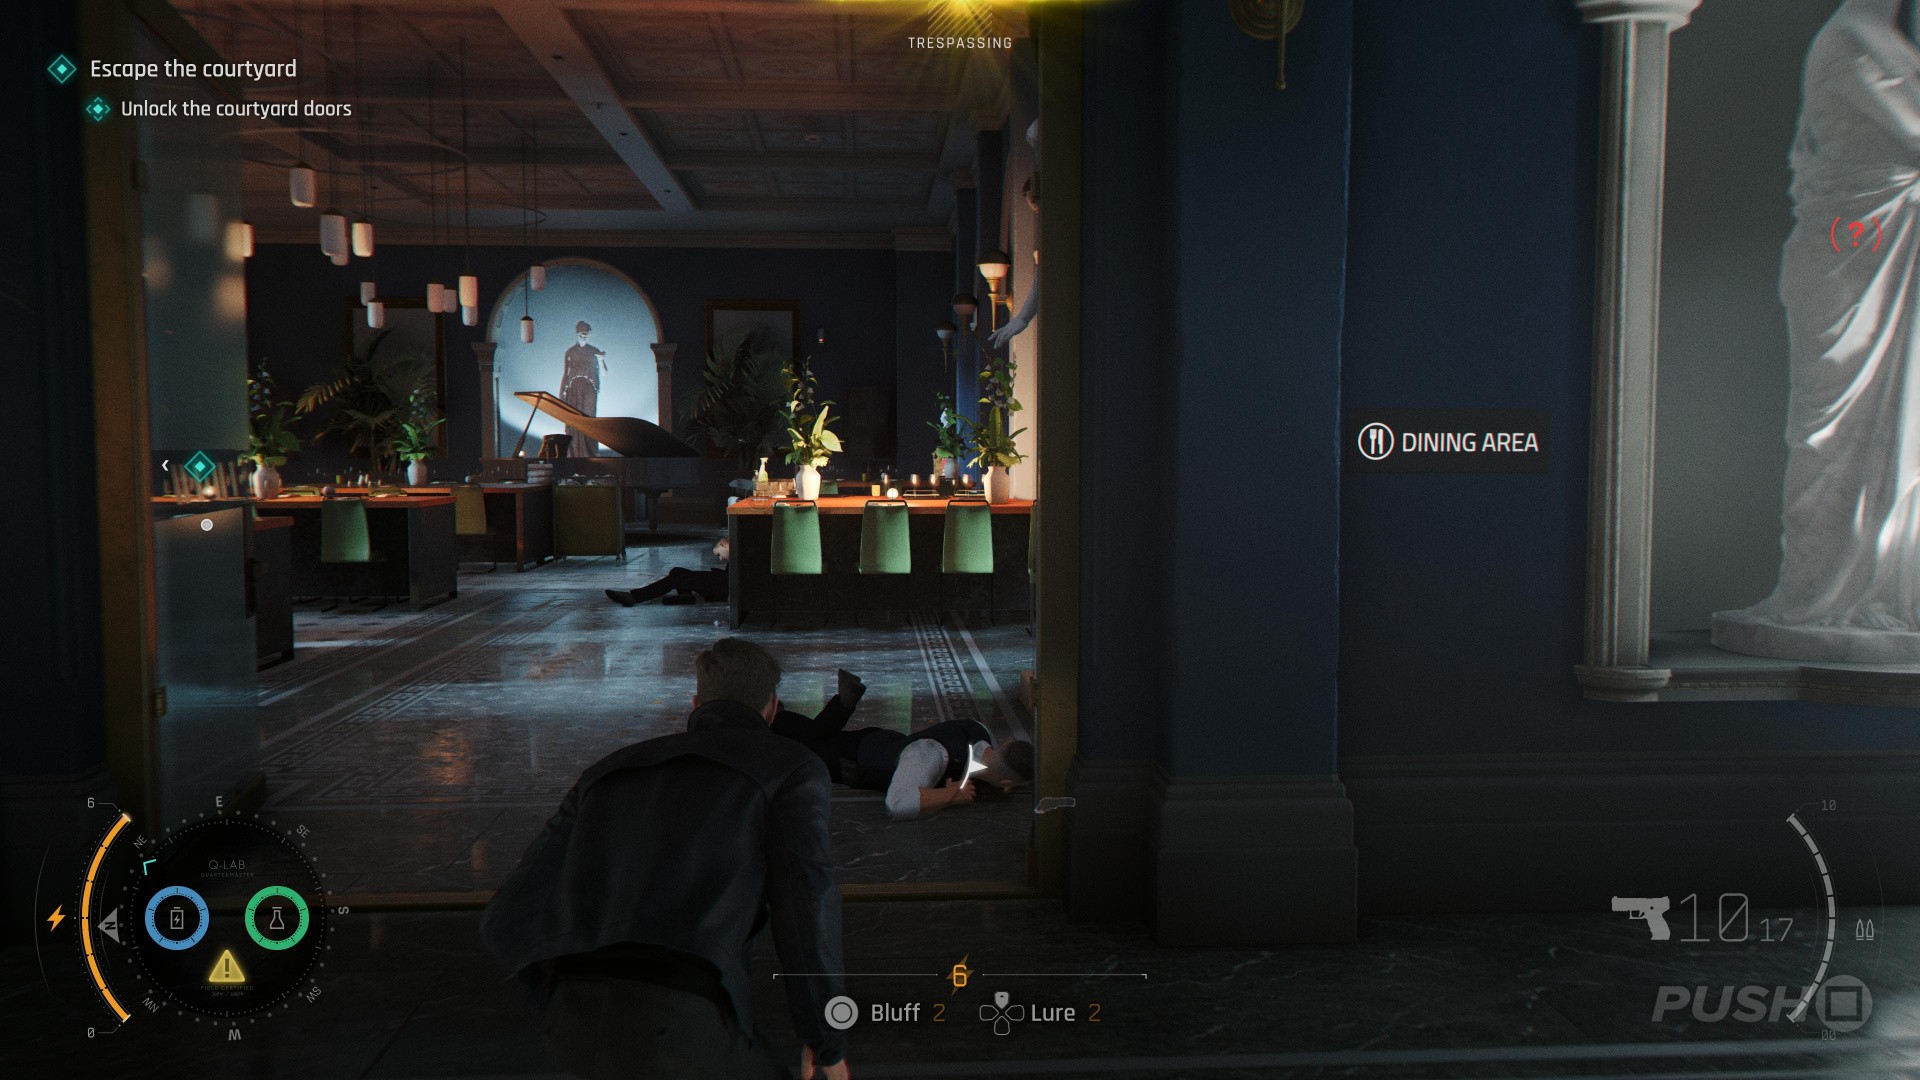
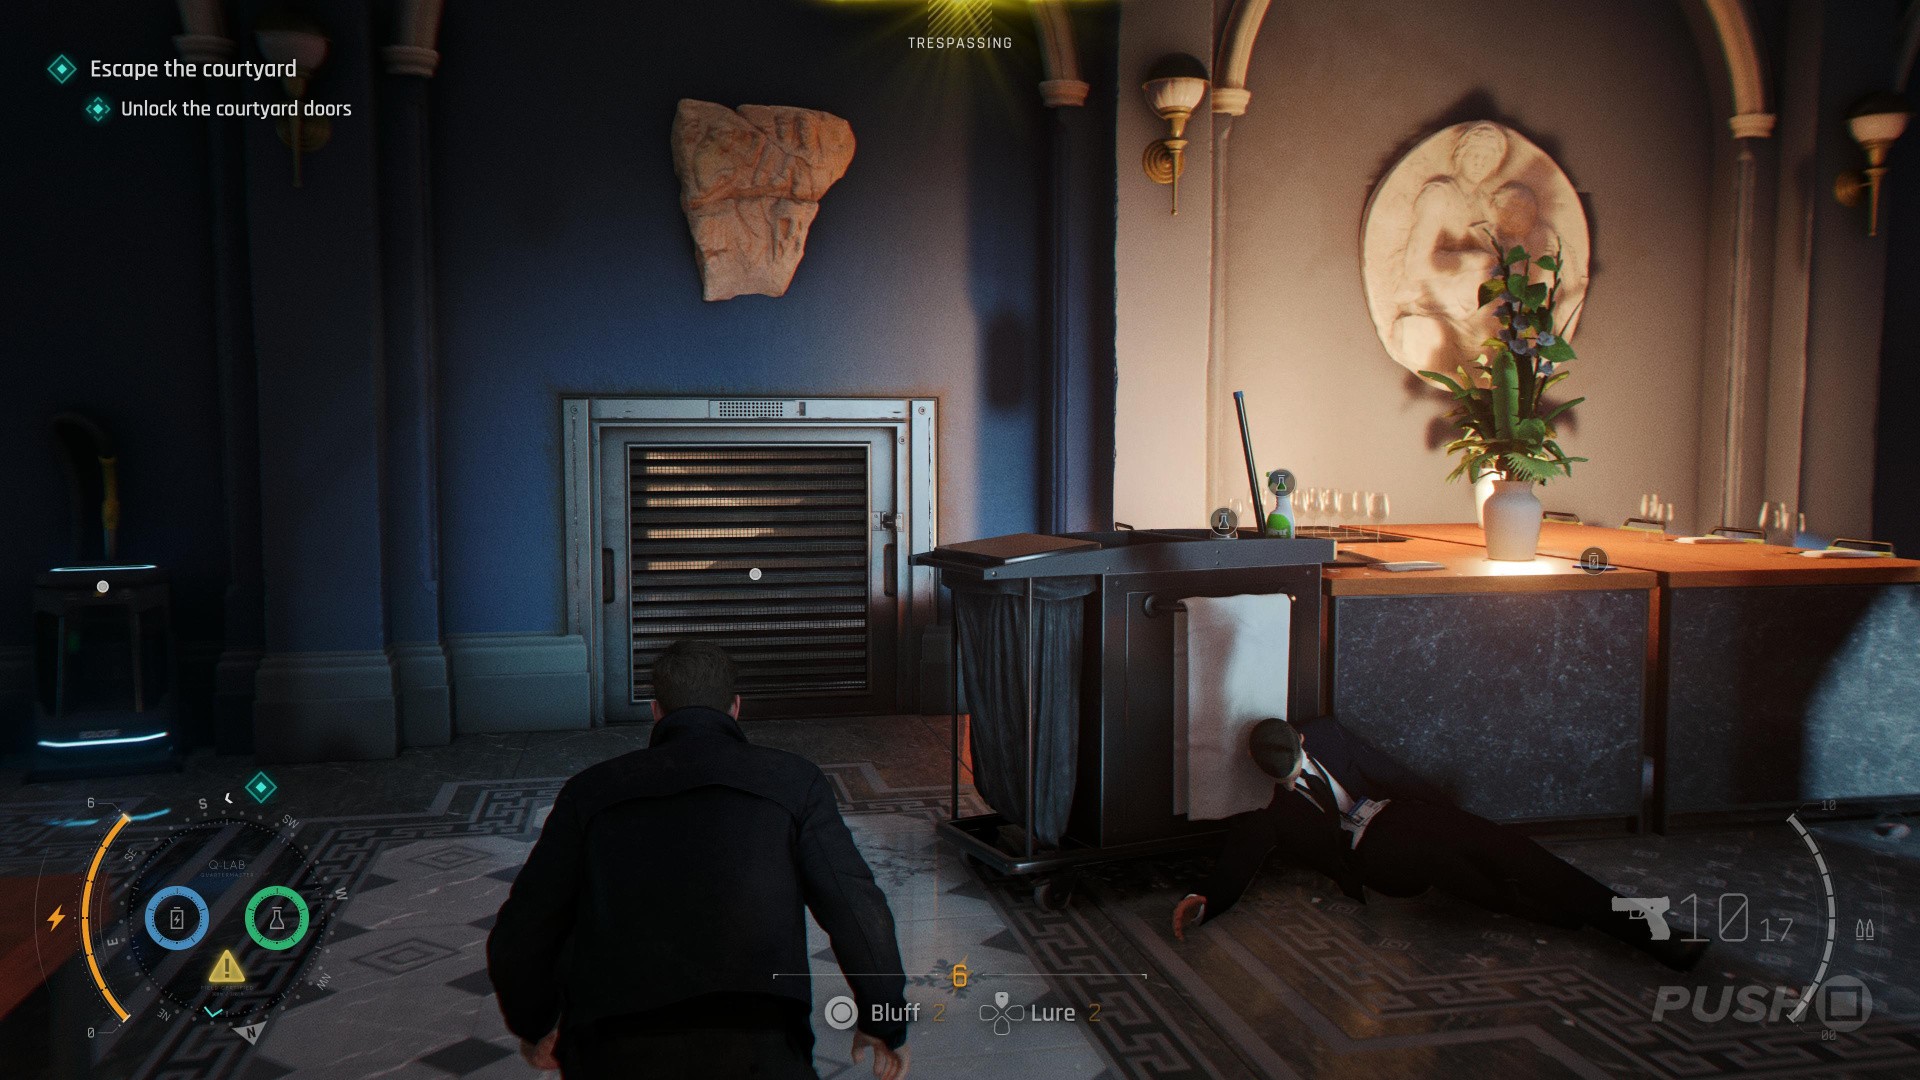
- Once you drop in to the courtyard, go down to the ground floor
- Head to the back-right area into the room labelled Dining Room with a piano inside
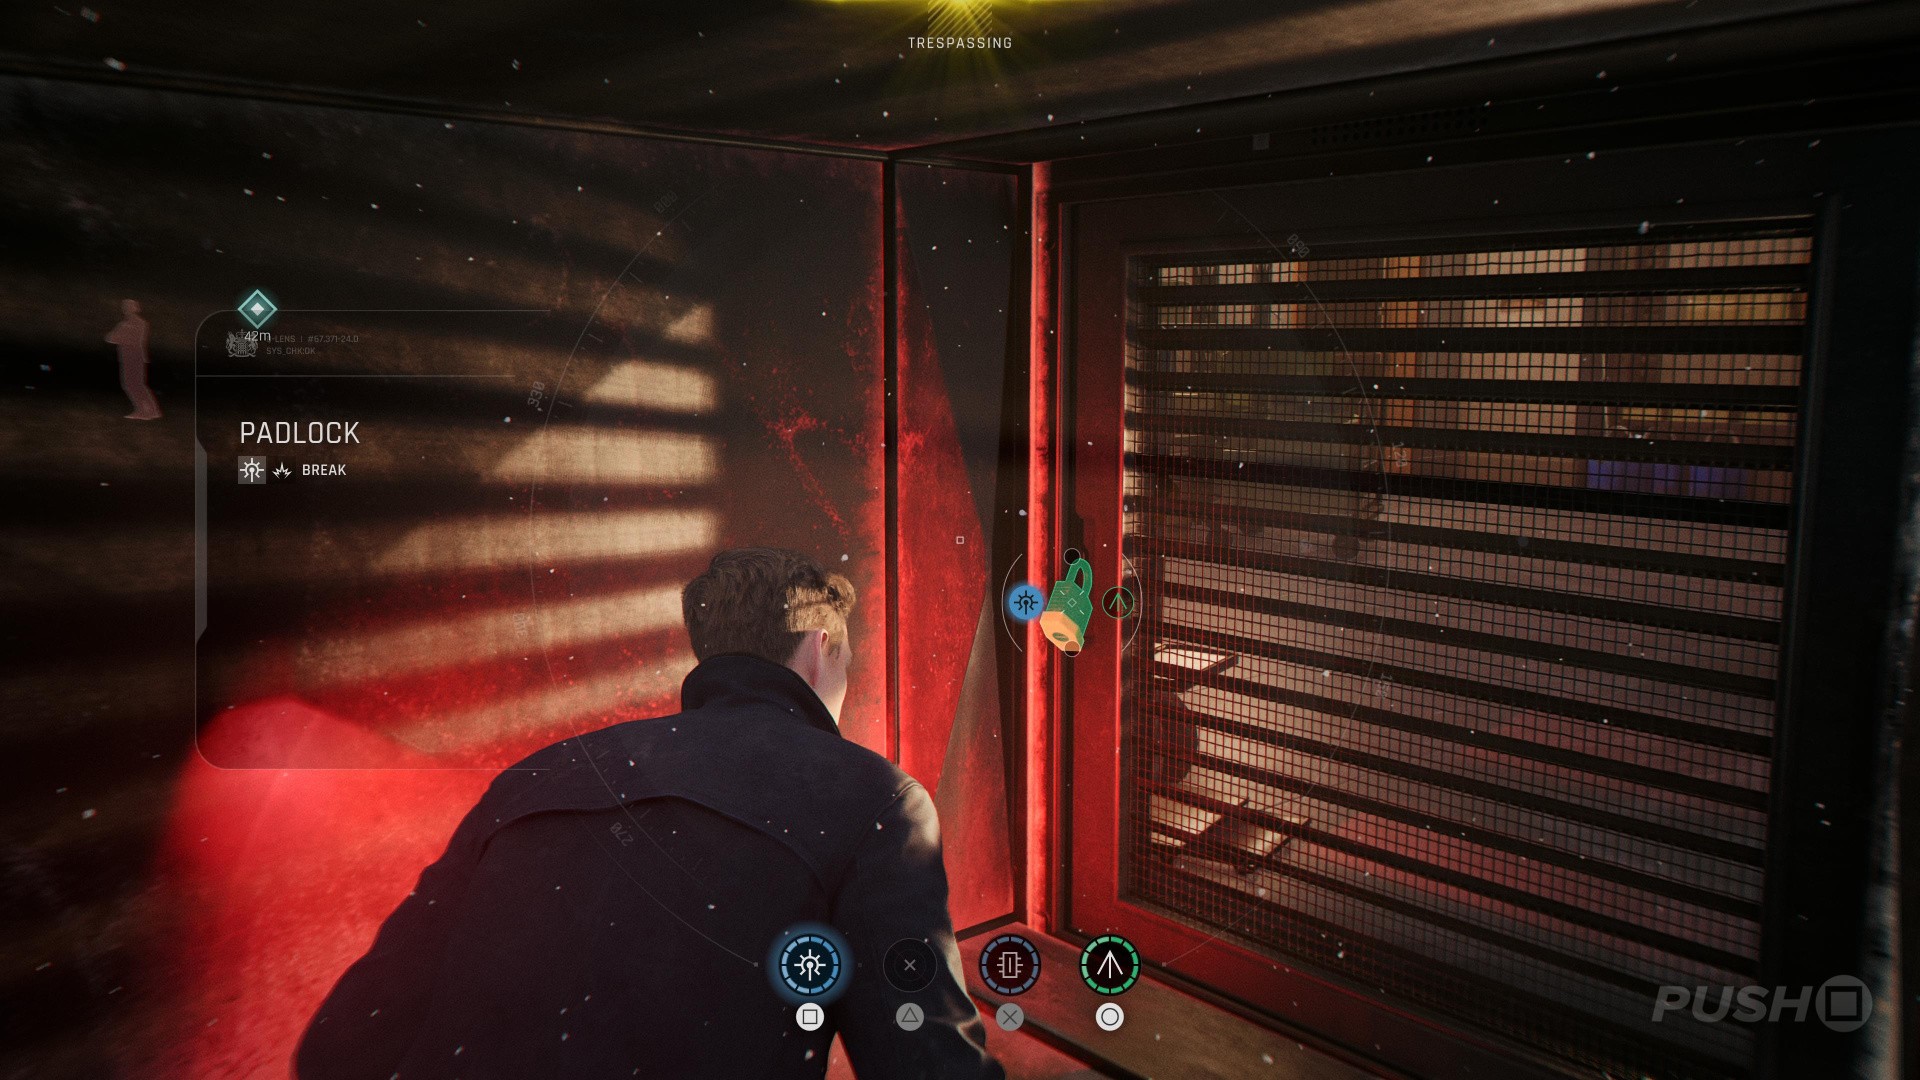
- Deal with the guards inside then head through the vent on the right wall
- Follow the vent around and break the padlock at the end with your laser watch
- Inside the maintenance room, the collectible is on a trolley on top of some boxes
Subscribe to Push Square on YouTube172k
How did you enjoy your visit to the Webb Gala? Let us know in the comments section below, and check out our 007 First Light guide for much more.


Comments 0
Wow, no comments yet... why not be the first?
Leave A Comment
Hold on there, you need to login to post a comment...