The main objective of Death Stranding 2 is to bring Mexico and then Australia onto the chiral network, which is done by visiting all the Facilities dotted across the two regions. Most of them are discovered during the main story, but some of them are optional. This Death Stranding 2 guide reveals all Facilities locations.
What Are All Facilities Locations in Death Stranding 2?
There are 42 Facilities in the game, and most of them are introduced to you through the Main Orders of the story. There are a couple of optional, secret Facilities, though, and to find these, you shall have to bring them Lost Cargo to convince them to join the chiral network.
From there, accept their Standard Orders and begin levelling up their Connection Level like any other Facility. Below you will find all Facilities locations in Death Stranding 2.
All Facilities Locations in Mexico
There are 6 Facilities in Mexico. Below you will find all Facilities locations in Mexico, in the order you should encounter them naturally.
Ciudad Nudo del Norte (C1)

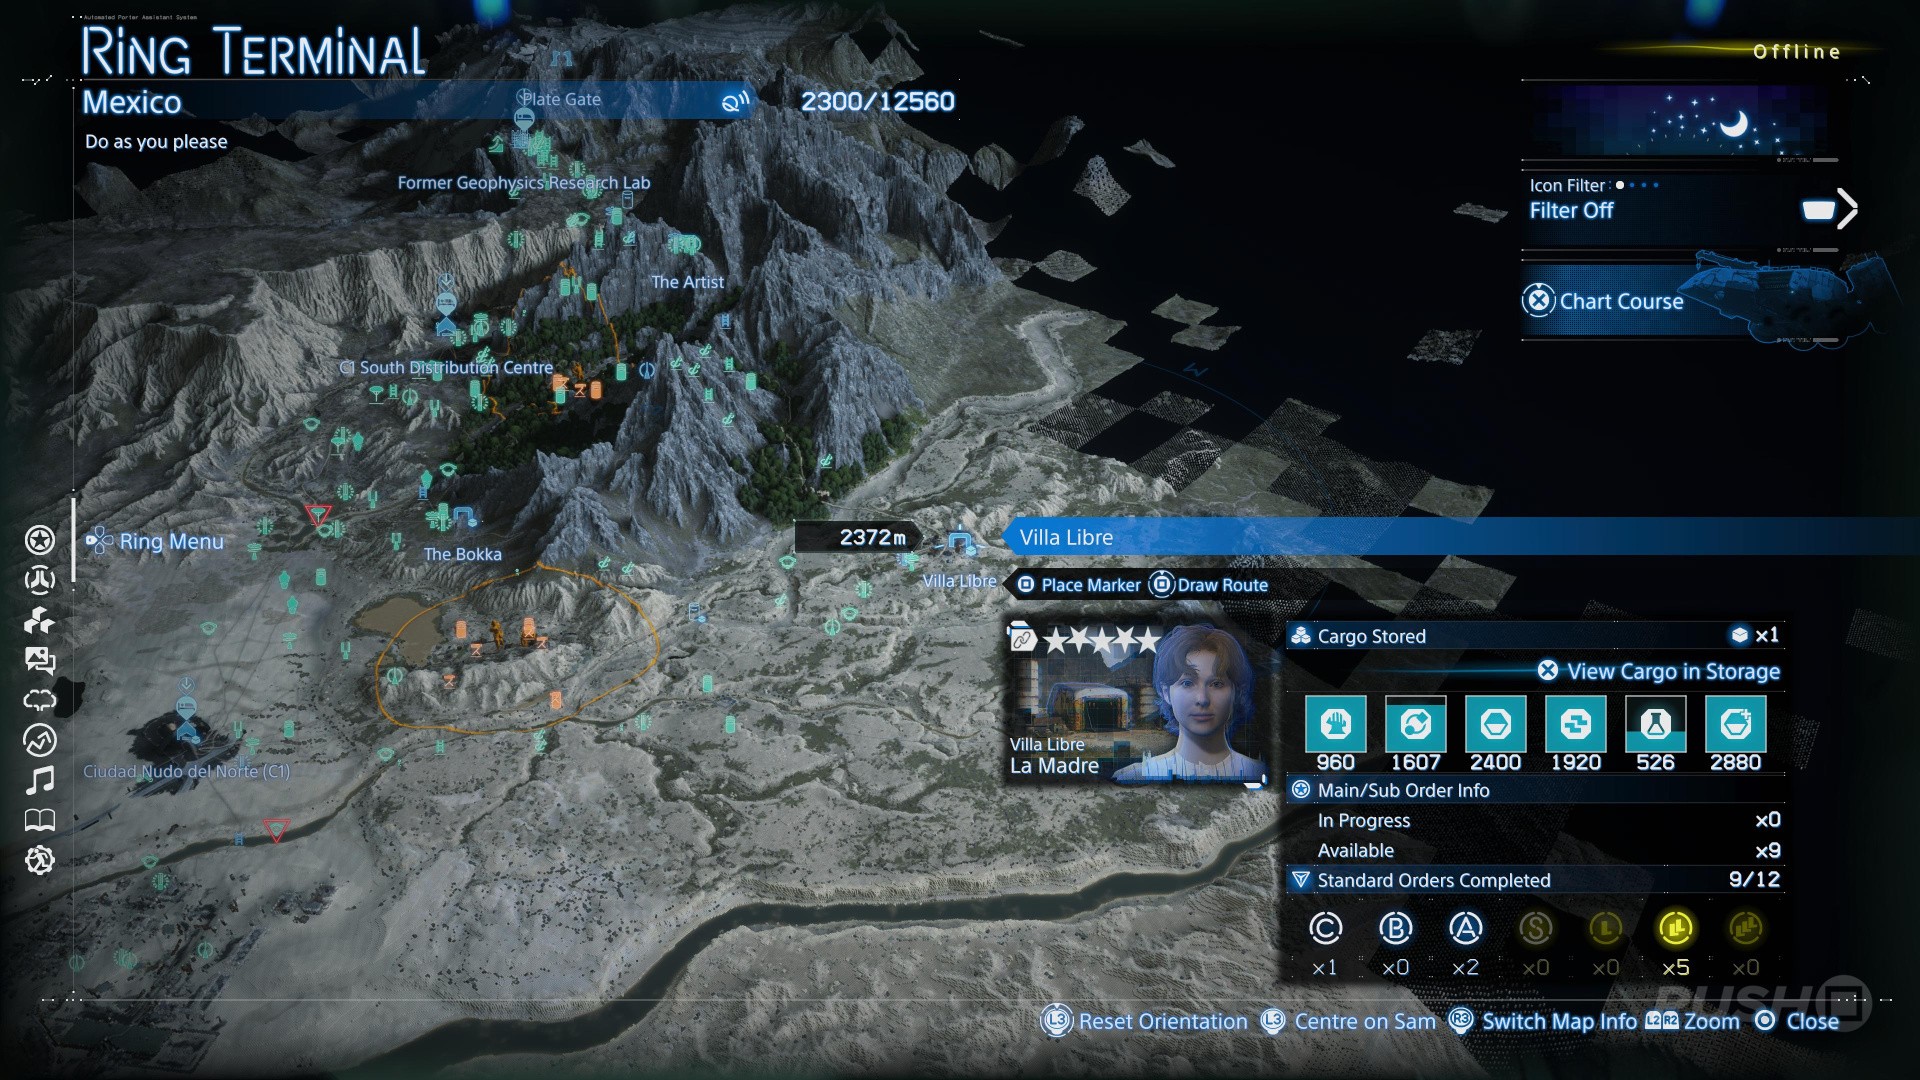
Villa Libre
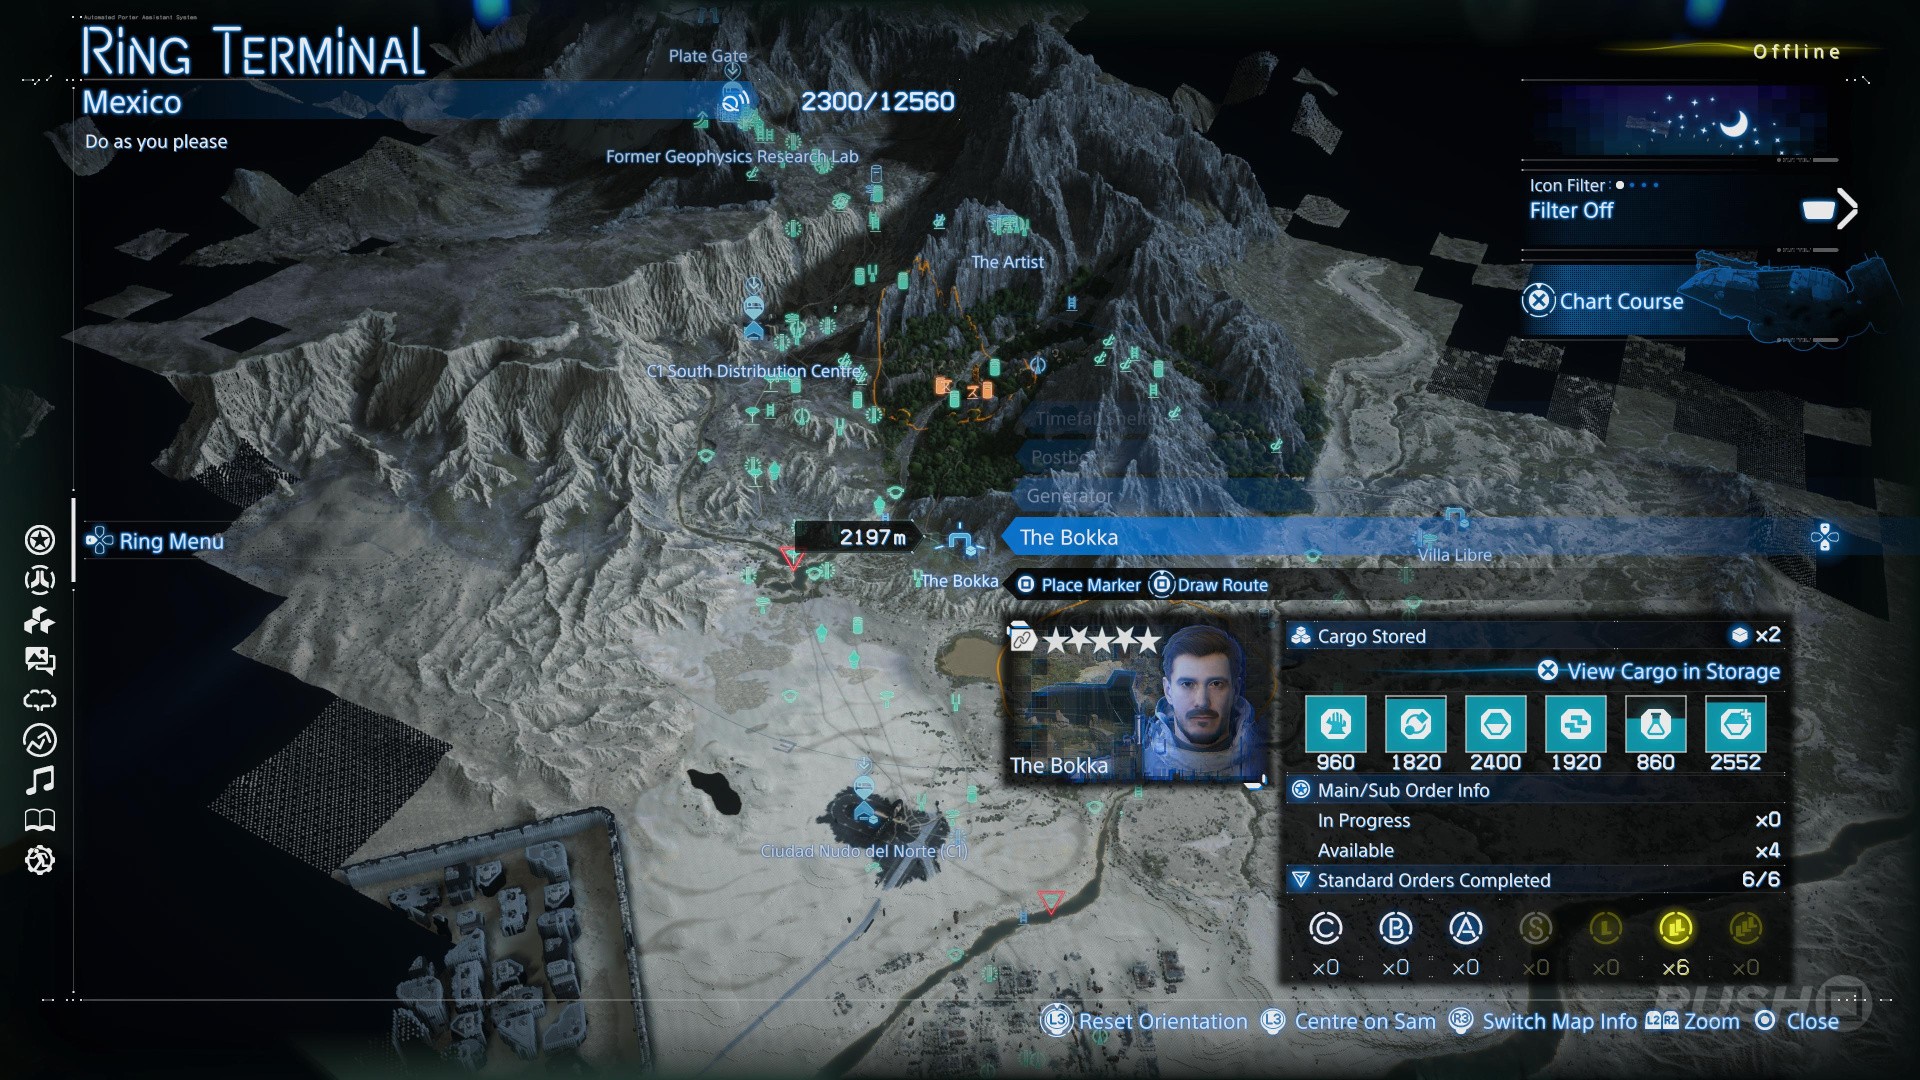
The Bokka
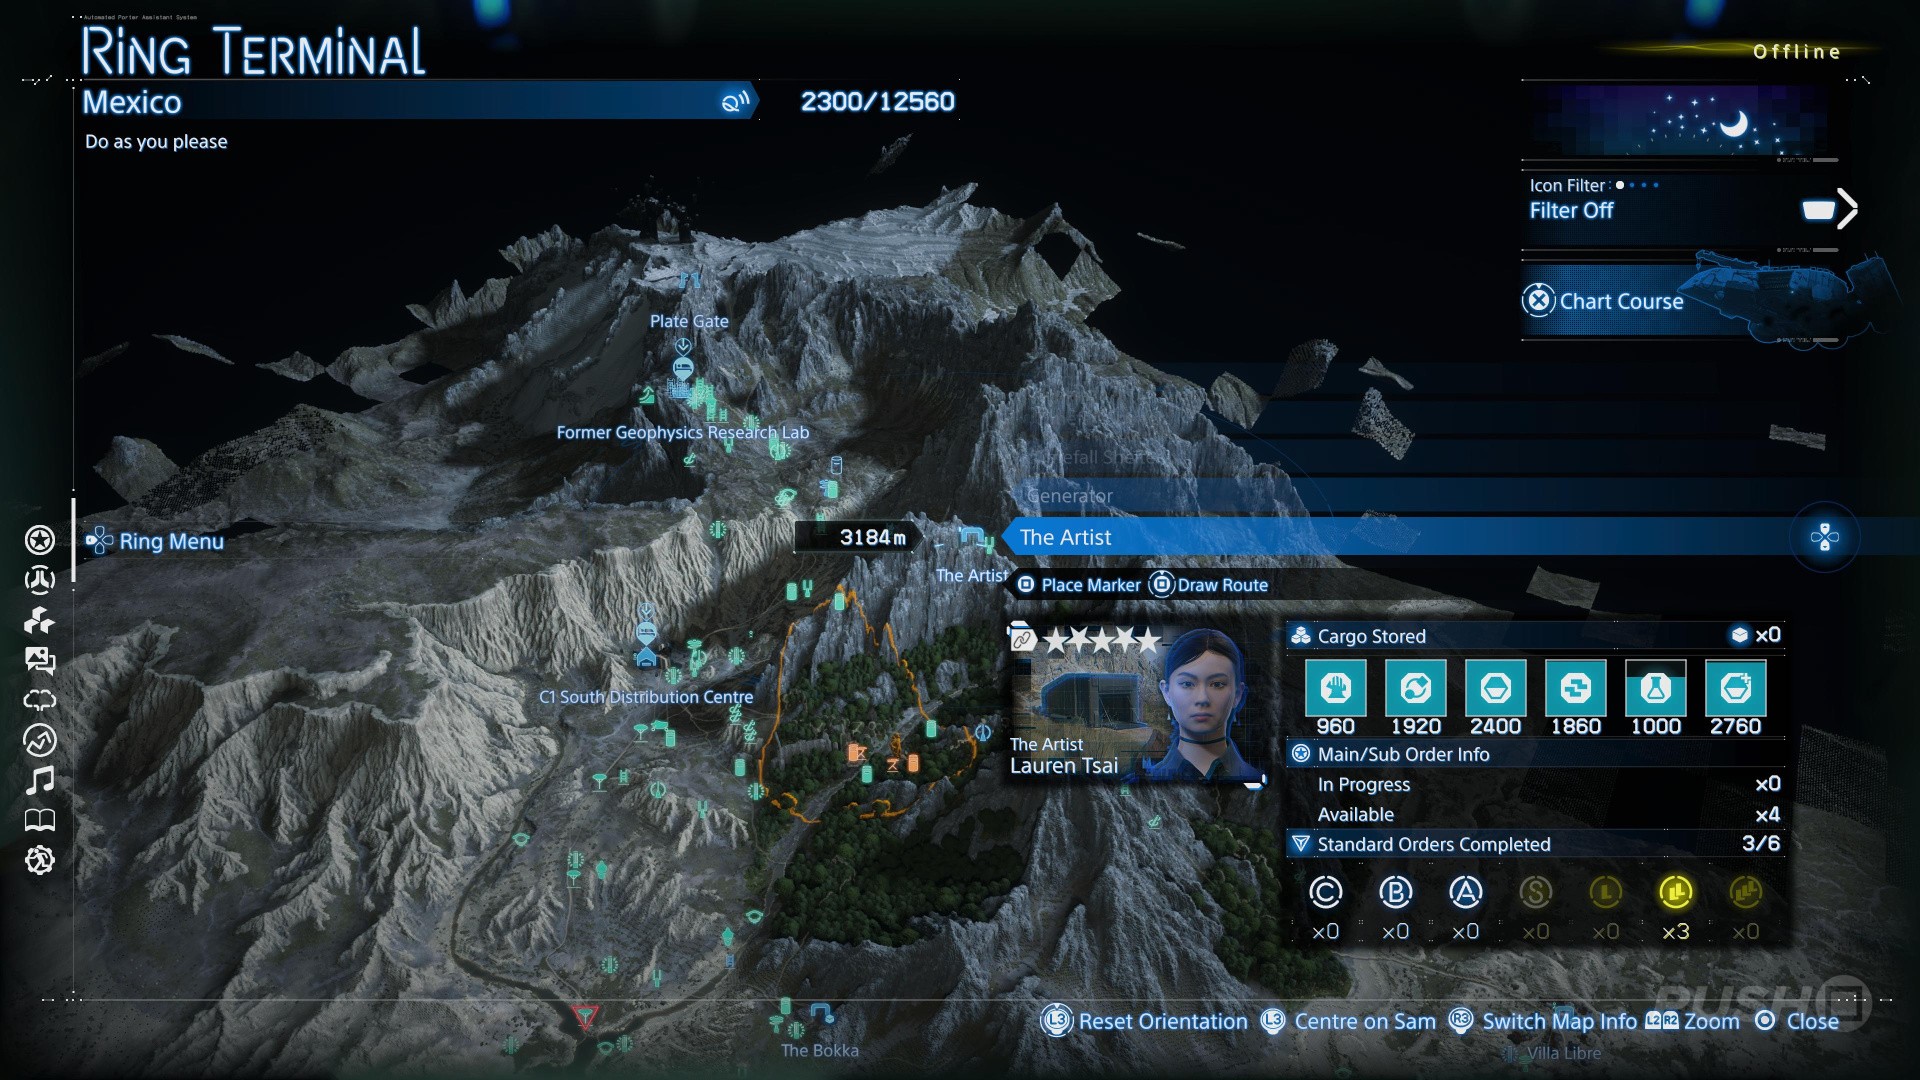
The Artist
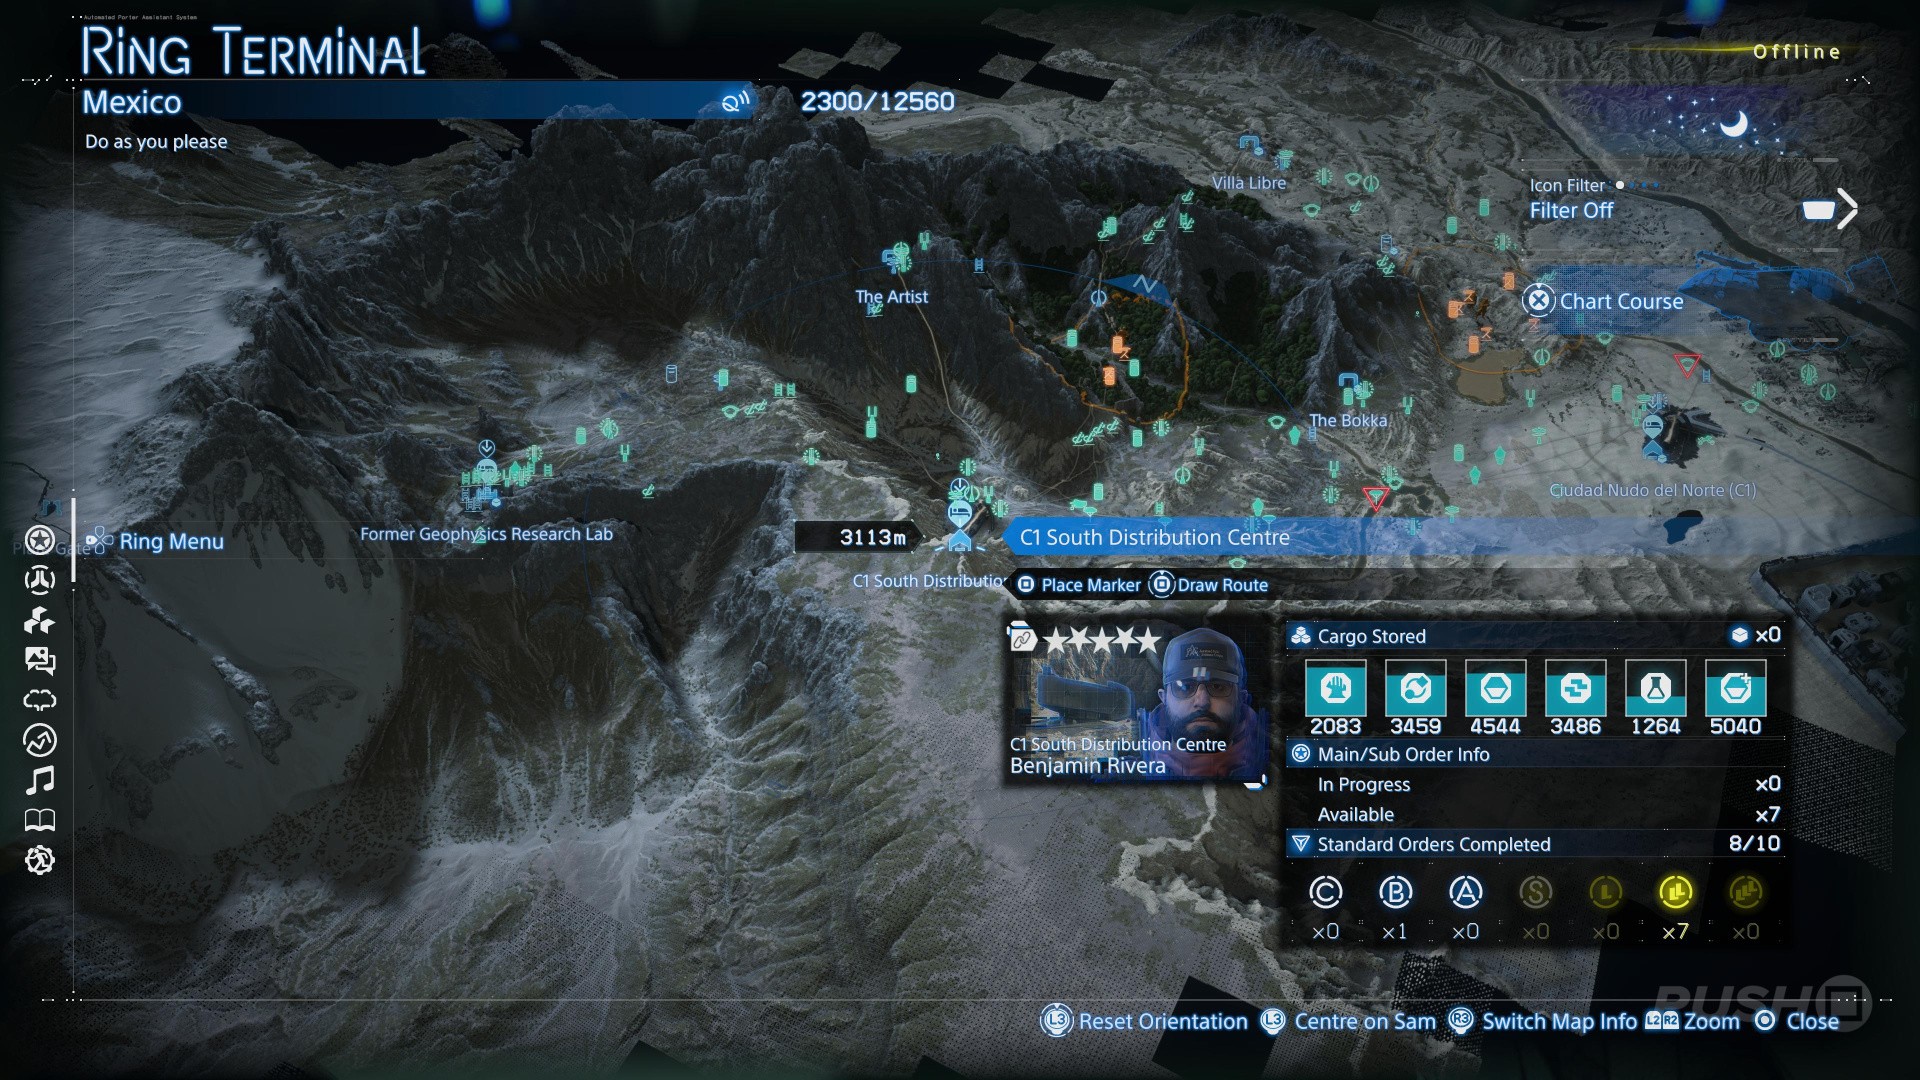
C1 South Distribution Centre
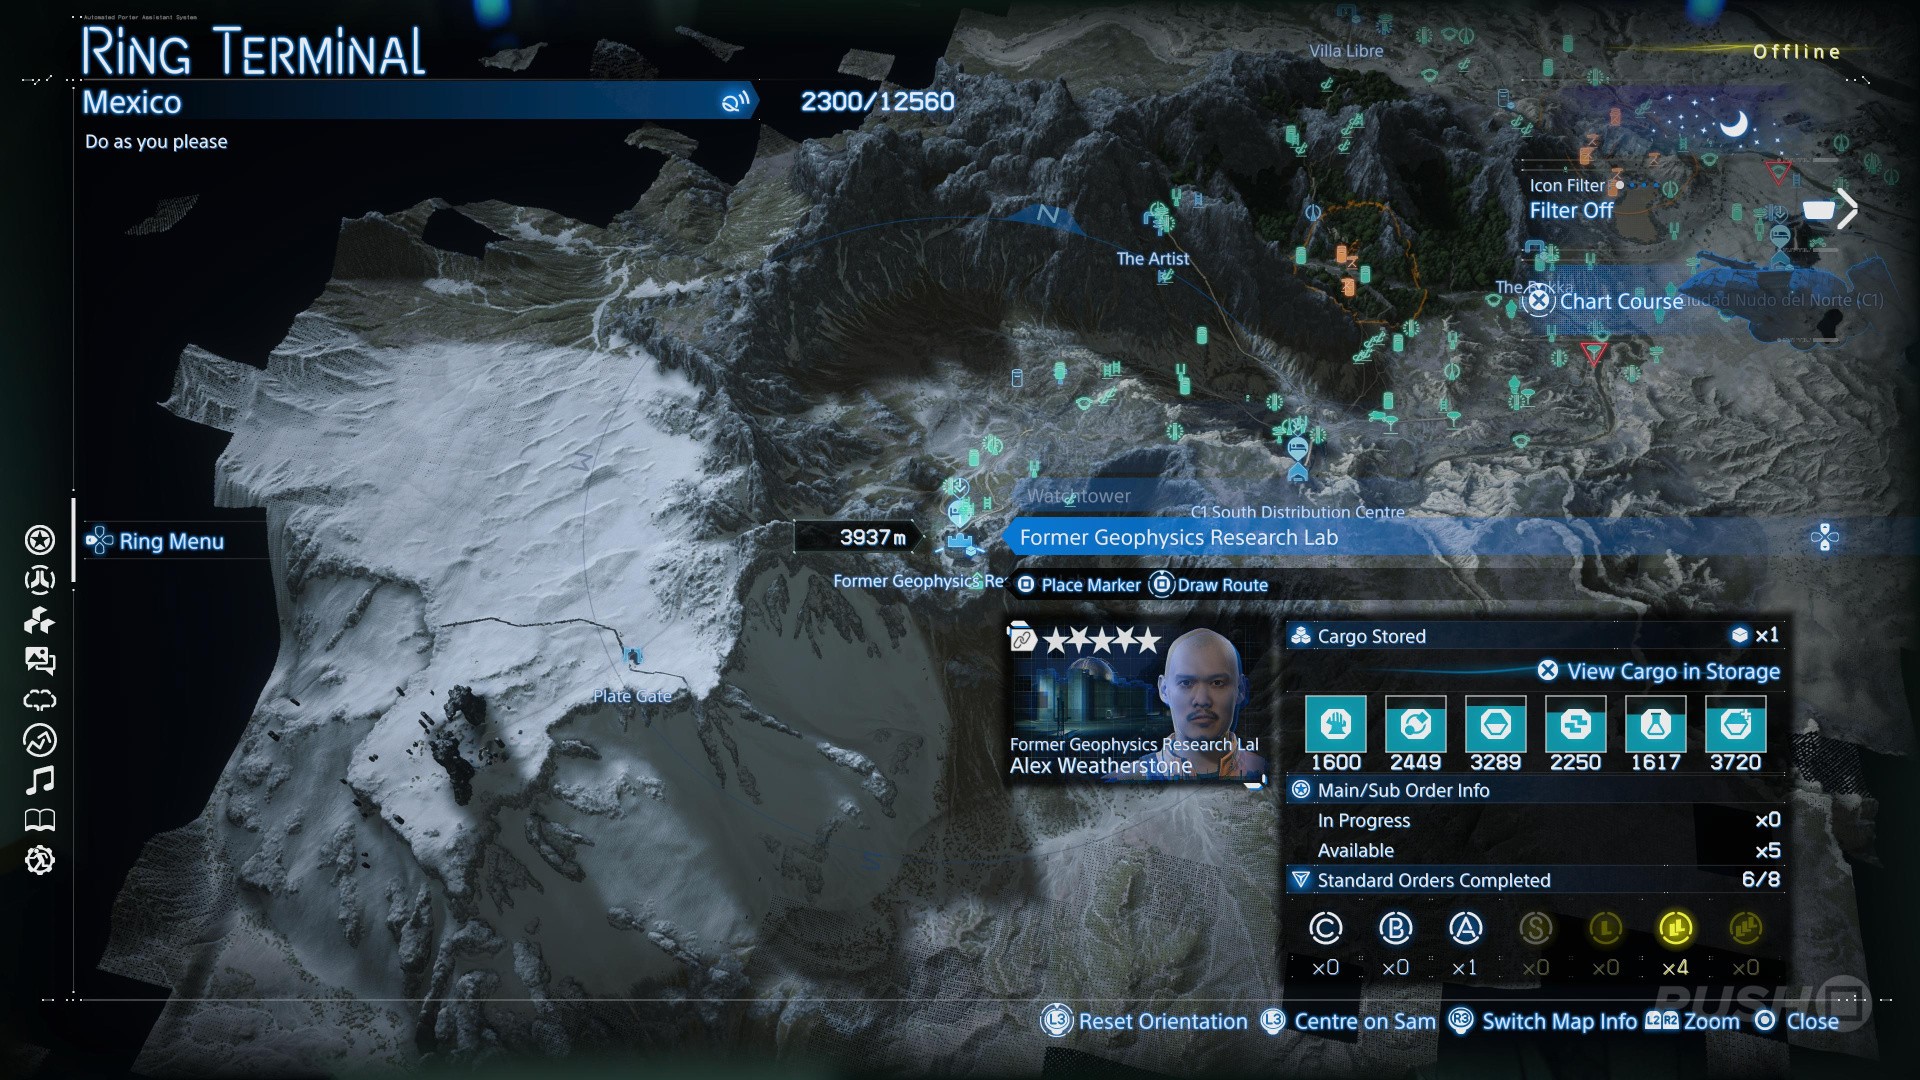
Former Geophysics Research Lab
All Facilities Locations in Australia
There are 36 Facilities to find in Australia. Below you will find all Facilities locations in Australia, in the order you should encounter them naturally.
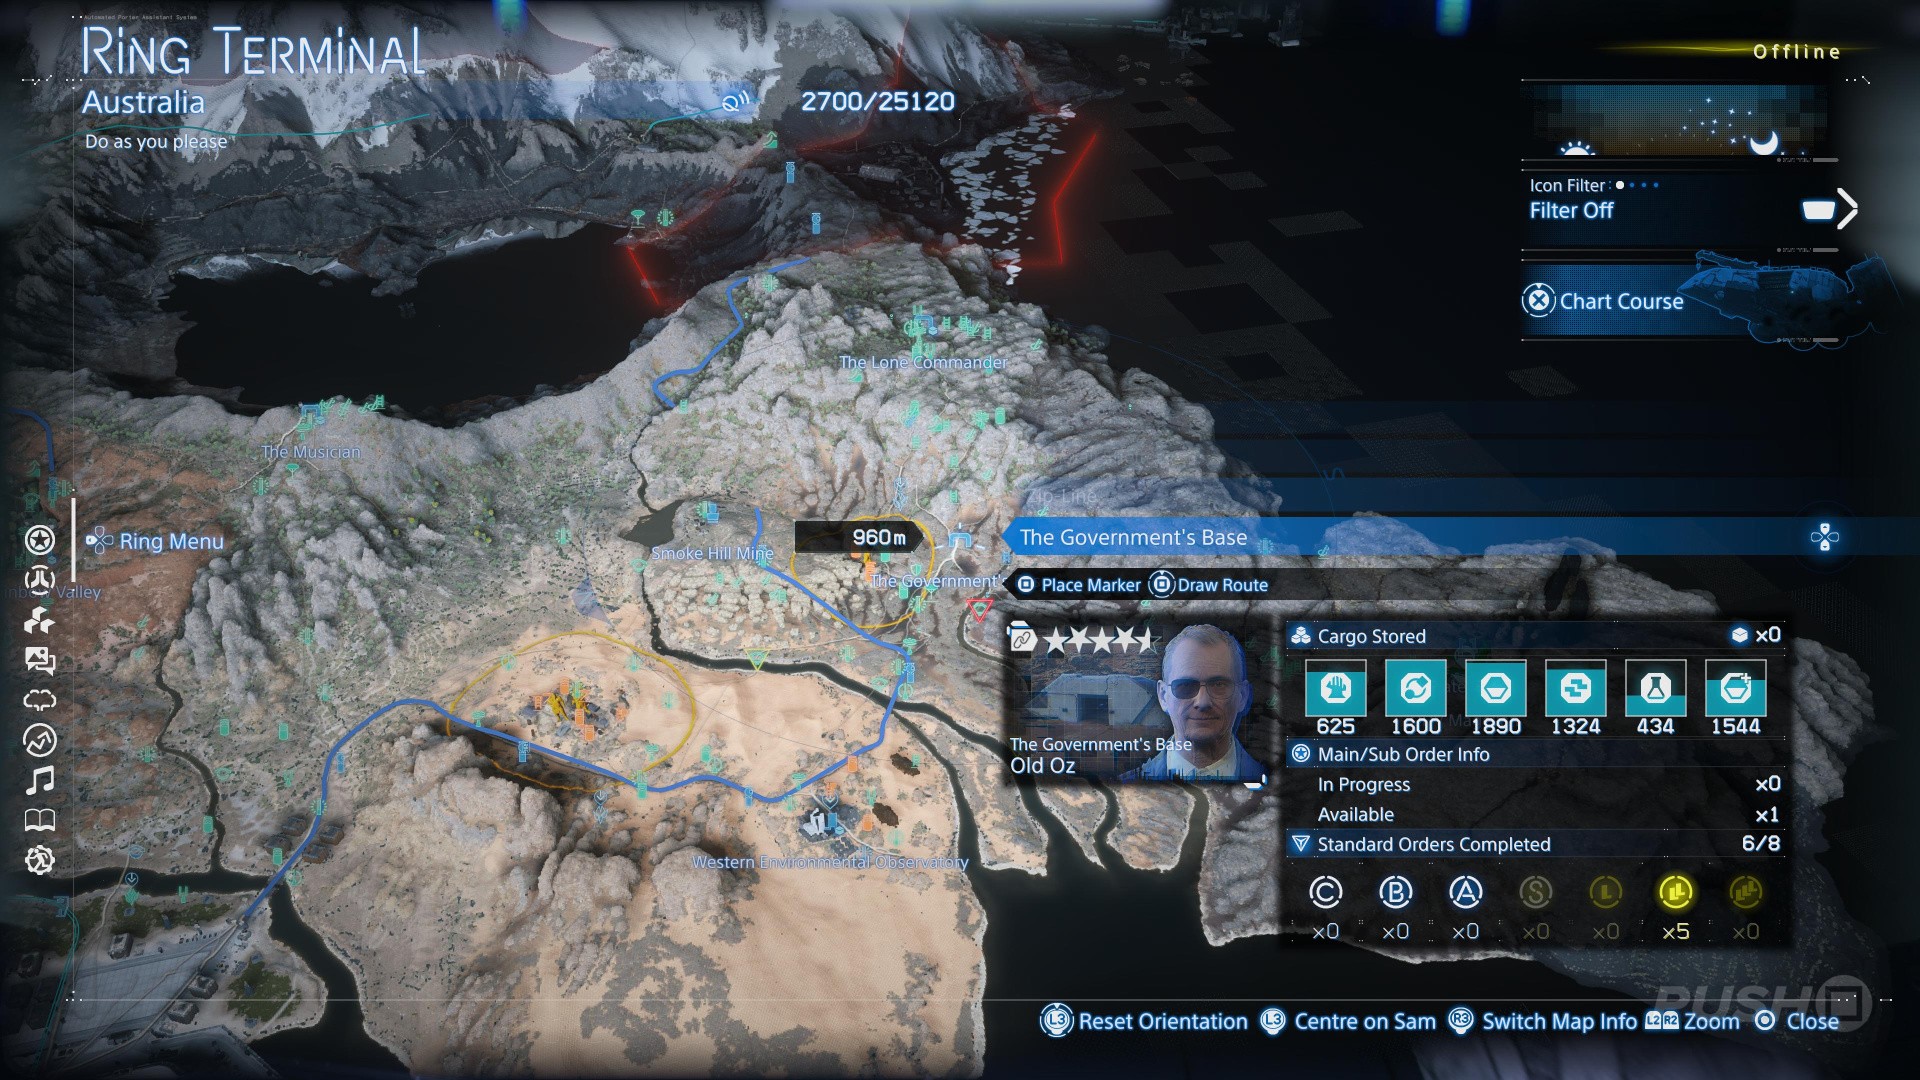
The Government's Base
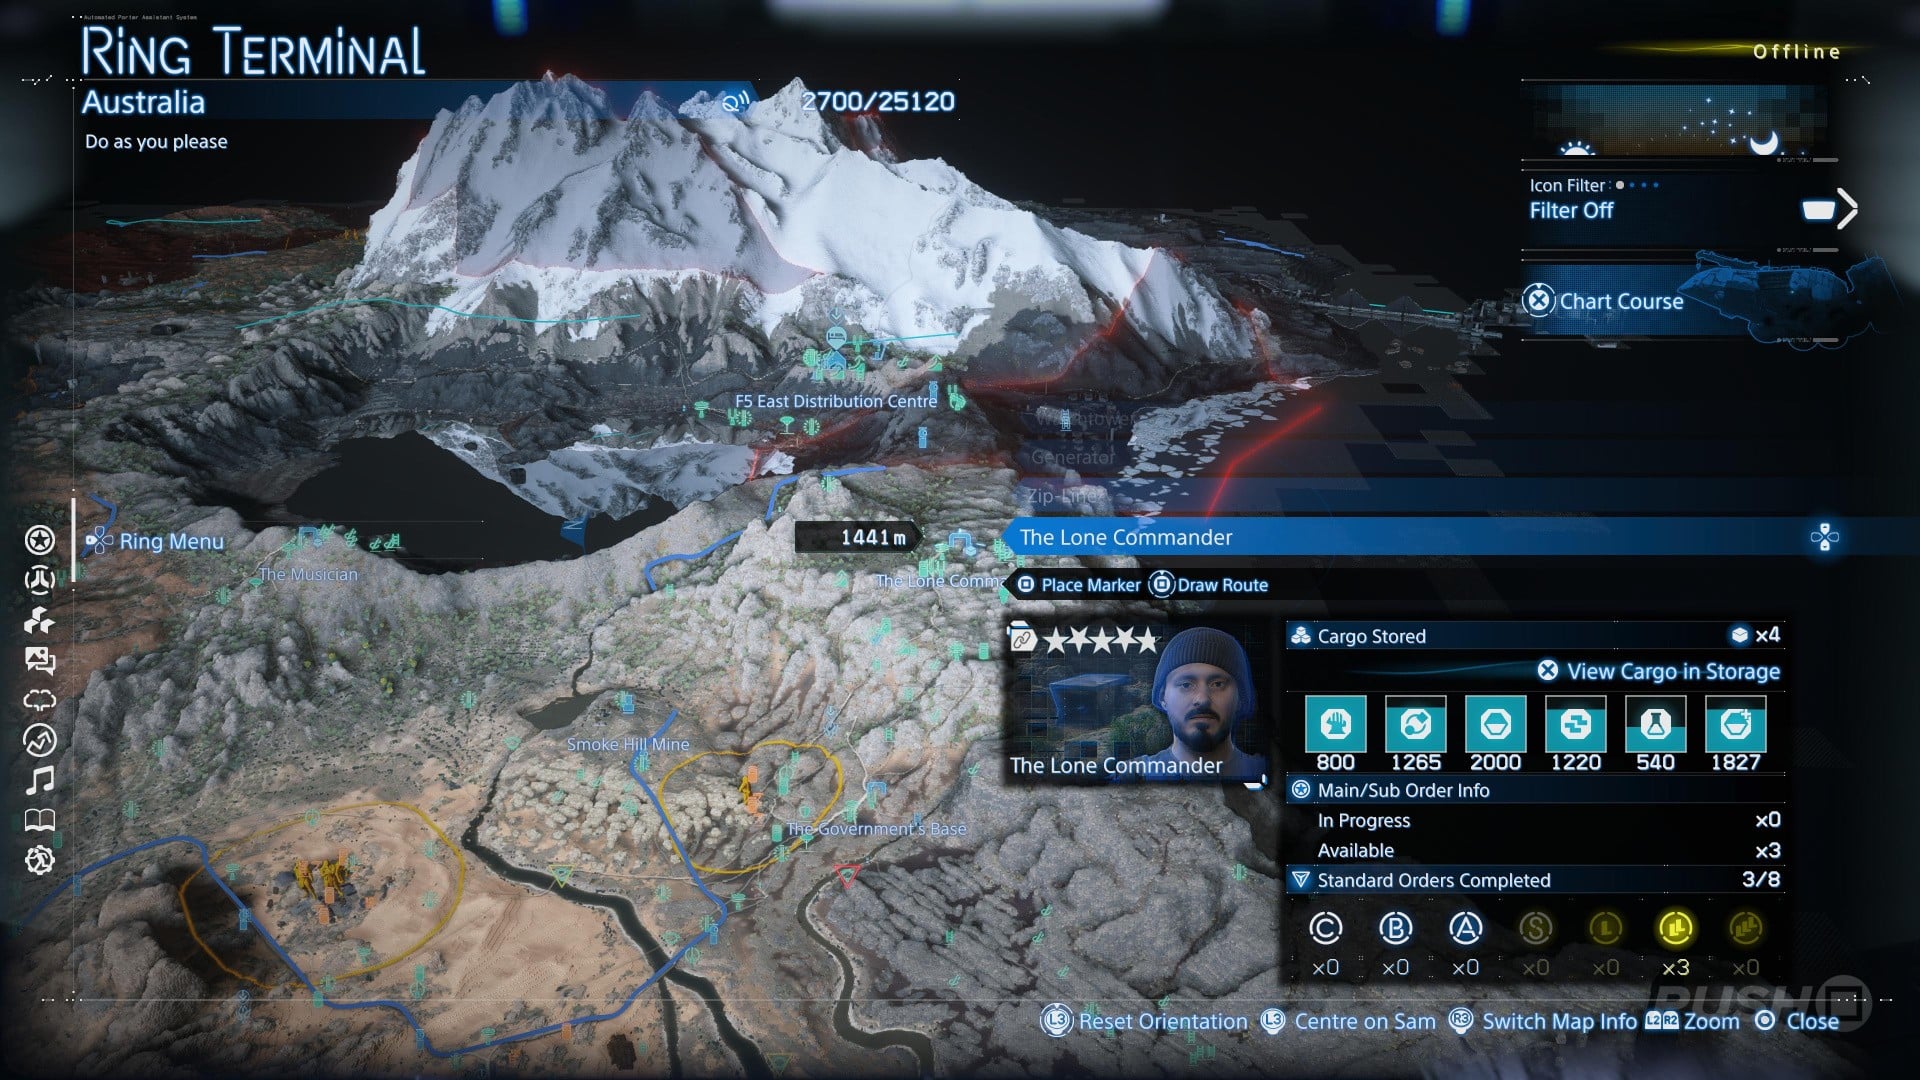
The Lone Commander
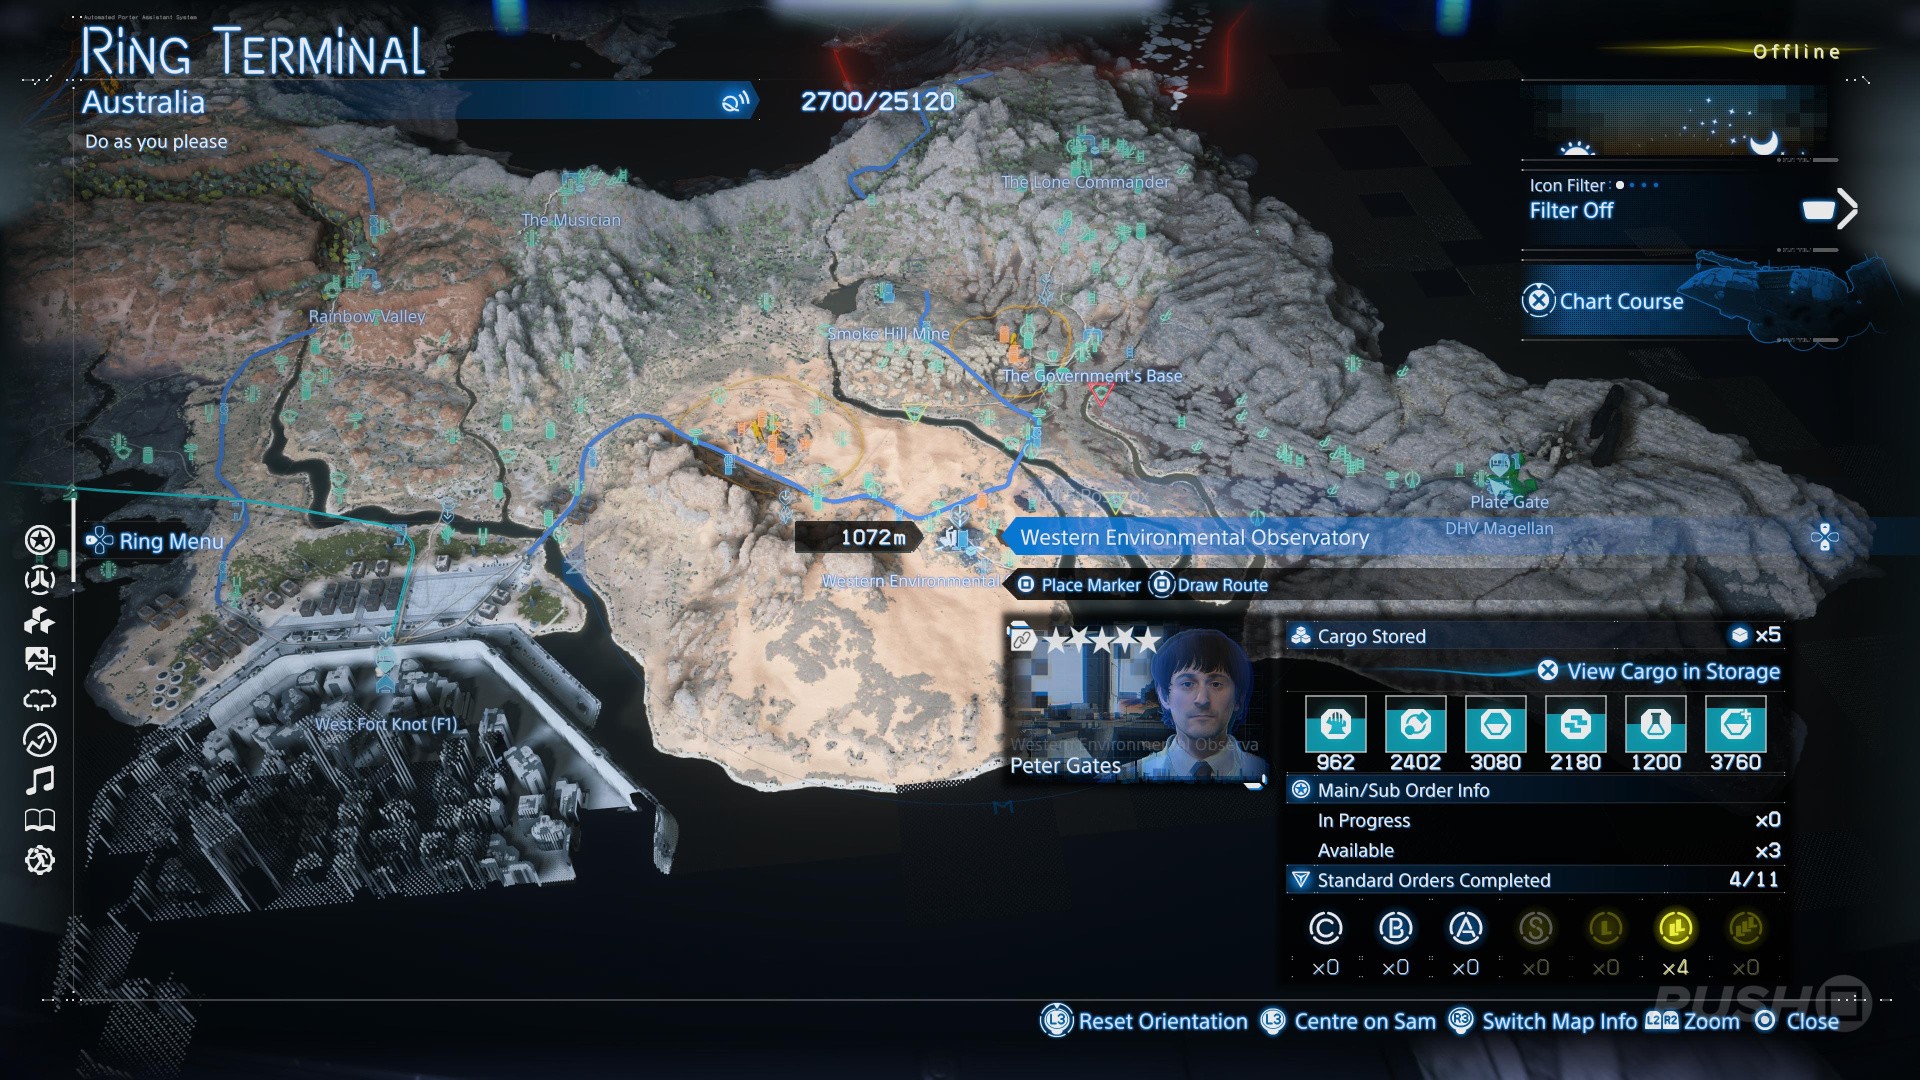
Western Environmental Observatory
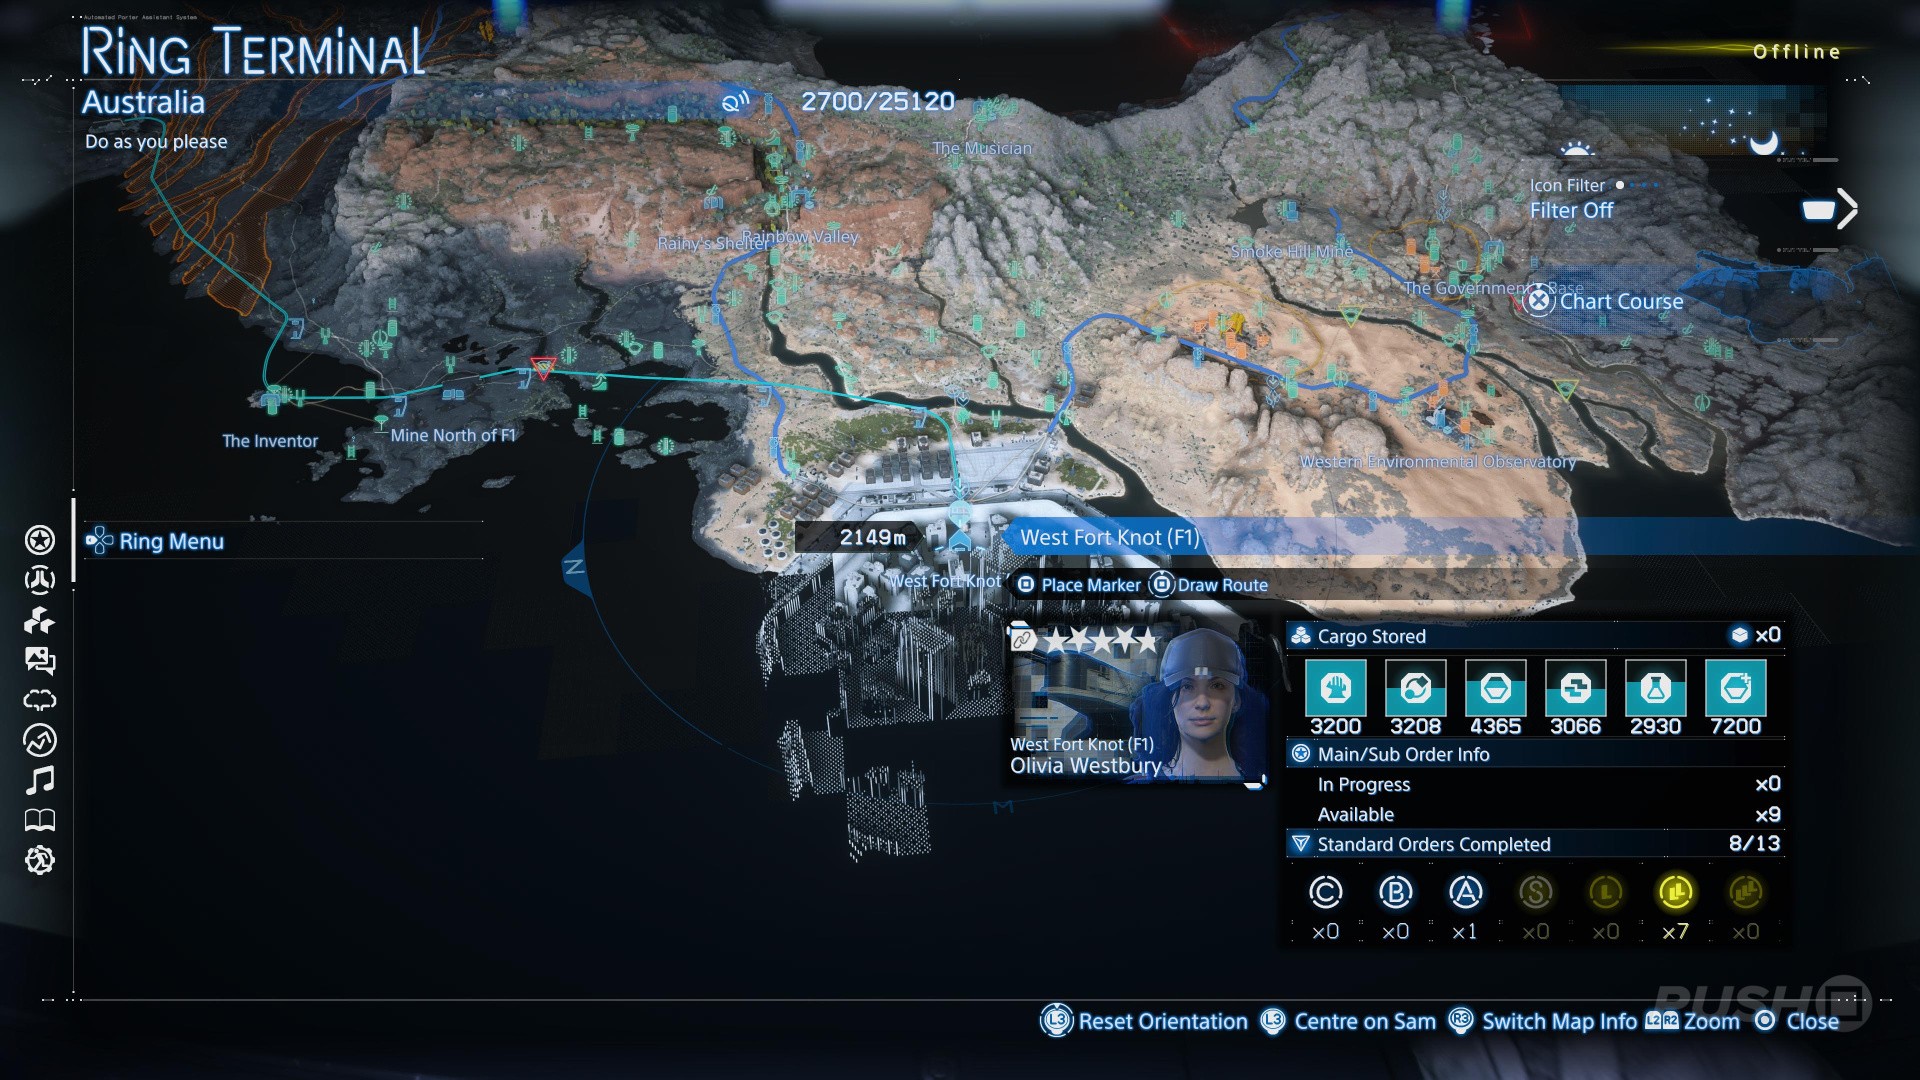
West Fort Knot (F1)
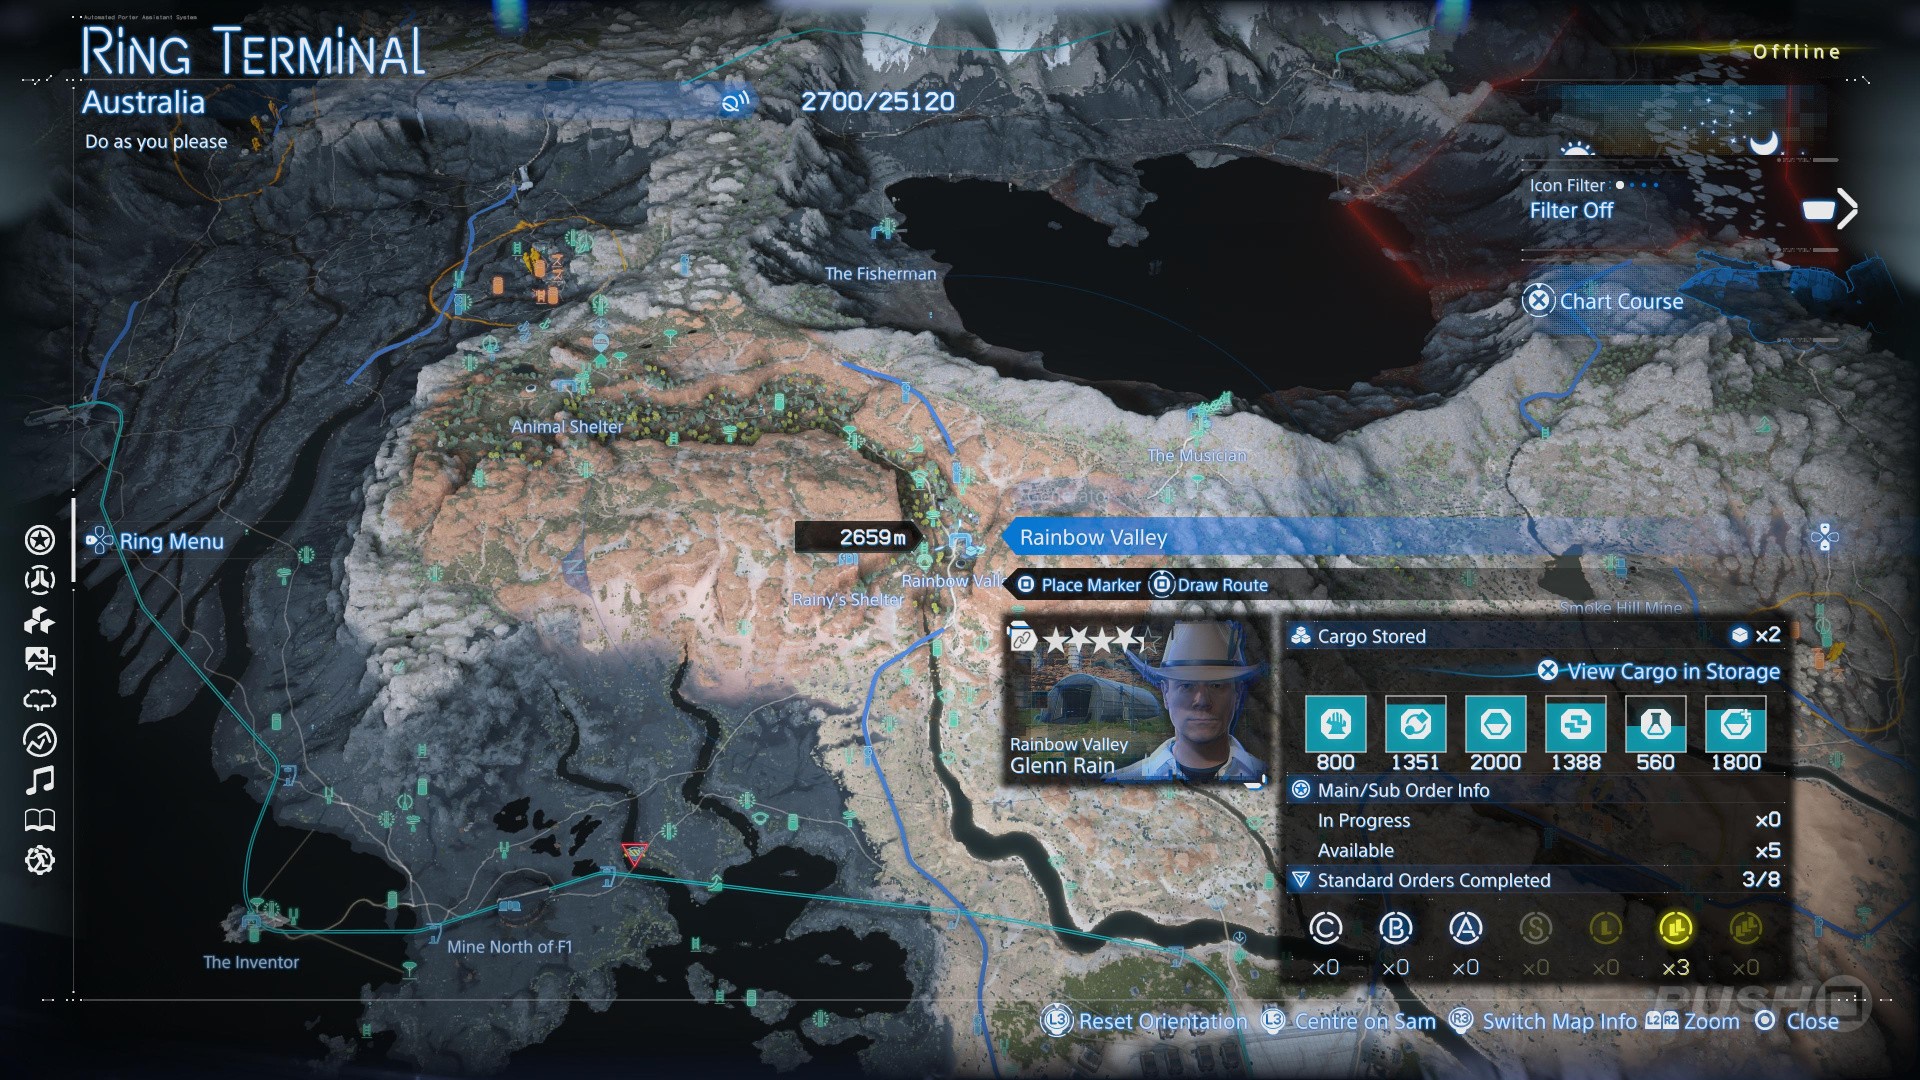
Rainbow Valley
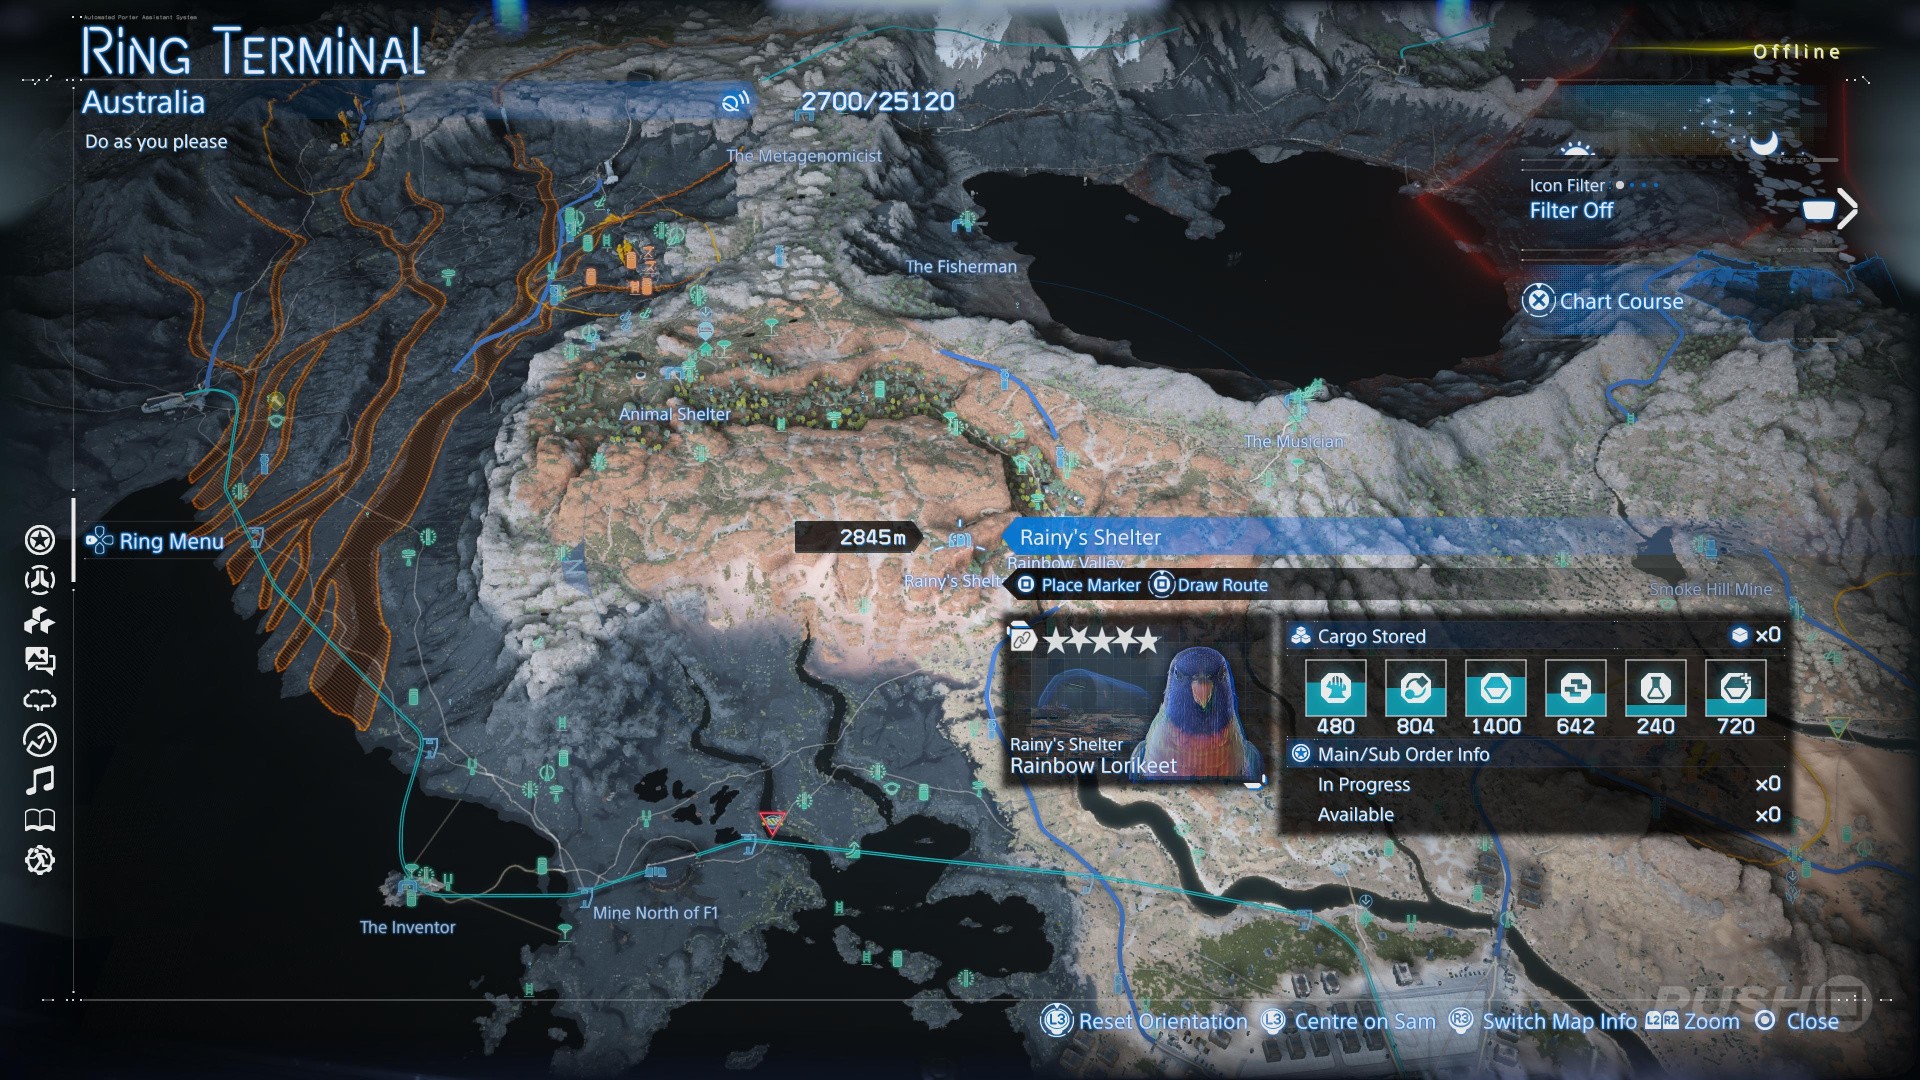
Rainy's Shelter
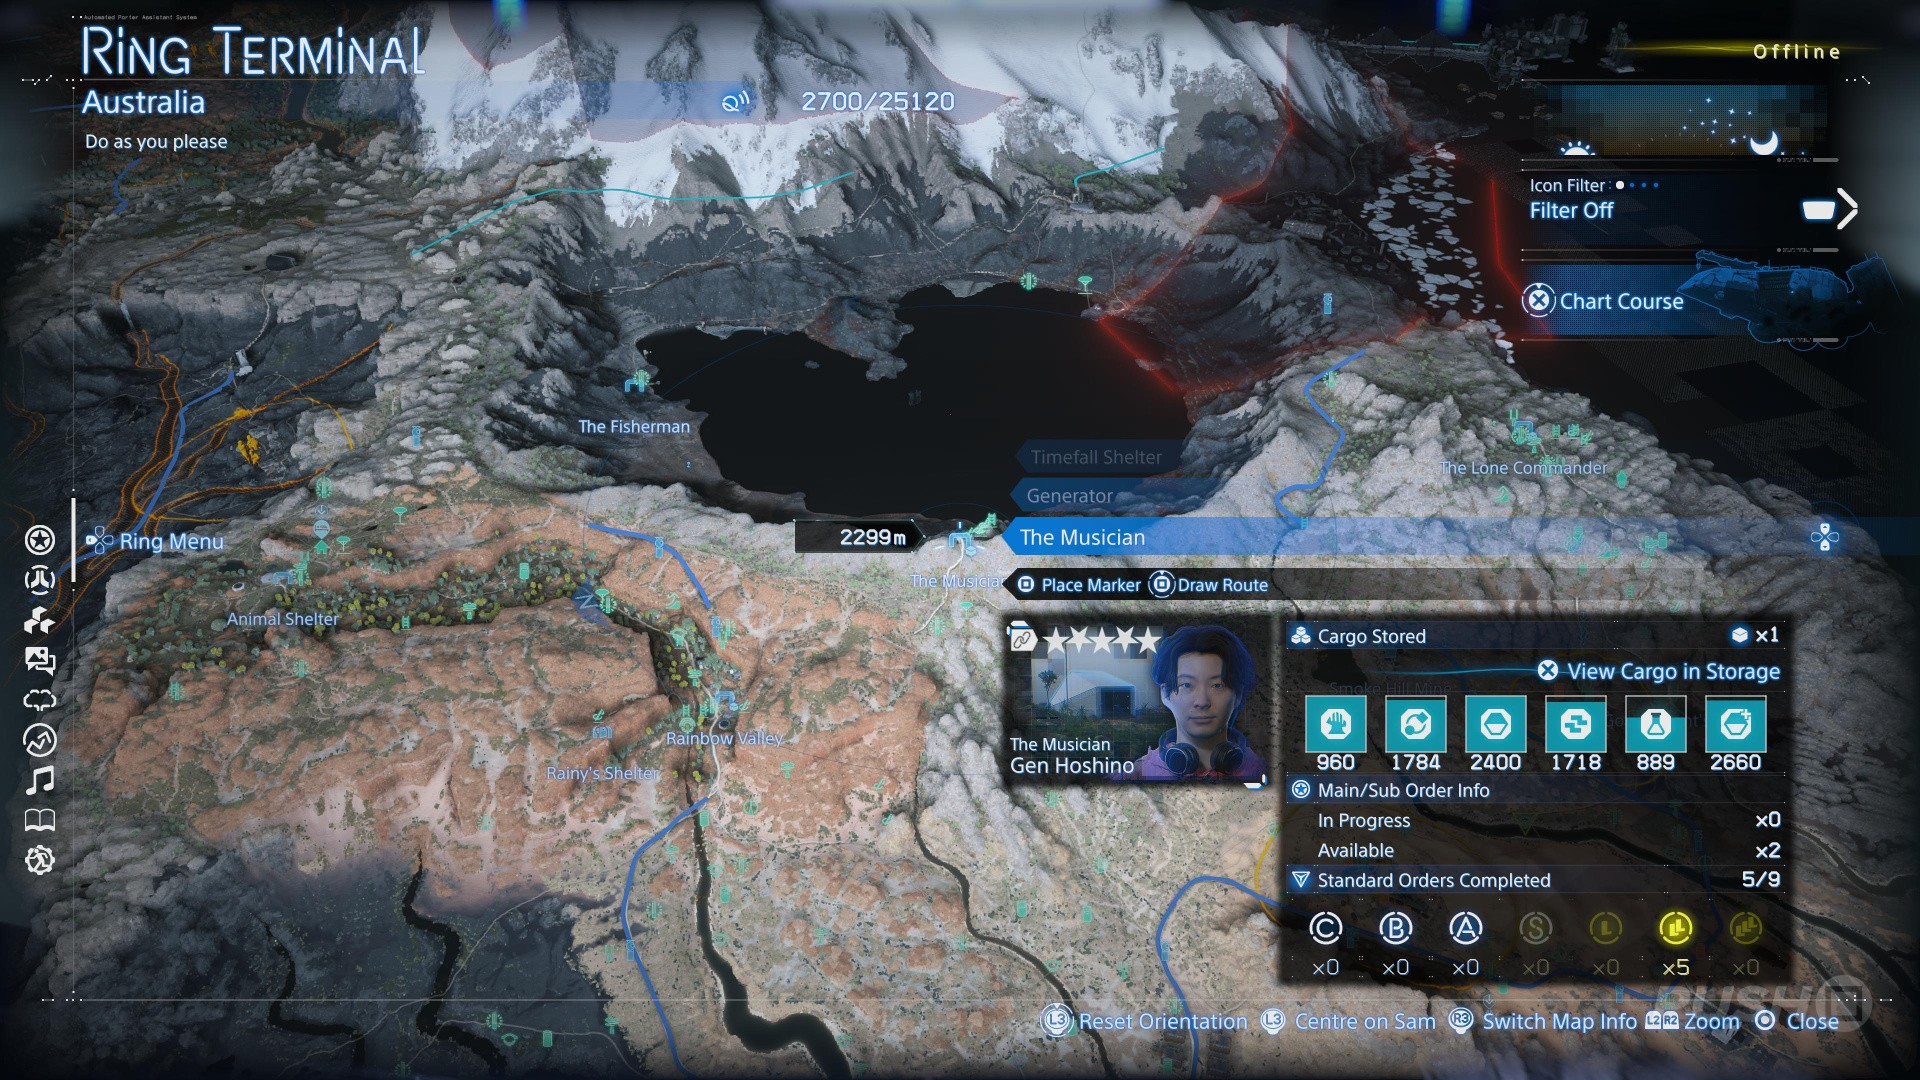
The Musician
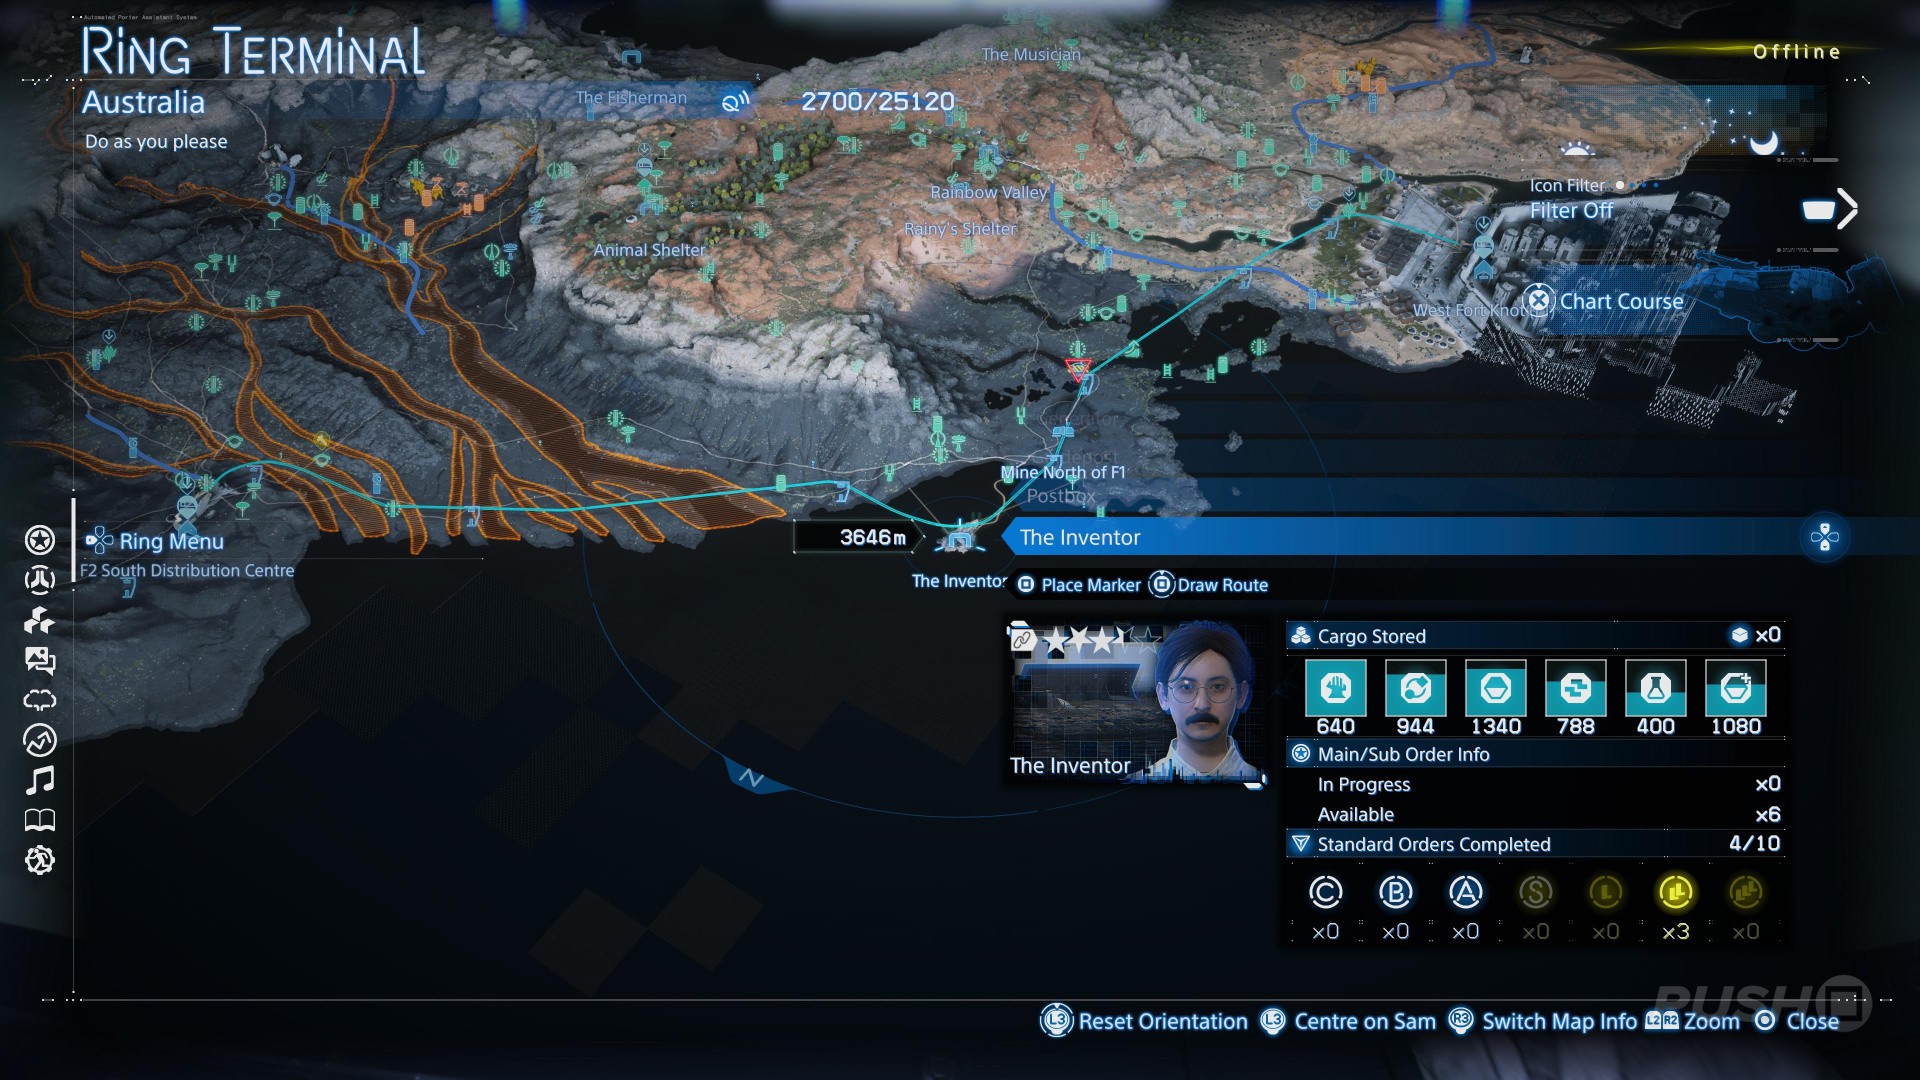
The Inventor
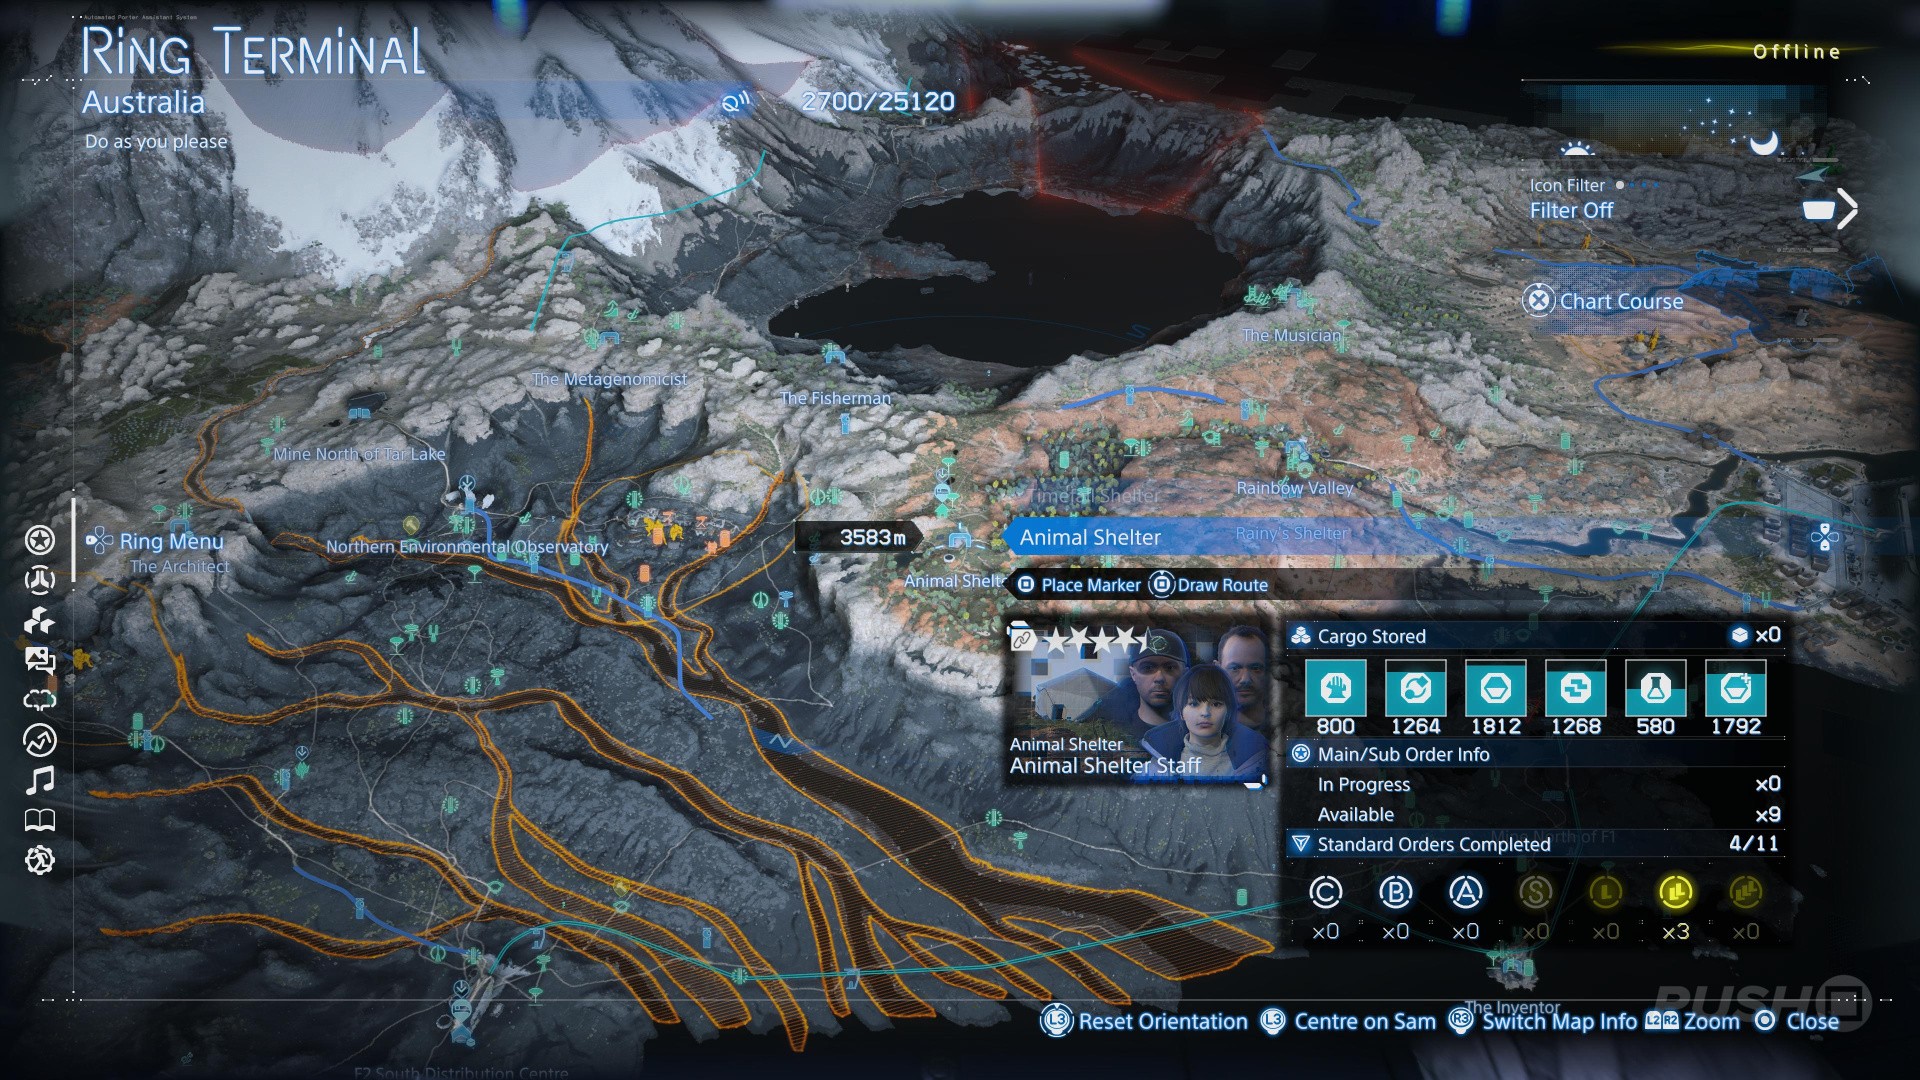
Animal Shelter
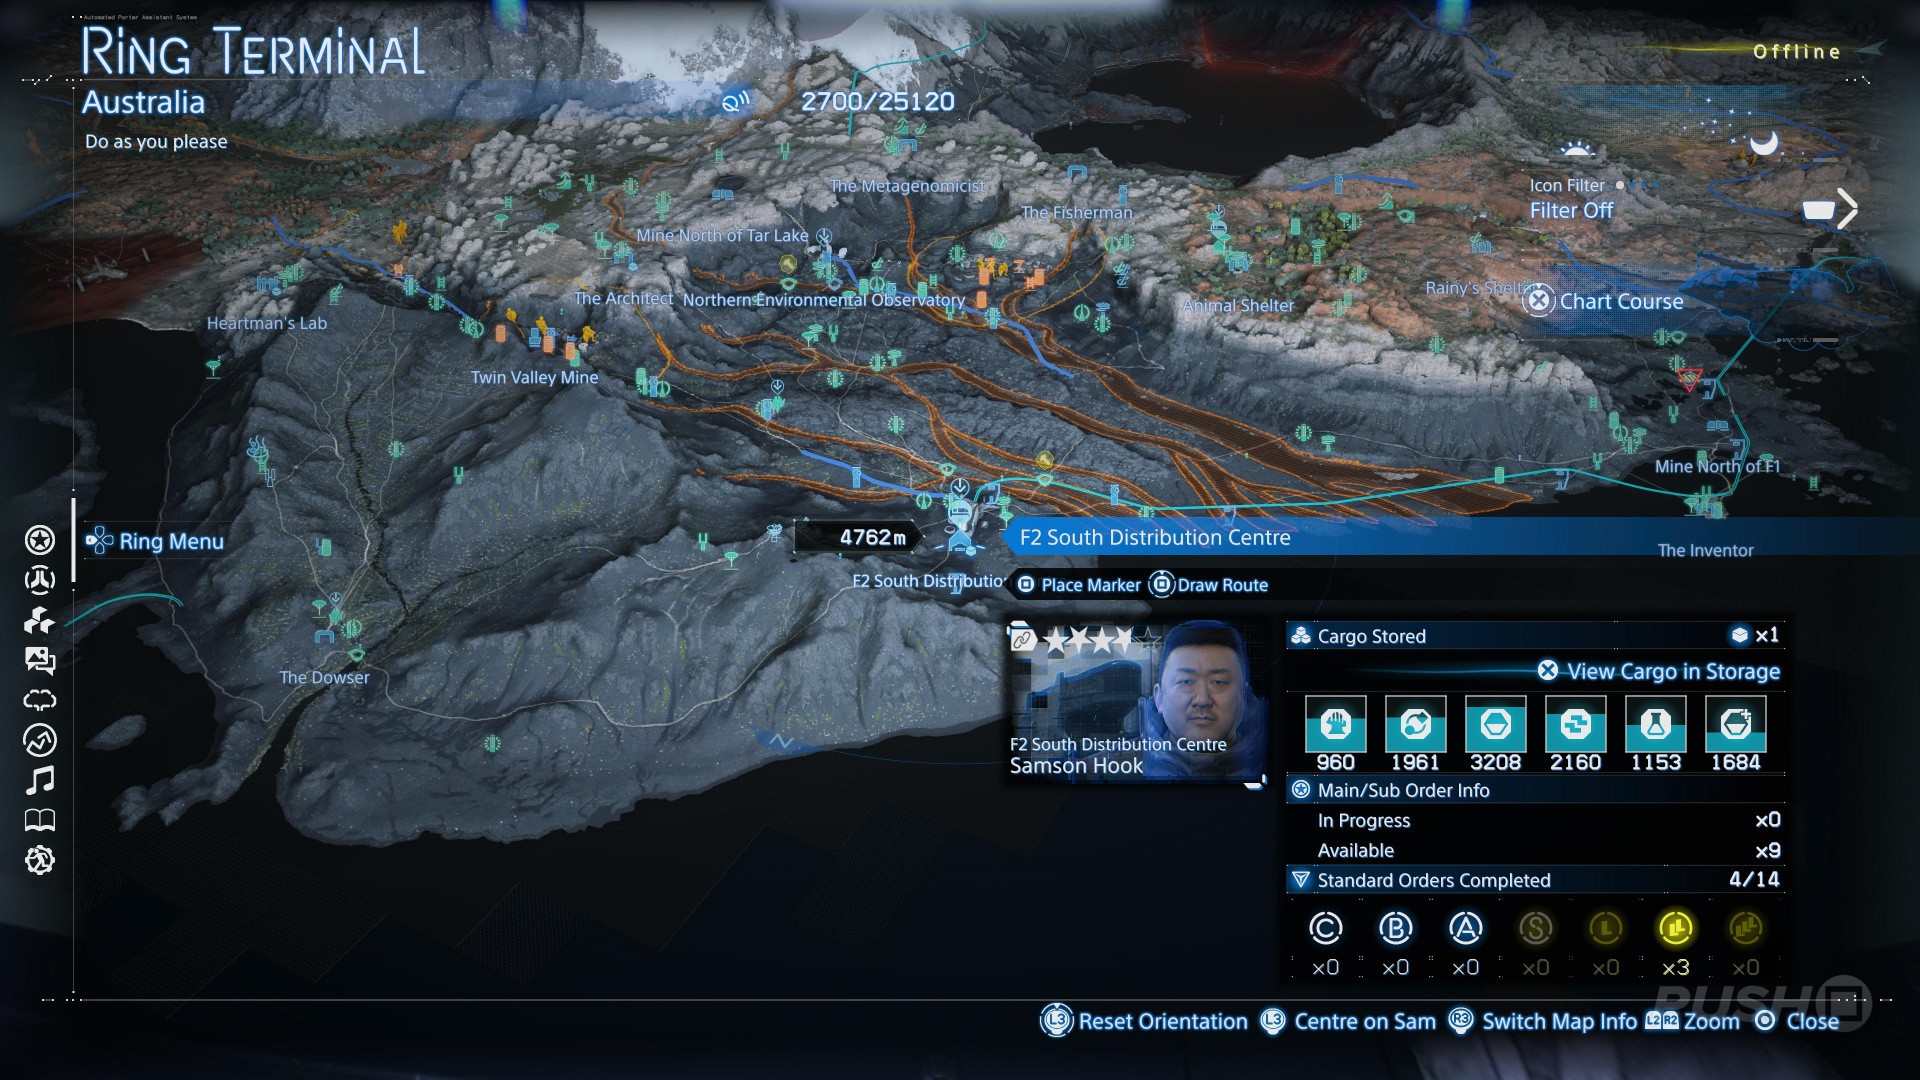
F2 South Distribution Centre
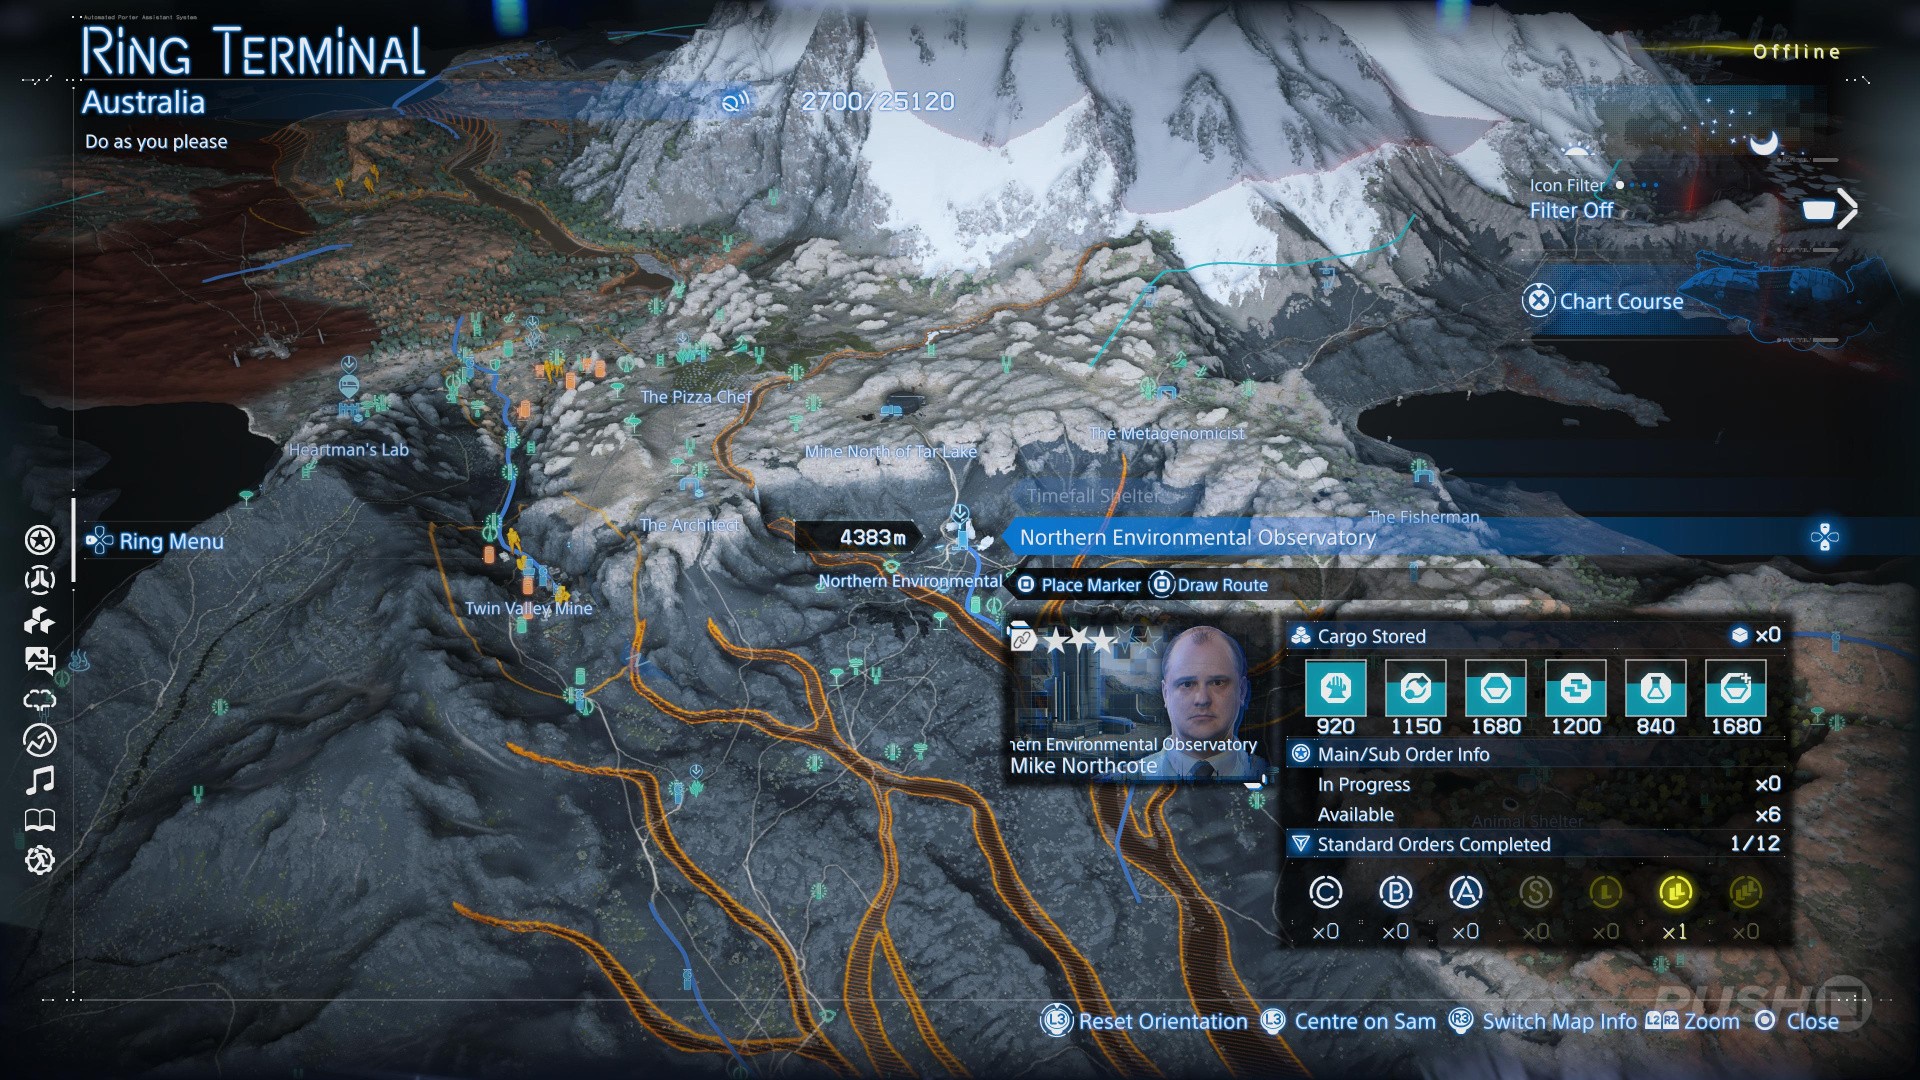
Northern Environmental Observatory
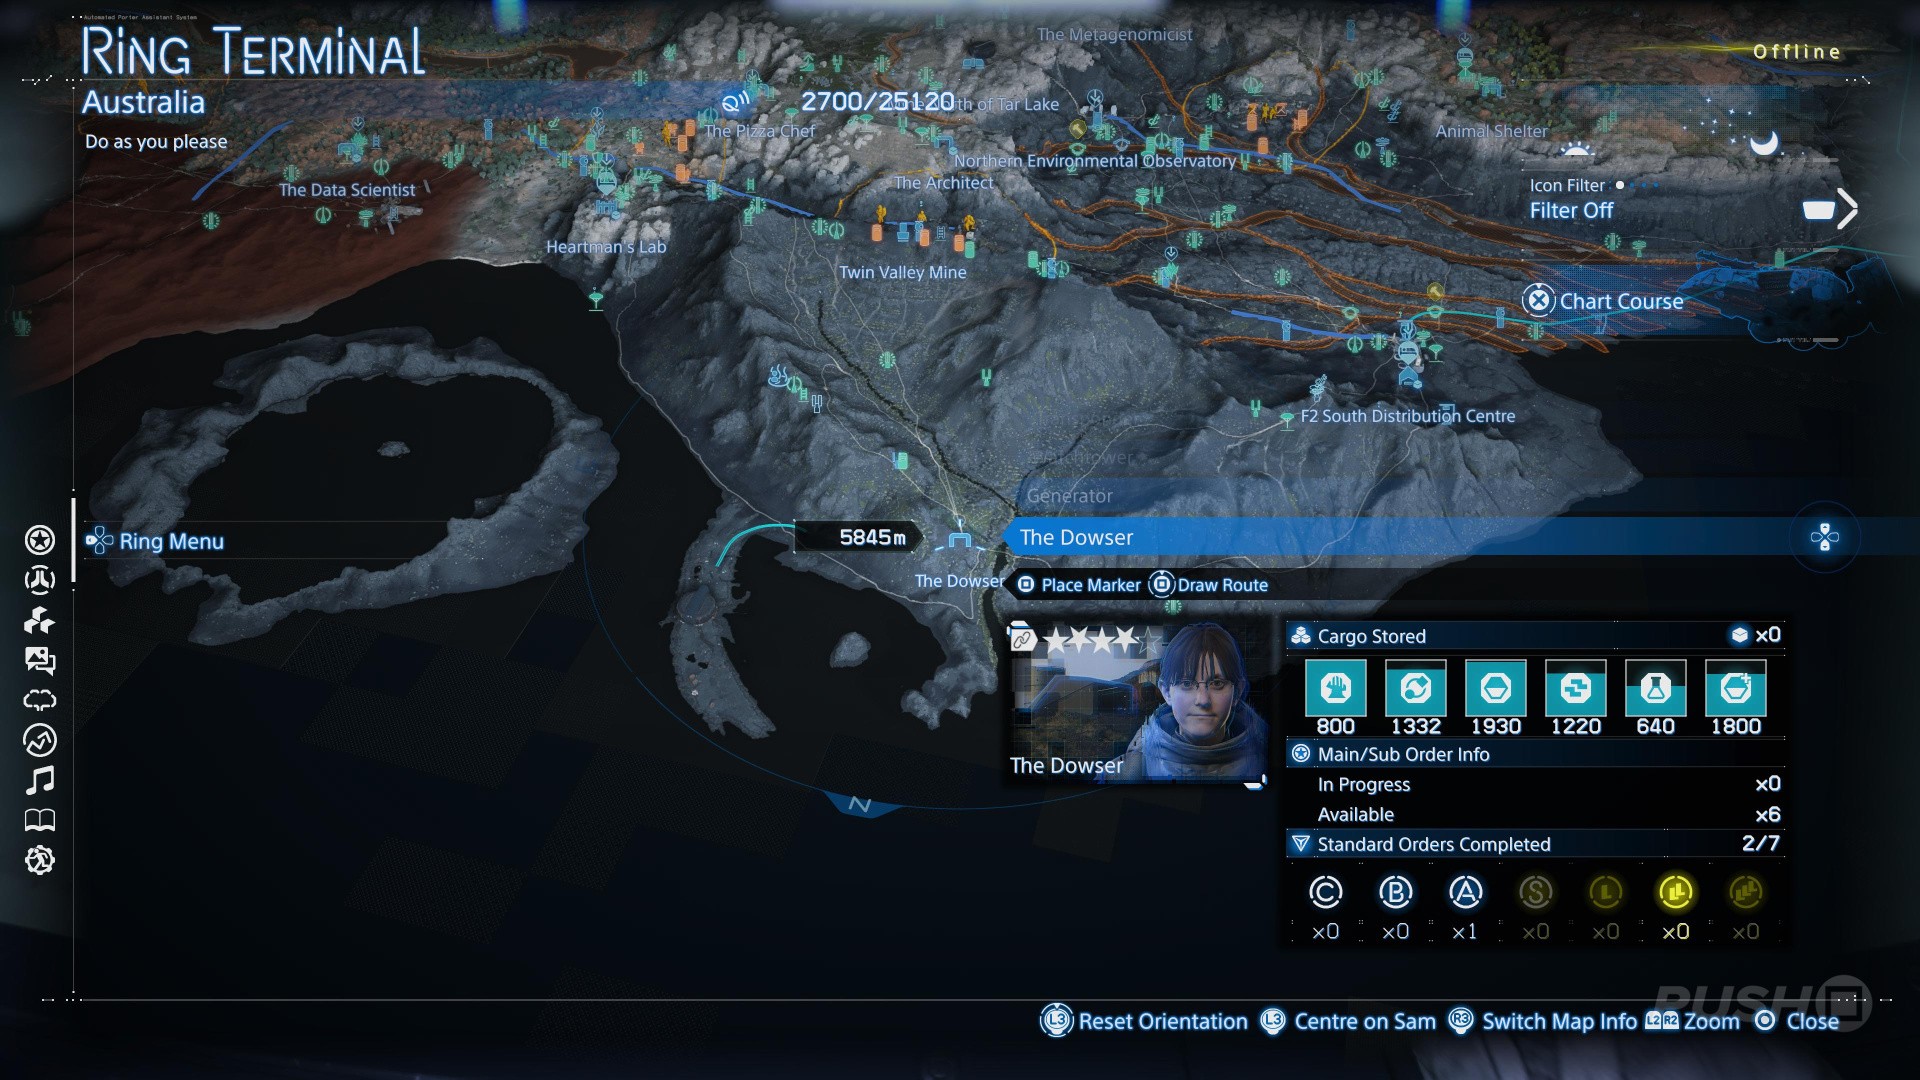
The Dowser
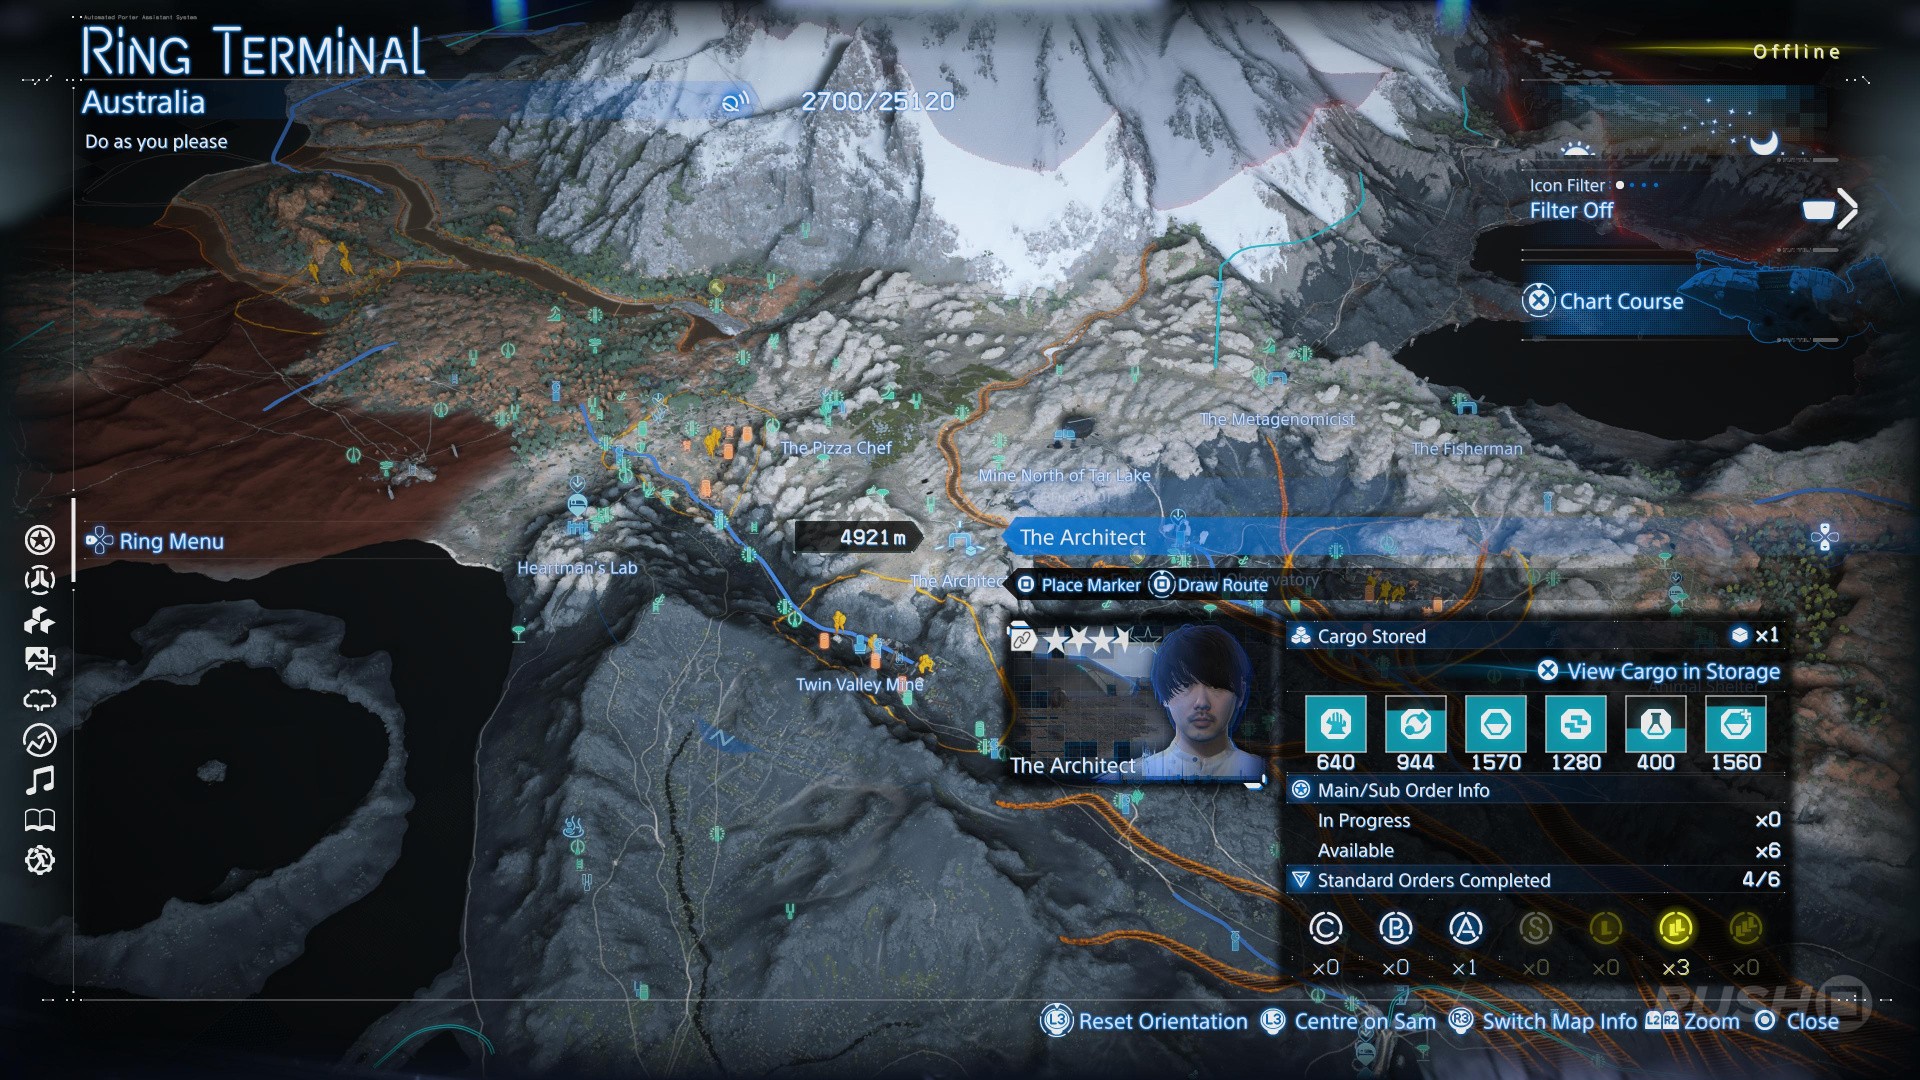
The Architect
The Metagenomicist

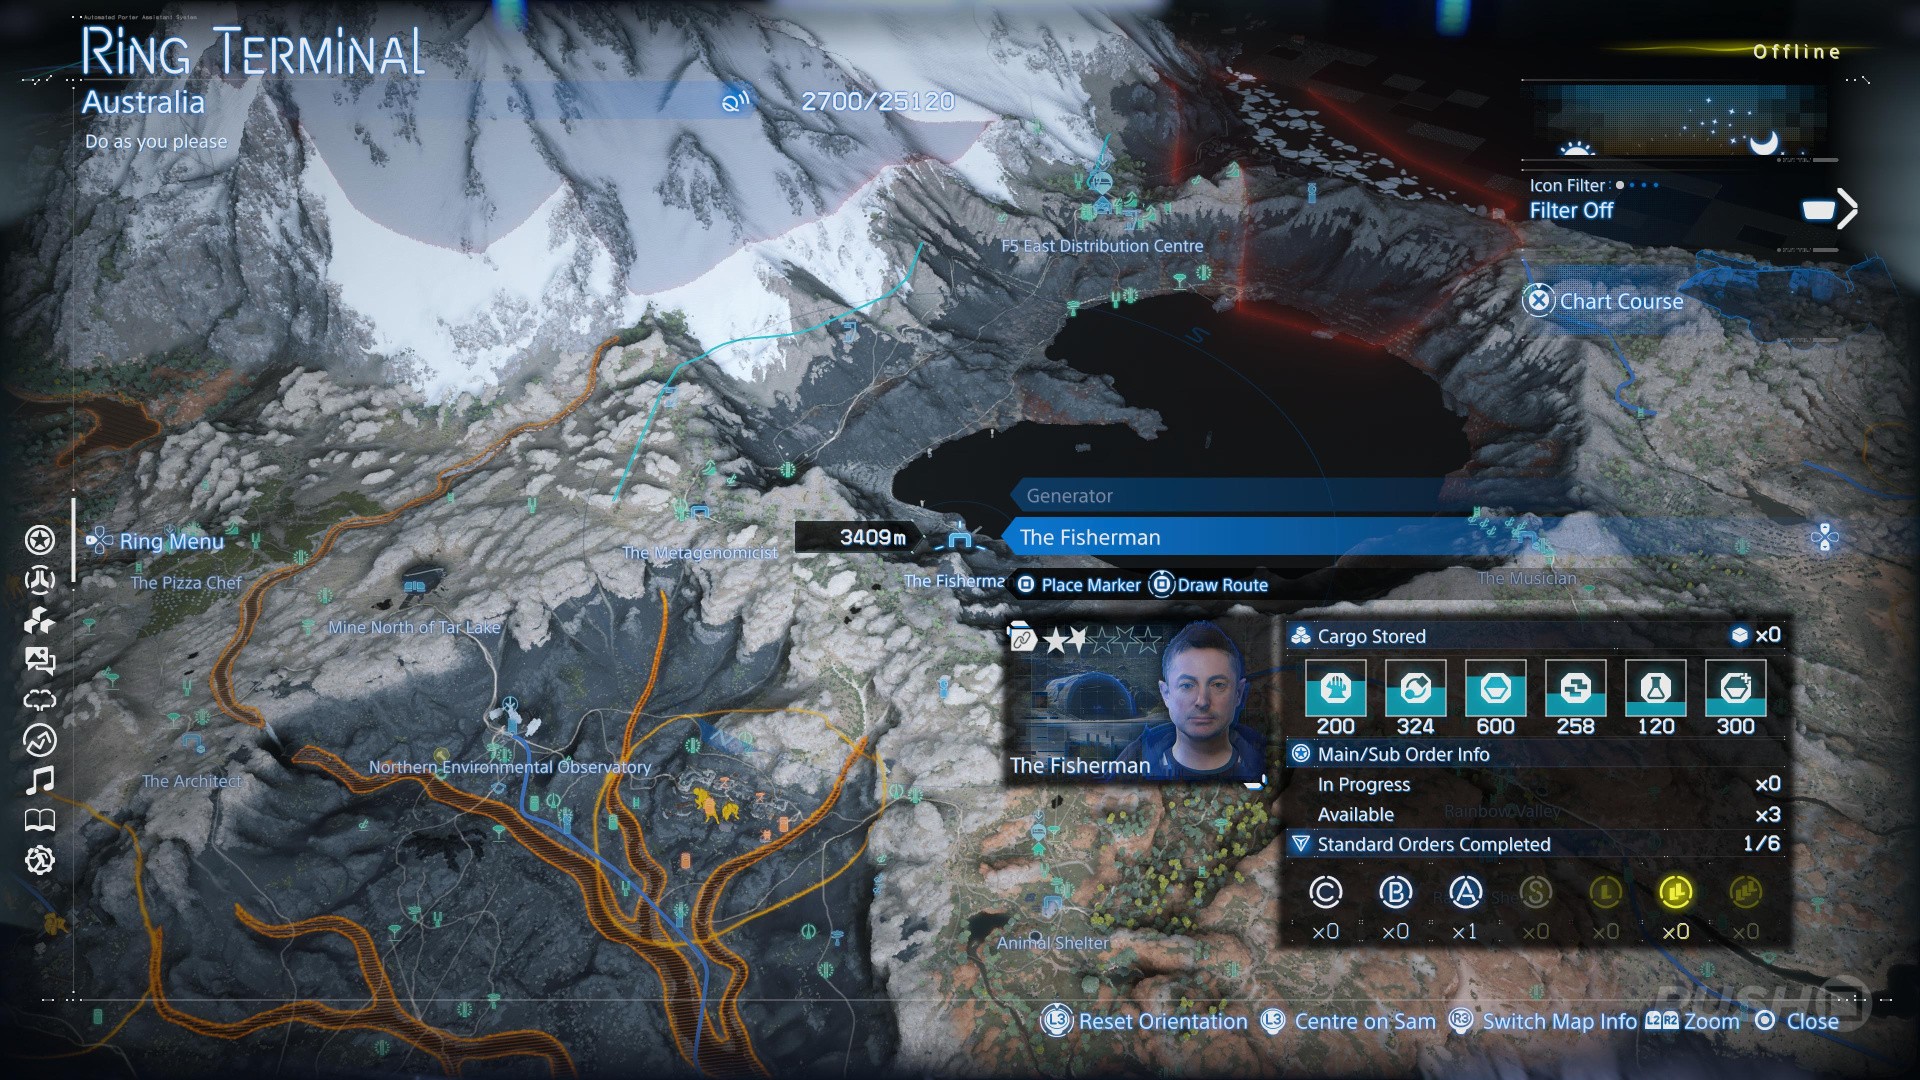
The Fisherman
Heartman's Lab

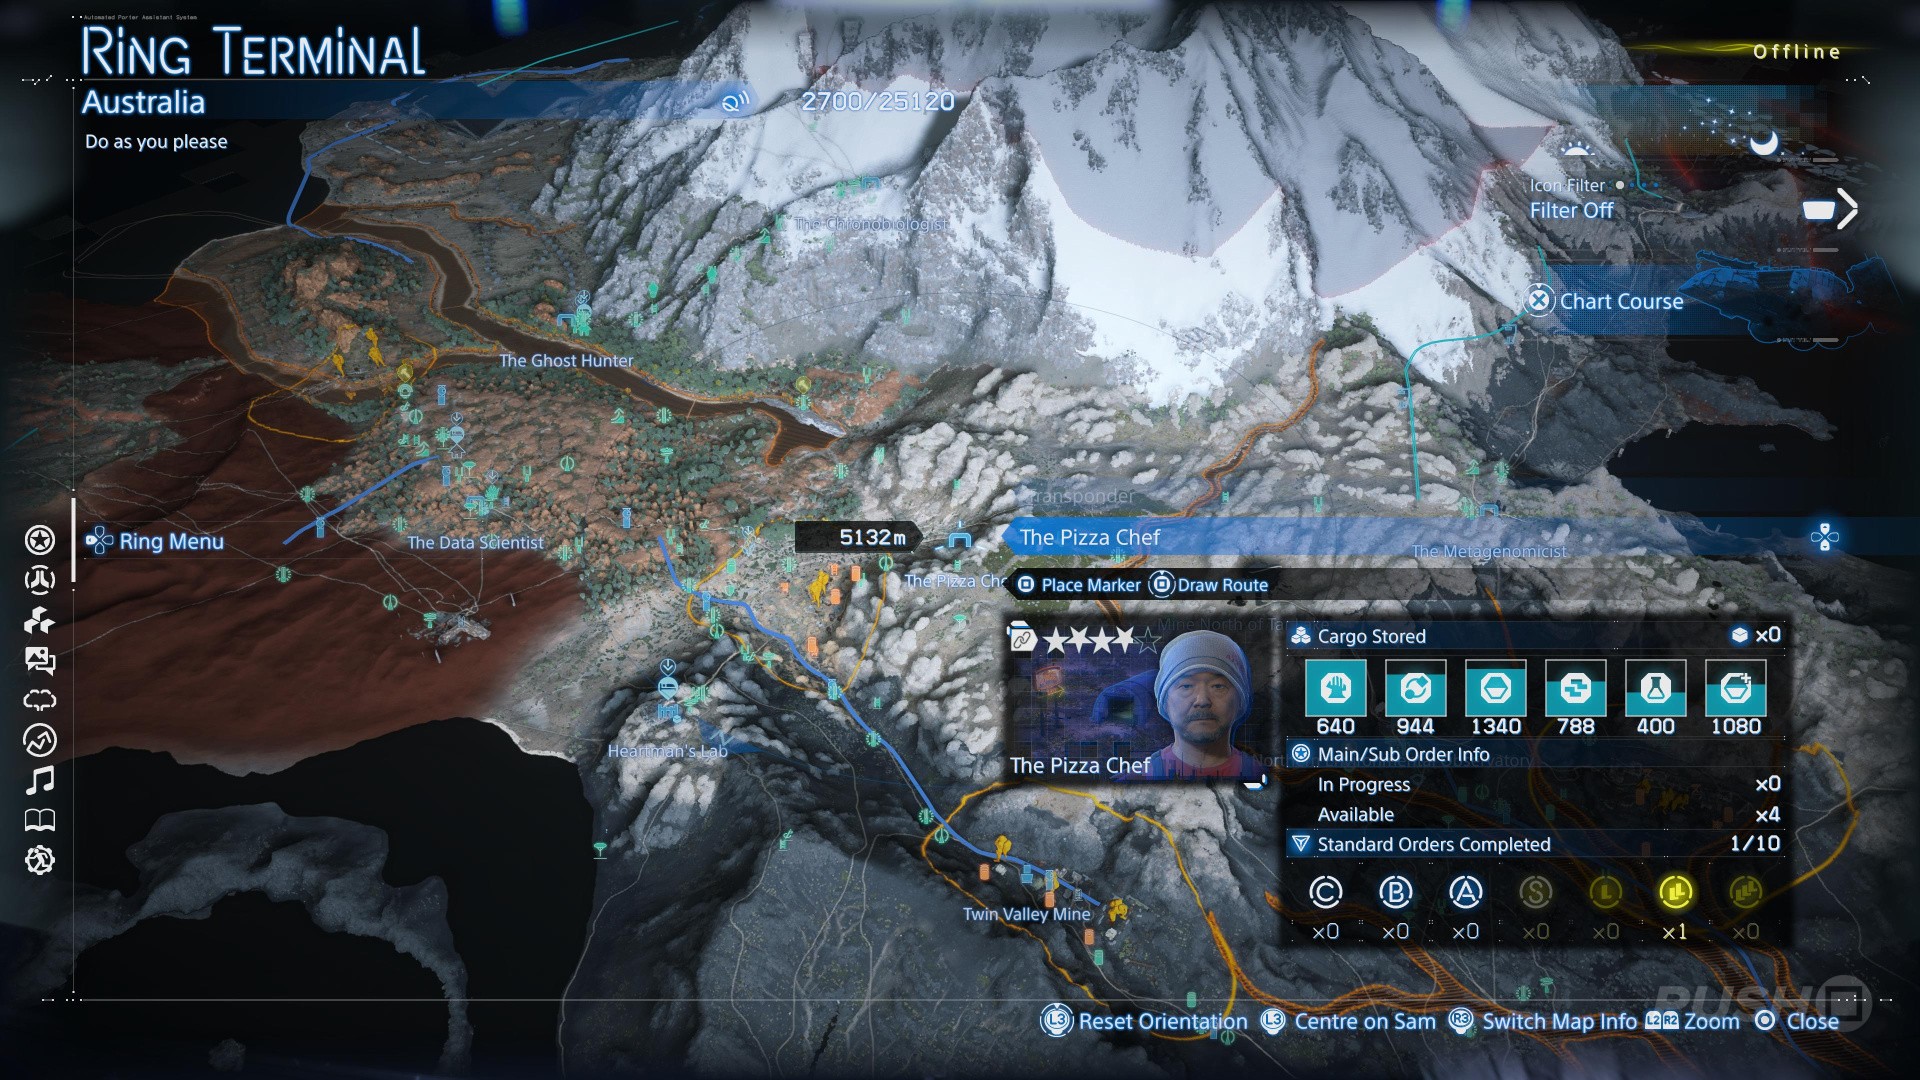
The Pizza Chef
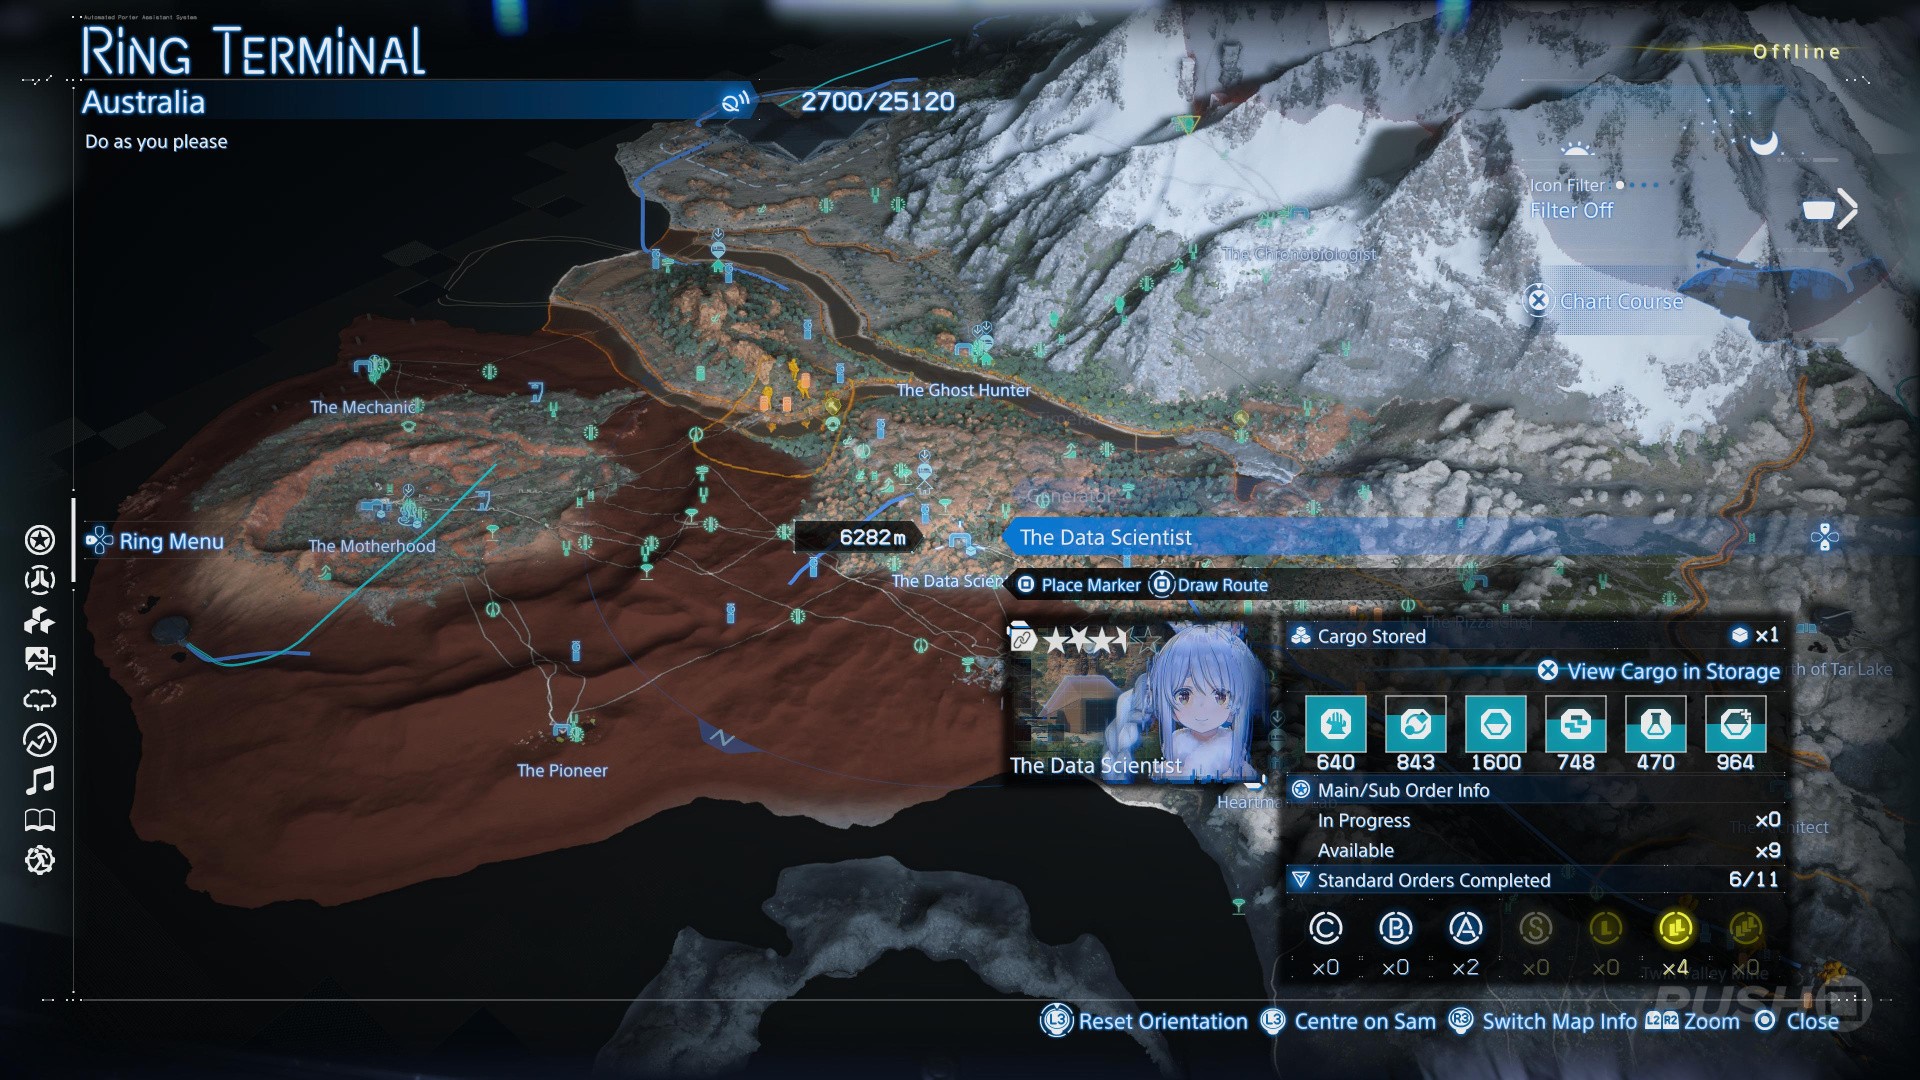
The Data Scientist
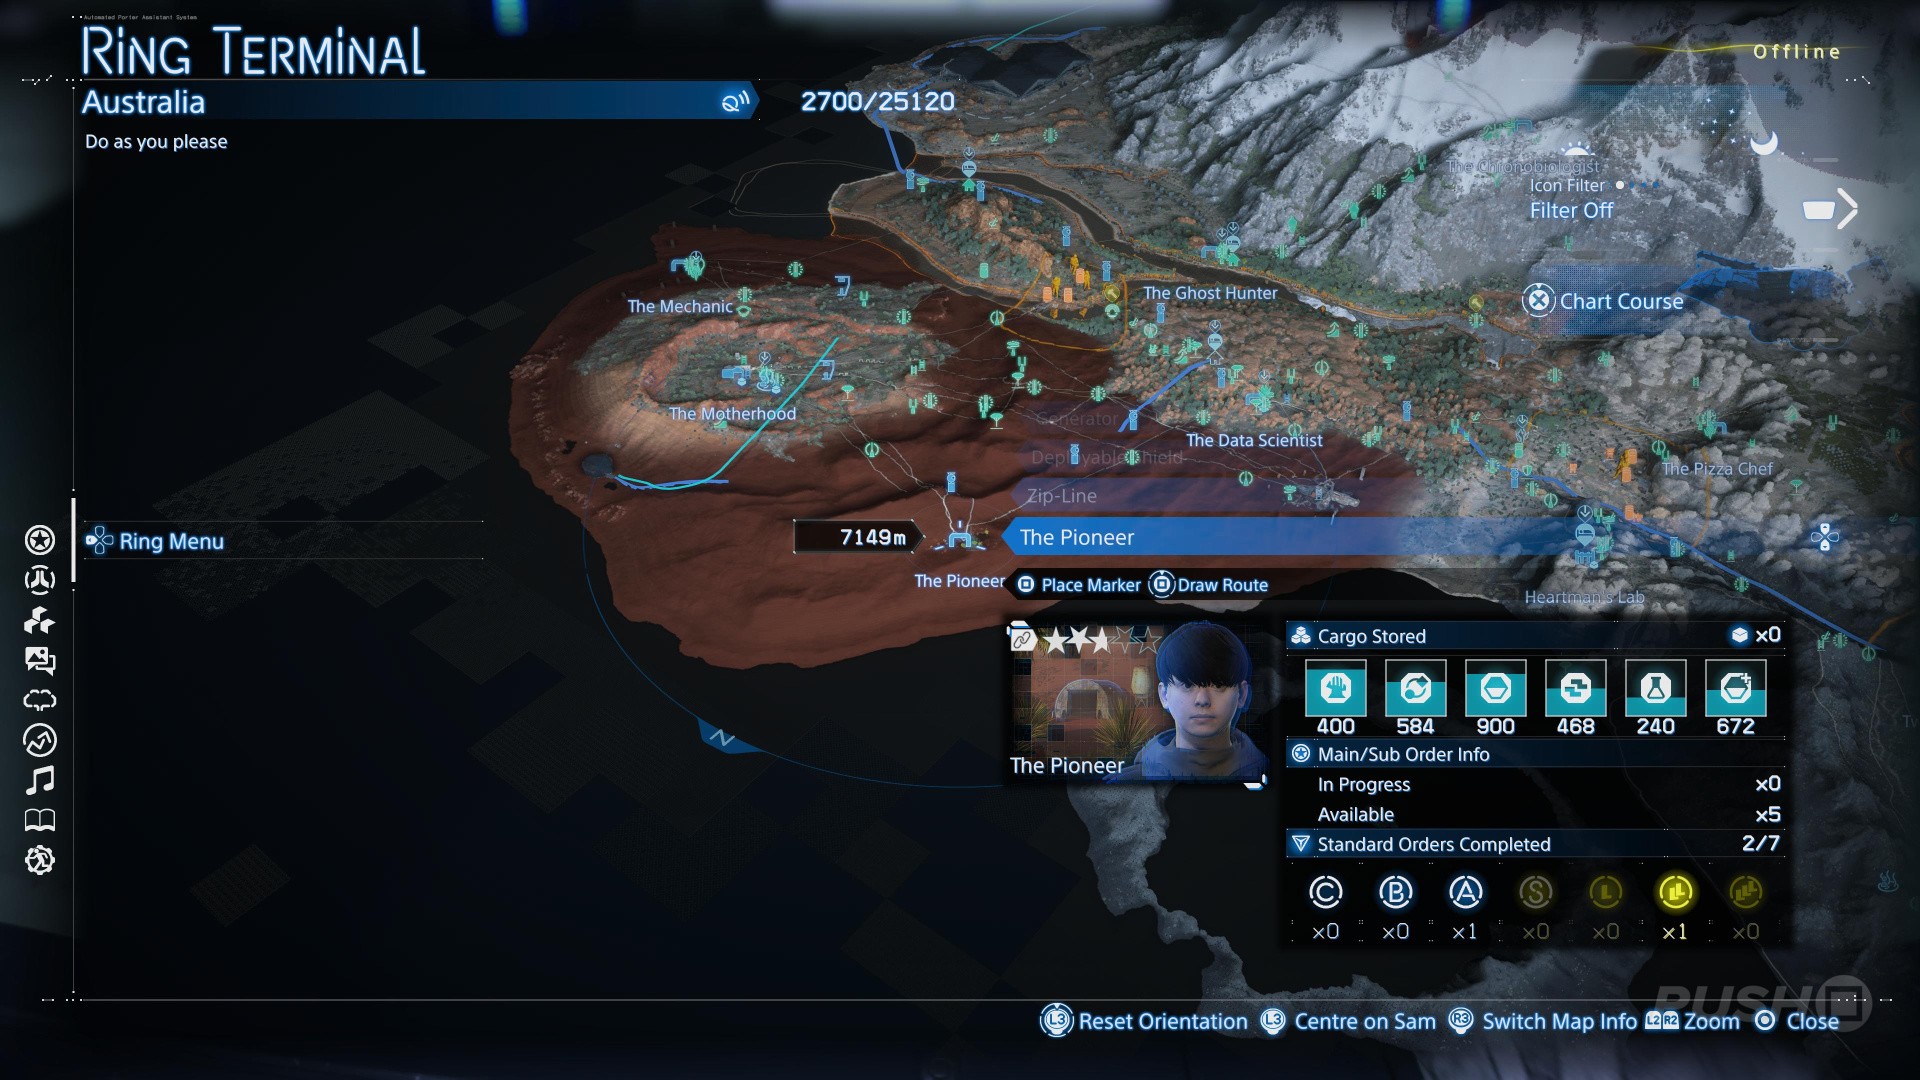
The Pioneer
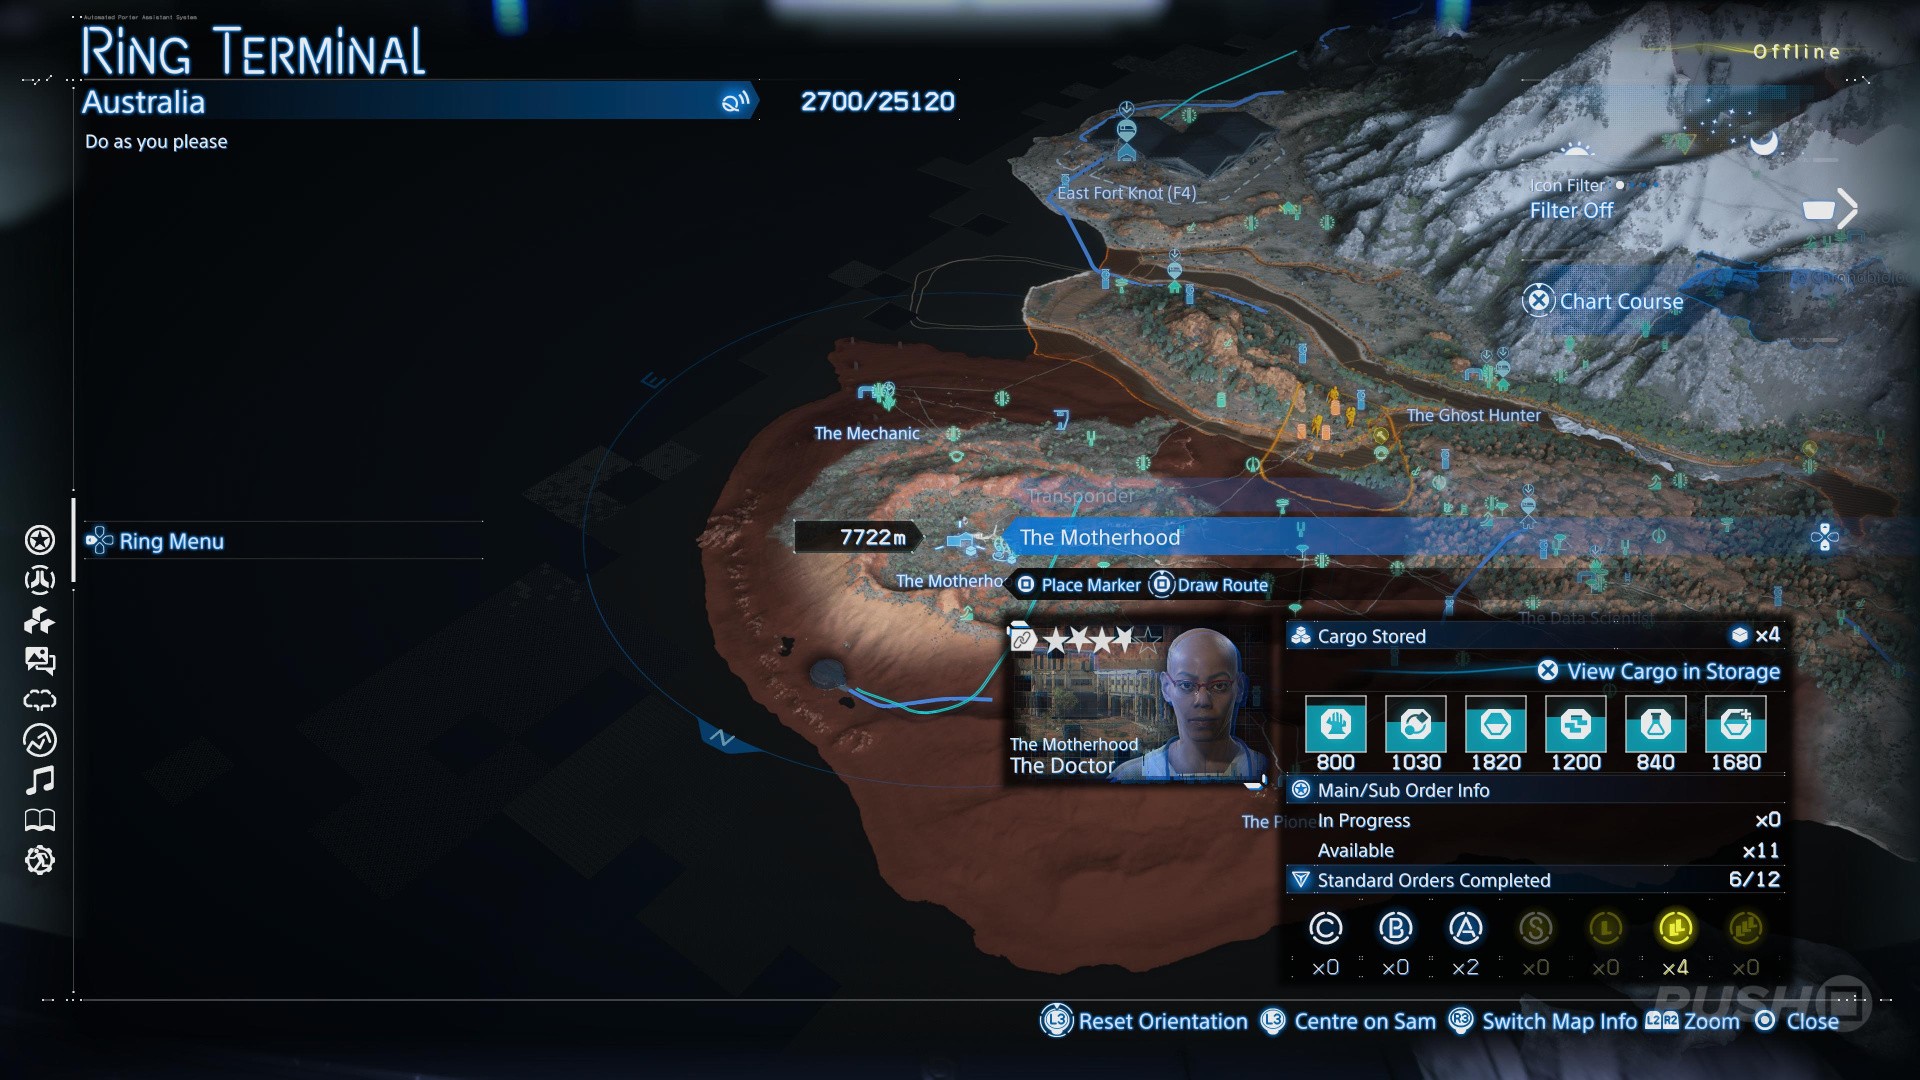
The Motherhood
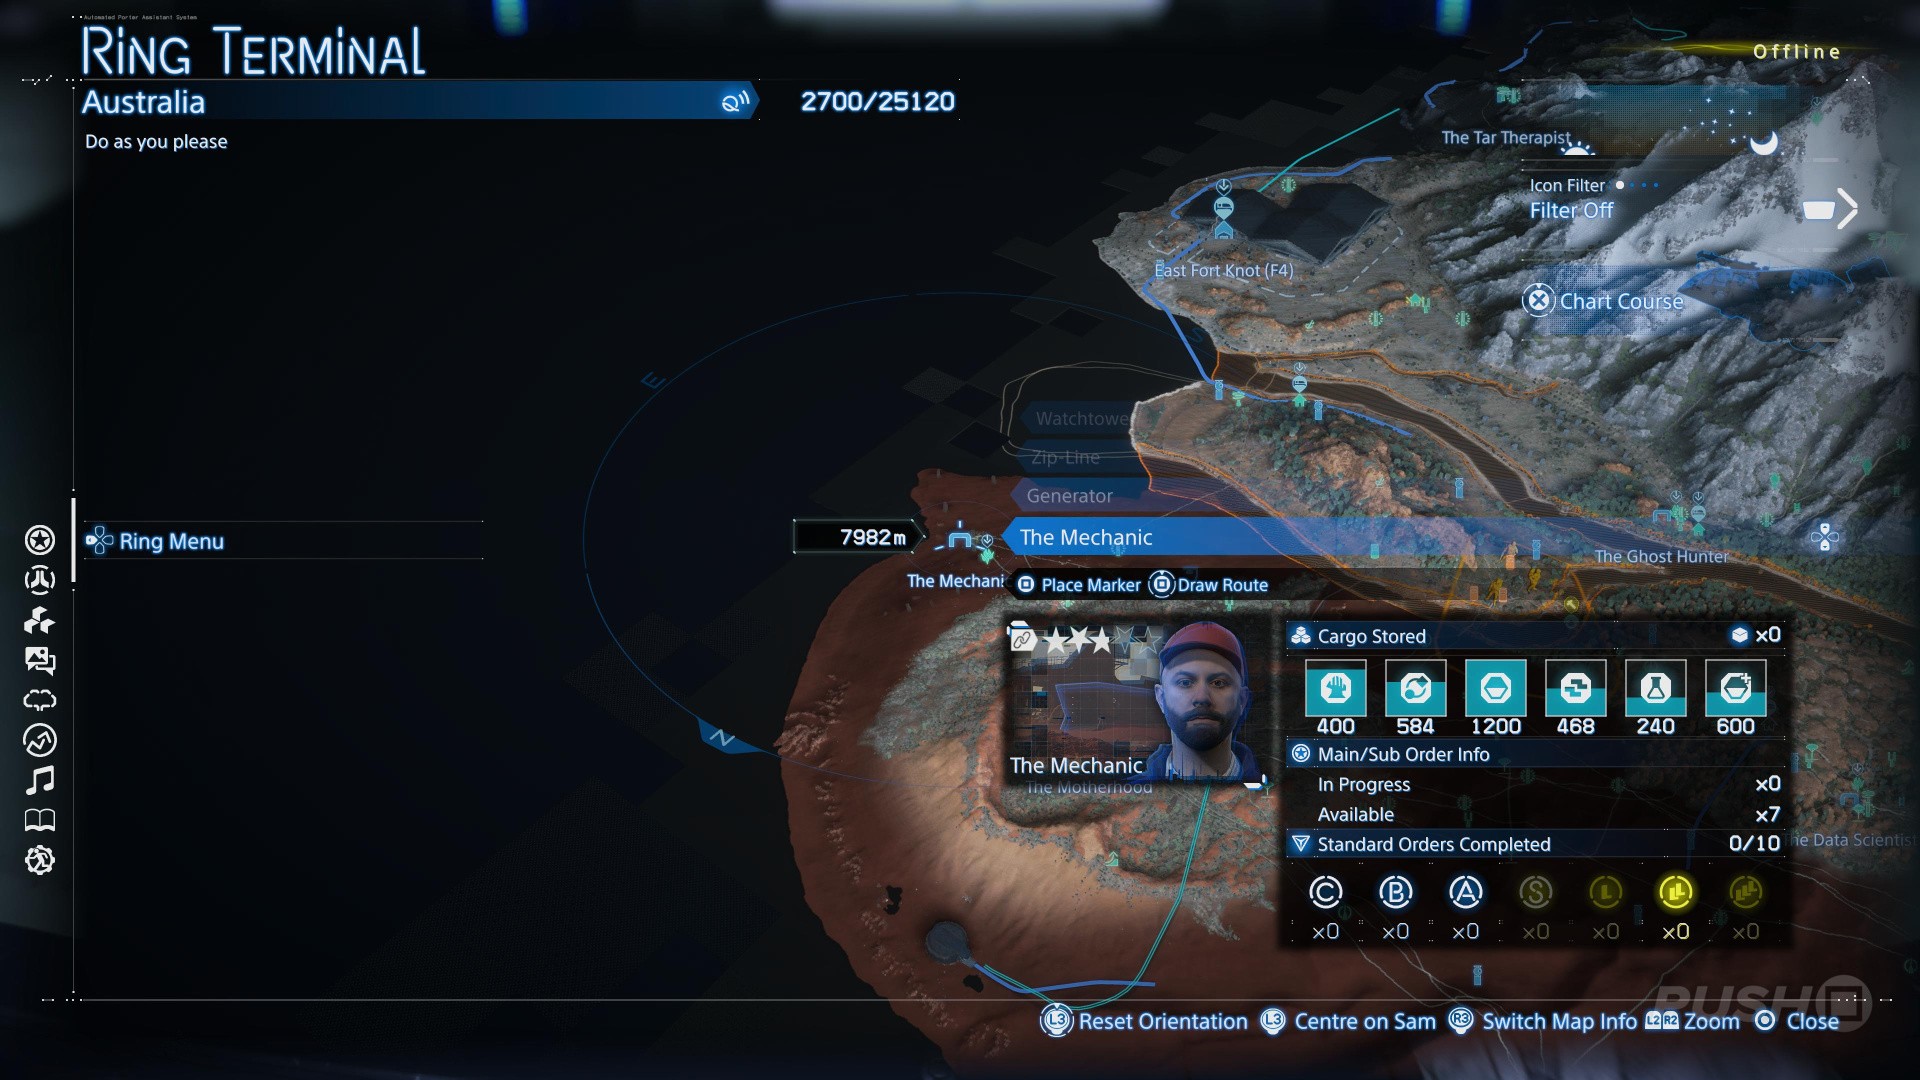
The Mechanic
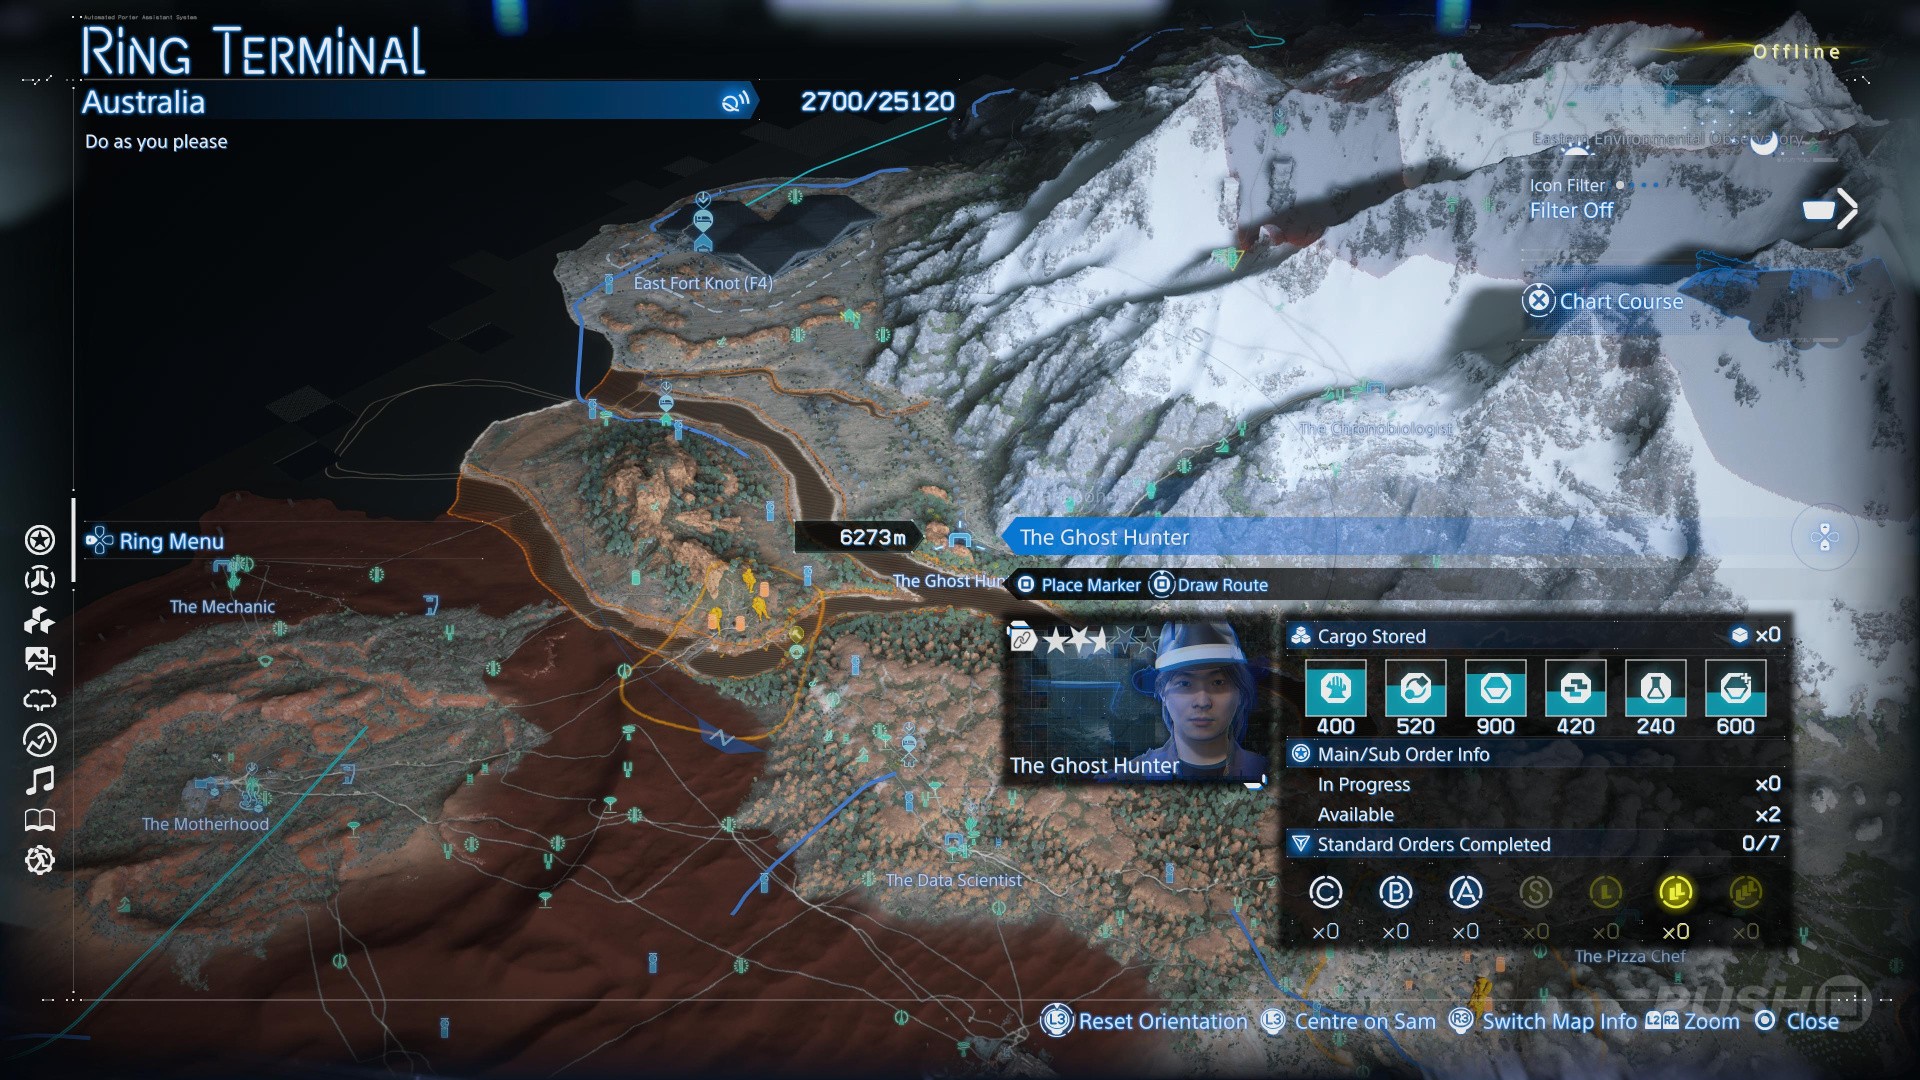
The Ghost Hunter
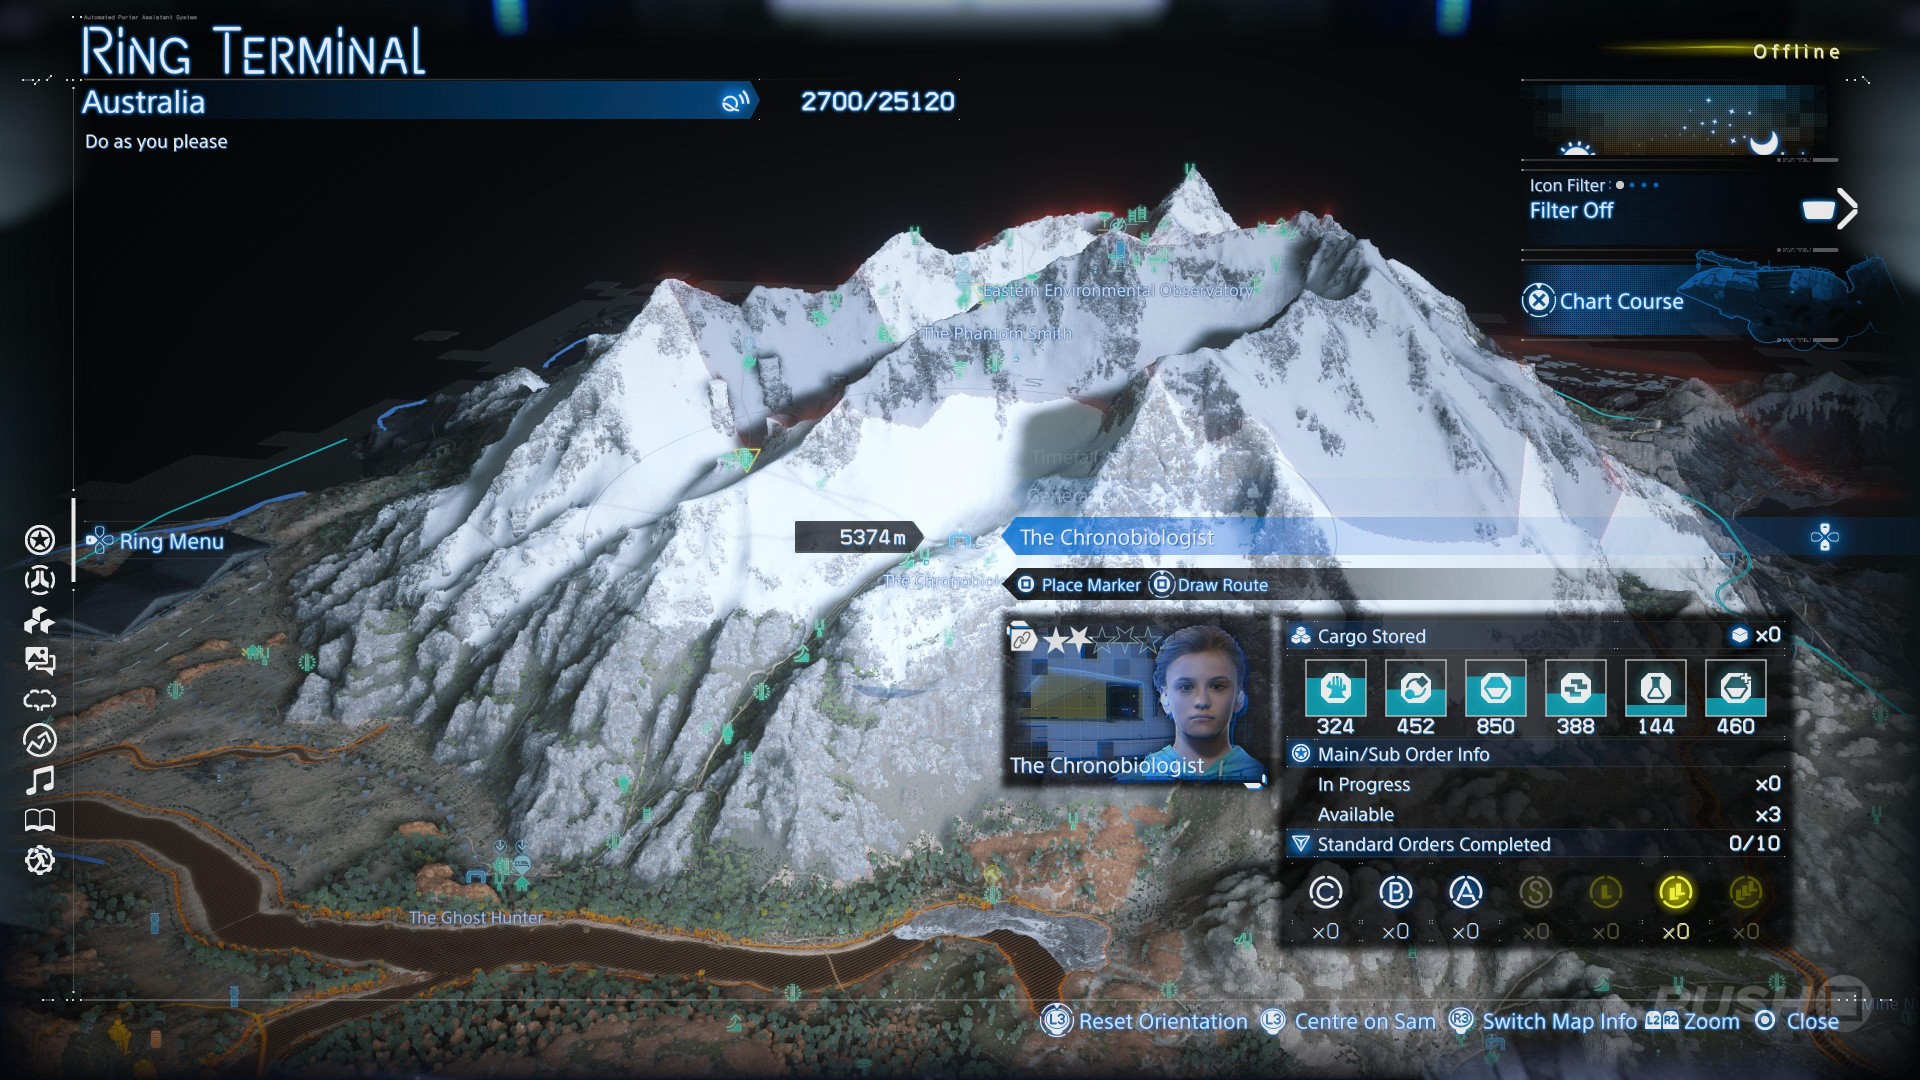
The Chronobiologist
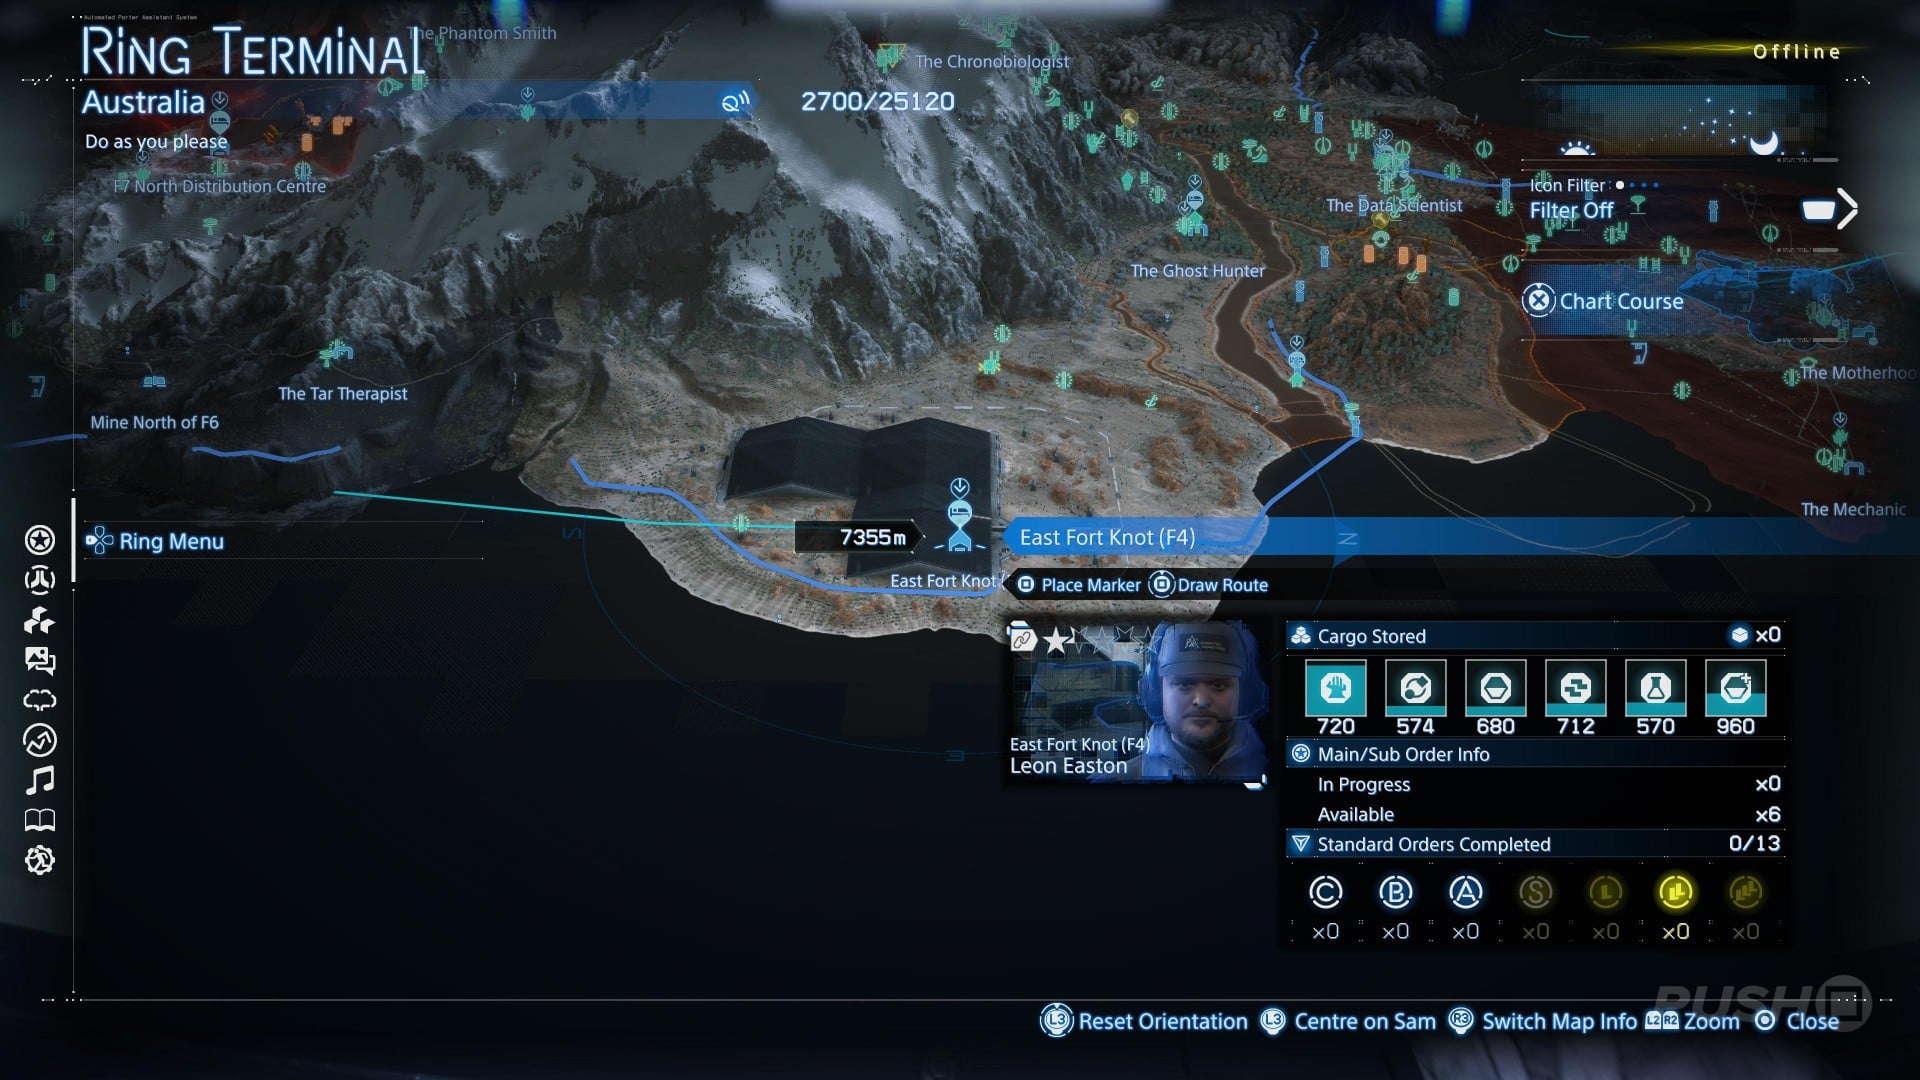
East Fort Knot (F4)
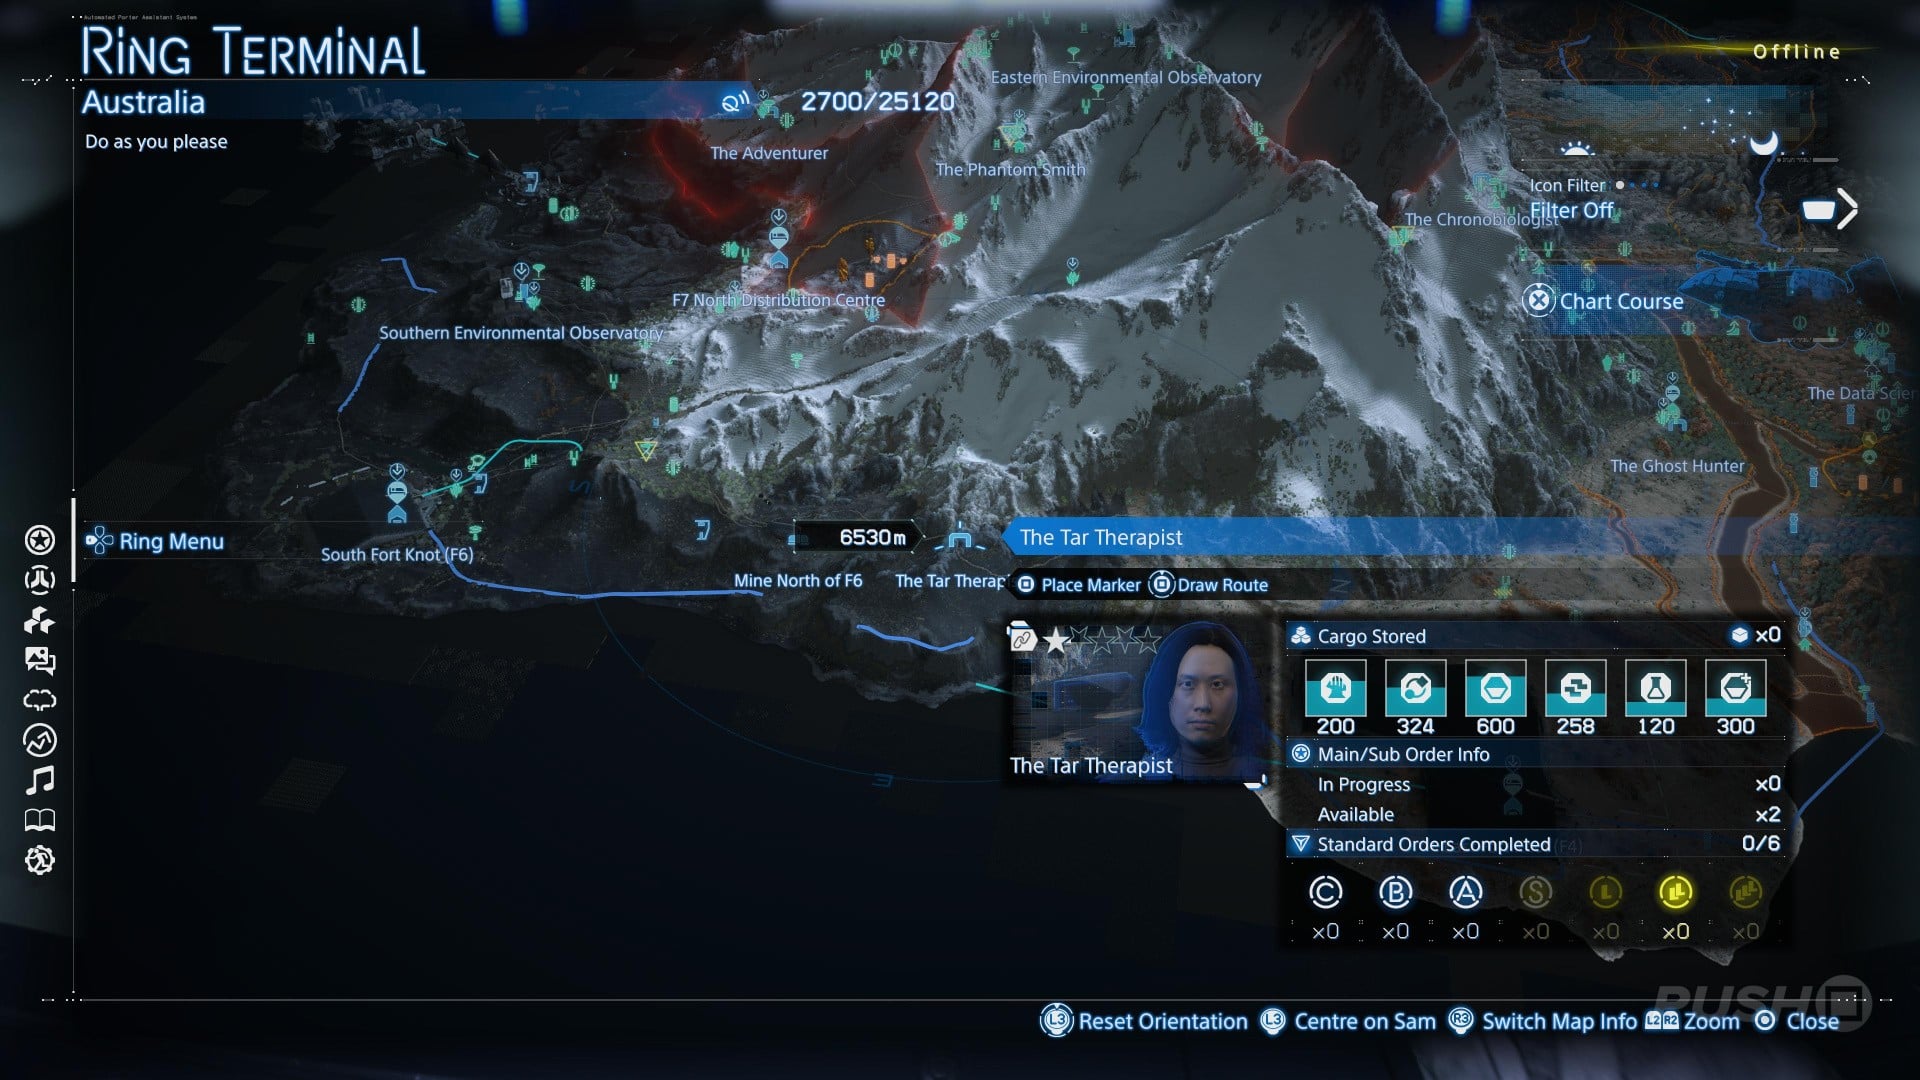
The Tar Therapist
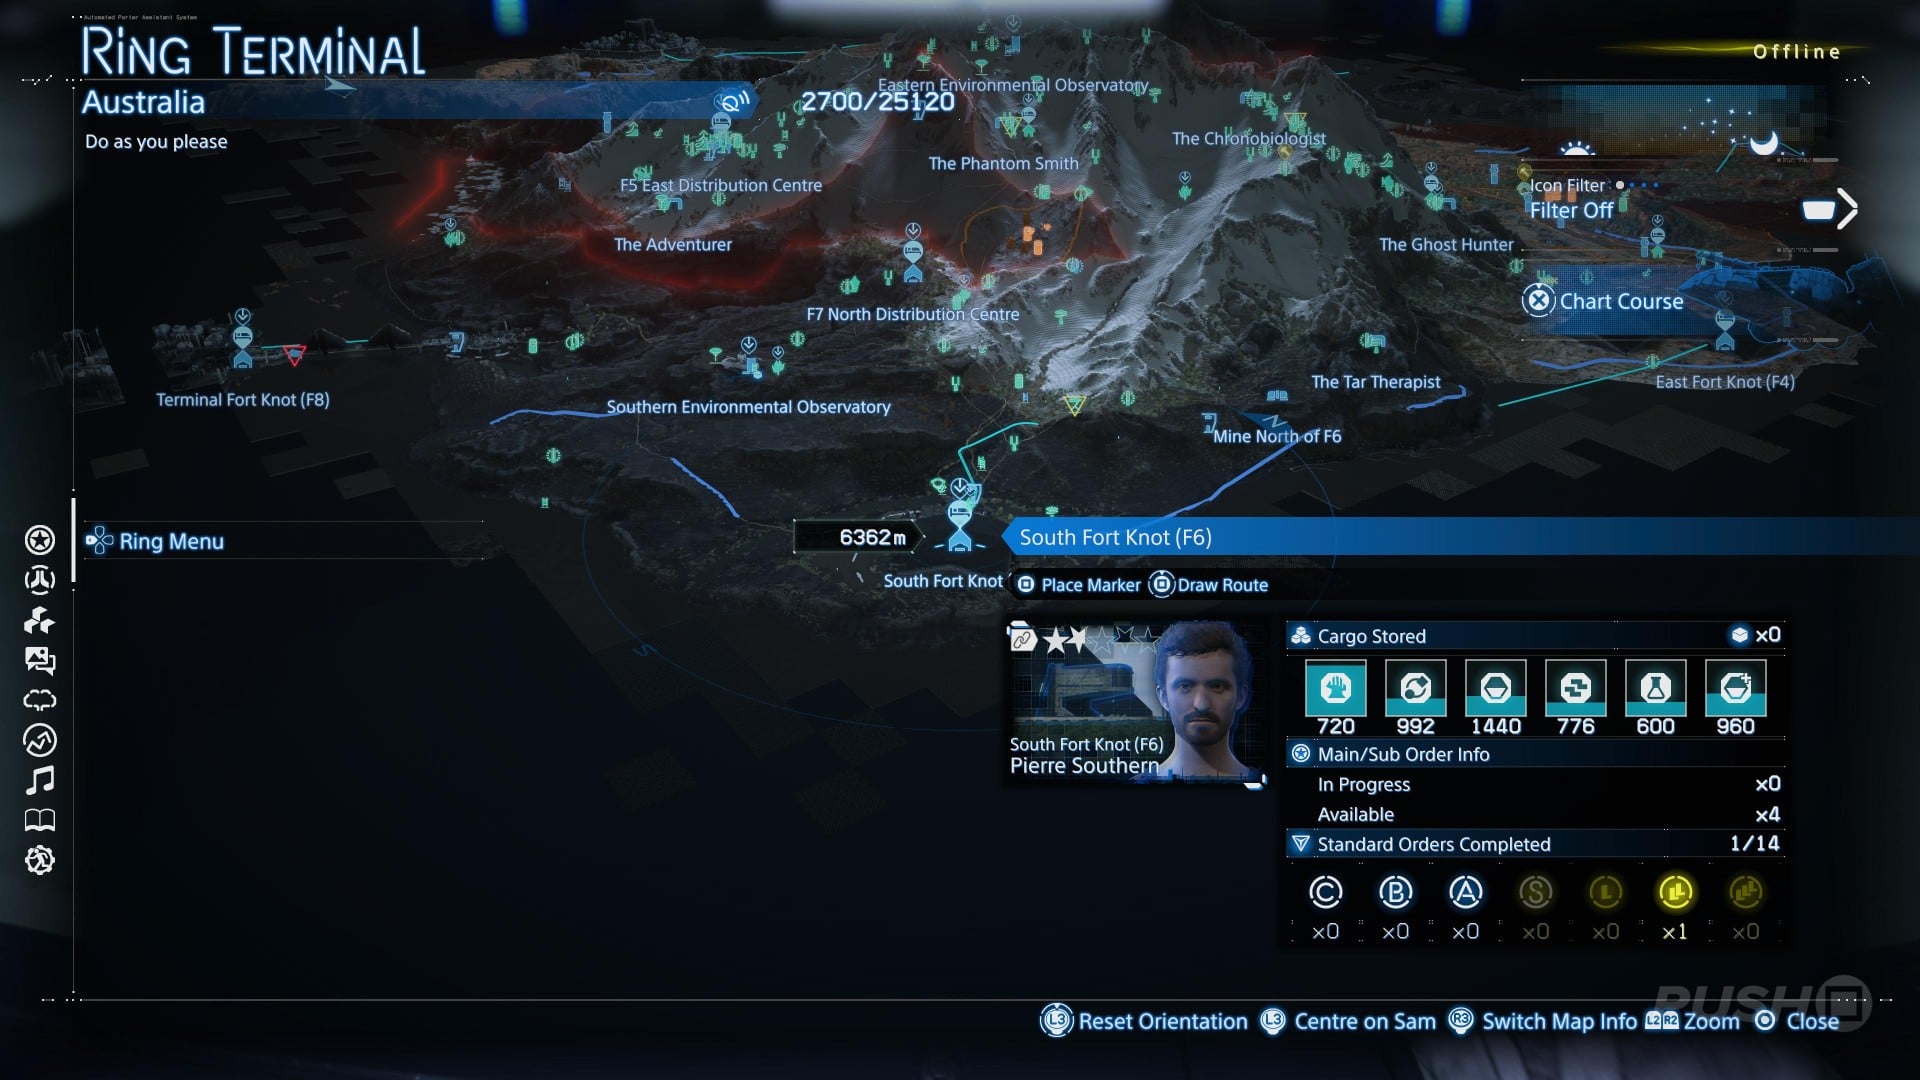
South Fort Knot (F6)
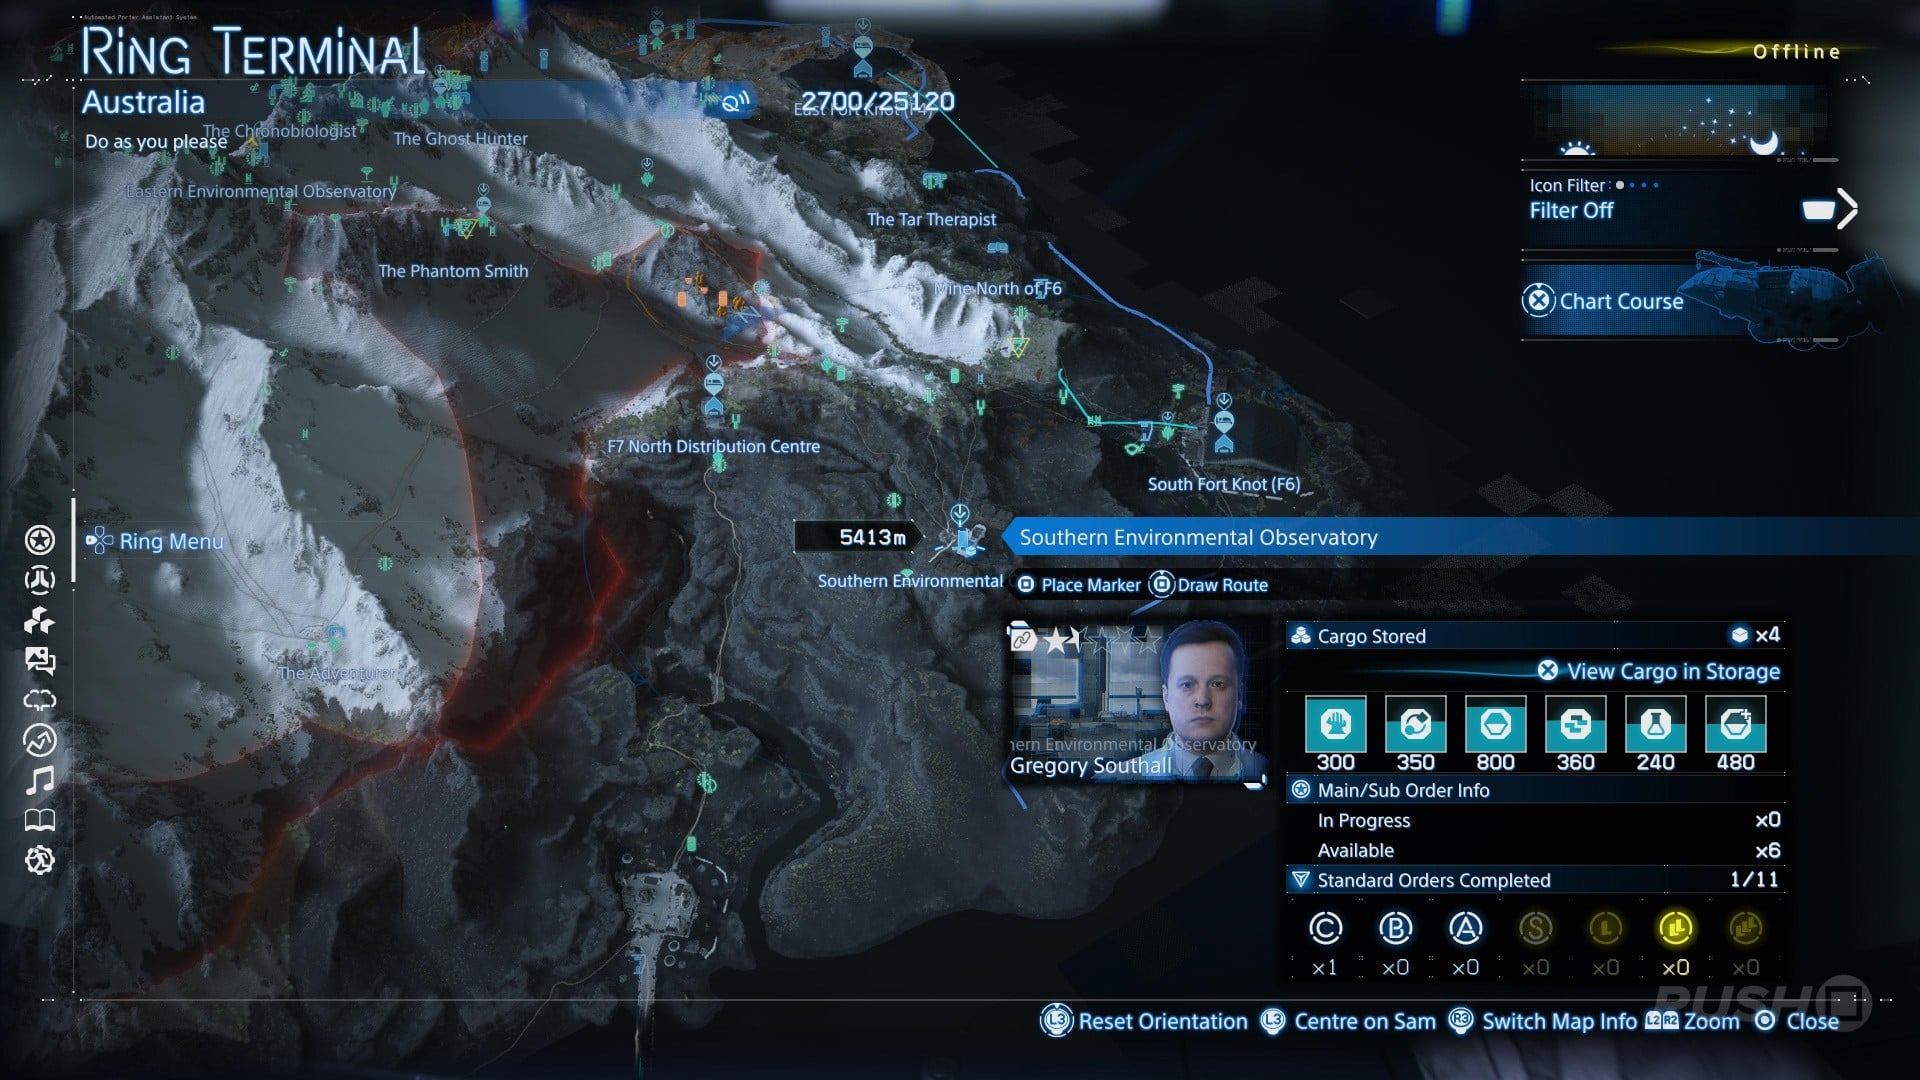
Southern Environmental Observatory
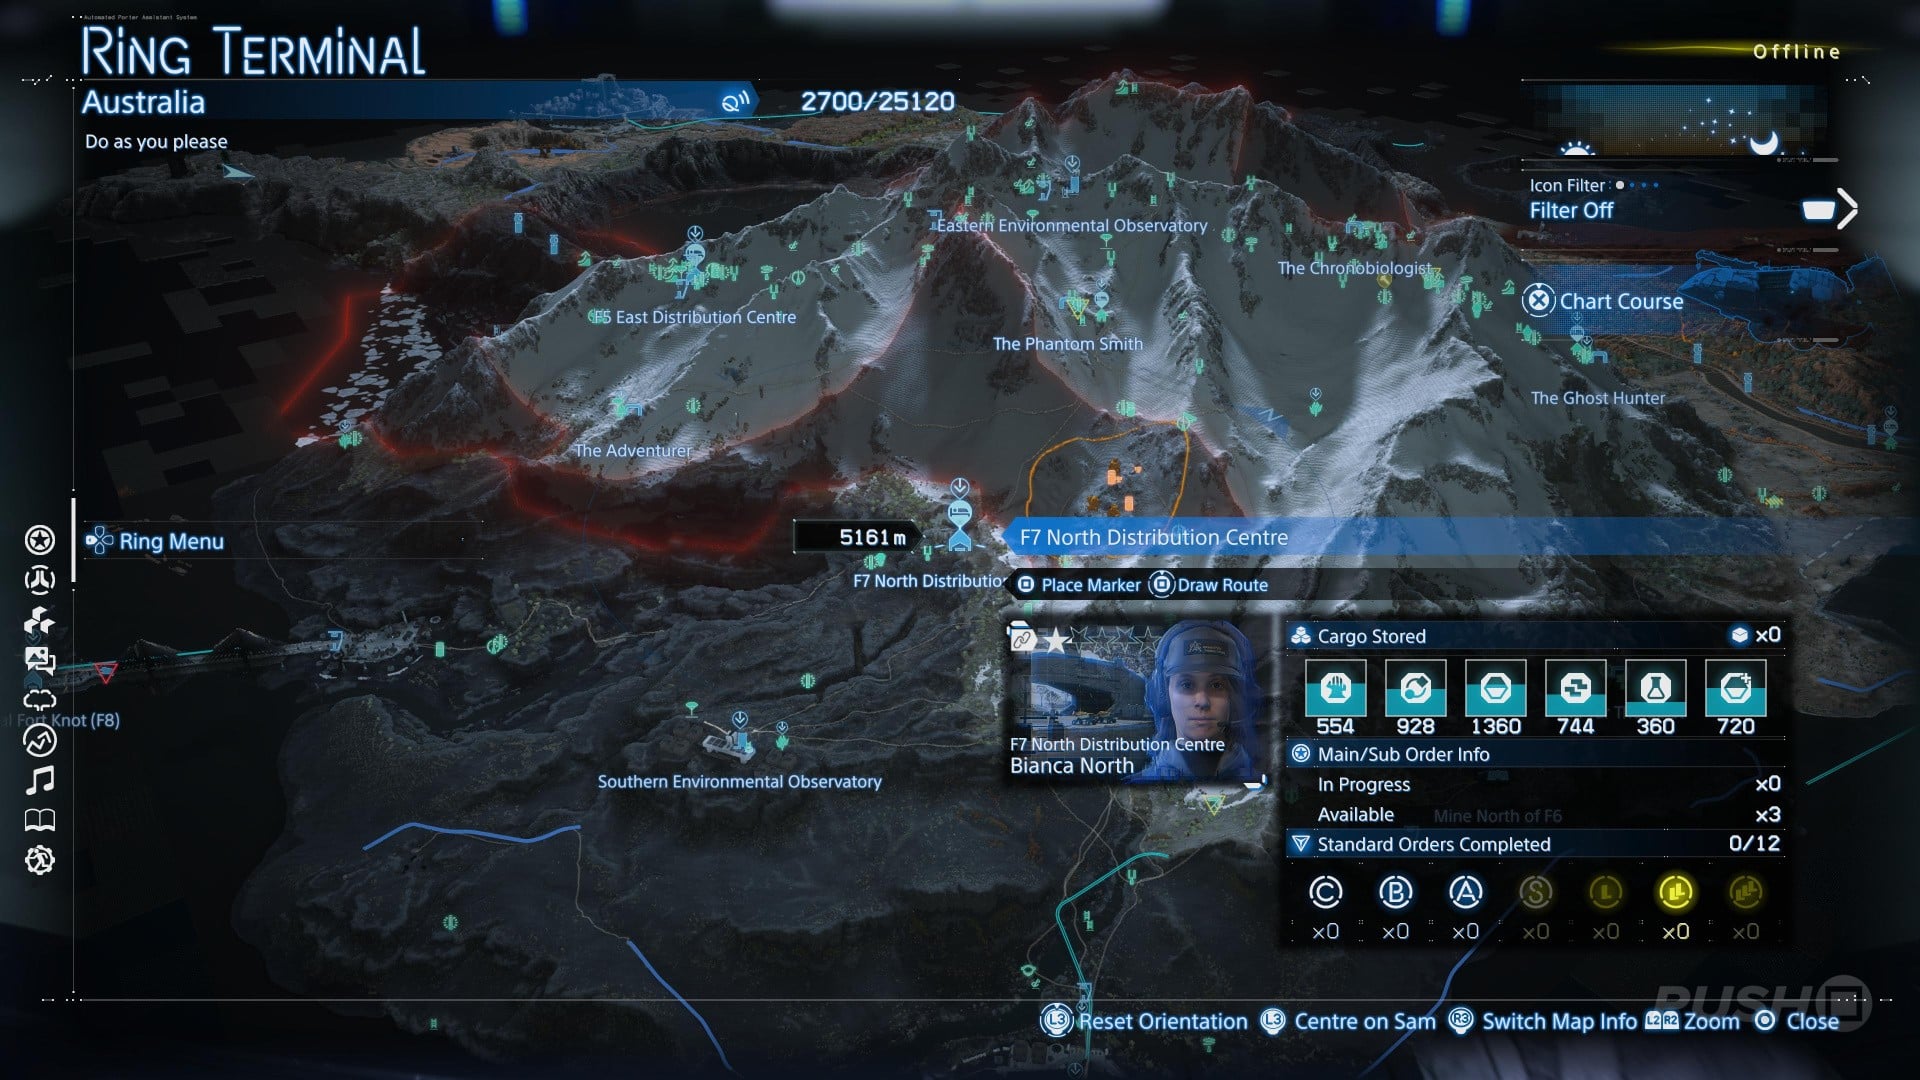
F7 North Distribution Centre
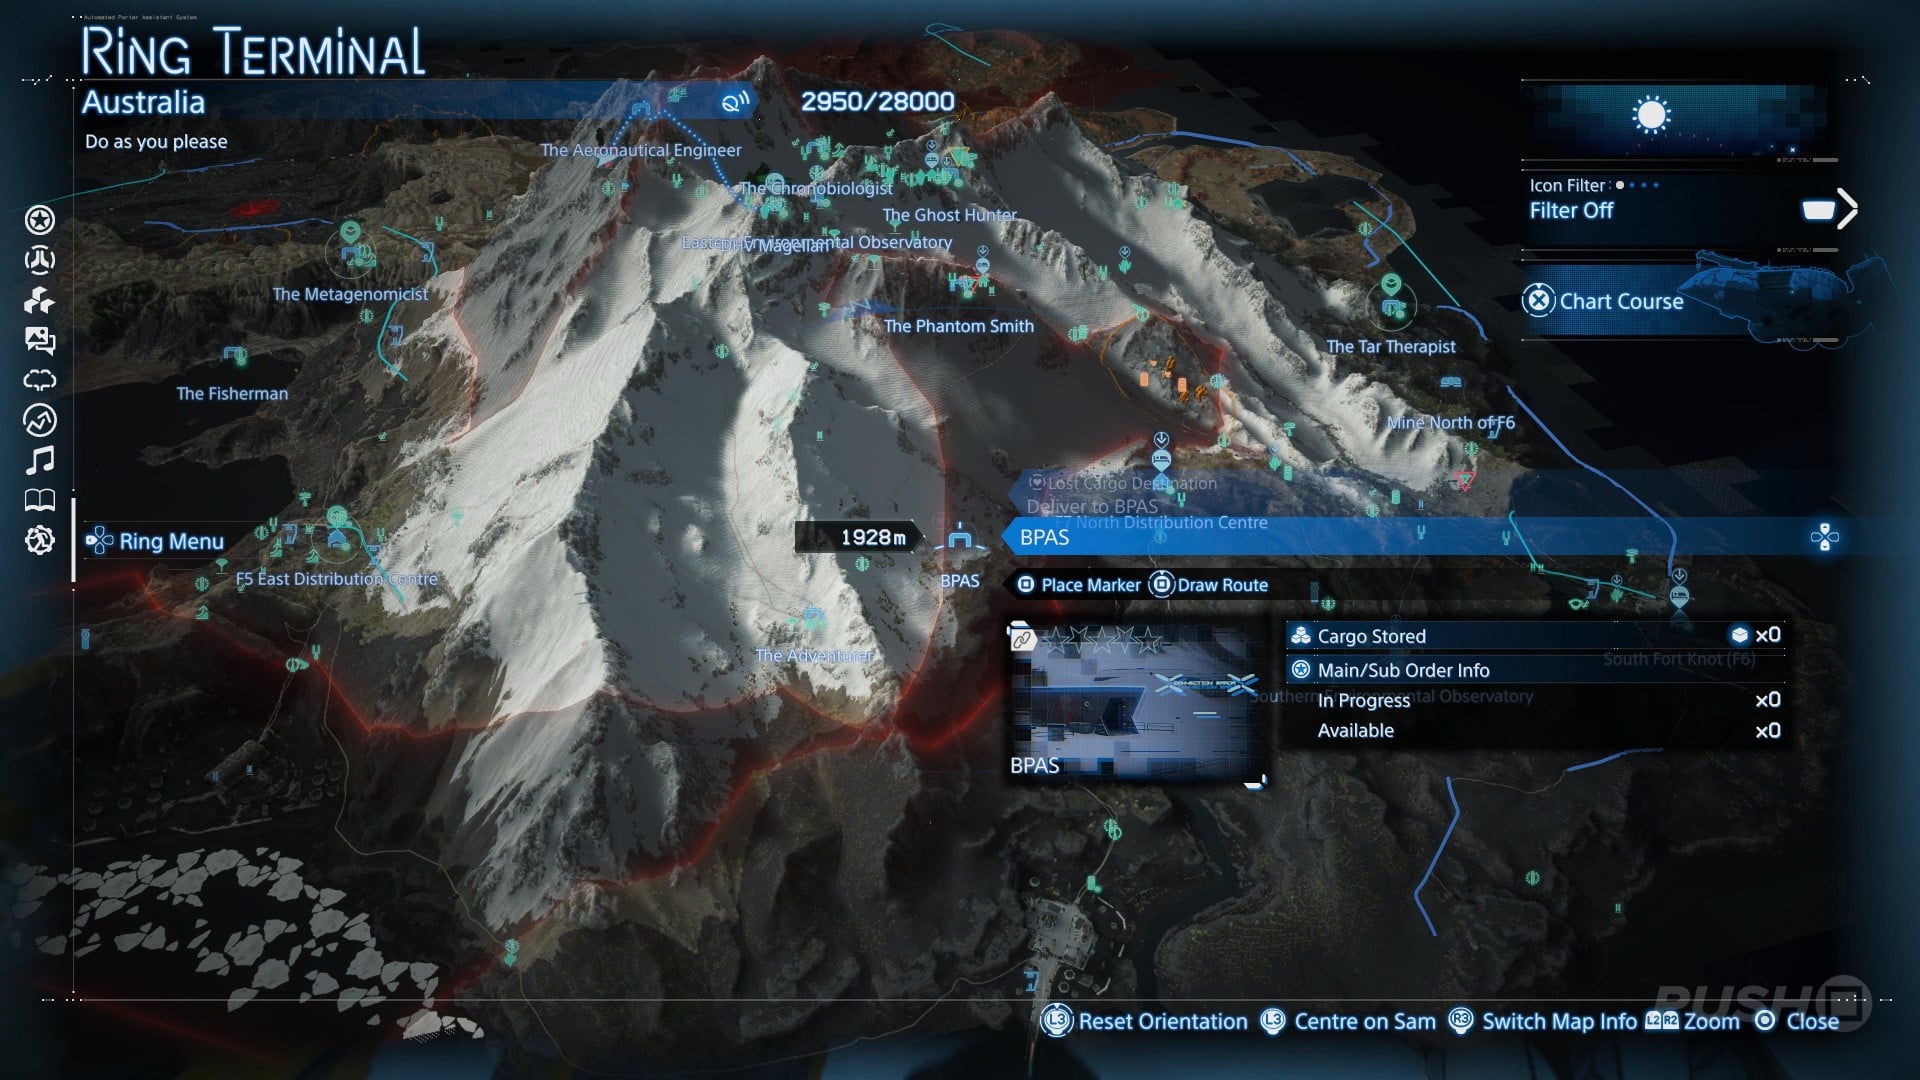
BPAS
The Phantom Smith

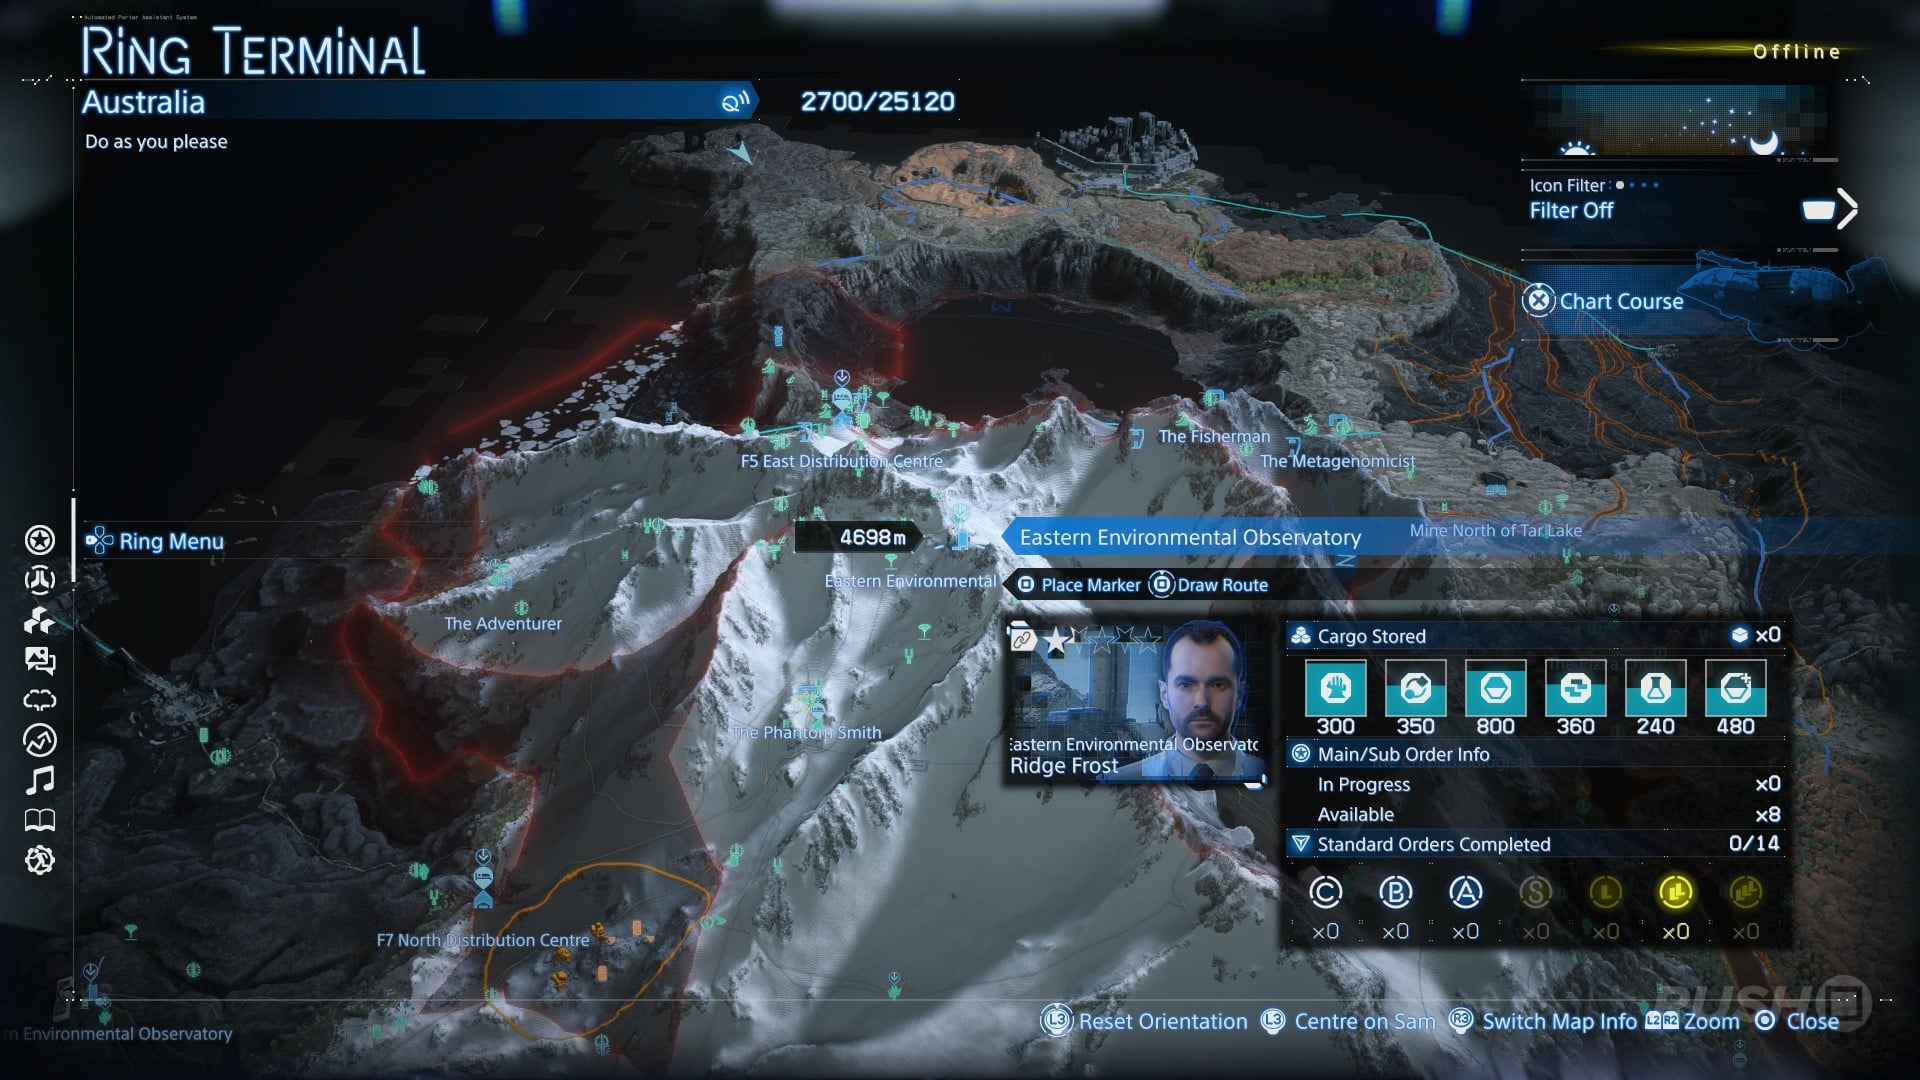
Eastern Environmental Observatory
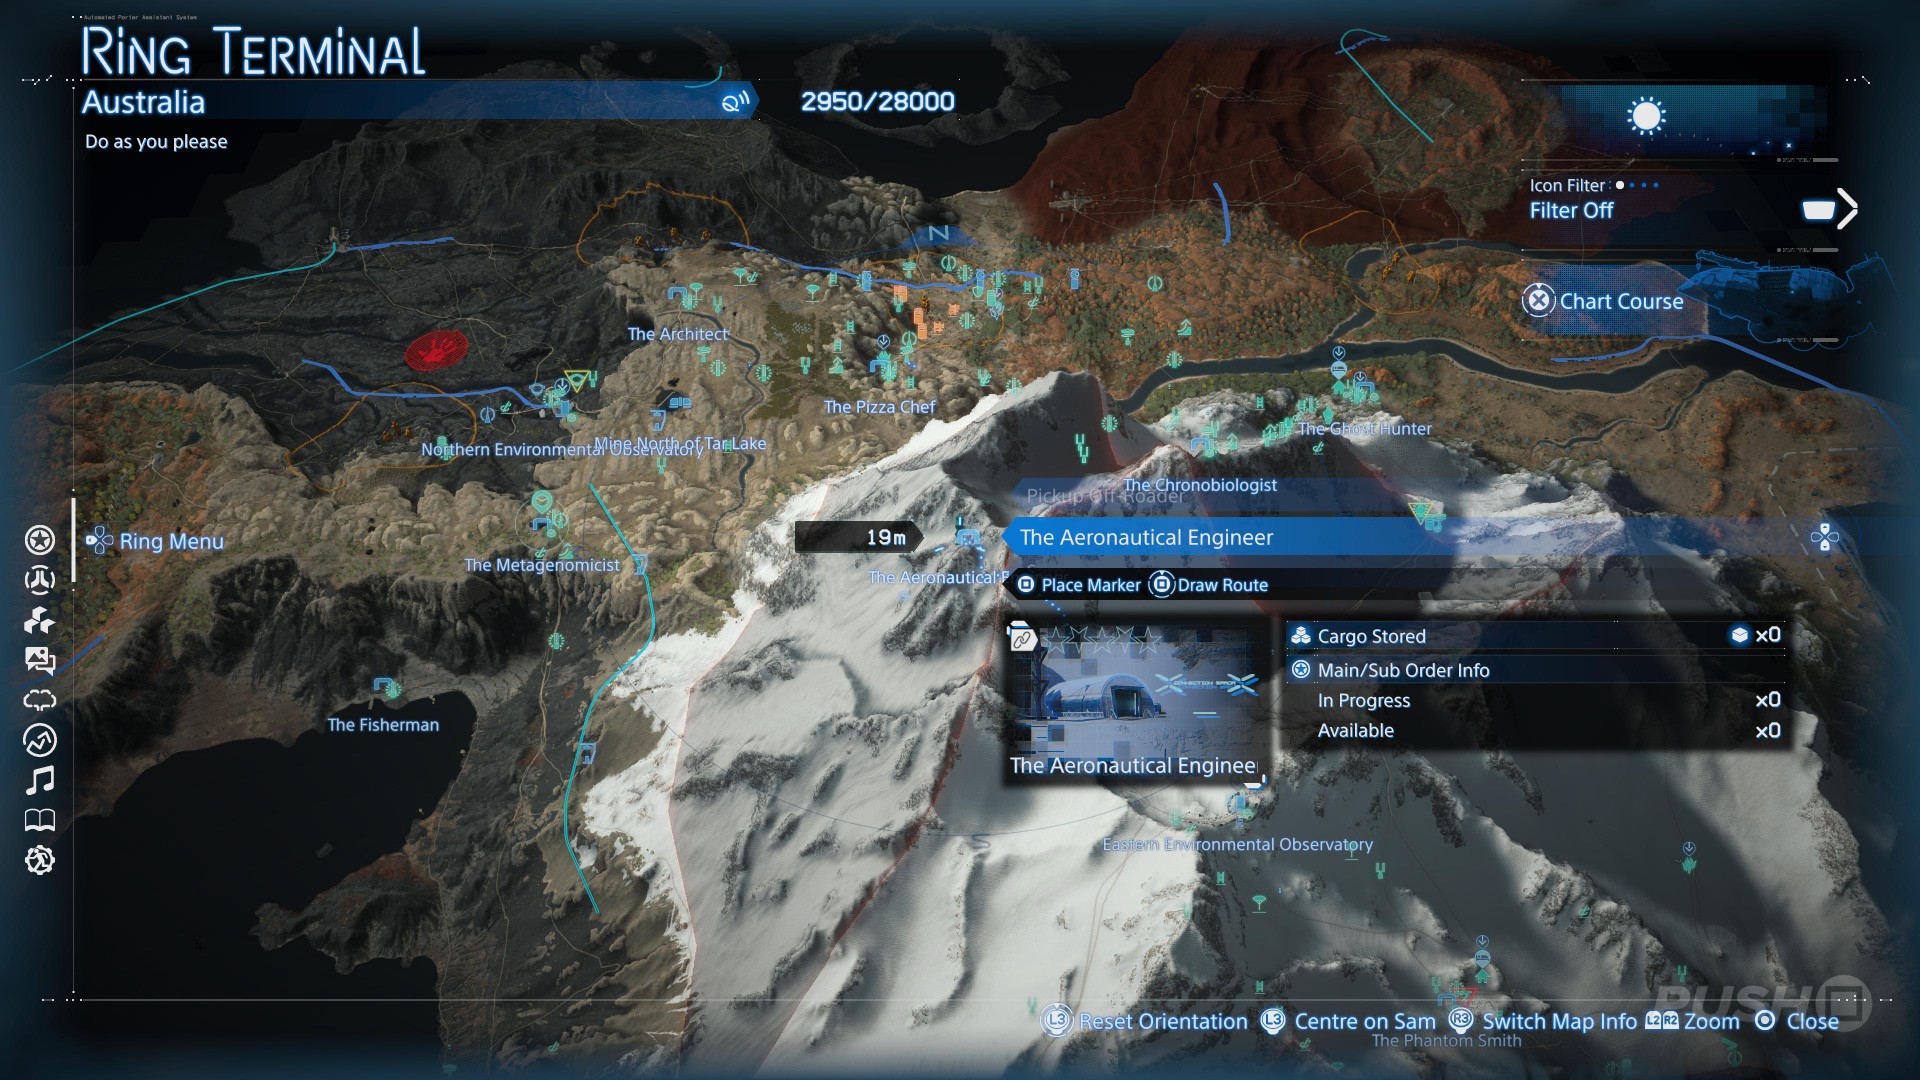
The Aeronautical Engineer
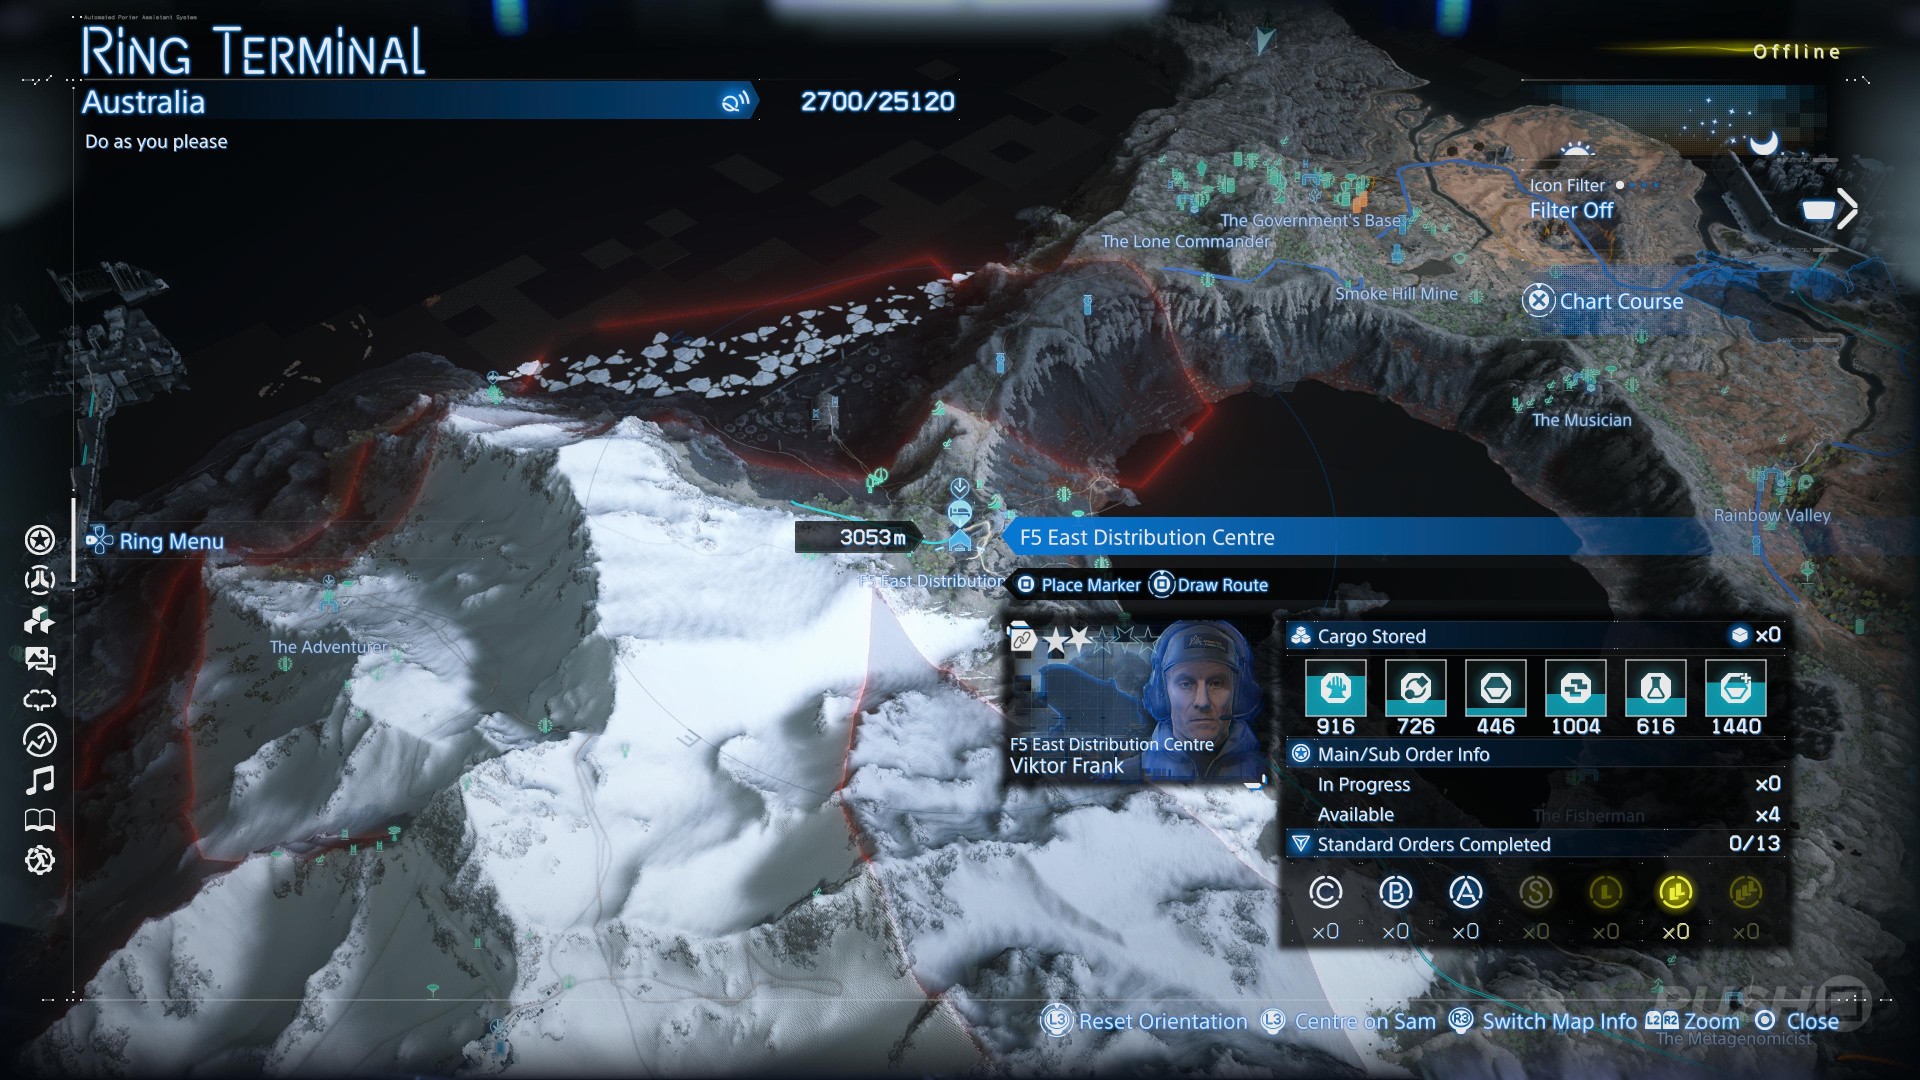
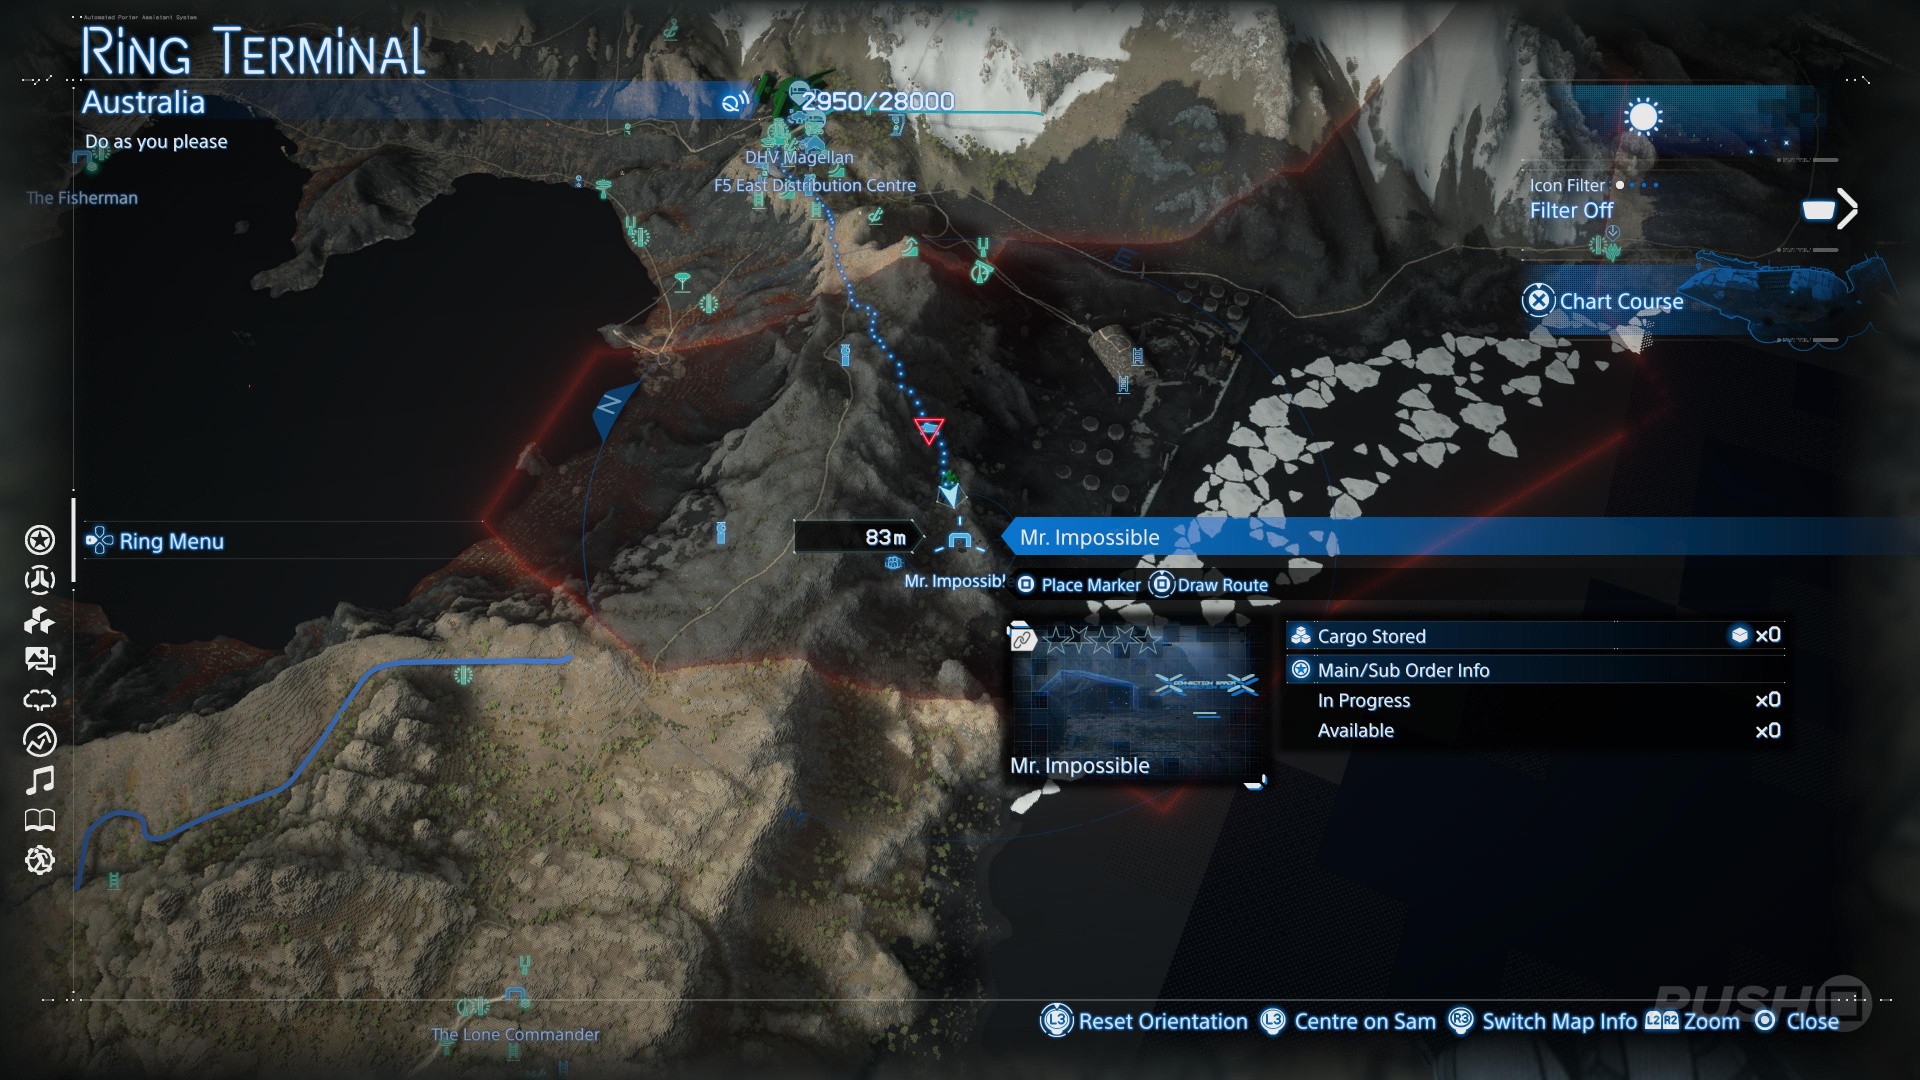
F5 East Distribution Centre
Mr. Impossible
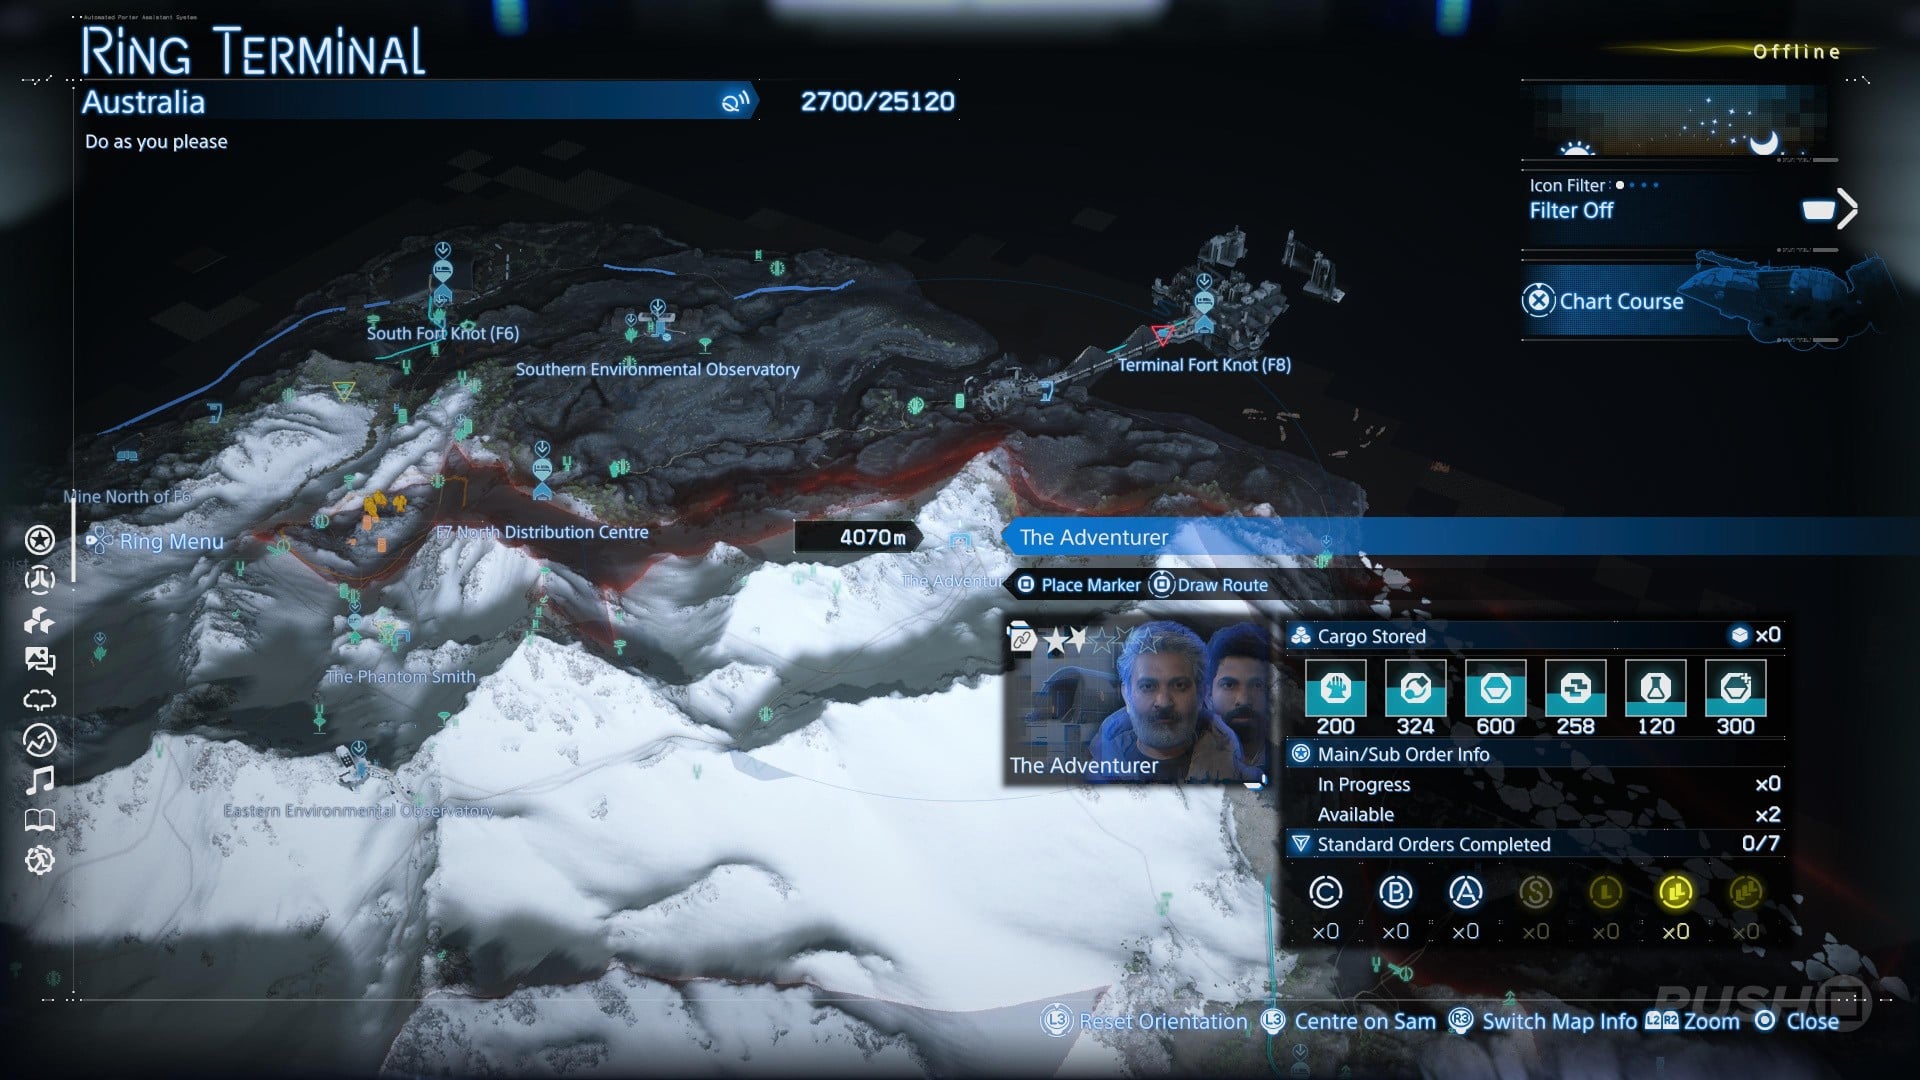
The Adventurer
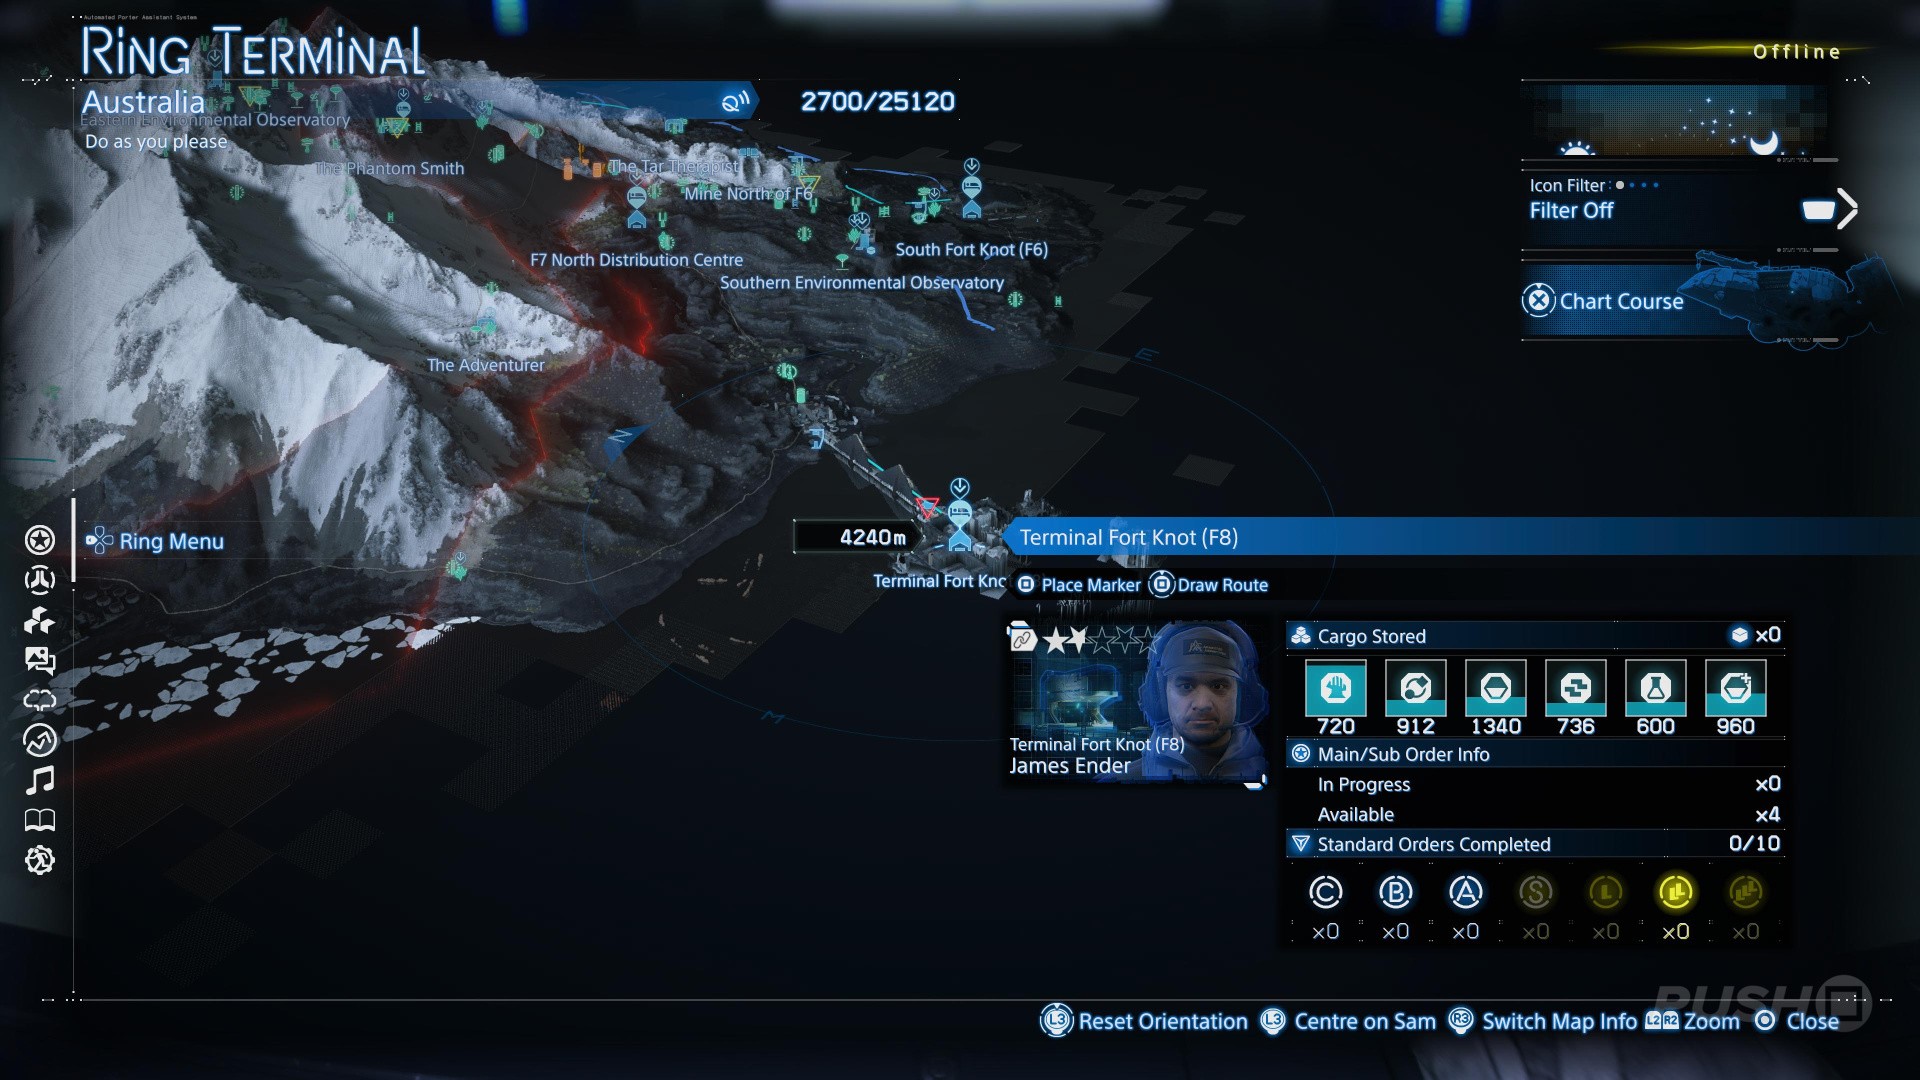
Terminal Fort Knot
Did you find our guide revealing all Facilities locations in Death Stranding 2 useful? Let us know in the comments below and check out our Death Stranding 2 guide for more help and information.


Comments 0
Wow, no comments yet... why not be the first?
Leave A Comment
Hold on there, you need to login to post a comment...