We’ve already established that P.T., the playable teaser for Kojima Productions’ upcoming Silent Hills, is a petrifying slice of survival horror – but it’s also quite a complicated one. While the demo is a brilliant experience in its own right, some of the conundrums are a little more ambiguous than you may expect – presumably due to the carrot dangling at the end of the corridor. Speaking as part of a livestream earlier this week, Hideo Kojima admitted that he expected it to take people a week to uncover the mystery at the end of the affair, but the secret lasted a few hours instead. Still, the demo is definitely worth playing through, even if its reveal has already been cracked.
Below, you’ll find a spoiler-free walkthrough detailing how to beat the game. We’ve tried to be as unspecific as possible in order to avoid spoiling any surprises, but if you really want to go into the experience blind, then we recommend only returning to this when you get stuck. The majority of the game takes place in a single ‘L’ shaped corridor, so there aren’t any real navigational challenges here. In order to progress, though, you’ll need to complete certain activities within each loop. Just to be clear, we’re referring to loops as one successful run from the front door to the door at the very end of the hallway. It’s also worth mentioning that this game isn’t for the fainthearted, so good luck.
Loop One
- Simply follow the ‘L’ shaped hallway around to the door at the bottom of the stairs. Walk through it to progress.
Loop Two
- Follow the ‘L’ shaped hallway around to the door with the stairs again. This time you’ll find that the door is locked.
- Walk back to where you started and slowly return to the door at the bottom of the staircase. Pass through it to progress.
Loop Three
- Again, follow the ‘L’ shaped hallway around to the stairwell, and it will snap shut in front of you. Inspect it and your controller will vibrate.
- Turn around, and you’ll notice that door at the opposite end of the hallway has opened a little. This is the bathroom. Glance at the crack, and push R3 to get a closer look.
- The bathroom door will snap shut, and you’ll now be able to access the door at the bottom of the staircase. Walk through it to progress.
Loop Four
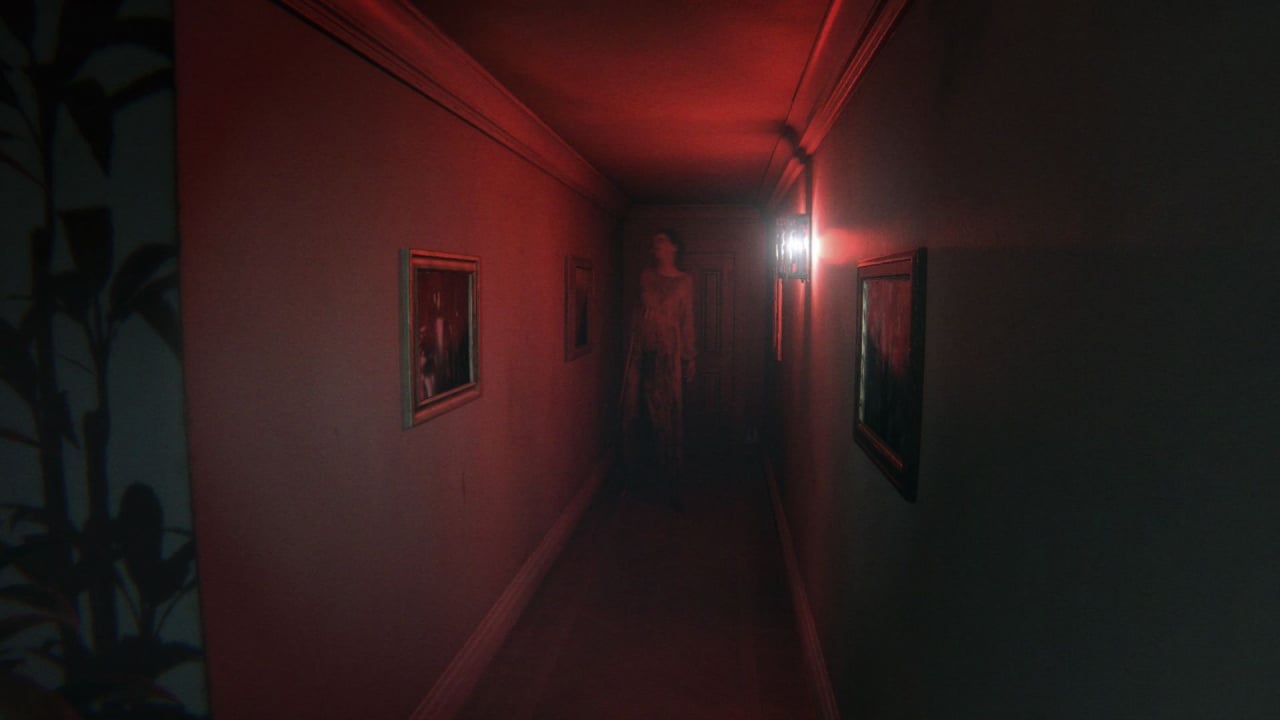
- Follow the ‘L’ shaped hallway, and this time you’ll be greeted with a guest around the corner. Walk closer to it and it will flicker in and out of sight, before allowing you to pass through the door at the bottom of the stairwell. Of course, walk through it to progress.
Loop Five
- The bathroom door will be open entirely in this loop. Enter it and look at the flashlight with R3 in order to pick it up.
- Look inside the sink with the torch and you’ll be locked in the bathroom. Point the flashlight at the mirror to get the door to re-open.
- Once you’re back out in the hall, head to the door at the bottom of the staircase, and walk through it to progress.
Loop Six
- Use your flashlight to navigate the ‘L’ shaped hallway yet again, this time with the radio once again turned on.
- Once you reach the radio, stare directly at it, and ignore its commands. There’s a surprise waiting for you if you don’t.
- Look at the wedding photo on the same desk as the radio, and you should see that there’s an ‘X’ been etched onto it. Zoom in with R3 and press the corresponding button on the DualShock 4.
- You should hear a door click at this point. Head down the stairwell and pass through the door at the bottom to progress.
Loop Seven
- Follow the ‘L’ shaped hallway around to the bottom of the stairs, and walk through the door at the bottom to progress.
Loop Eight
- Again, just follow the ‘L’ shaped hallway around to the bottom of the stairs, and walk through the door at the bottom to progress. Things are a little different this time around, so hold your nerve.
Loop Nine
- Follow the corridor to the table with the photographs and phone on the left. Above the phone you should see the word ‘Hello’ written on the wall. Zoom in on it using R3.
- Turn around and look at the wall beneath the hanging object. To the right of the coat hanger you should see the words ‘Calling me from’ written on the wall. Zoom in on them using R3.
- The trick is to move back and forth between these messages until you hear a voice say, “I can hear them calling me from Hell.”
- Leave through the door at the bottom of the stairwell to progress.
Loop Ten
- Just follow the ‘L’ shaped corridor one more time and exit through the door at the bottom of the staircase to progress.
Loop 11
- You’ll be able to run this time, so keep following the corridor around and around, paying careful attention to the pictures on the wall outside of the bathroom.
- Once you’ve passed through enough times, you’ll notice that one of the pictures has fallen off, revealing a hole in the wall looking into the bathroom.
- Use the R3 button to look through the hole and keep it held until the dialogue concludes. Follow the corridor around until you reach the door at the bottom of the stairs, and walk through it to progress.
Loop 12
- Follow the ‘L’ shaped hallway and turn around once you reach the end. Move backwards and forwards freely until the image glitches up completely and you’re forced to start a new loop.
Loop 13
- When you wake up, look at the paper bag on the table to your right, and zoom in on it using the R3 button. Listen to what it has to say, and then enter the door into the now familiar ‘L’ shaped corridor.
- There’s much debate regarding how to complete the final conundrum, but this is the series of steps that worked for us.
- Follow the corridor until you reach the clock and zoom in on it. You should notice that time appears to be passing this time. Listen to it tick until you hear a midnight chime.
- Your next task is to get a baby to laugh three times. The first of these can be obtained by walking ten paces or so.
- The second laugh is a little harder to get started. We achieved it by inspecting the radio, phone, and mirror. If you walk up and down the ‘L’ shaped corridor between focusing on these objects, you’ll eventually come into contact with a ghostly figure. There appears to be no real rhyme or reason to these encounters – some claim that having a microphone plugged into the console and making random noises help – so just keep plodding backwards and forwards until you get the second laugh.
- Once you hear the second laugh, stay still and your controller will rumble. Remain steady until the rumbling passes. You should hear a third laugh.
- Finally, the phone at the bottom of the hallway will ring. Focus on it using R3 and you will answer it. Exit through the door at the bottom of the staircase to complete the game.
Picture Pieces
As an aside, starting from Loop Four you can collect picture pieces which fill out the portrait above the clock. Simply zoom in on the locations below to grab them:
- Among the rubbish directly beneath the clock.
- On the potted plant, to the right of the clock.
- Beneath the window at the bottom of the hall.
- In the ceiling between the foyer and the bathroom.
- On the stairwell leading down to the loop door.
- In the pause menu. Push ‘Options’ and then hold down R3.
[ Thanks to IGN and Shirrako ]
Have you managed to complete the P.T. demo yet? Do you have any tips for that final loop? Is this the scariest game ever made? Freak out in the comments section below.


Comments 21
Awesome walkthrough Sammy! This was so much fun but truly terrifying. I've got a lot of faith in this now, intrigued to see where they'll be going with the "Hills" ideology.
On the final loop I tried something I read on the comments of a walkthrough....no idea if it's an Easter egg or one of the possible actions to completing the game. I read that if you plug in the ear bud and speak into it it has an effect. When the chimes sounded at the turn of midnight I said 'hello Lisa' (as suggested) when I walked around the corner the swinging lamp was lit...I did this just before I managed to complete the game...after the lamp lit I walked backwards down the stairs...got a baby cry...walked back up and around the corner again as the woman crying started up again...saw the ghost woman then stood near the clock and got another baby cry...walked right over to the phone got a 3rd baby cry and the controller vibrating then the phone started to ring. I was so shocked by the ringing actually starting I panicked and froze up
@Munkyknuts Yeah, I've heard a few people say that. I've tried it myself, but couldn't get it to work. Knowing Kojima, though, I 100 per cent believe that there are voice commands in there. There are probably others, too.
@SimonAdebisi Yeah, if you get stuck, you can end up going round and round in circles for hours.
@get2sammyb I'd spent hours going around that final loop and comparing notes with a friend on Facebook as they did the same. I read the voice commands thing and thought it was crazy...but then I remembered the battle with Psycho Mantis in Metal Gear Solid and the trick of switching the controller port so he couldn't read my inputs anymore....and realised voice actions weren't so far fetched anymore with Kojima involved. I honestly have no idea if the light turning on helped me finish P.T but having some illumination beyond the flashlight was a comfort....I do wonder if something that could be done would have turned the other lights back on.
I got the biggest scare of my life while playing! I was listening to the radio then a voice said look behind you, so I turned around real quick and didn't see anything, then all of a sudden that girl appears right in my face! Holy **** it scared me haha
Language - get2sammyb
@Ashbrooke91 I missed that little bit...it said to look behind me but it didn't register quick enough....I never got 'killed' by the ghost girl either but my friend did a few times after she rushed them. So much detail and odd occurrences packed into this Demo.
Brilliant demo, what a great marketing idea to get hype going.
Played this with a friend at 2pm on a sunny day and it still scared me ****less.
PRO TIP: IF YOU HAVE SURROUND SOUND, TURN THAT **** UP!!!
Language - get2sammyb
OMG I didn't even know about any of the stuff after the error message!!! I thought that was the end. And this guide was so helpful!!! Thank you!
@Munkyknuts haha yeah, just played it then and didn't turn around just presses x on the photo and ran through the door haha.
@seeafish I've been playing with my headphones on, and every little sound scares the **** out of me!
I spent hours trying to figure this out.
My flashlight changed colour on one of the loops, it was blue. I seen a guy with a red one also. On the loop where you have to make the baby laugh, I focused on the mirror and Lisa appeared right behind me.
For me it was way difficult, first I made the baby laugh once by walking a little, also jump scare immediately after turning too the left, after that I plugged in my turtle beach headset and said random words like poo-poo or something like that and after that I looked into the mirror and saw a spooky ghost. I went back to the beginning corrior and surprise, there's another ghost jump scare. Then the baby laughed and the controller vibrated for a good 30 seconds, anyways the baby laughs for the third time and I picked up the ringing phone. YAY! Btw the flashlight was red and I had all the pieces of the picture. GL!!!
I followed a method from IGN and it worked after I few tries. What I did was wait until the clock turned to 0:00 and the bell sounded, I then stood still until the first haunting, walking around (the "ten step method") whilst the haunting was ongoing, avoiding Lisa as I was walking. Then, during or after the second haunting, I can't remember, I played this https://www.youtube.com/watch?v=Gfo0WfV-L-c through the mic, and i got the second laugh. Then I waited by the phone until the controller started vibrating, after which I got the third laugh and the phone started ringing. Then I just focused on the phone which answers it. I hope this helps. The IGN walkthrough that I did: http://www.ign.com/wikis/silent-hills/P.T._Demo_Walkthrough
Good luck!!
So I've been using the methods posted by ign and cannot seem to get that second laugh. I did however just think of something which I haven't seen on any other forum. Whether this a message or a key to solving this thing I'm not sure but here's what came to my mind:
In getting the second laugh, the steps say to look at the radio, the mirror and the phone. Each of these objects demands a specific sensory interaction; radio - hear, mirror - see, phone - speak. Hear, see, speak. As in hear no evil, see no evil, speak no evil. This leads me more and more to believe you need a microphone in order to do the speaking.
Not sure if this is something....make of it what you will. Maybe it's just Kojima playing mins games...but maybe...just maybe it's some sort of key to unravelling this.
Or maybe I've just played this too long and I'm talking s**t.
@Ashbrooke91 omg... That happened to me! It didn't happen to me until the next loop though, was half way through it and zoomed on something random, then she popped out. I've never been so scared before, and I was playing at night with all the lights off.. Needless to say I turned the game off immediately xD.
I actually got attacked by the ghost woman. Has this happened to anyone else?
@Ashbrooke91 Did the woman ever stop jumping out at you? She keeps doing it to me and I'm not sure how to stop it
I have tried everything above and I still haven't gotten the second laugh. I plugged my mic in and noticed that when I'm at all three (phone, mirror, and radio) and say random stuff, I hear a lot of breaths and the baby making notices, but no laugh.
So I finally got the second laugh with this http://www.gamefaqs.com/boards/827527-pt/69874934
Have anyone ever seen her stand outside of the window.. & also check this out walk exactly behind her following her.. please respond if so.. & if not please share your thoughts.. thanks & have a blessed day
Show Comments
Leave A Comment
Hold on there, you need to login to post a comment...