Rhodes Hill is the second location you'll visit in Resident Evil Requiem, or Resident Evil 9. In this Resident Evil Requiem guide, we provide a Rhodes Hill walkthrough, documenting where to find all Collectibles in the area. The game can also refer to this area as the Care Center.
Subscribe to Push Square on YouTube171k
Resident Evil Requiem: Rhodes Hill Walkthrough - All Collectibles: Files, Mr. Raccoons
There are 41 Files and 10 Mr. Raccoons to find in Rhodes Hill. This guide is structured to list the Collectibles in the order you would find them, in accordance with progression through the location.
Below is our Rhodes Hill walkthrough and all Collectibles locations. We've also tracked all Antique Coins locations in this area.
File #1: Progress Notes
Area: Room 203
- Having gained control of Grace after she escapes the apparatus, the Progress Notes will be on the table next to the chair
File #2: Note on Cardboard Box
Area: Room 202
- Once you have the Lighter, enter Room 202 and open the closet in the back corner
- There'll be a Note on Cardboard Box you can interact with
Mr. Raccoon #1
- Following the combat sequence as Leon, where you use the chainsaw to escape the room, you'll enter a corridor
- Before the staircase, look at the fireplace ahead of you
- The Mr. Raccoon will be dancing on top, allowing you to shoot it
File #3: Care Center Pamphlet
Area: Guard Office
- When you switch back to playing as Grace, enter the Guard Office off the Central Hall
- You'll find the Care Center Pamphlet on the table in the middle of the room
File #4: Whiteboard Scrawl
Area: Guard Office
- In the Guard Office, interact with the whiteboard to find the Whiteboard Scrawl
File #5: Folded Note
Area: Gallery
- In the Gallery area, look for the lab coat with blood splatters on it
- Interact with the pocket to find the Folded Note
File #6: Chairman's Note
Area: Chairman's Office
- When in the Chairman's Office, go to the back room and take the Pencil off the desk
- Now return to the first room and use the Pencil on the Torn Journal on the table
- Shade in the paper to reveal the Chairman's Note
File #7: Copy of an Email to a Manager
Area: Chairman's Office
- On top of the desk, just to the left of the Puzzle Box, in the Chairman's Office
Mr. Raccoon #2
Area: East Wing Lobby
- When you enter the East Wing Lobby, go to the reception desk to find the Mr. Raccoon dancing on top
File #8: Blood Compound Synthesis
Area: Blood Lab
- On the table in the middle of the room, search where the brown boxes are to find the Blood Compound Synthesis
File #9: Safe Replacements
Area: Waiting Room
- Search the small reception desk in the southwest corner of the Waiting Room to find this File on the back wall
Mr. Raccoon #3
- On the first floor of the East Wing, go to the staircase beyond the Waiting Room
- Explore the area at the bottom of the staircase, and you'll find the Mr. Raccoon on a table in the corner
File #10: Lead Researcher's Message
Area: Lead Researcher's Office
- In the Lead Researcher's Office on the second floor, this File will be behind the desk on the left
File #11: Lead Researcher's Picture 1
Area: Lead Researcher's Office
- On the desk, on top of the open file
File #12: Lead Researcher's Picture 2
Area: Lead Researcher's Office
- On the storage unit along the southern wall
File #13: Lead Researcher's Picture 3
Area: Lead Researcher's Office
- The framed photo on the desk
File #14: Examination Room Safe Code
- On the second floor of the East Wing, you'll encounter a Chunk patrolling
- Get around it and turn right before the Lead Researcher's Office
- Take a right into a room with lockers covered in blood
- The File will be on a bench there
File #15: Patient Medical Records
Area: Conference Room
- Fight your way through the zombies in the Conference Room to access the smaller room in the back
- Next to the computer are the Patient Medical Records
File #16: Spencer's Research I
Area: Lead Researcher's Office
- This File will be in the Puzzle Box alongside the Sun Quartz
- Fully examine the Leatherbound Notebook to get it
File #17: Unlocking the Organ Transport Box
Area: Lead Researcher's Office
- This File will be in the Puzzle Box alongside the Sun Quartz
- Fully examine the Leatherbound Notebook to get it
File #18: Victor's Journal Entry
Area: Blood Lab
- Once you have ID Wristband (Level 1), go to the Blood Lab and unlock the door
- Go inside and Victor's Journal Entry will be on the left
File #19: Construction Notice
- Once you have ID Wristband (Level 1), use it on the first floor of the West Wing to access the area with the Custodian's Office
- Opposite the door to the Custodian's Office, out in the hallway, interact with the Construction Notice on the wall
File #20: Bar & Lounge Safe Code
Area: Office
- Go to the second floor of the West Wing via the staircase next to the Custodian's Office
- You'll reach an Office, and the File is on the first desk in front of you
File #21: Background Check
Area: Office
- Before leaving the Office to go into the Kitchenette, the File will be on the final desk
File #22: Disposal Team Report
Area: Records Room
- From the Office on the second floor of the West Wing, enter the Records Room and go straight ahead
- This File will be on top of a box on your left
Mr. Raccoon #4
Area: Kitchenette
- The Mr. Raccoon will be dancing on top of a coffee machine directly in front of you as you enter the Kitchenette from the Office
You will probably hear another Mr. Raccoon nearby in the Records Room, but you can't get this one yet as Grace.
File #23: Double Mutation
- When you have access to the Isolation Ward via ID Wristband (Level 2), enter the destroyed office to find this File on top of some boxes
File #24: Nurse's Log
- In the same room as the Double Mutation file, just further down the room, on a desk
Mr. Raccoon #5
Area: Medication Room
- Once you have ID Wristband (Level 3), return to the Medication Room where the mysterious girl is locked up
- Unlock the other cell that she's not in, and you'll find the Mr. Raccoon on the floor next to the bedpost
File #25: Satiey Suppression Medical Records
- When you switch back to playing as Leon, follow the only path open to you until you reach a point where you have to move a cabinet out of the way
- Before doing so, look left to find the Satiey Suppression Medical Records on a desk
File #26: Basement Safe Code
- After Leon's encounter with a Chunk, break open the wardrobe in the corridor that follows to find this File
File #27: Note to the Chairman
Area: Chairman's Office
- Having climbed down the ladder out of Attic Storage, search the bin in the Chairman's Office to find this File
File #28: Dishwasher's Note
- Break open the Warped Closet between the Chairman's Office and Bar & Lounge areas to find the Dishwasher's Note inside
Mr. Raccoon #6
Area: Records Room
- Go to the Records Room as Leon and break open the Warped Closet inside to find the Mr. Raccoon
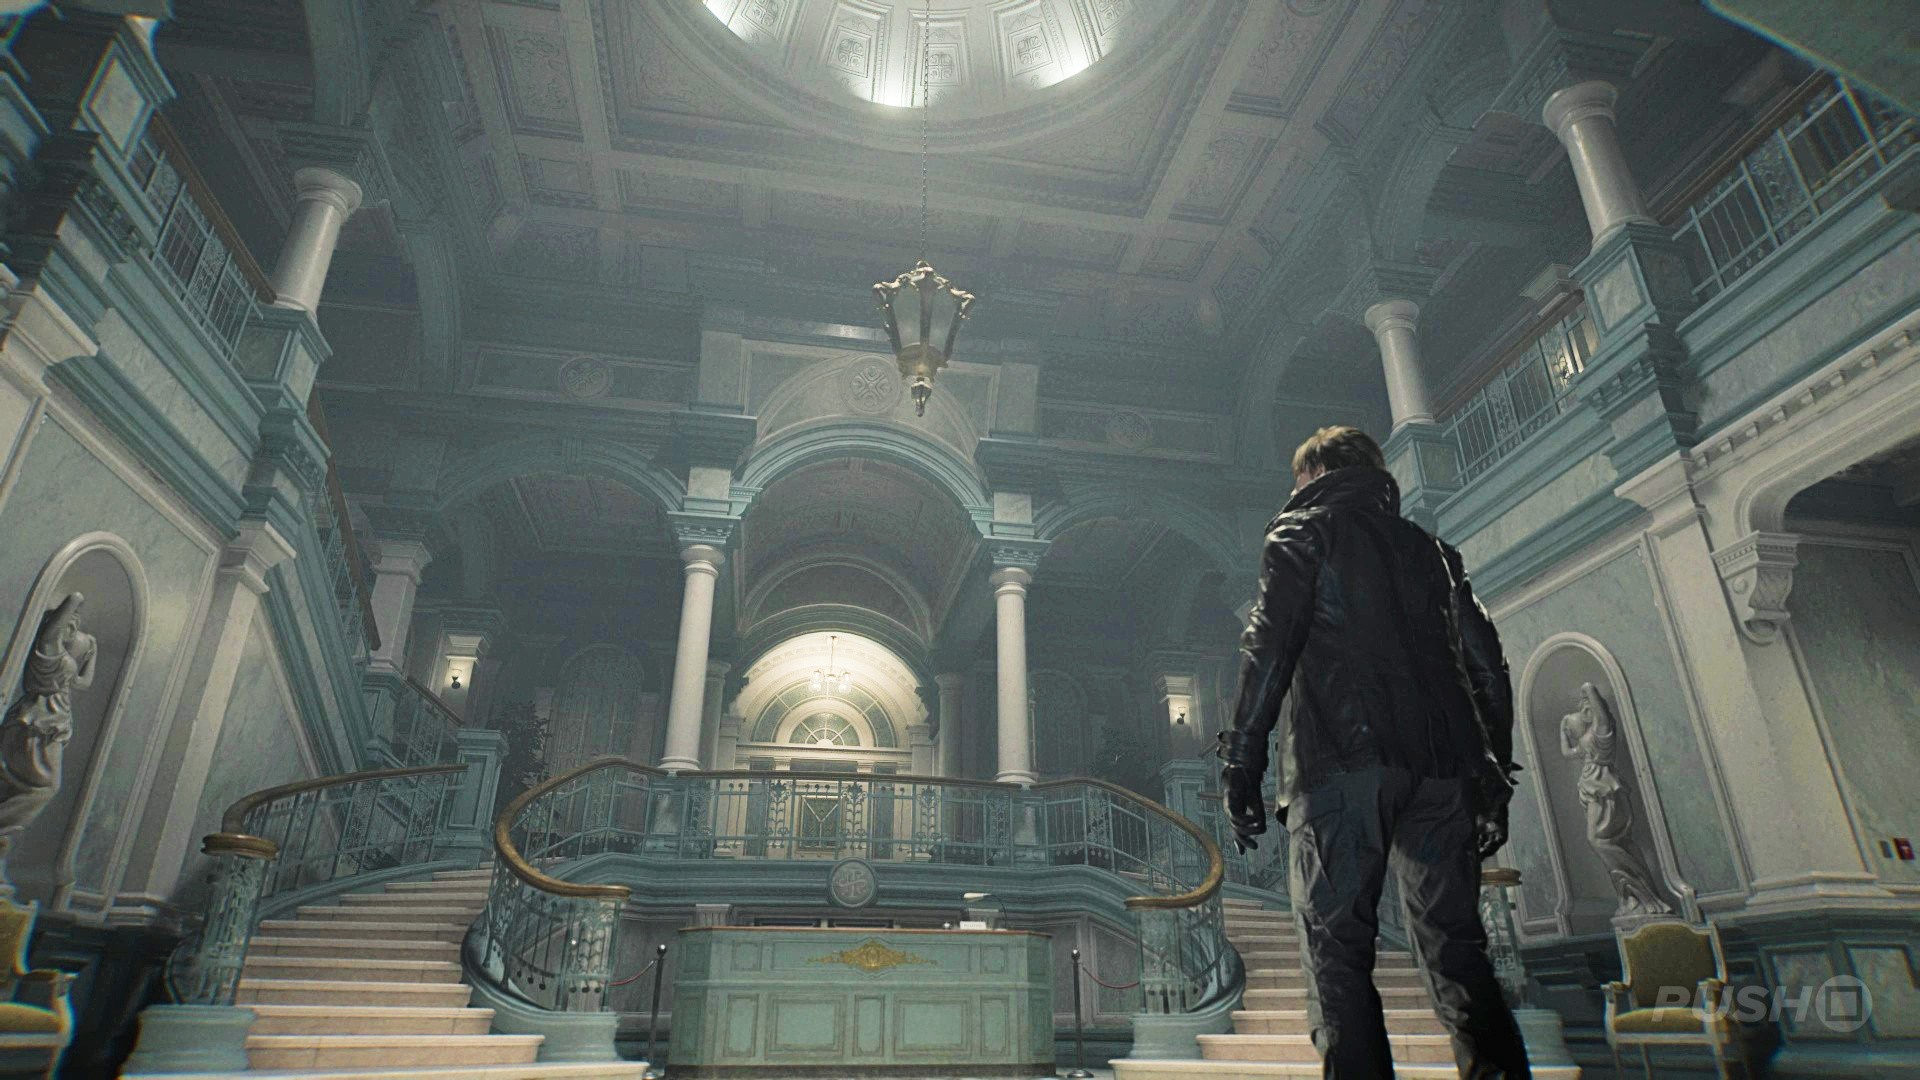
File #29: Special Directive for Raccoon City
- Automatically added to your Files list when you switch back to playing as Grace
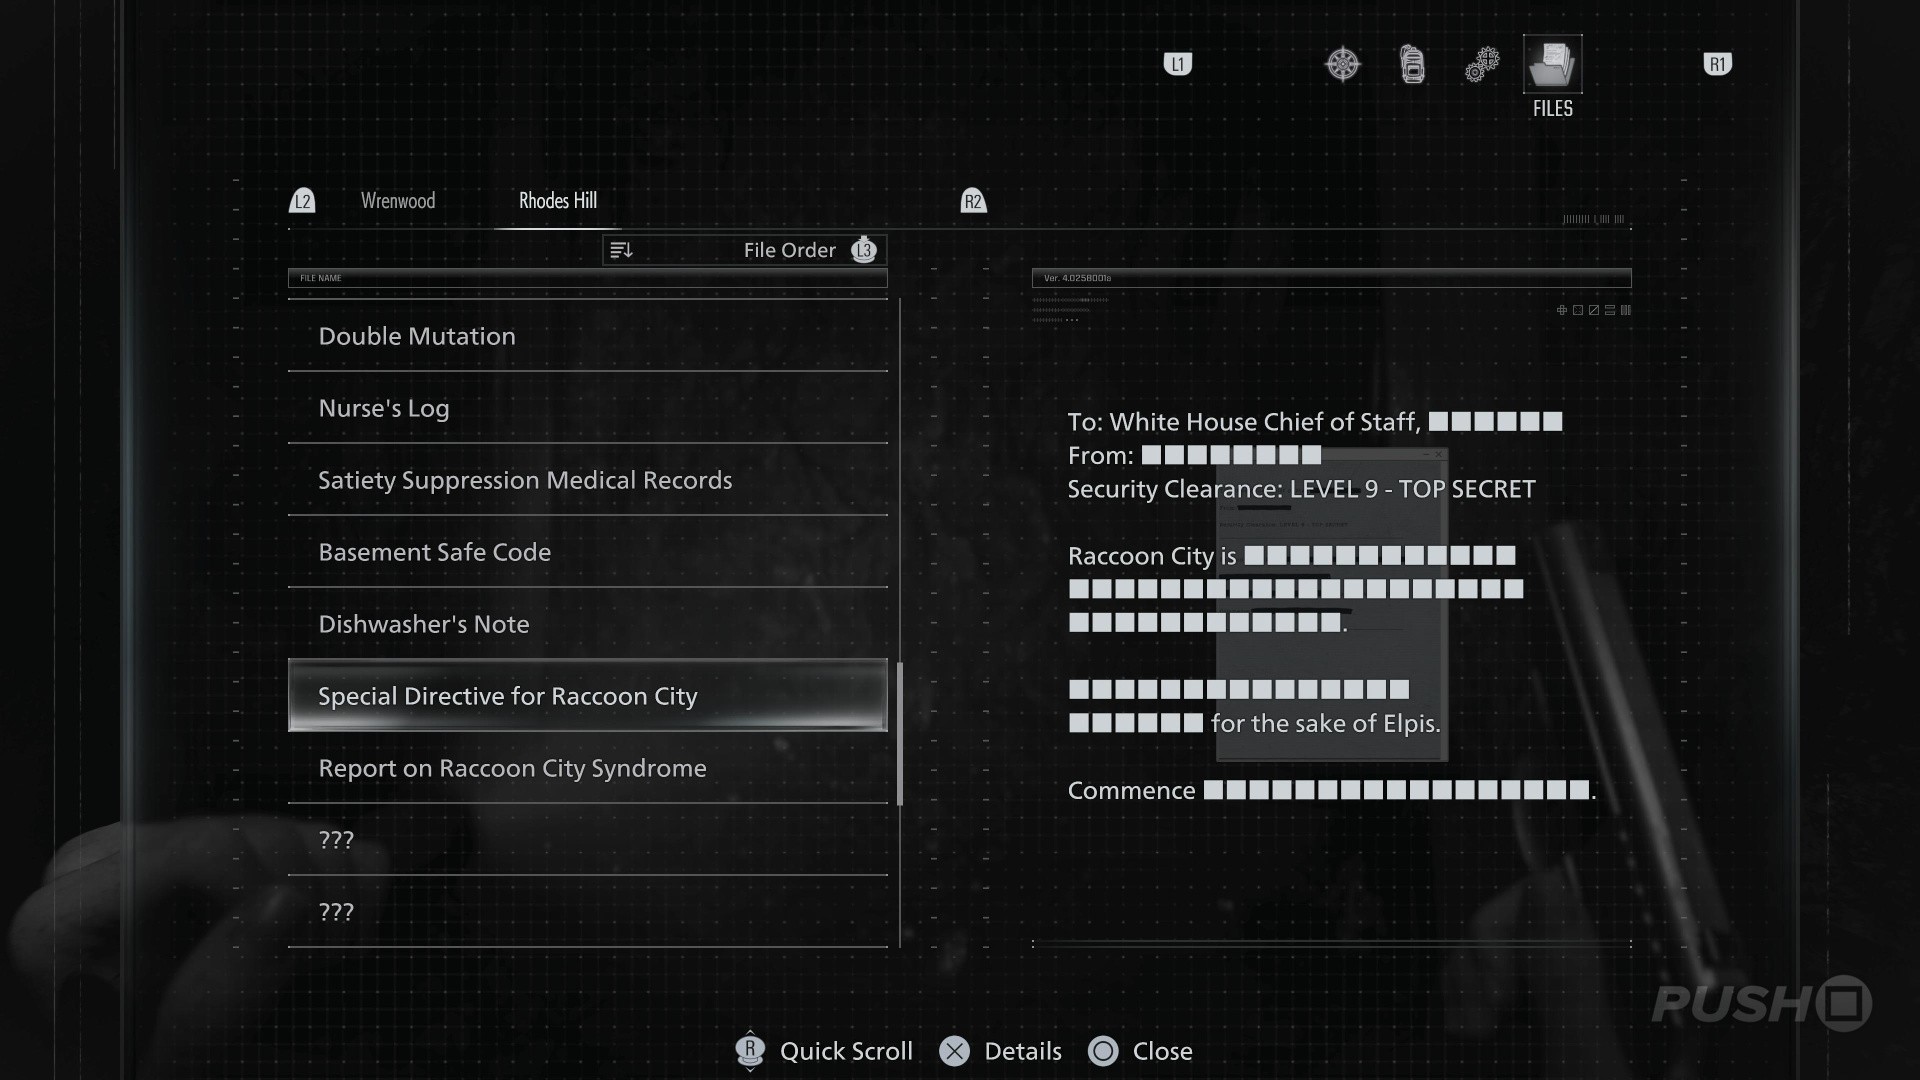
File #30: Report on Raccoon City Syndrome
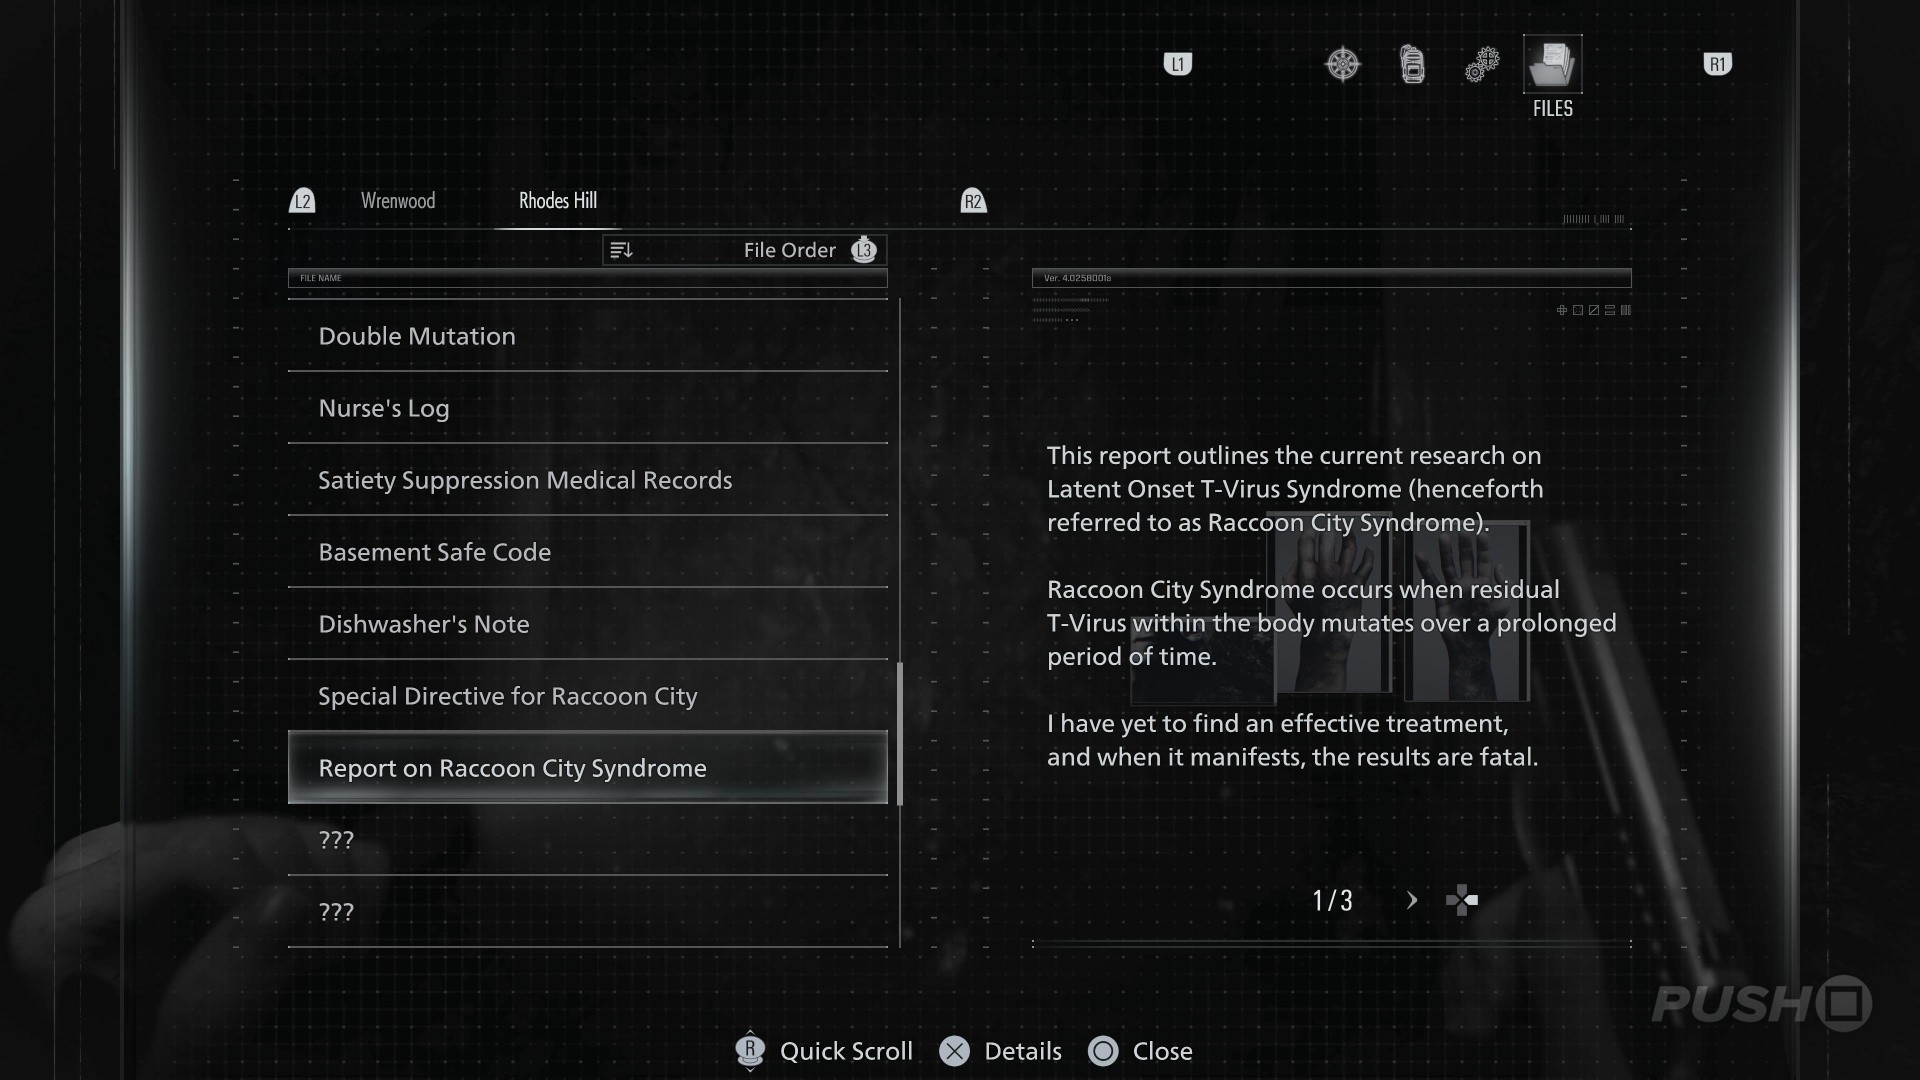
- Automatically added to your Files list when you switch back to playing as Grace
File #31: Staff Member's Last Words
- When you take back control of Grace, walk down the tunnel and you'll find this File next to the first corpse
File #32: Operation to Eliminate "The Girl"
Area: Security Room
- Follow the path underground until you reach the Security Room, with a Save Point and an Item Box
- On the workbench to the left is the File
File #33: Unlocking the Cells
Area: Holding Cells
- Interact with the diagram behind the Joint Plug in the Holding Cells to obtain this File
Mr. Raccoon #7
Area: Bunkroom
- With the Joint Plug in your inventory, go to the Power Distributor west of the Elevator in the long corridor
- This will open the doors to the Bunkroom
- Inside, on top of the static TV, is the Mr. Raccoon
File #34: Security Guard's Report
- Place the Joint Plug in the Power Distributor in the Furnace area
- Follow the corridor along to the area where the Forklift is
- There'll be a small office off to the side, and in here is the File
File #35: Technician's Note
- From the area with the Forklift, crouch and crawl through the open vent
- On the other side, check the workbench for the Technician's Note
Mr. Raccoon #8
- On the same workbench as the Technician's Note
File #36: Visitor Record
Area: Helipad
- When you leave Emily with Harry at the Helipad, enter the house and pick the Visitor Record up off the cabinet with wine bottles on it
File #37: Note Regarding Research Results
Area: VIP Suite
- Search the desk in the back of the VIP Suite to find the Note Regarding Research Results
File #38: Spencer's Research II
Area: Reception
- Inside the house next to the Helipad, take the secret Elevator down into the Reception area
- This File is between the Storage Box and the Save Point
File #39: Subject 170 Record
Area: Collection & Testing
- In the large Collection & Testing room, head towards the exit staircase in the north
- On top of a hospital bed to the right is the File
File #40: Grace Ashcroft Blood Analysis Report
Area: Private Lab
- From the entrance into the Private Lab from Development, the File will be in front of a computer on your left
Mr. Raccoon #9
Area: Private Lab
- This Mr. Raccoon is dancing away on top of a desk in the Private Lab
Mr. Raccoon #10
- When you're playing as Leon and sniping zombies from the rooftops, search for a Mr. Raccoon in the garden area
- The Mr. Raccoon is on top of one of the garden lights, allowing you to shoot it with the rifle
File #41: Roof Hatch Manual
Area: Storage Bay
- Having placed Emily down in the Water Treatment Plant, the Roof Hatch Manual will be on the table next to you
Have you found our Rhodes Hill walkthrough for Resident Evil Requiem useful? Let us know in the comments below and check out our Resident Evil Requiem guide for further help and information.


Comments 0
Wow, no comments yet... why not be the first?
Leave A Comment
Hold on there, you need to login to post a comment...