A Friend in the Dark is a Side Quest in Horizon Forbidden West: Burning Shores which you'll come across as you progress through Relic Ruins: Murmuring Hollow. As part of our Horizon Forbidden West guide, we're going to explain everything you need to know about A Friend in the Dark.
A Friend in the Dark: Overview
| Type | Description | Recommended Level |
|---|---|---|
| Side Quest | Someone is trapped behind a locked metal door. Aloy must find a way to free him. | 42 |
A Friend in the Dark: Walkthrough
For the purposes of this walkthrough, we will assume you have completed Relic Ruins: Murmuring Hollow, as it's during this section that this Side Quest presents itself.
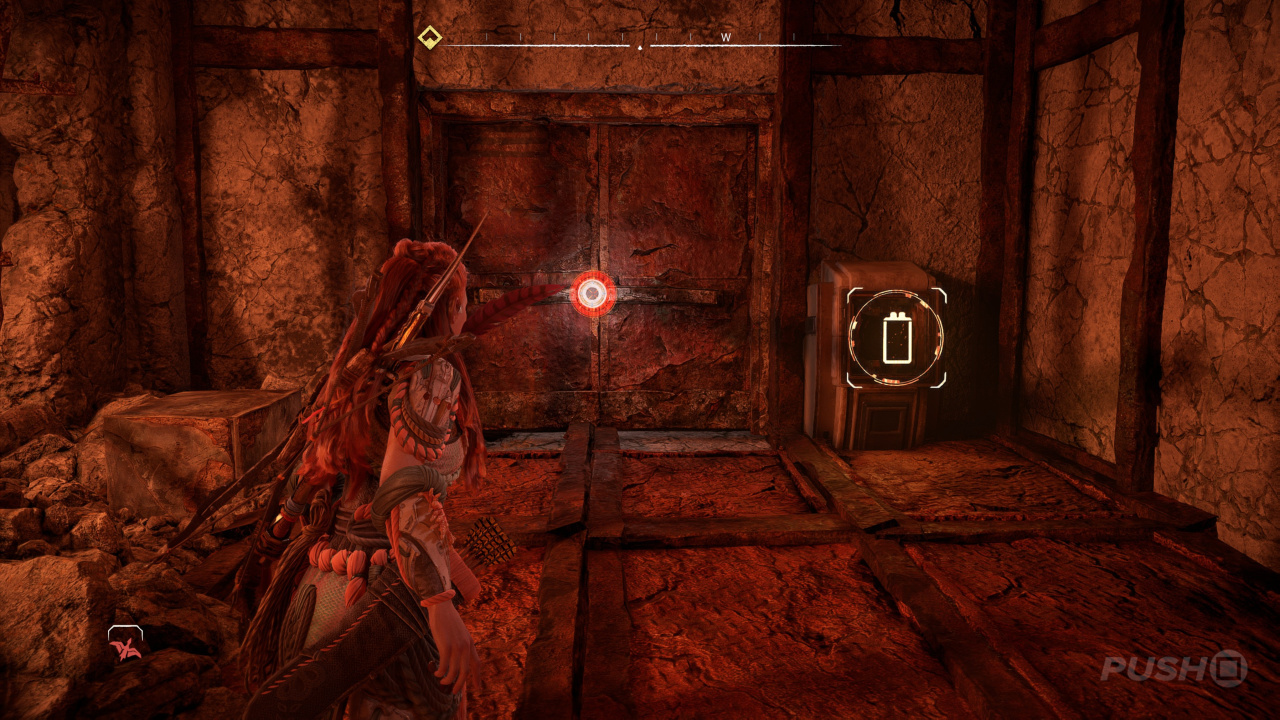
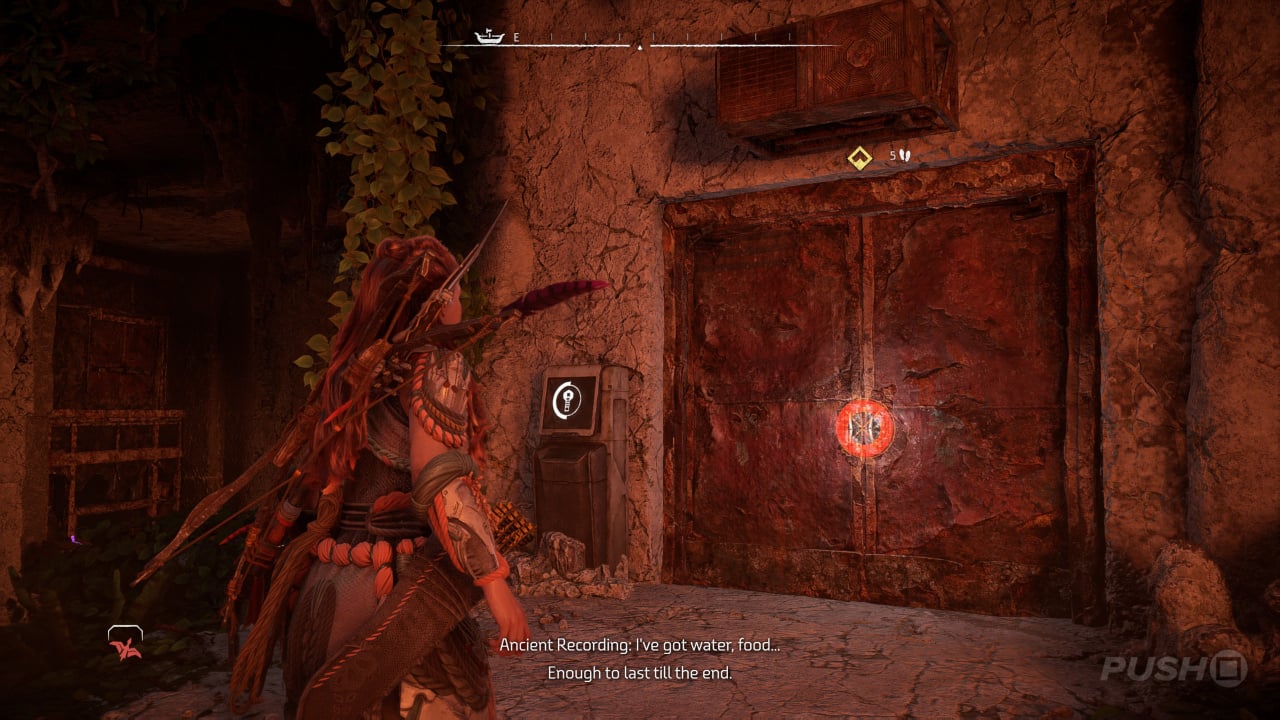
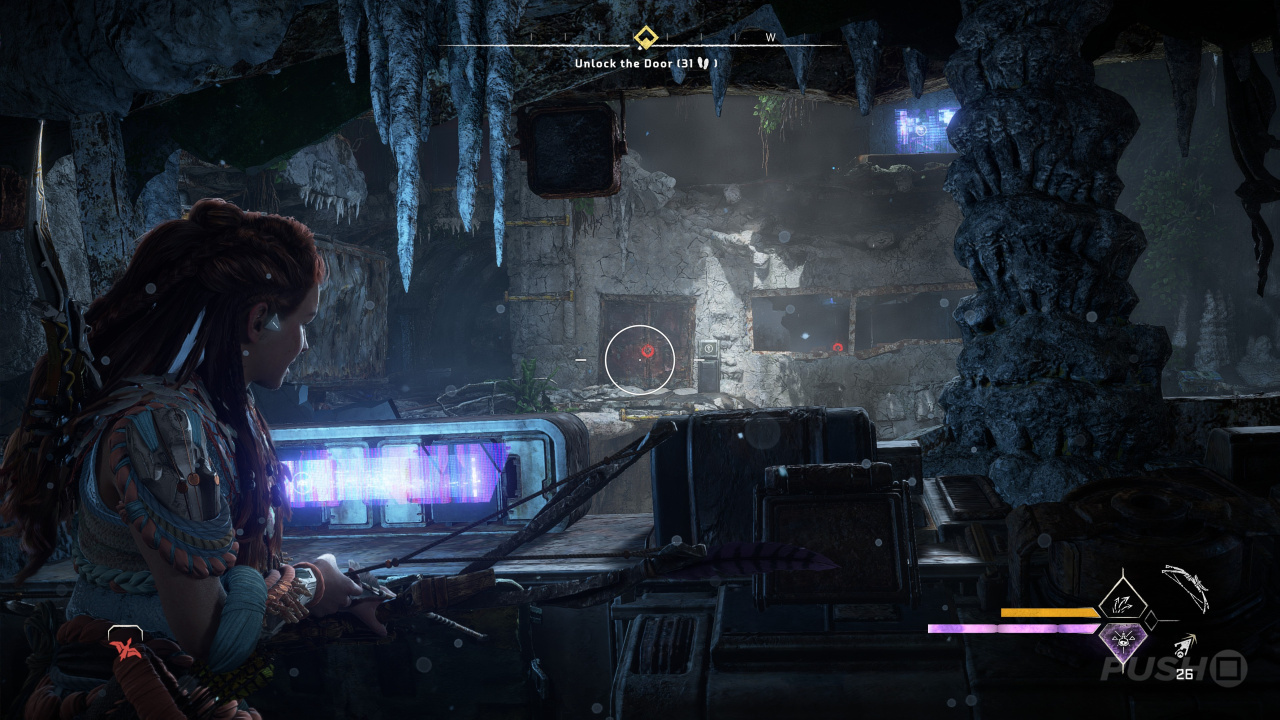
You will hear a voice coming from behind a locked door in the ruins. Approach the door and Aloy will reassure the person that she'll help them escape. Opposite this locked door will be the other door you opened to solve the Relic Ruin. Go through and there's another locked door. This one requires a battery to open.
Go back out and head left towards the wrecked train cart, which has a live battery in it. Remove the battery, then return to the battery door and insert it in the slot. In the next room is a Key Module — pick this up.

Return to the locked door with the stranger behind it. Insert the Key Module into the console and the door will open. Watch the cutscene.
After speaking with Gildun, follow him into the passageway. Follow it all the way down. Look out for a small room on the left, which contains the Datapoint 'Dead Wait'. It contains a code you'll need later.
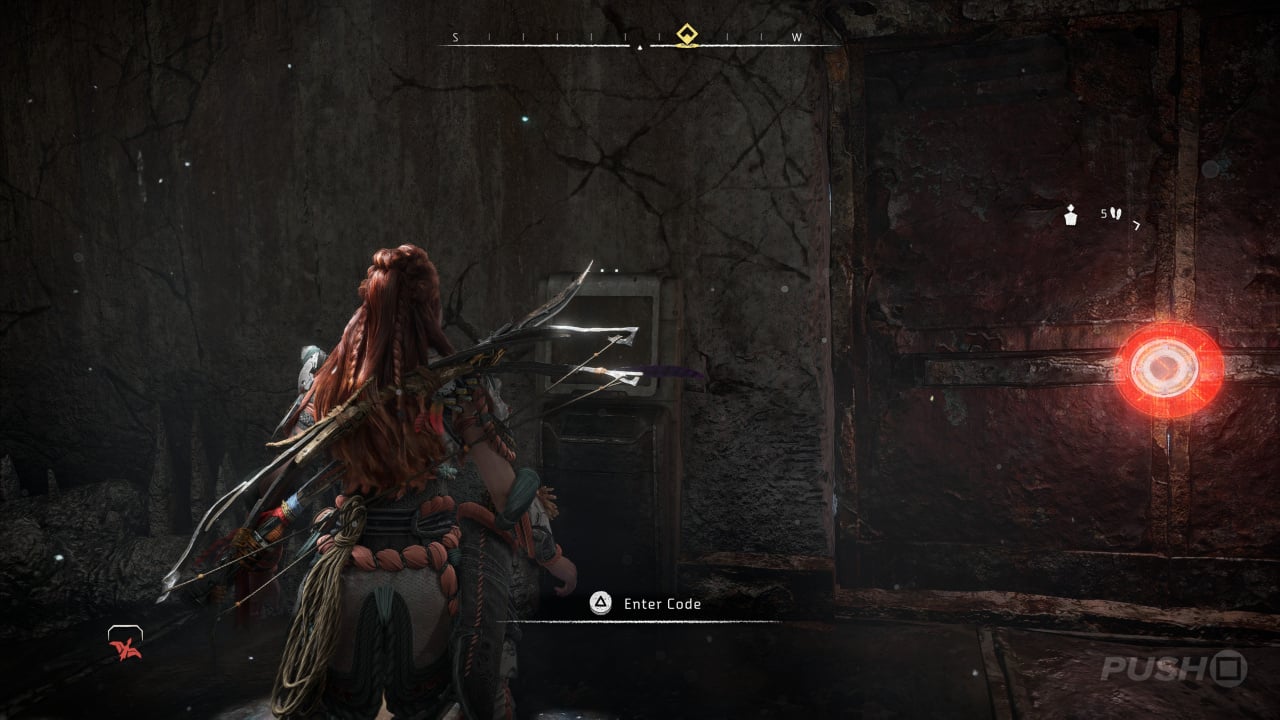
Continue down the corridor to find some Brimshine on the right. Just ahead is the locked door you need to open. Use the code from the Datapoint.
What Is the First Door Code in A Friend in the Dark?
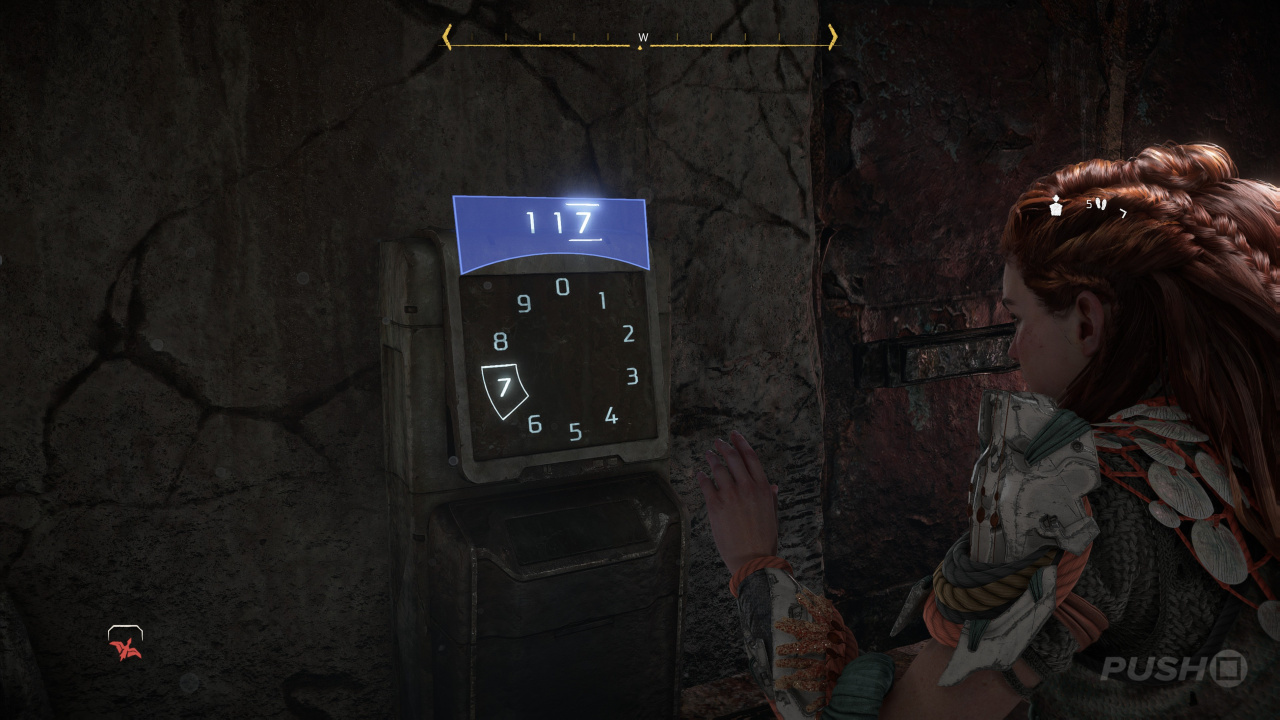
The code for this locked door is: 117. You'll learn this from the Datapoint 'Dead Wait', which is located in the tunnel as you descend.
Once the door is open, head inside. Across the room is another locked door.
Go left down some steps to the lower level. Over on the right is a train car you can move. Push it out of the way to reveal a crate. Bring the crate out into the central room. Move it onto the raised rubble, which allows you to climb up to where the locked door is. It requires a code and a Key Module.
Head to the left of the door and go into the side room. There's a vent — pull it open with the Pullcaster, then go inside. Follow it to the other end and drop down.
Go out and to the right to get around the train car. Use the ledges to the right to clamber over to the other side of the room. Drop down and head into a room on the right to find a Datapoint, 'Bean Counter'. This contains the code we need for the door.
Go back out and use the Pullcaster to remove a cover. There's a valve behind it — turn it and Aloy will tell Gildun to hop onto the elevator. Bring Gildun to the upper level, then return to the other side using the ledges again. Push the train car with Gildun until it stops.
Drop down to the lower level and grab the crate. Move it onto the elevator you used earlier. Stay in the elevator and Gildun will raise you and the crate up.
Move the crate out and next to the train car. Climb onto the top of the car, go to the other end and climb up. Ignite the Firegleam and stand back. Go through the hole into the next room, where you'll find the Key Module.
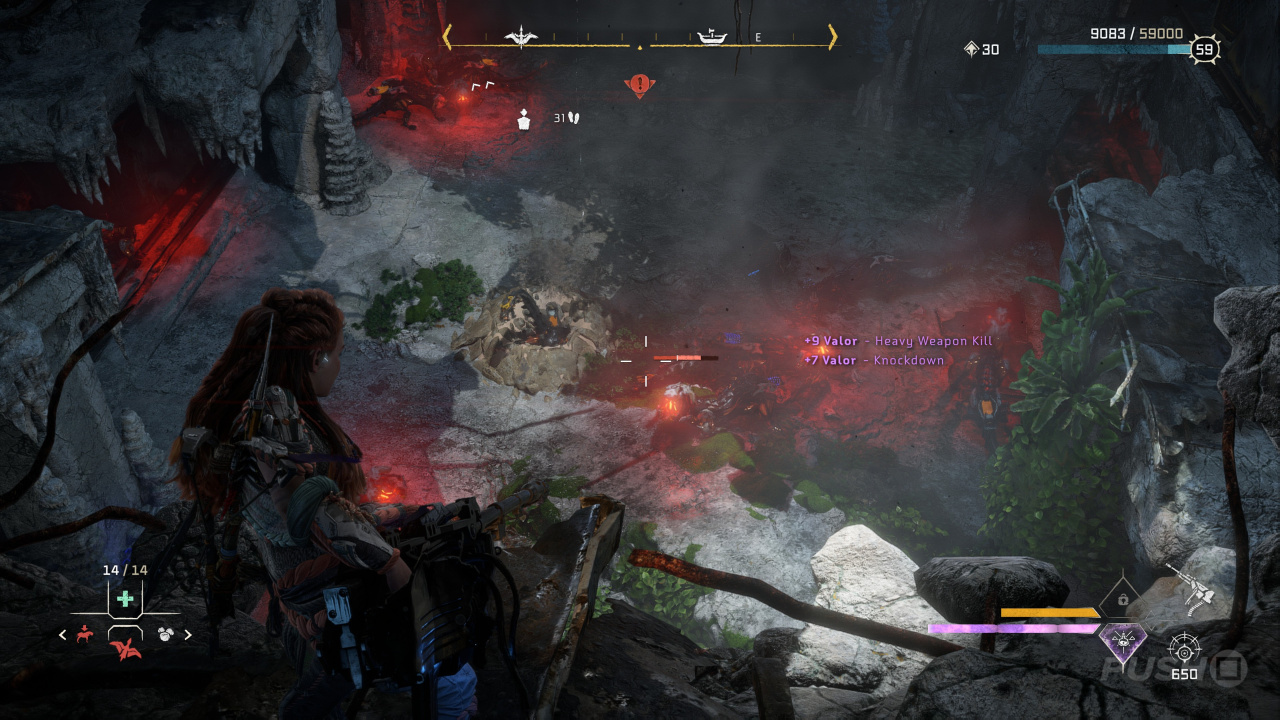
As soon as you pick it up, a whole bunch of Burrowers will enter the room below. Handily there's a Deathbringer Gun right next to where you're standing, so let them have it.
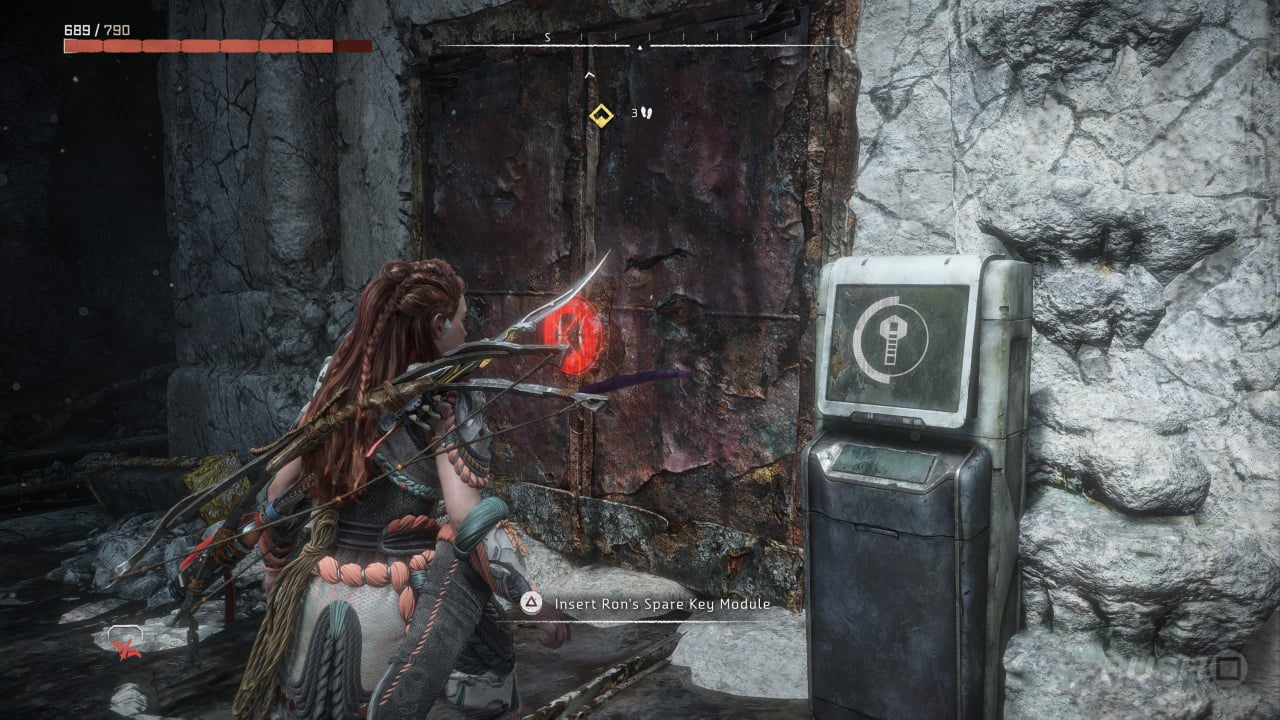
Once they're dealt with, go back to the locked door. Insert the Key Module, and then input the code.
What Is the Second Door Code in A Friend in the Dark?

The code for this locked door is: 1247. You'll learn this from the Datapoint 'Bean Counter', which is located on the upper floor of this area.
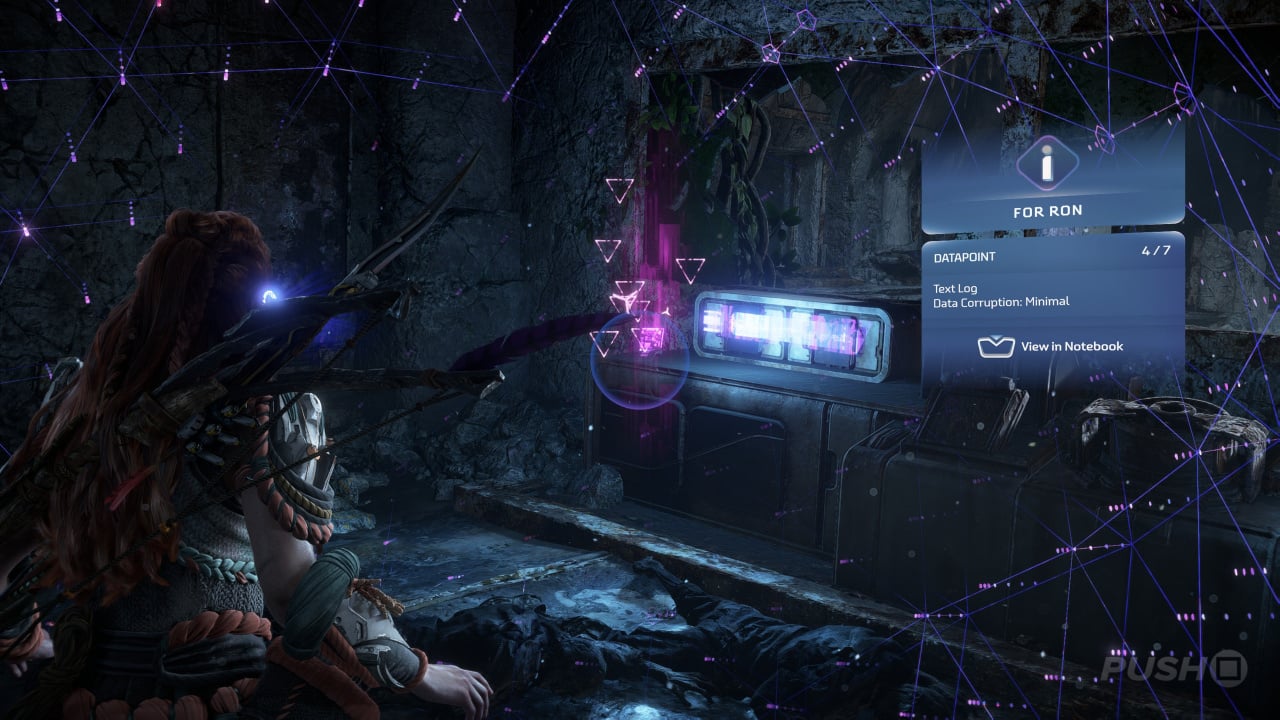
With the door unlocked, go inside. There's another Datapoint called 'For Ron'.
Use the Pullcaster on the vent on the opposite wall. Go through to the other side and drop down to the room below.
Unfortunately, you'll find out what happened to Olvar. Examine his body. Exit through the vent and then talk to Gildun. Watch the cutscene that follows. You'll be given a choice of responses during this conversation — choose your favourite and continue watching. Once the cutscene is over, the Side Quest will be complete.
Objective Log
- Find a Way to Free the Stranger
- Go to the Locked Door
- Find the Door Code
- Search the Ruins for Olvar
- Unlock the Door
- Find Olvar
- Examine the Corpse
- Return to Gildun
A Friend in the Dark: Rewards
- 13,650 XP
- 2 Skill Points
- Last Argument - Legendary Spike Thrower
A Friend in the Dark: Notes
A Friend in the Dark is found while you explore Relic Ruins: Murmuring Hollow, and requires you to complete at least part of it. Click the link for our walkthrough of Relic Ruins: Murmuring Hollow.
Did you follow this walkthrough for A Friend in the Dark in Horizon Forbidden West: Burning Shores? For more information on Horizon Forbidden West, including All Quests, refer to our Horizon Forbidden West guide through the link.


Comments 0
Wow, no comments yet... why not be the first?
Leave A Comment
Hold on there, you need to login to post a comment...