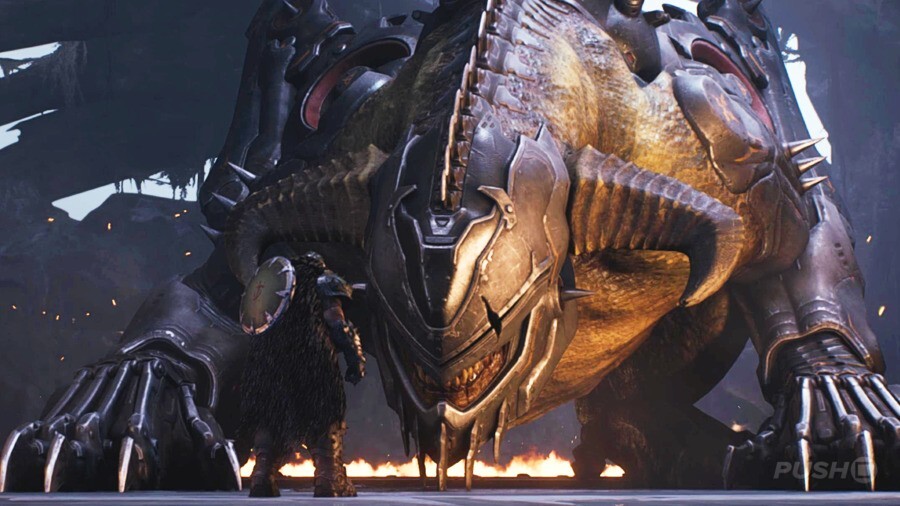
The Holy City of Aratum is the 5th Chapter in DOOM: The Dark Ages. This DOOM: The Dark Ages guide shares a The Holy City of Aratum walkthrough, documenting all the Collectibles you can find.
Where Are All Collectibles Locations in The Holy City of Aratum in DOOM: The Dark Ages?

There are 8 Collectibles to find in The Holy City of Aratum. There are 2 Rubies, 2 Demonic Essence, 2 Codex Entries, 1 Toy, and 1 Weapon Skin. Below you will find all collectibles locations in The Holy City of Aratum in the order you should encounter them.
Demonic Essence #1: Health
- To the west of your starting position in the area where you need to destroy the Hell Carriers, look for an enemy you can defeat on top of a building
- Killing it creates a landing zone
- Land there and defeat all the monsters to earn the Demonic Essence
Codex Entry #1: Deag Loric
- When you go to destroy one of the Hell Barriers, you'll board a ship that gives you the Cycler weapon
- At the end of this ship, just before you destroy it, turn around and look underneath the ledge you just dropped down from
- At the end of the path of Gold is the Codex Entry
Codex Entry #2: The Holy City of Aratum
- When you down another one of the Hell Barriers, you'll be able to land and pick up a Super Shotgun
- In the first corridor inside, hug the right-hand wall and take a passage leading back outside
- Destroy the large chain, then push the block with your shield
- Climb up where it lands and follow the path into a secret area
- The Codex Entry is down the steps at the end of the corridor
Toy #1: Serrat
- Return to the area outside where you destroyed the large chain on the way to getting Codex Entry #2
- When you're on the wooden beams with the soldiers, take an immediate right and look down off the edge
- There's a level you can drop down to here and head inside again
- Defeat the enemies that spawn, then follow the path up to find the Toy
Ruby #1
- In the main corridor you use to access Codex Entry #2 and Toy #1, continue down to find a pressure plate and the Ruby opposite behind a gate
- Go back a little and look up to find a chandelier you can drop down using your shield
- It'll drop onto the pressure plate and let you access the Ruby
Demonic Essence #2: Ammo
- At the end of the Hell Barrier to the east, you'll need to defeat a powerful enemy that rewards the Demonic Essence
Weapon Skin #1: Nightmare (Ravager)
- When you're flying around the main area of this Chapter, go down to the bottom of the large tower in the middle
- Here, you can kill two large demons to create a Landing Zone
- Near the water is a tunnel leading underneath the structure you land on, leading to the Weapon Skin
Ruby #2
- In the same area as Weapon Skin #1, stand on the pressure pad and throw your shield at the large latch it reveals
- Jump into the water pool that's revealed and use the lever at the bottom to drain the water
- Throw your shield at the latch it reveals, then head inside and take the Red Key
- Return to the surface via the boost pad, then open the gate to get the Ruby
Did you find our guide revealing a The Holy City of Aratum walkthrough for DOOM: The Dark Ages helpful? Let us know in the comments and check out our DOOM: The Dark Ages guide for more help and information.


Comments 0
Wow, no comments yet... why not be the first?
Leave A Comment
Hold on there, you need to login to post a comment...