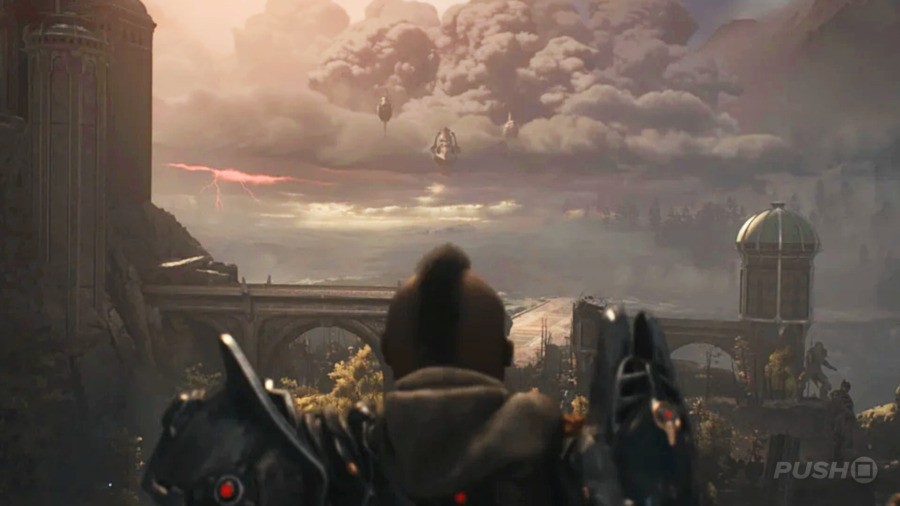
Siege - Part 1 is the 6th Chapter in DOOM: The Dark Ages. This DOOM: The Dark Ages guide shares a Siege - Part 1 walkthrough, documenting all the Collectibles you can find.
Where Are All Collectibles Locations in Siege - Part 1 in DOOM: The Dark Ages?

There are 11 Collectibles to find in Siege - Part 1. There are 4 Rubies, 2 Demonic Essence, 2 Codex Entries, 2 Toys, and 1 Weapon Skin. Below you will find all collectibles locations in Siege - Part 1 in the order you should encounter them.
Ruby #1
- When you're outside on the big battlefield hunting Gore Portals, head for the western side of the area
- You can trigger a combat encounter, and defeating all the enemies grants you access to the Ruby
Ruby #2
- Along the western edge of the large battlefield, you can climb up a wall and access a hidden area
- Here you'll find a Ruby suspended above a pool of water
- Jump into the water and swim to the left to find a passage
- On the other side, break through the wall with your shield, then throw your shield above the gate to power it
- Use the lever at the end and then jump back into the water to grab the Ruby
Demonic Essence #1: Ammo
- At the Gore Portal in the northwest corner of the map, defeat the armoured enemy to get the Demonic Essence
Codex Entry #1: Siege - Part 1
- In the back area of the main battlefield map, and pretty much directly opposite the way you entered, there's a tunnel you can enter, marked by two blue flames
- Go inside and follow the path through (we can't get the Ruby yet) and up to lower the chained section
- This opens up another route where you can climb on a box and then the wall
- Go down this corridor, and then jump across to the platform outside to get the Codex Entry
Toy #1: Slayer
- The Secret Key can be found in the dead centre of the large battlefield map, just north of the starting Sentinel Shrine
- Now you have the Secret Key, look west to find a secret room unlocked by the Secret Key
- Inside is the Toy
Ruby #3
- Now we have the Secret Key, return to the room leading up to Codex Entry #1 and unlock the gate to get another Ruby
Weapon Skin #1: Nightmare (Impaler)
- With the Secret Key in hand, go back to the location of Ruby #2
- Unlock the gate with the Secret Key to grab the Weapon Skin on the other side
Ruby #4
- The statue holding the Ruby is just to the right of the entrance to the main battlefield area
- To access the Ruby, you must destroy three wolf statues nearby by throwing your shield at them
- The first wolf statue is directly opposite the Ruby, up on the small rocky ledge from where you came up the slope
- The second wolf statue is south of the Ruby's location, underneath a fallen tree
- The third wolf statue is in the water below the Ruby
- You can take the Ruby once all three wolf statues have been destroyed
Toy #2: Mancubus
- Along the northern edge of the big battlefield map, looking to the east, you can stand underneath a giant statue
- At its feet is the Toy
Codex Entry #2: Kreed Makyr
- From the statue where Toy #2: Macubus is, look over the edge to the left
- The Codex Entry is next to some Gold on a platform below you
Demonic Essence #2: Armor
- At the Gore Portal to the east, defeat the Leader to earn the Demonic Essence
Did you find our guide revealing a Siege - Part 1 walkthrough for DOOM: The Dark Ages helpful? Let us know in the comments and check out our DOOM: The Dark Ages guide for more help and information.


Comments 0
Wow, no comments yet... why not be the first?
Leave A Comment
Hold on there, you need to login to post a comment...