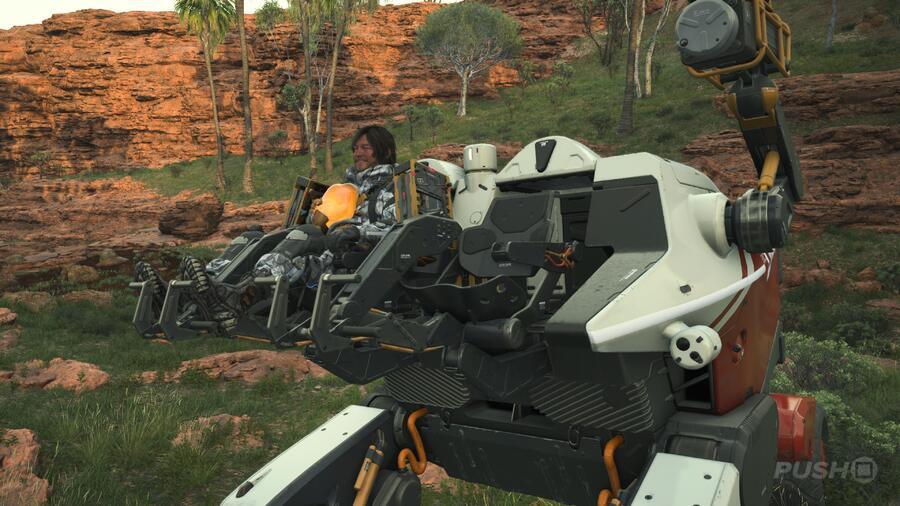
Most of your time spent playing Death Stranding 2 shall revolve around making deliveries, with stretches of combat and story in between. As such, you're going to want to do the best job possible when transporting that cargo. Therefore, this Death Stranding 2 guide shares 11 essential tips to improve your deliveries.
Scan for Lost Cargo on the Way to Your Destination
Because of how spaced out all the Facilities are that accept Orders, you'll always spend at least a few minutes driving to your destination. Along the way, scan the environment frequently using L1. Look out for Lost Cargo with the same name as the place you're heading for and turn it in with the main piece of cargo. This way, you'll earn more Likes for your journey and increase your Connection Level with that Facility faster.
Pick Up Lost Cargo for Facilities You Haven't Found Yet
If you are moving through a part of the map that's not connected to the chiral network, it means you have not found the Facility for that area yet. You can tell if you're not connected because there'll be a small red icon in the bottom left of the screen. In these places, look for Lost Cargo bearing names you don't recognise.
Picking the Lost Cargo up will reveal the location of the Facility on your map, allowing you to connect them to the chiral network if you go there. Not all of the Facilities are linked up as part of the main story, so some are hidden and must be found.
Use the Auto-Arrange Cargo Option
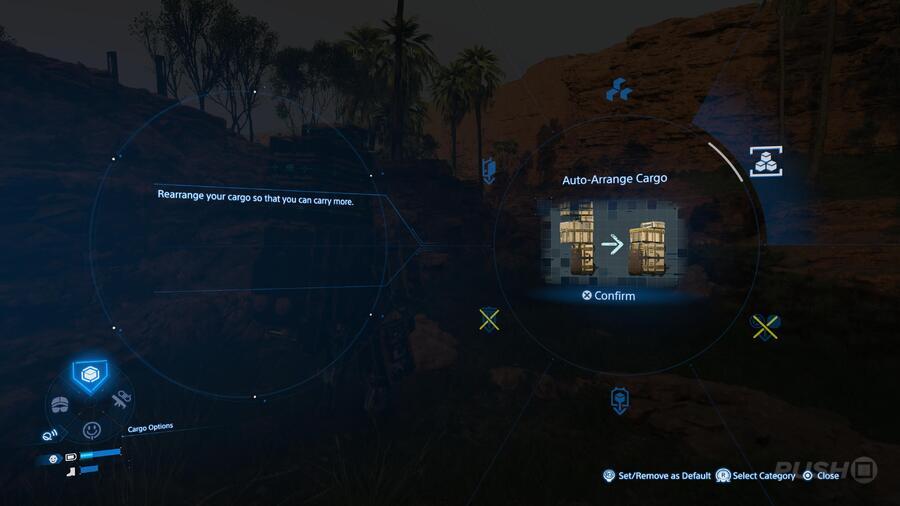
Arranging your cargo on Sam is important for stability, to make sure he doesn't topple over with the items he's carrying. If you want a quick fix for this, hold Up and point the right thumbstick to the top-right option. This is the Auto-Arrange feature, and will automatically rearrange all your cargo to transport it most effectively.
Explore Dialogue Trees for More Story
Some of the Preppers you meet at Facilities are quirky, and your journey to them is made all the more fulfilling by learning about their backstory and the creations they give you as rewards. Take the time to engage with the optional conversations on offer to learn more about the people you're working for.
Streamline Your Route by Accepting Multiple Orders
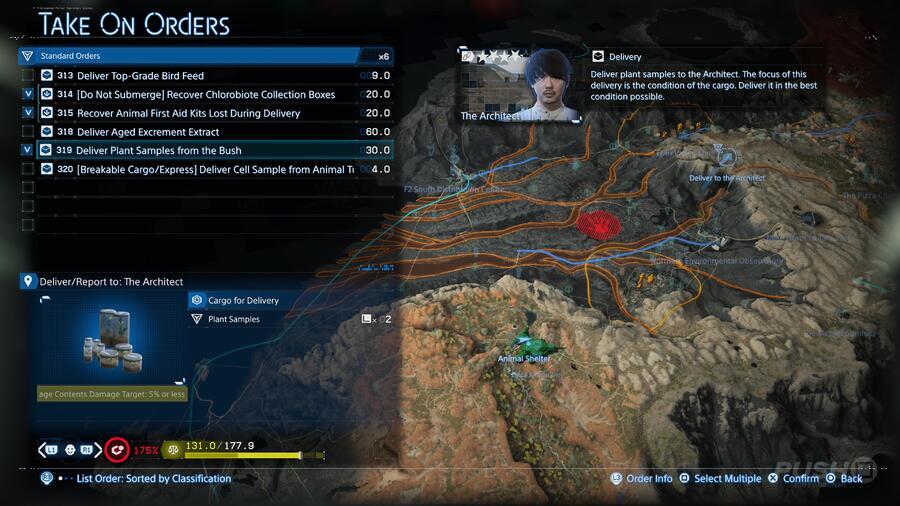
If you're only accepting a single Standard Order at once, completing it, and then moving on to another, then you're wasting time. Before accepting anything, scroll down the full list of available Orders at a Facility and see where they want you to deliver to. Double up on Orders going to a single location, and try to find a route between multiple destinations so you can potentially pick up more Orders on the way. You're going to increase your Connection Levels much faster this way.
Check the Map to See How Many Standard Orders a Facility Has
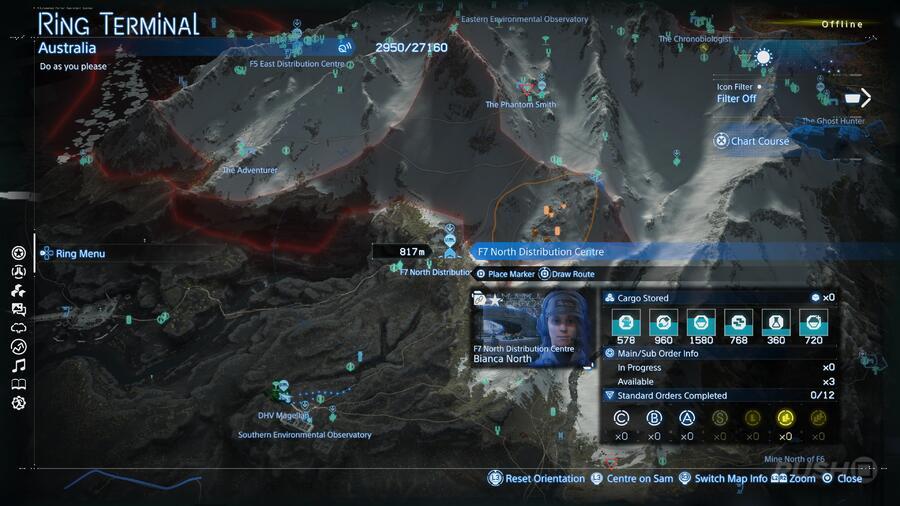
If you want to work out whether it's worth checking a Facility for new Orders, open up the map first. Hover over the Facility you're thinking of going to and it'll tell you in the pop-up box how many active Standard Orders they have. These Orders recycle on a timer — they reappear after around 6 hours — so you may have to wait a bit before the one you want is available. If it's not, at least you didn't waste any time driving there to check.
You Can Complete Orders with the Cargo Still Stored in a Vehicle
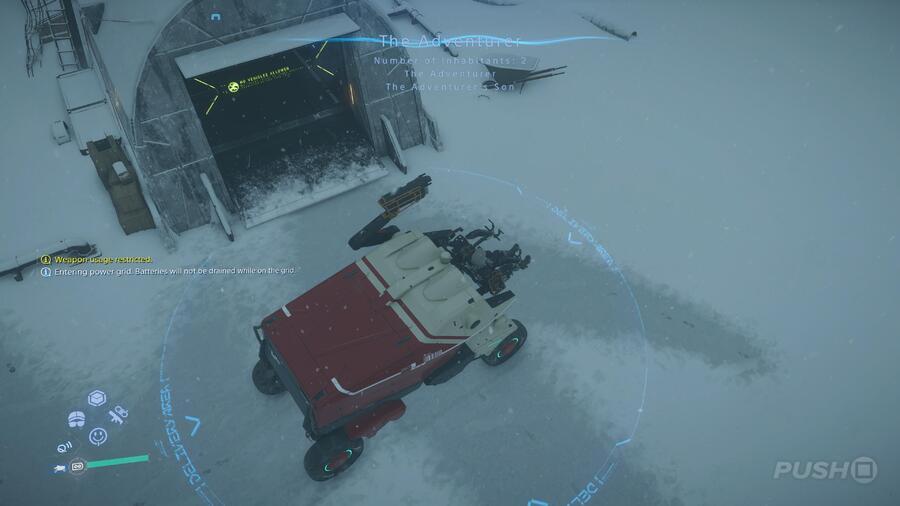
Just like you can immediately store cargo for Orders in your vehicle from the acceptance screen, you can also hand in cargo in a similar fashion. Outside every Facility is a blue, illuminated circle. As long as you park your vehicle inside that circle, you can complete an Order with the cargo still stored inside the vehicle. This saves time and makes picking up multiple Standard Orders at once much easier.
Fast Travelling with Cargo Results in a Bad Rating
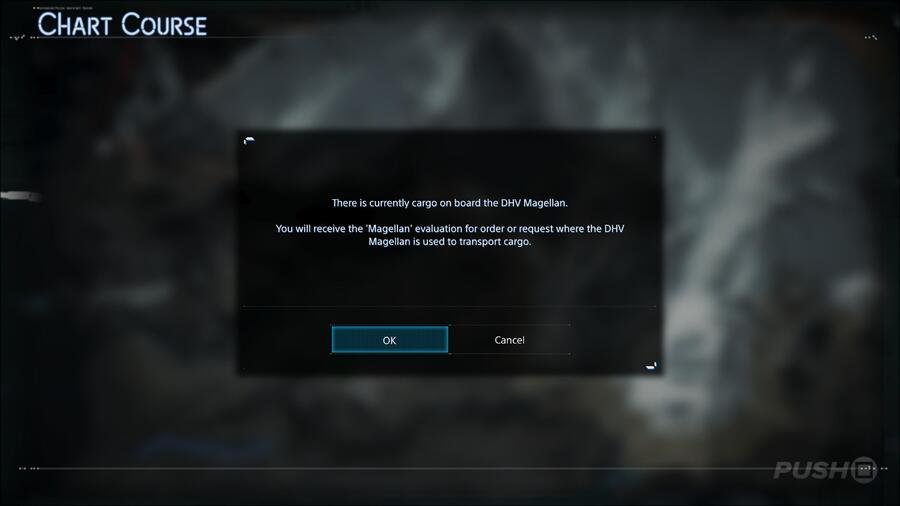
Some of the journeys you have to do to complete Orders are long — so long in fact you might be tempted to use the DHV Magellan and fast travel your way to the end. This is possible; you can complete Standard Orders this way.
However, you're going to get a bad rating and very few Likes from the Prepper for doing so. This isn't so bad as you work through the early Connection Levels of each Facility, but once you want to reach star rank 5, the final rating will be so bad that the whole process will be a waste of your time.
Hold the Square Button to Quickly Select Multiple Pieces of Cargo
Upon accepting multiple Orders from a Facility, you'll be given a screen listing all the Cargo, asking you where you want to store it for travel. You can make this selection process faster by holding down the Square button as you scroll down the menu.
Shotguns Work at Long Range Too
Shotguns are traditionally a close-range weapon, designed to deliver lots of damage in a tight space. However, in Death Stranding 2, they can do exactly that and work well at longer distances too. There are better options, of course, like assault rifles and handguns, but shotguns are still viable options if your target is a couple of metres away. They still deliver great damage.
Equip Your Off-Roader with the Sticky Cannon

If you're making long trips across Australia, then there's a high chance you'll encounter Lost Cargo on the way. Having to constantly get out and back into the vehicle takes up time, so put a Sticky Cannon on your Off-Roader. This will automatically pick up Lost Cargo and any other items on the ground and place them in the boot, removing the need for you to get out. You'll unlock the Sticky Cannon after connecting the F2 South Distribution Centre to the chiral network.
Did you find our guide revealing 11 essential tips to make S Rank deliveries in Death Stranding 2 useful? Let us know in the comments below and check out our Death Stranding 2 guide for more help and information.
PlayStation Buttons based on work by VictorPines, CC BY-SA 4.0, via Wikimedia Commons


Comments 0
Wow, no comments yet... why not be the first?
Leave A Comment
Hold on there, you need to login to post a comment...