Need a The Hunt walkthrough for The Last of Us 1, including all collectibles? In this The Last of Us 1 guide, we're going to show you how to achieve 100% completion in The Hunt, which is part of the Lakeside Resort chapter.
There are 8x Artefacts, 1x Firefly Pendant, 1x Comic, and 1x Optional Conversations to find in The Hunt, as Ellie is left alone to care for Joel.
The Last of Us 1: The Hunt Walkthrough
Following the events of the Science Building, you'll now find yourself in control of Ellie. Interestingly, you begin The Hunt with eight Artefacts already in your backpack, so you don't have to manually collect these. However, if you're playing The Last of Us or The Last of Us Remastered, you may want to carefully examine each one in order to get them to register towards your completion. This isn't necessary in The Last of Us: Part I, as they'll automatically be listed as collected. However, there is some extra dialogue which makes observing them worthwhile. You'll also find one Firefly Pendant named Riley's Firefly Pendant in your backpack, but this doesn't count towards your overall collectibles.
Artefact #1: Joel & Sarah Photo

The Artefact named Joel & Sarah Photo is already in Ellie's backpack at the beginning of The Hunt.
Artefact #2: Switchblade
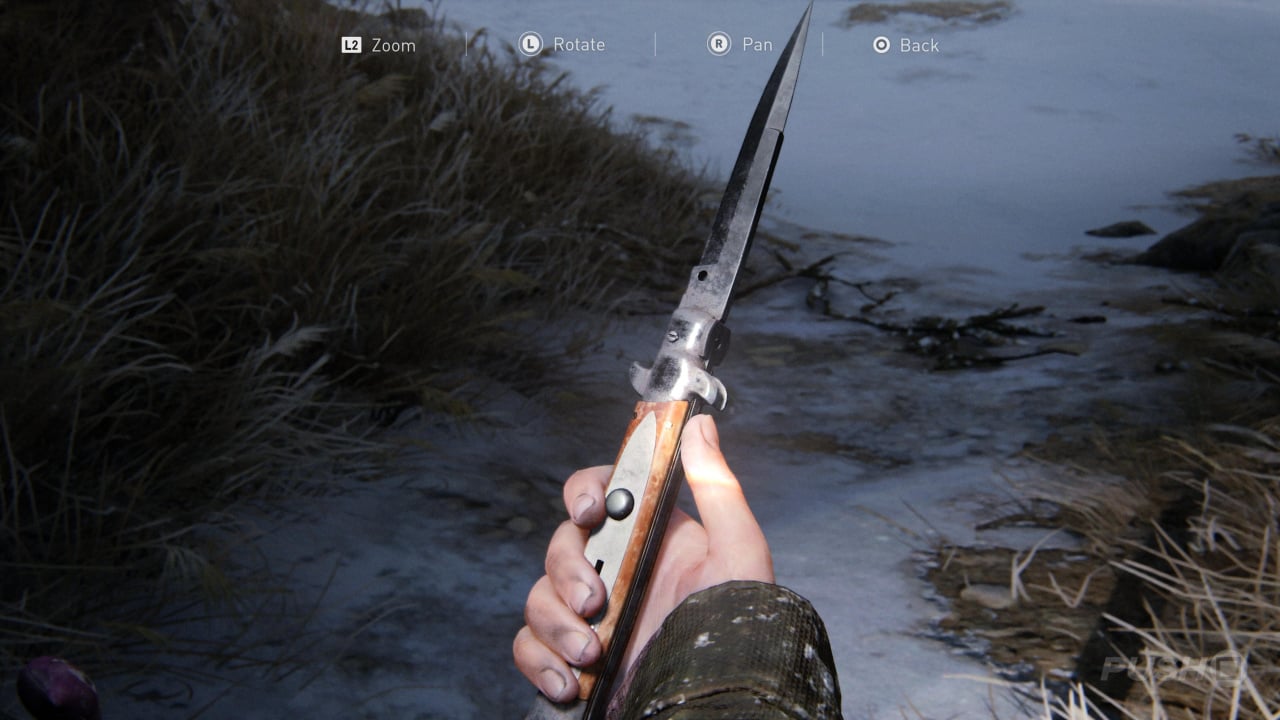
The Artefact named Switchblade is already in Ellie's backpack at the beginning of The Hunt.
Artefact #3: Note from Mom
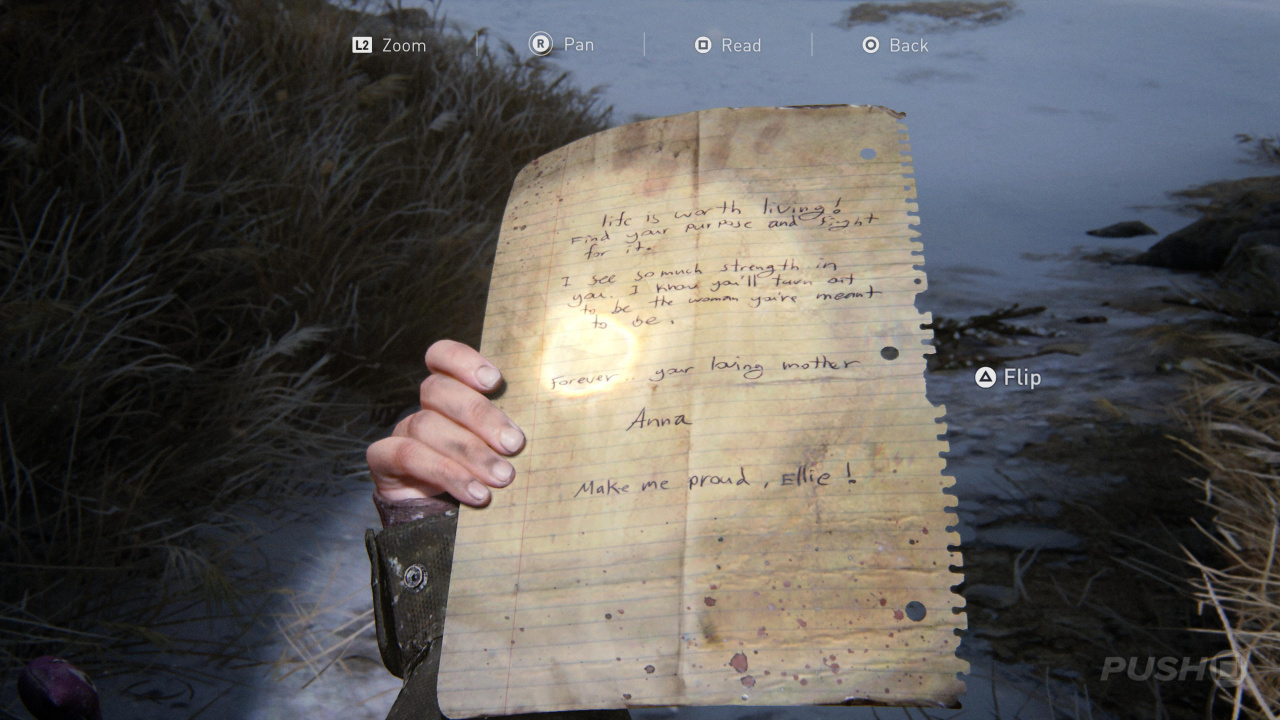
The Artefact named Note from Mom is already in Ellie's backpack at the beginning of The Hunt.
Artefact #4: Walkman
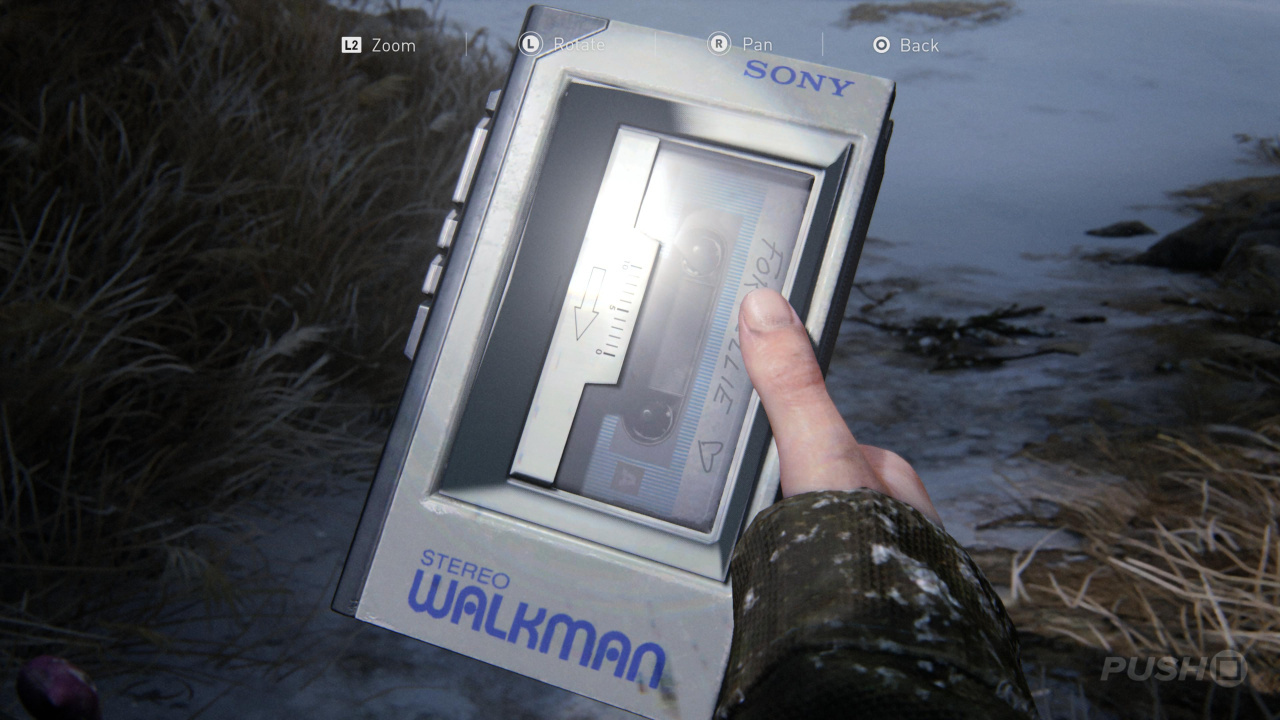
The Artefact named Walkman is already in Ellie's backpack at the beginning of The Hunt.
Artefact #5: Sam's Robot
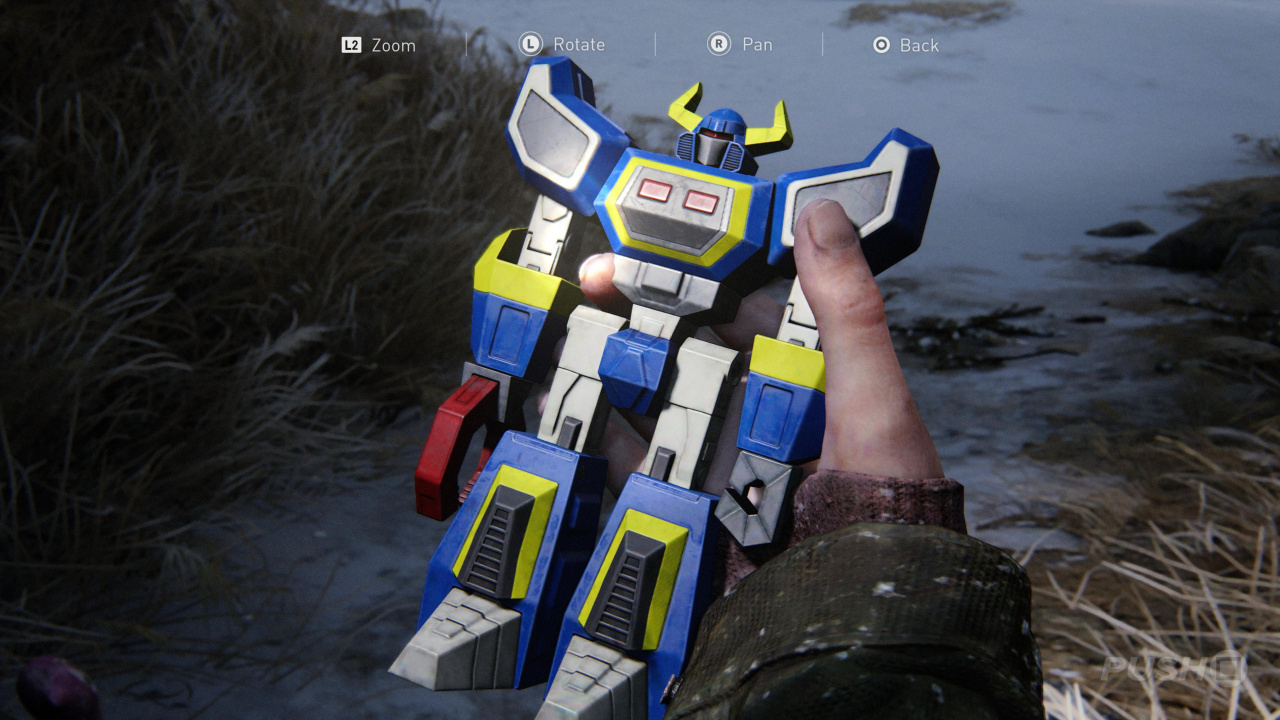
The Artefact named Sam's Robot is already in Ellie's backpack at the beginning of The Hunt.
Artefact #6: No Pun Intended: Volume Too
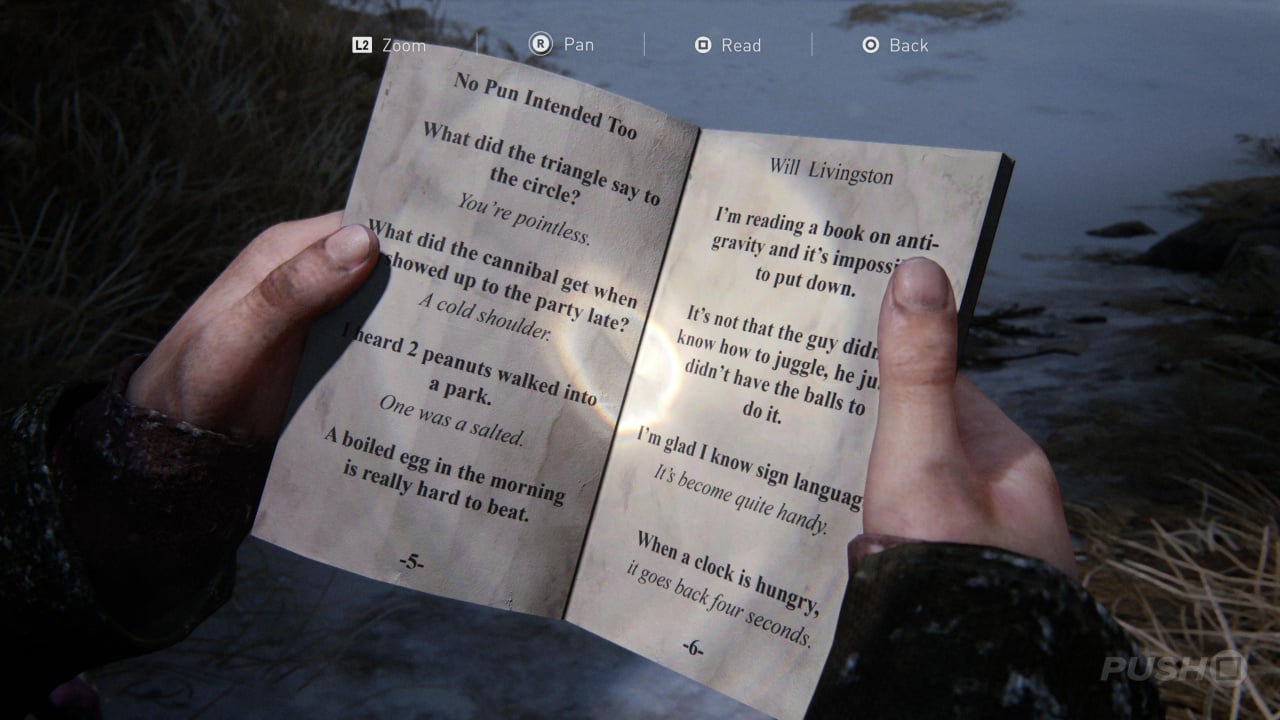
The Artefact named No Pun Intended: Volume Too is already in Ellie's backpack at the beginning of The Hunt.
Artefact #7: To Get to the Other Side
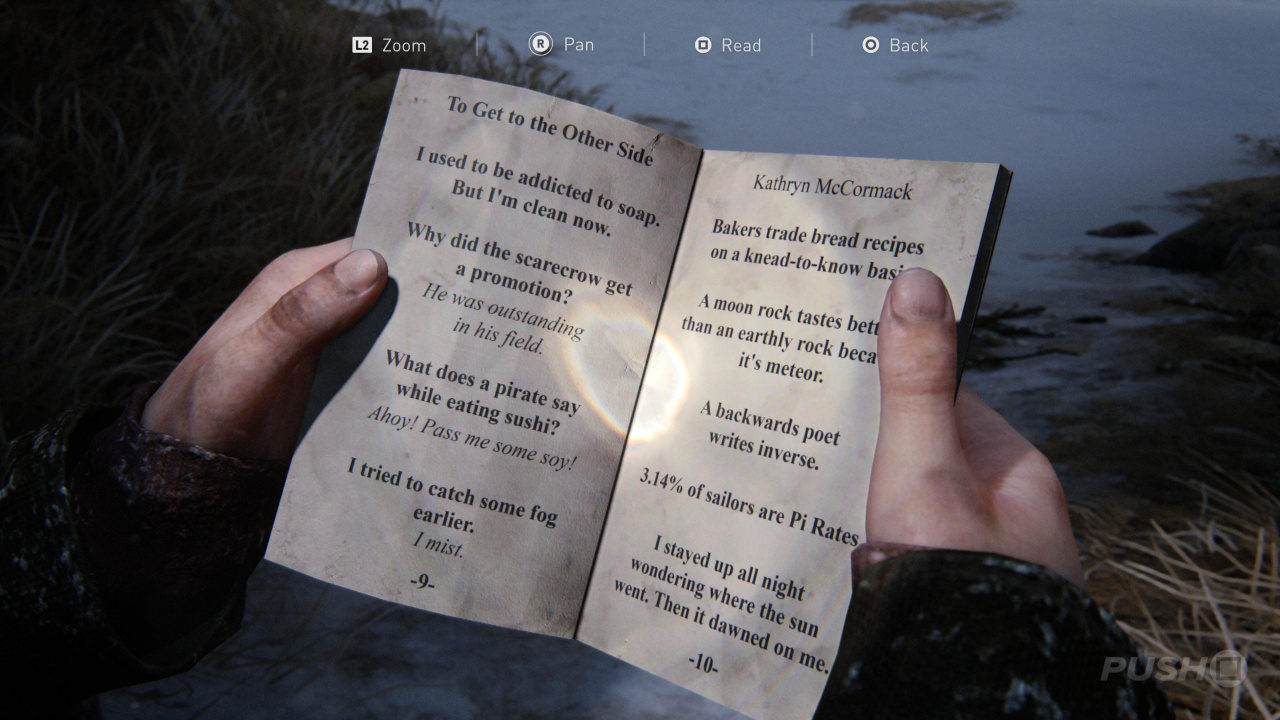
The Artefact named To Get to the Other Side is already in Ellie's backpack at the beginning of The Hunt.
Artefact #8: No Pun Intended
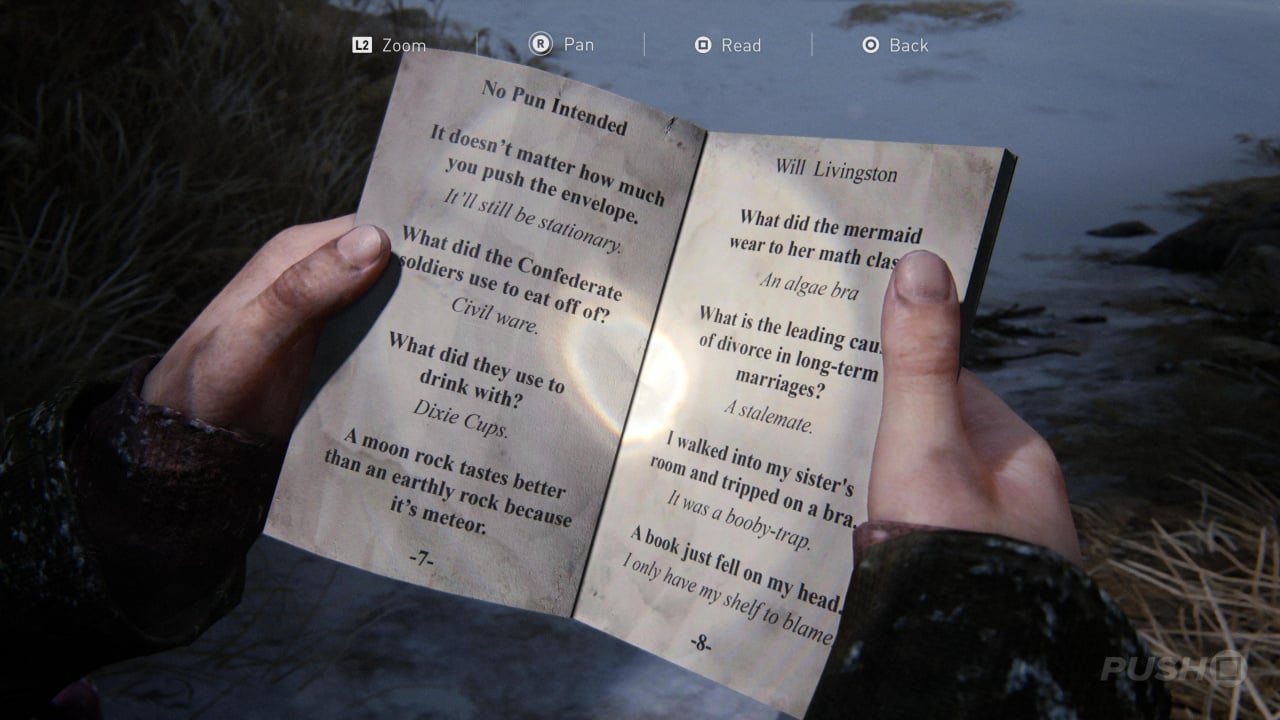
The Artefact named No Pun Intended is already in Ellie's backpack at the beginning of The Hunt.
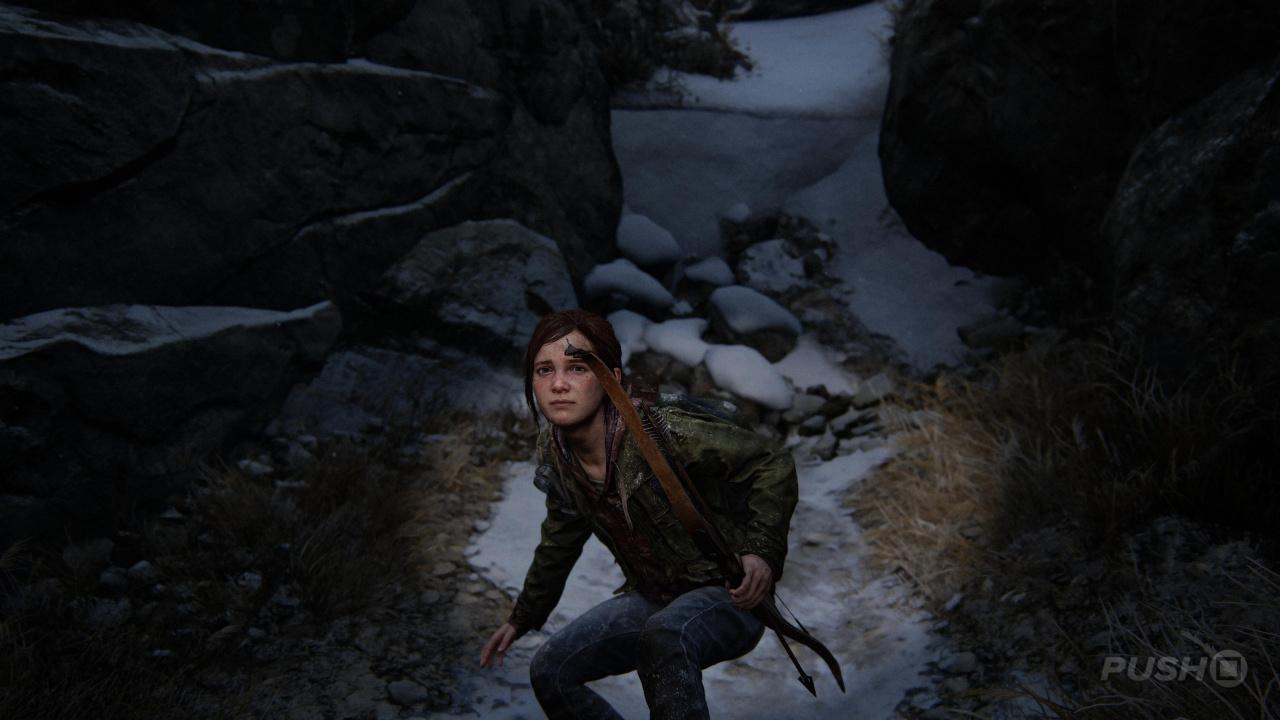
It's winter and you're hungry! The good news is that Ellie's tracked down a deer, which promises a big dinner tonight. Stay crouched down and use your bow to hit the deer with an arrow. Then follow the blood and footprints in the snow to repeat a couple more times. Remember to stay low at all times, don't get too close, and hit the deer at least twice. It'll eventually lead you to a broken fence.
Hop the broken fence, and follow the blood down a hill and towards a ledge. Once you drop down from the ledge, you'll be outside a partly destroyed building named Warren Coral Mining. Follow the trail of blood inside.
Comic #1: Uncertainty
Immediately in the room on the left, after you enter Warren Coral Mining, is a Comic named Uncertainty in the desk drawer up against the far wall.
Continue to follow the blood trail out of the building until you catch up with the deer and a cutscene triggers introducing you to two new strangers, David and James. You'll end up in a shelter with David, who'll build a campfire while you wait for James to return with antibiotics.
Unfortunately, your happy camp with David will be interrupted by the arrival of Clickers and Runners. You're going to need to pick off as many as you can before they get to the windows. Keep your wits about you and prevent them from funnelling in. At one point you'll have to help David block up the windows with a locker, so push it from the side to keep the Clickers out. Kill as many as you possibly can as quickly as you can, preferably before they enter the room. It's best to be precise with your shots here, as you can't afford to waste ammo. David will give you more ammo if you run out, and there's a Health Kit in the locker next to where you barricade the windows.
Eventually, David will recommend you make a run for it, and will knock open the back door. Follow him up the staircase, shooting any Clickers that give chase. Then continue to follow David to what seems like safety, until the walkway collapses.
You're going to have to deal with more infected down here, but using stealth and your bow-and-arrow is a viable option this time, so you shouldn't have too much trouble dealing with the Clickers — especially if you aim for the head.
Drop under the floor and deal with the one remaining Clicker down here, then climb up the ladder to be reunited with your new ally. Once again he'll show you the way, but it's a dead-end. Fortunately he spots a ladder, so ask him to boost you up to a nearby walkway, opposite where the dead end is.
Firefly Pendant #1: Kristof's Firefly Pendant
When you're up on the walkway, go in the room that the Clicker comes out of to find a Firefly Pendant named Kristof's Firefly Pendant on a crate. Make sure you collect this before you knock the ladder down, because otherwise you won't be able to climb back up to grab it.
Follow the walkway around, back to where the ladder was, and deal with any Clickers that obstruct your progress. Then push the ladder down to David so he can place it where you need to get to, and follow him up.
Follow David through the bridge tunnel, after he's opened the door. You'll end up in a room filled with dead bodies, after David insists you "watch your language". Collect all of the supplies, including the Molotovs and Nail Bombs, and craft up some Health Kits, because you'll need them shortly.
Optional Conversation #1

In the room filled with dead bodies, there's an Optional Conversation opportunity if you look at one of the corpses and speak to David about it.
You're about to get attack by infected hard. First a bunch of Runners and Clickers will invade from the bridge walkway you entered this area through earlier, then more will come from the windows and roof. Use your Molotovs to deal with them quickly and efficiently. You will get a short respite between waves to top up your health, before a Bloater enters the area. Again, use a Molotov to deal with it, and follow David back out onto the bridge to the Cabin Resort.
Did our The Hunt walkthrough for The Last of Us 1 help? Did you find all Artefacts, Firefly Pendants, Comics, and Optional Conversations? Take a look at our The Last of Us 1 guide for much more information on the game, including all collectibles.


Comments 0
Wow, no comments yet... why not be the first?
Leave A Comment
Hold on there, you need to login to post a comment...