Need a Hotel Lobby walkthrough for The Last of Us 1, including all collectibles? In this The Last of Us 1 guide, we're going to show you how to achieve 100% completion in Hotel Lobby, which is part of the Pittsburgh chapter.
There are 2x Artefacts, 1x Firefly Pendant, 1x Comic, 2x Training Manuals, 1x Workbench, 1x Safe, and 4x Optional Conversations to find in Hotel Lobby, as Joel and Ellie try forge deeper into the depths of Pittsburgh.
The Last of Us 1: Hotel Lobby Walkthrough
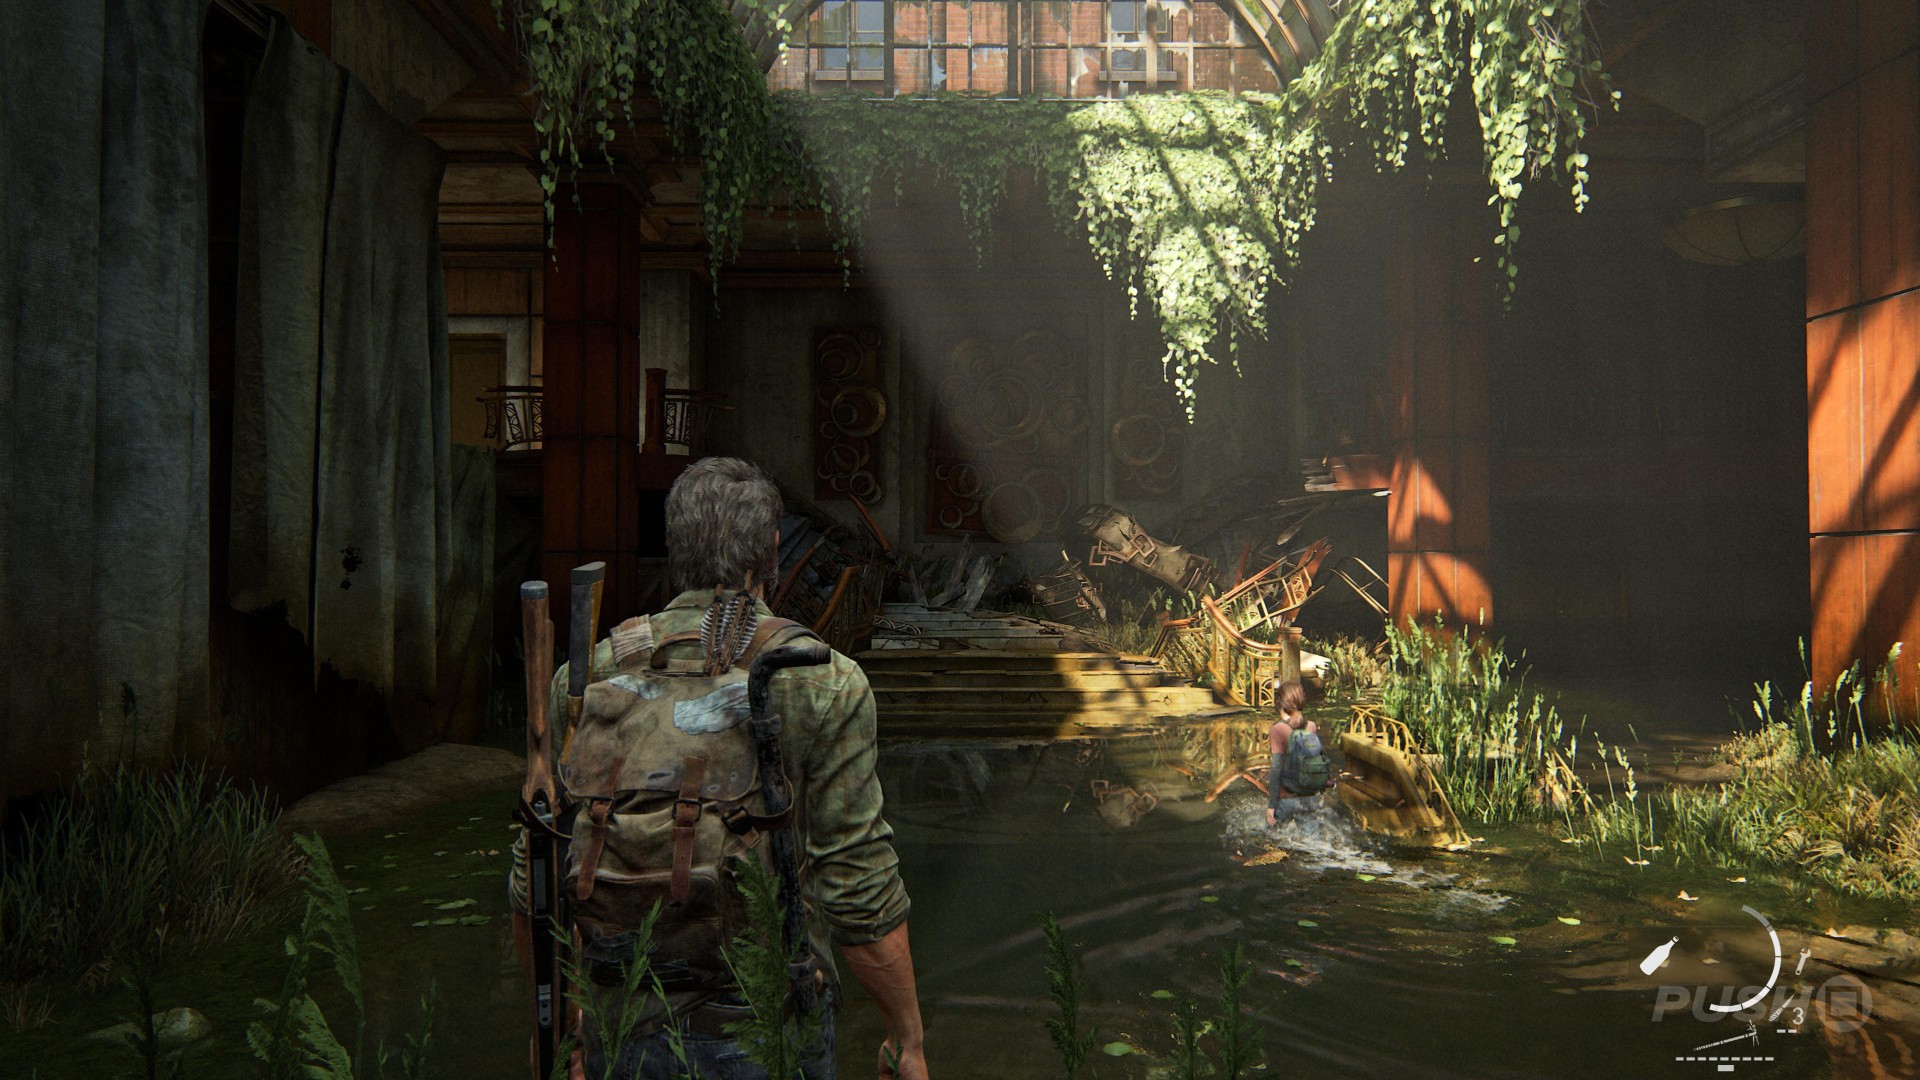
You're still Alone and Forsaken, but at least you're in a nice Hotel Lobby now. The area is safe, so you can have a poke around. There are some Supplements on the counter to the right, so be sure to grab those. There's also an unlisted Optional Conversation here if you wait around in the reception area, but this isn't required by the game.
Optional Conversation #1
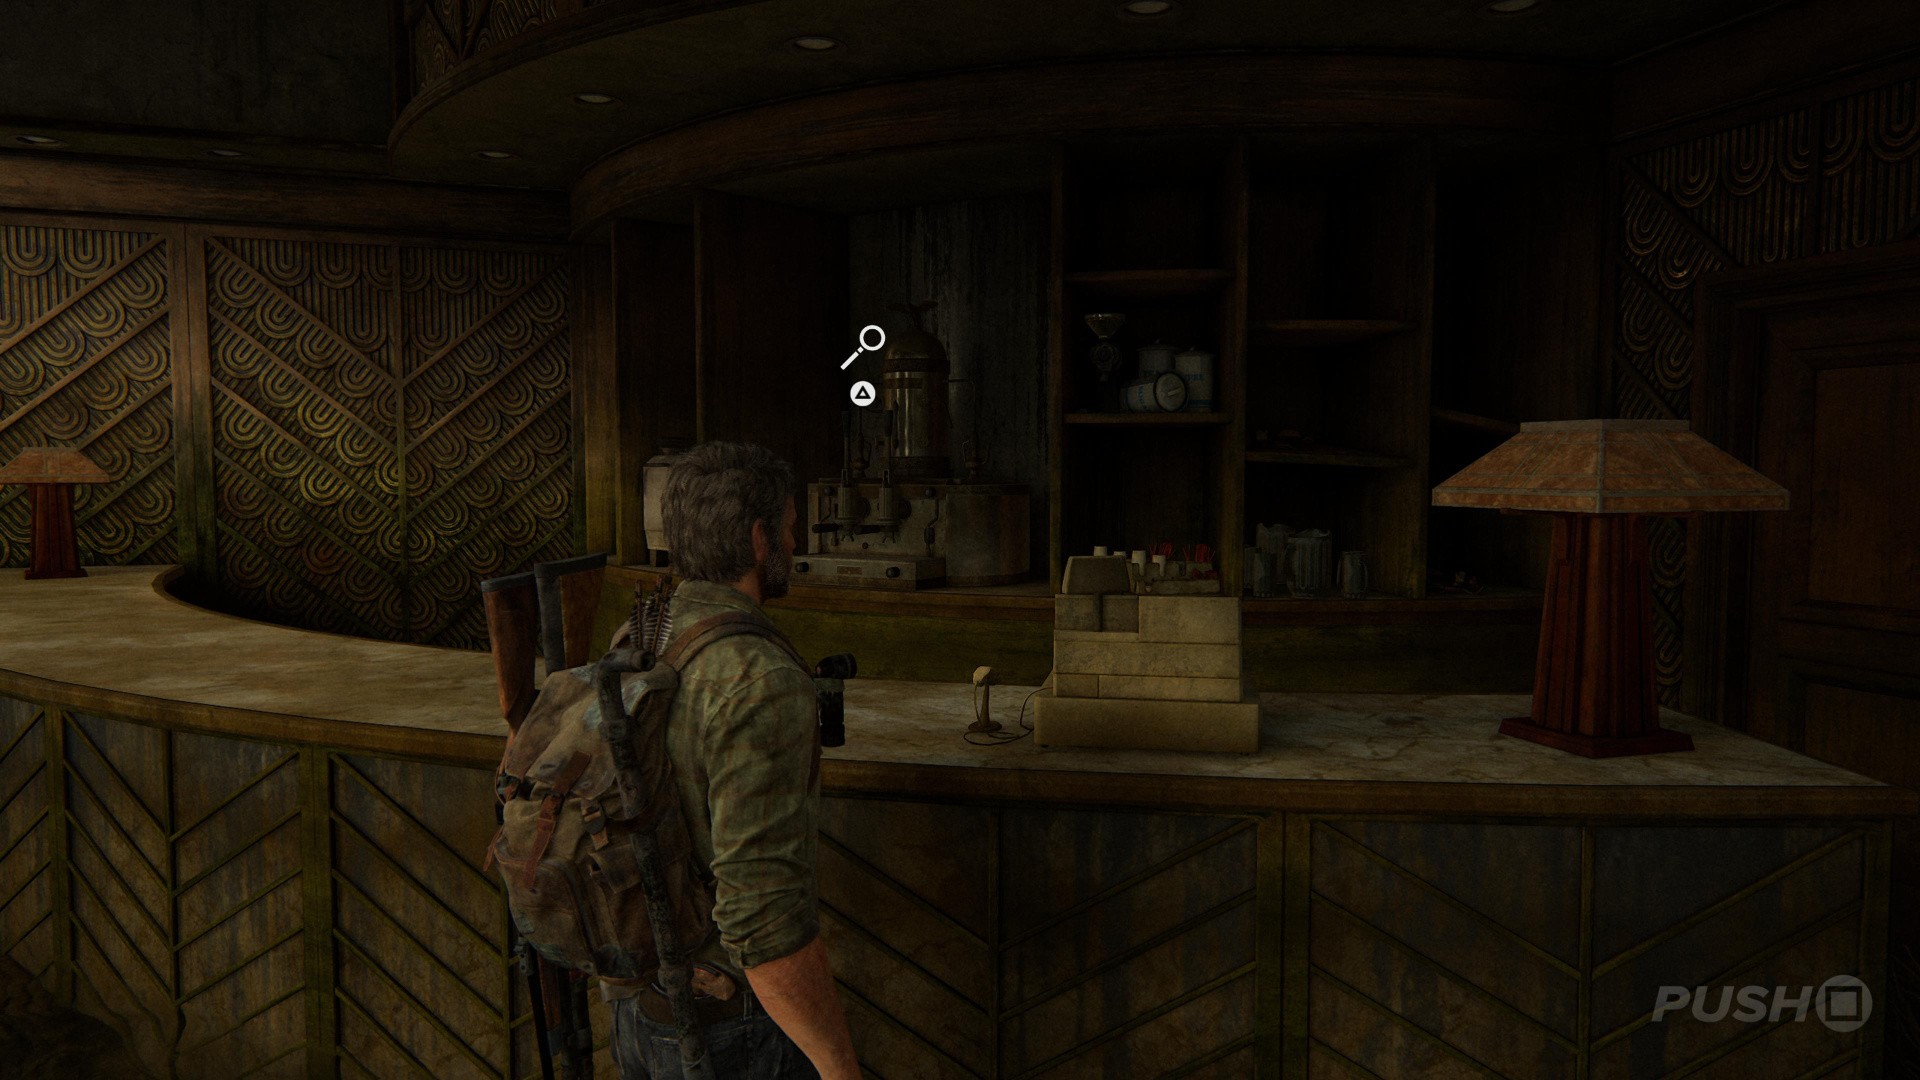
To the left of where you entered, there's a bar. Behind the bar is a rustic coffee maker. Interact with it for an Optional Conversation.
Grab the ladder from the room with the coffee machine. If you move it to the other side of where you picked it up, and climb up, you can grab some Weapon Parts. Drop back down and grab the ladder again. This time you want to prop it up against the broken part of the handrail near to the staircase, and climb up.
Artefact #1: Note to Staff
After you've placed the ladder and climbed up to the second level, shimmy behind the broken staircase and head all the way to the other side. There's an Artefact in an opened luggage case called Note to Staff.
Safe #1
You may have noticed that the Artefact named Note to Staff mentioned a Safe. Drop back down to the ground floor and go behind the reception area, on the right side of the building (as it was when you entered). The Safe is in the back room and the safe code combination is 22-10-56. Open it up.
Training Manual #1: Shiv Reinforcement
After opening the Safe, you'll find a Training Manual inside. This will help you to craft even more effective Shivs. There are also some Weapons Parts in here which will come in useful the next time you find a Workbench.
Optional Conversation #2: Ellie's Jokes 4
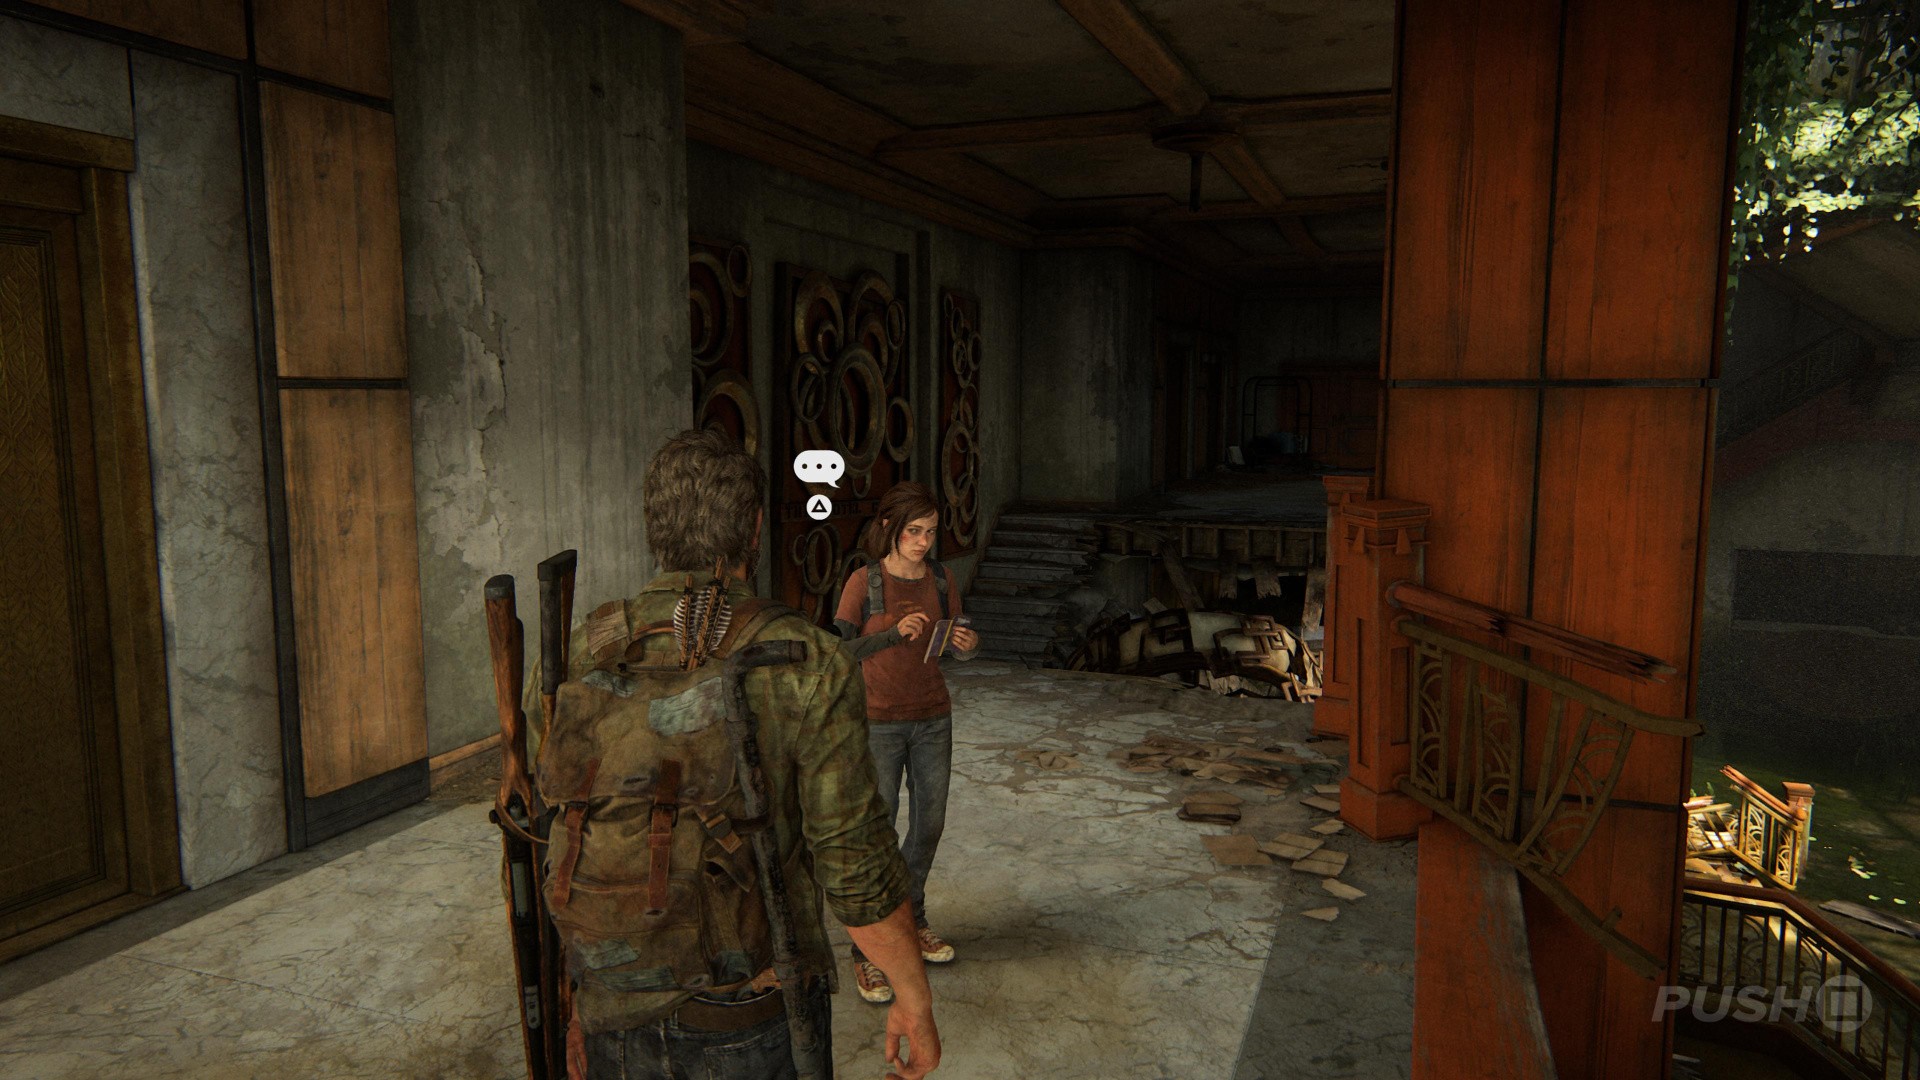
Climb back up the ladder to the second floor and wait around patiently in front of the lift doors until you get an Optional Conversation opportunity with some more of Ellie's Jokes.
Once you're all done continue up the staircase and climb through the open window out into the rooftop area. Make sure you're well stocked and prepared, because unfortunately this place is filled with bandits. Obviously you're in a hotel so there are plenty of opportunities to stealth your way through this section, moving from room-to-room and using bottles and bricks to draw attention. Alternatively, if you want to go guns blazing that's an option, too, just be mindful that the open windows and corridors mean there's a chance you will get flanked. When you've killed everyone, we recommend having a rummage around for a supplies, as you can really stock up in this area. Rifle through every hotel room before moving on.
Once you're confident you've collected everything, head to down the far hall with writing on the wall, and enter the staircase on your right to go up stairs. There are even more bandits up here, so the same rules apply. Either go loud if you want, or use the cover of the various different rooms to sneak about and stealth kill them one by one. Again, there are more resources up here, so stock up on anything you need.
Optional Conversation #3
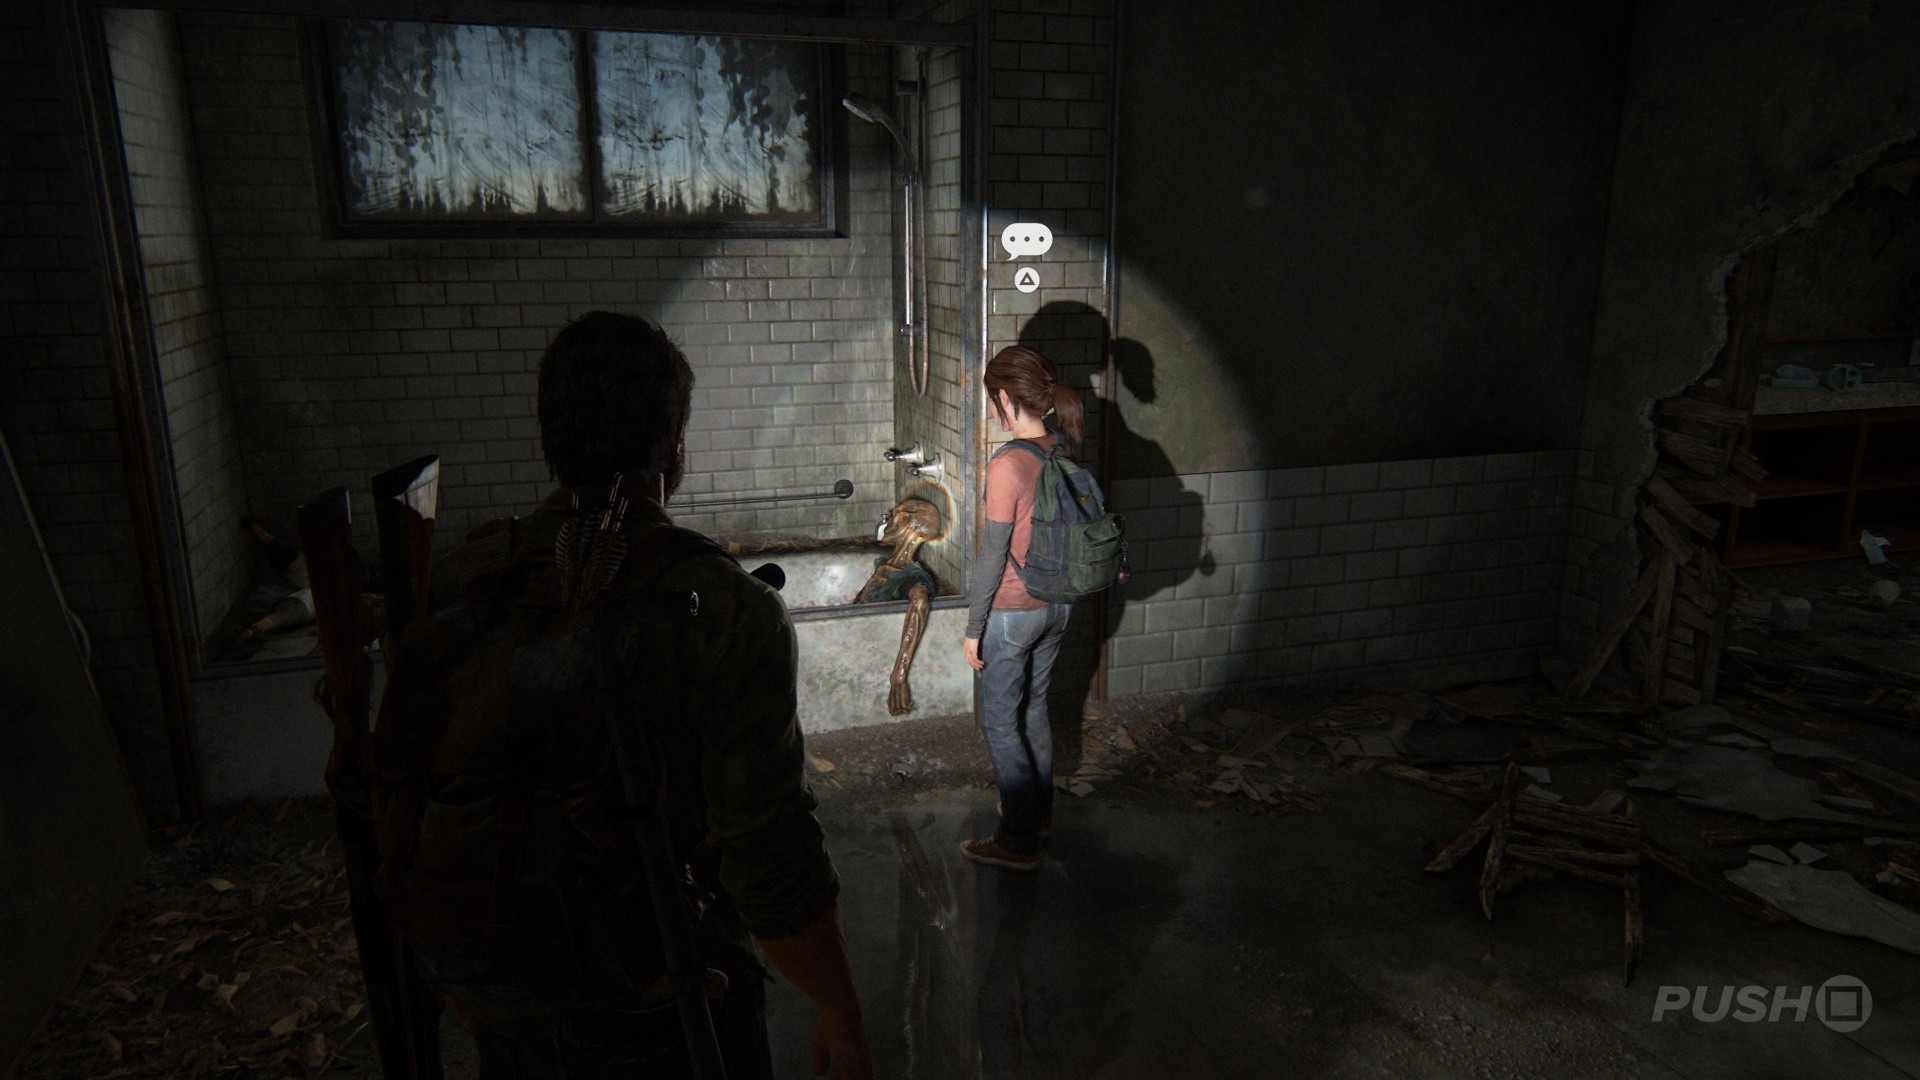
Once you've successfully killed everyone on the hotel's second floor, head inside Room 304 which is on the opposite side of the hotel to the staircase. There are some Supplements in a drawer here, but also two dead bodies in a bathtub. Wait for Ellie to come in, and it'll trigger an Optional Conversation. If you go through the hole in the wall, there are more Weapons Parts in the connected bedroom, too.
Head up the stairs when you're ready to move on from this floor. There's a lift door ajar at the top, so interact with the prompt to prise it open. Then climb the ladder on the other side.
Shimmy along the lift shaft and drop down onto the lift. Wait for Ellie to join up with you and then boost her up onto the ledge. Inevitably the lift will collapse and you'll be separated from Ellie. Time to do some swimming, then.
Swim into the next room with the waist-high water and go straight on. Jump over the debris towards the door with the exit sign above it. While it may not be immediately obvious, there's a staircase here, so dive under the water and follow the tunnel around until you can next surface in a room with a doorway marked West Tower B1.
There's a gate blocking the way in this room, but if you dive under the water before the doorway once more, there's tunnel you can follow which will get you behind the gate.
Keep moving forward and Joel will put on his gas mask, so you can be pretty confident of what's coming, right? A bunch of infected rats will rush towards you, but they aren't dangerous, so keep moving forwards. Pay attention to the generator in the room on the right, you're going to need it soon.
For now, take the path up to the second level, using the collapsed roofing as a ramp. It's just to the right of the generator. Take the doorway out of the hotel room into the corridor, and directly opposite is a security room. Head inside here.
Artefact #2: Hotel Keycard
In the security room, above the room with the generator, you'll find an Artefact named the Hotel Keycard on the desk. This is required for progression purposes, but does count towards your total collectibles.
It's a good idea to reload your weapons at this point and replenish your health, as when you turn around you're going to stop a Clicker, and a couple more are going to come running. Make sure you're well prepared then return to the generator and get it started.
The lights are on, which is brilliant news, but now there's a Bloater on your tail. You don't have much space to manoeuvre in here, so don't take risks and use items like Nail Bombs and Molotovs to do as much damage as quickly as possible. Don't let the Bloater capture you because that's an instant kill. Remember there are other Clickers around here, so keep your wits about you and don't let them get behind you and grab you. Your Shotgun is especially effective in close-quarters.
Once you've defeated all the infected, head into the room where the Bloater came from and up the metal staircase. Take a left through the exit doors and follow the corridor through all the infected overgrowths. You'll come to a blue door with a security panel next to it. Scan the Hotel Keycard you found earlier and exit into the staircase.
Workbench #1
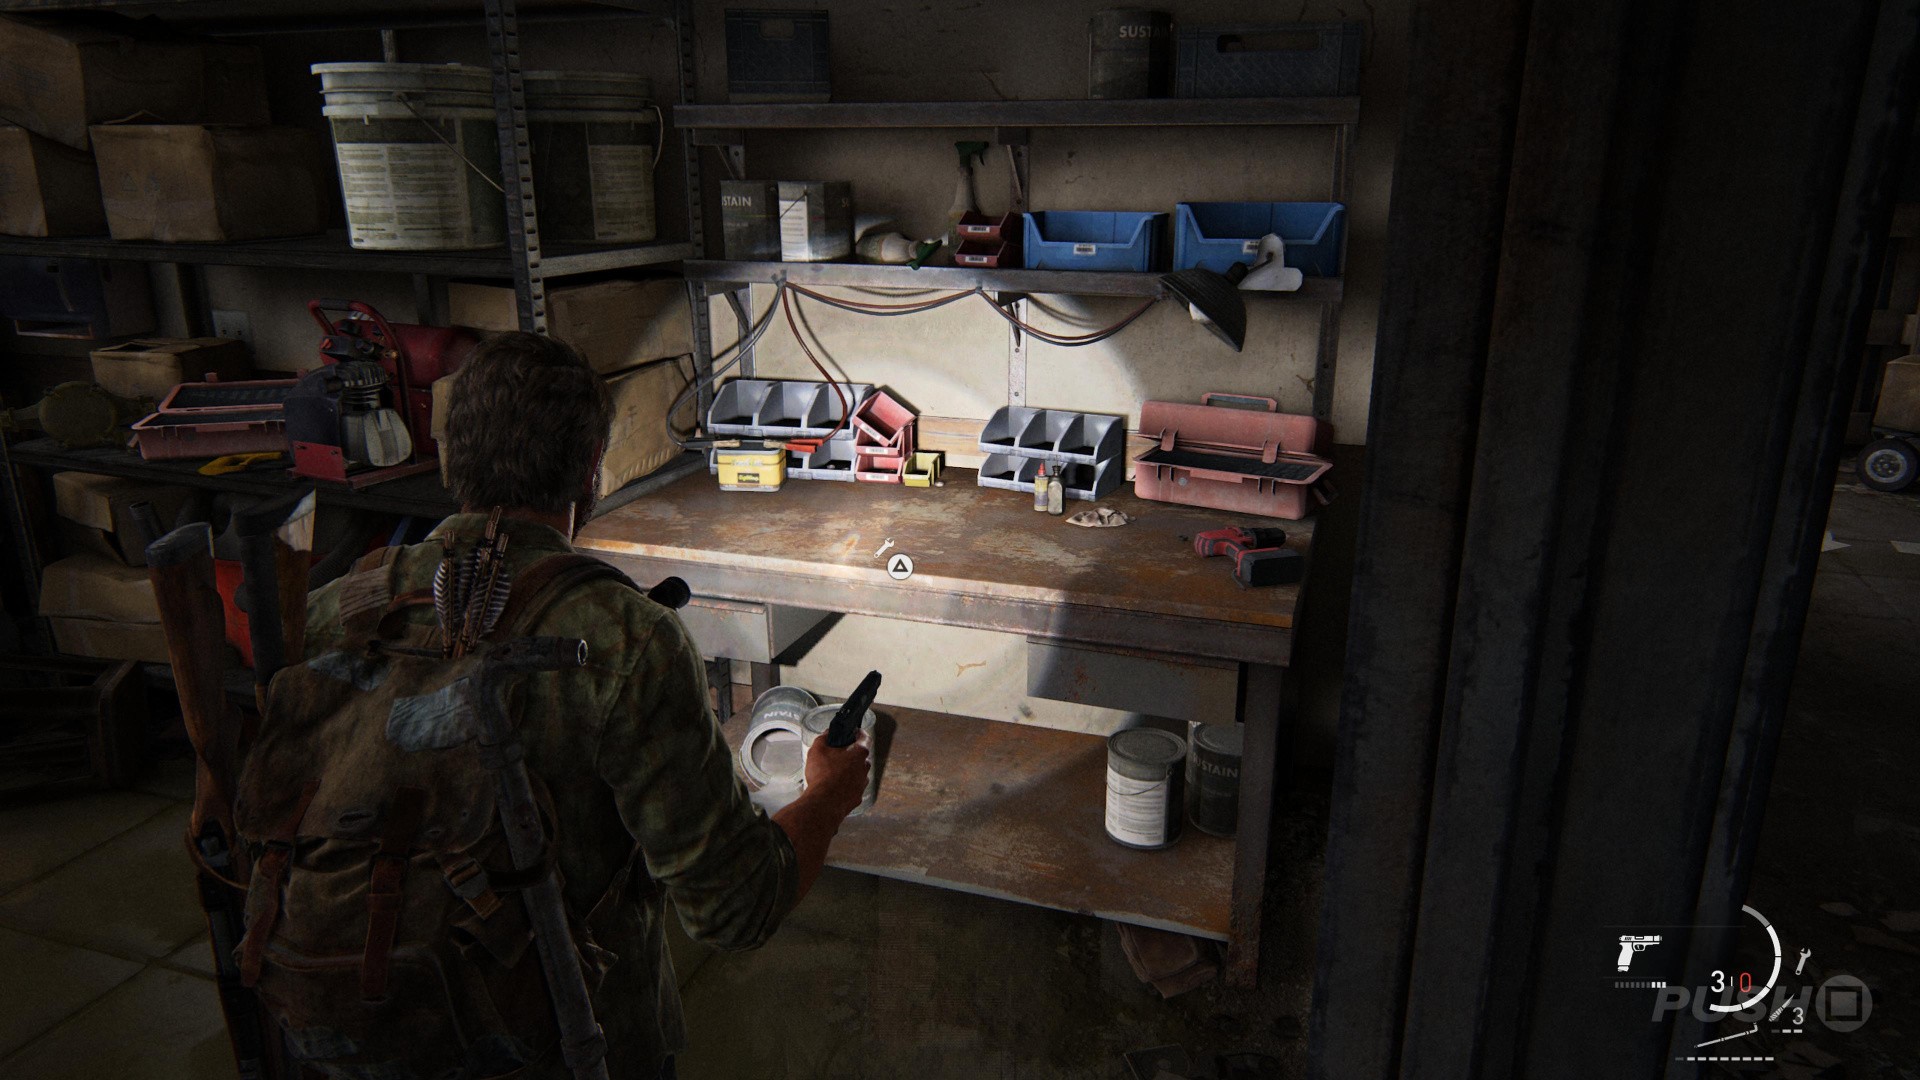
Immediately after scanning the Hotel Keycard, climb the stairs and come out into a corridor. Behind the doorway of the office room is a Workbench. There are some Weapons Parts on the desk near to the computer if you need some.
Continue down the corridor, right of the exit from the Workbench. There's a Clicker in this kitchen, but it'll be quickly taken out by bandits. Unfortunately, those bandits are looking for you. Keep a low profile and stealth kill them all, ensuring you have your weapons reloaded in case things go south. There are some additional supplies in the freezer room if you need them. Once you're done, make your way into the dining room area and grab the ladder at the far end of the room. Prop it up against the ledge nearby, and climb up. Be ready because you're going to get kicked back down, but Ellie's got your back. Phew!
Comic #1: Accretion
After Ellie kills the bandit, climb up the ladder and go through the conference room. Exit the corridor on your left back into the dining room and shimmy along the ledge. There's a Comic named Accretion on the coffee table near to all the chairs. Be sure to gather up all the supplies in this area before returning to Ellie.
Firefly Pendant #1: Reed's Firefly Pendant
Once you reunite with Ellie, go down the stairs and look for the women's bathroom, which is the second door on the left. In the toilet cubicle in the far corner, you'll find a Firefly Pendant named Reed's Firefly Pendant.
Training Manual #2: Melee Knots
Continue down the corridor down from where you took the stair case, and find a Training Manual named Melee Knots on the edge of a table. This one is almost impossible to miss.
Optional Conversation #4
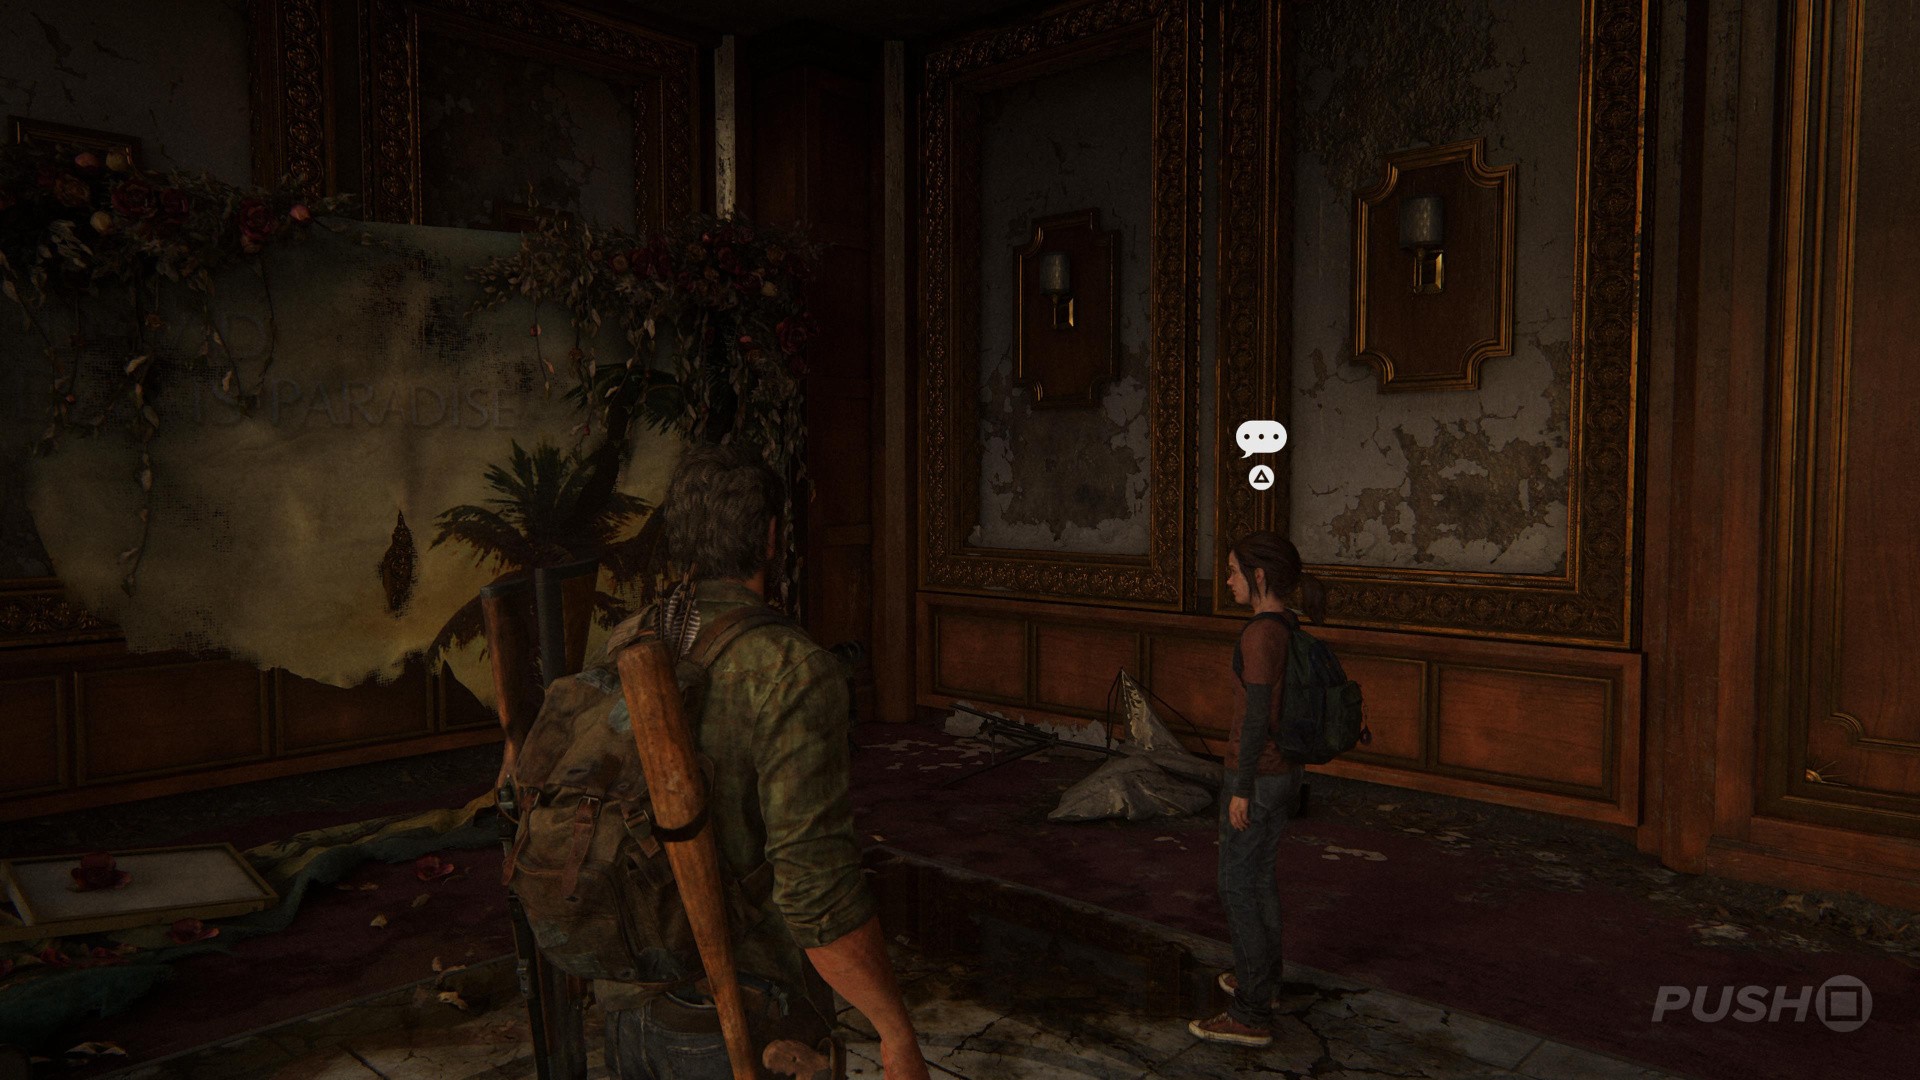
Continue onwards into the ballroom-type area, and stand in front of the beach scene backdrop at the rear of the room. Ellie will observe it, triggering an Optional Conversation opportunity. There are a handful of prompts here, so keep the conversation flowing.
On the stage, push the piano up against the ledge, and then climb up and out. Go through the double doors on the Western Balcony and hop onto the scaffolding, making your way towards the Financial District.
Did our Hotel Lobby walkthrough for The Last of Us 1 help? Did you find all Artefacts, Firefly Pendants, Comics, Training Manuals, Workbenches, Safes, and Optional Conversations? Check out our The Last of Us 1 guide for much more information on the game, including all collectibles.


Comments 2
This guide is very poorly written. The directions to get the keycard in the hotel basement are wrong, and they are stalkers that attack you there, not clickers. A lot of incorrect info in all these guides.
Missing a ton of stuff. There are weapons parts by the beach back drop, and after pushing the piano and climbing up, there are parts all the way around the other side of the balcony.
Show Comments
Leave A Comment
Hold on there, you need to login to post a comment...