Looking for a Spire 4 walkthrough in Stellar Blade? This page will demonstrate how to discover every collectible and resource in the journey to the space elevator and beyond, which represents the final full-length stage in Shift Up's console debut. As part of our Stellar Blade guide, our Spire 4 walkthrough will detail the locations of Cans, Design Patterns, Beta Cores, Body Cores, Exospines, Passcodes, Camps, and more.
Subscribe to Push Square on YouTube168k
Where Are All Collectibles and Resources in Spire 4 in Stellar Blade?
Below you'll find a full Spire 4 walkthrough, which details the locations of all key collectibles and resources in the Stellar Blade stage.
Orca Space Complex
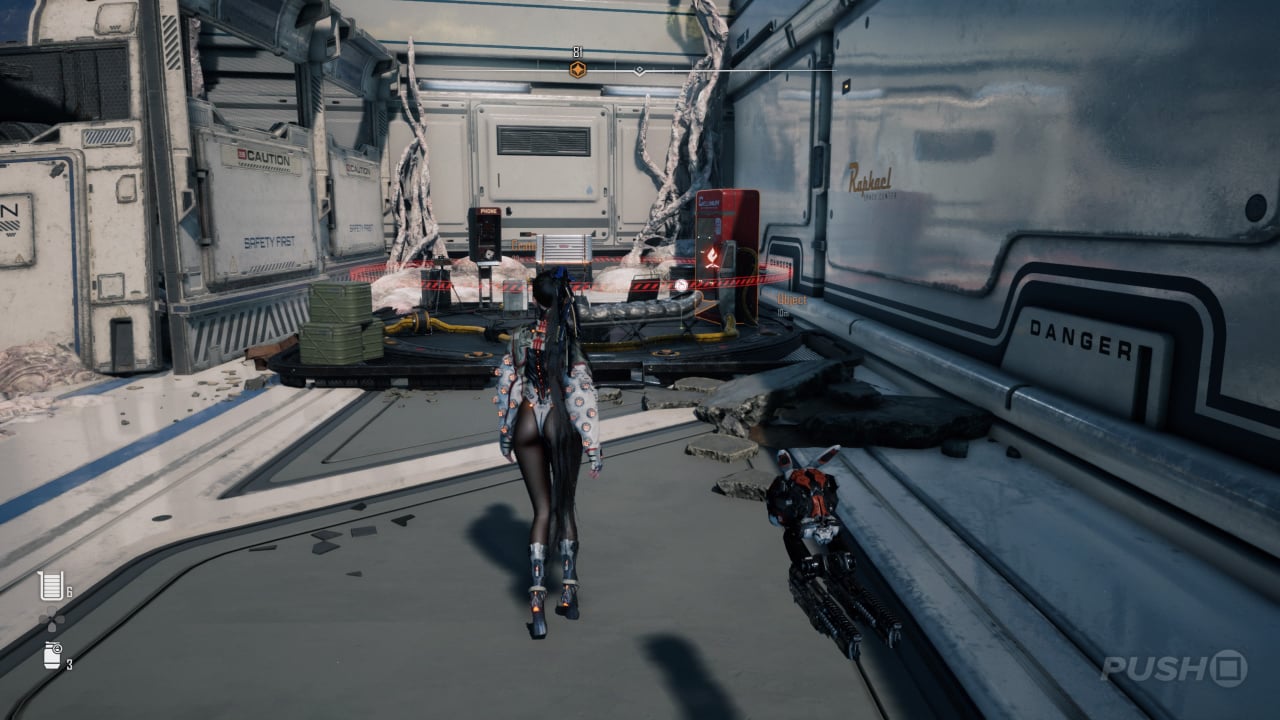
Drone Appearance: Lop Bunny Pack
At the start of the level, after diving underwater through the flooded area and witnessing the dam issue, climb the big pillar guarded by a couple of Houndborgs and jump into the broken tunnel. You'll get the Lop Bunny Pack for your drone.
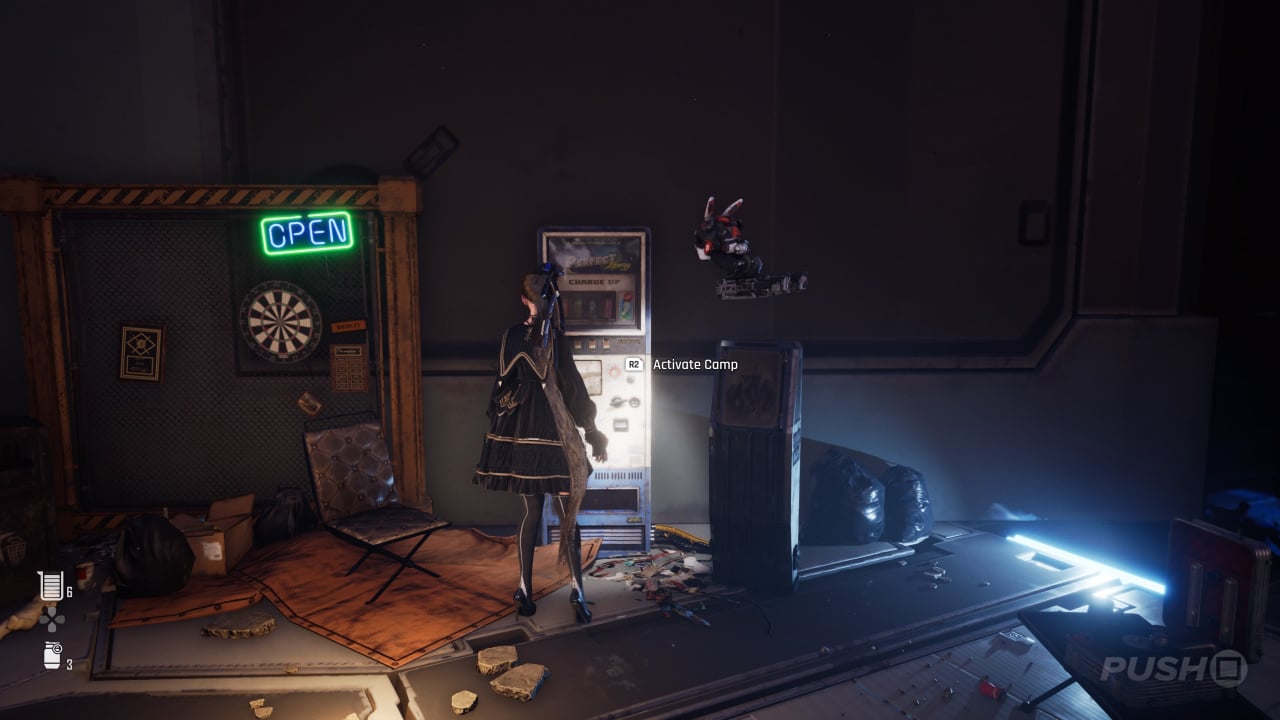
Camp #1
Climb the yellow ladders on the left of the overflowing dam area and you'll find the Camp at the top.
Passcode: Dam Maintenance Gate
After shutting off the dam, head through the small door which was previously blocked by flowing water. Scan the corpse to get the Passcode. Then shimmy across the yellow railings above to reach the control terminal and enter the Passcode.
Body Core #1
After entering the Passcode, explore the tunnel and take an iron staircase on your right which leads outside. There's a corpse slumped against some large rocks here; interact with it for the Body Core.
Supply Camp #1
After the section when the grate floor panels collapse, take the staircase up and you'll see a Supply Camp at the top.
Hypertube
Beta Core #1
As soon as you enter the Hypertube area, take the path on the left and double-jump around the wall. Slumped against the divider is a corpse with a Beta Core.
Supply Camp #2
Immediately after the fight with Belial, take the metal staircase and Lily will immediately direct you towards another Supply Camp.
Design Pattern: Orca Engineer
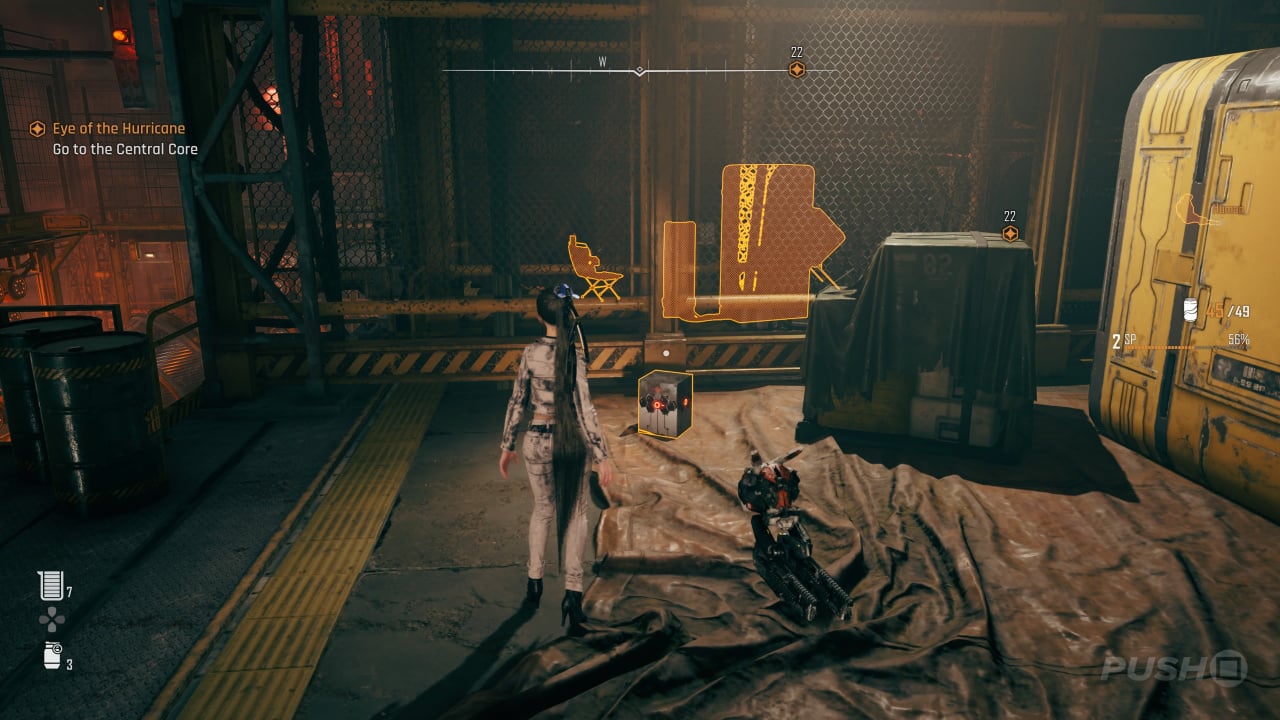
Jump around directly behind the Supply Camp you've just activated for the Orca Engineer blueprint, which can be found in a small red box.
Can: Milky Pop
From the location of the Design Pattern above, jump over the box and follow the upper-pathway all the way to the end until you discover the Milky Pop can on the ground.
Space Logistics Complex
Exospine: Judgement-Type Exospine
Once you reach the Space Logistics Complex, there's an open area with four pressure panels you need to roll "suspicious" balls or spheres onto. Once you've done all four, a container will drop down with a red box inside. Open it for the Judgement-Type Exospine.
Camp #2
After the section where you need to run through all the collapsing containers, you'll need to ride a couple of containers being carried by machinery. The Camp is just before the conveyer belt section.
Body Core #2
Towards the end of the conveyer belt section, in the last section before the Supply Camp, you'll find a corpse with a Body Core beneath the ramp. It may be easier to get to the Supply Camp first and then retrace your steps for this one.
Supply Camp #3
At the end of the tricky conveyer belt section, you'll find the Supply Camp just off to the left.
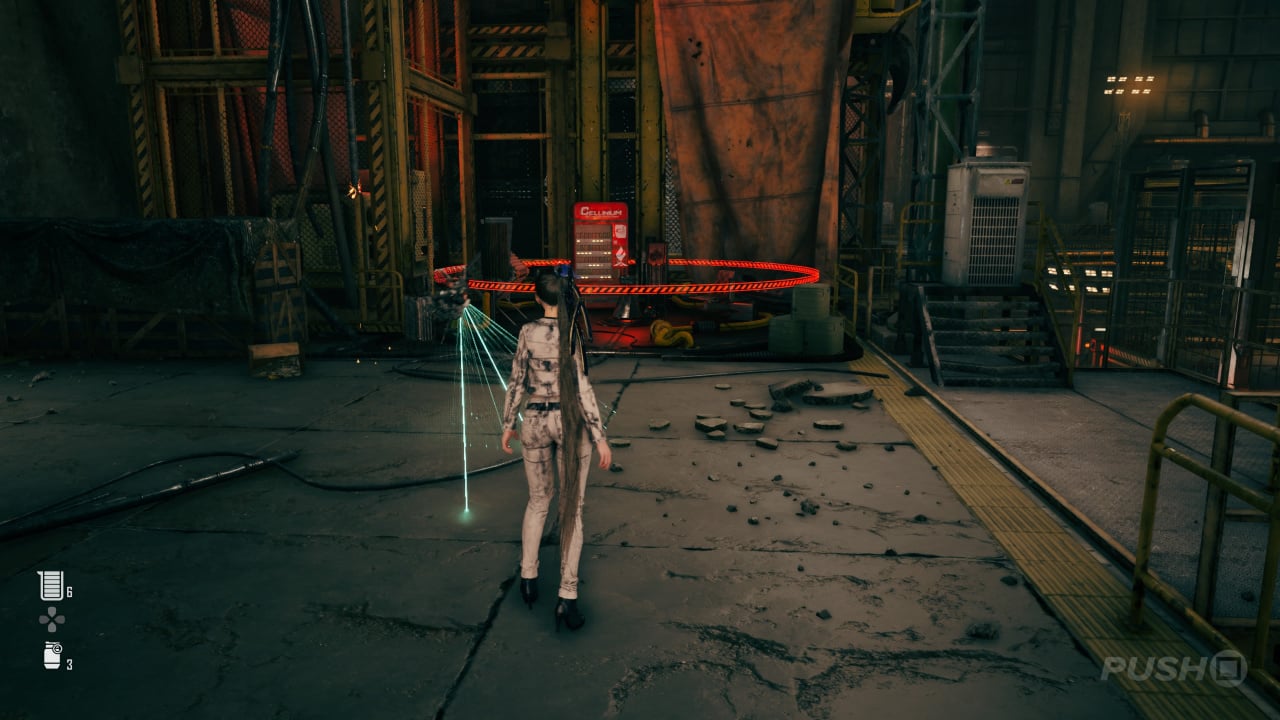
Can: Liquid Lightning
After you successfully navigate the conveyer belt section with all the green lasers, there's the abovementioned Supply Camp you can rest at. Just to the right of it, behind some big boxes, is the Liquid Lightning can on the floor.
Camp #3
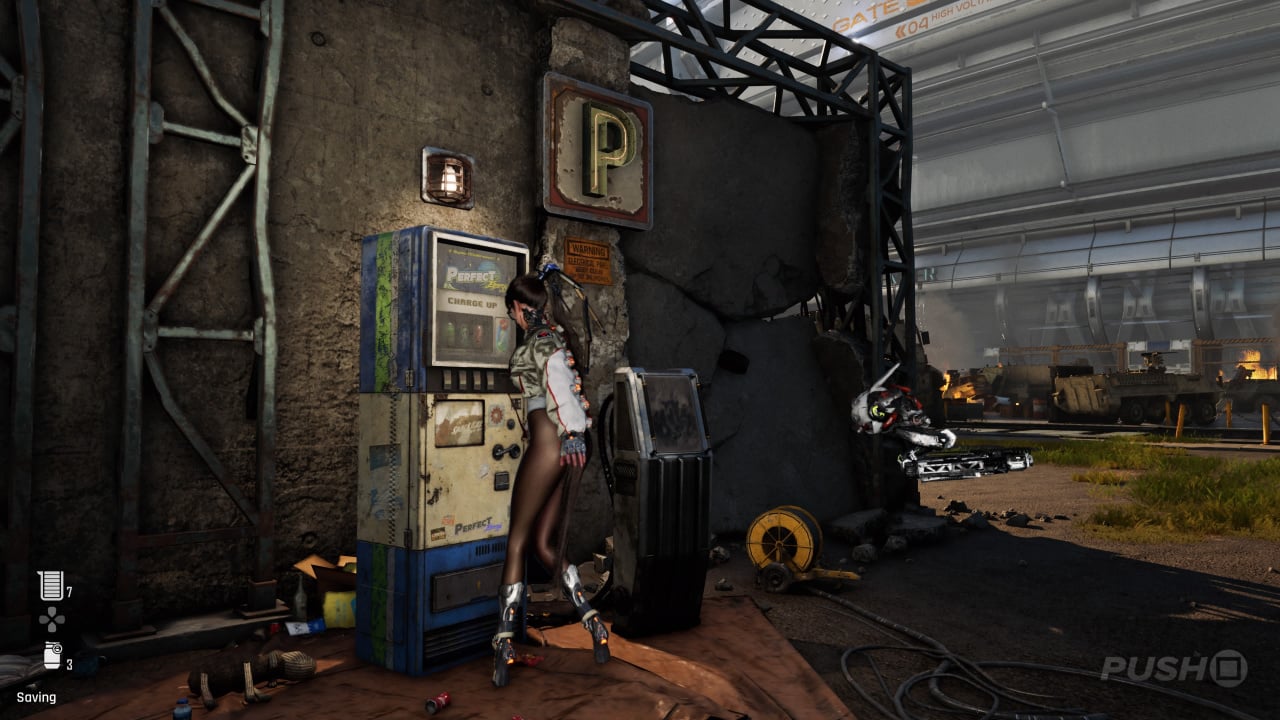
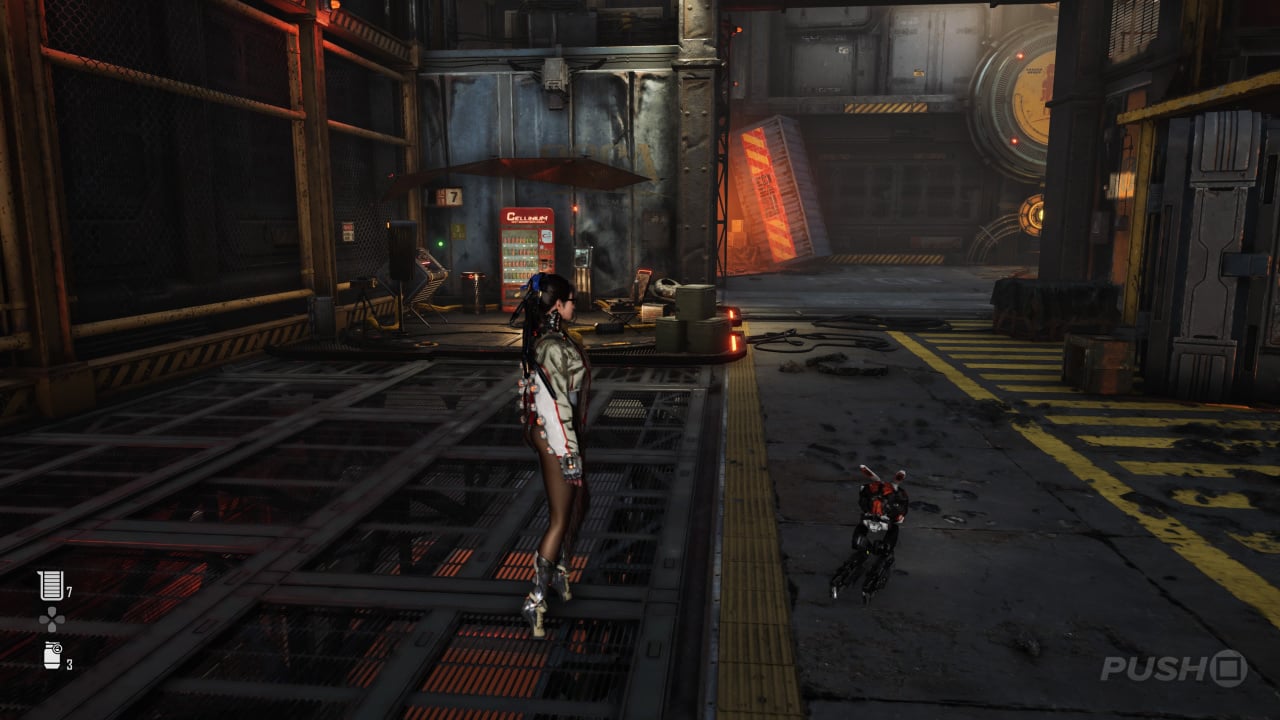
When you slide down the yellow rope, just before the area involved all the cannons outside the Raphael Space Center, you'll be able to rest at a Camp next to a flashing parking sign.
Beta Core #2
As soon as you step away from the Camp, you'll be targeted by homing weapons. If you sprint from one side of the car park to the other, a straight line from the Camp to the front of the Raphael Space Center, you'll find a Beta Core behind an armoured truck. It's best to occasionally hide behind vehicles to avoid rocket fire.
Camp #4
Immediately after the section where you need to avoid all the missiles and homing weapons, at the end of the Raphael Space Center's entrance corridor, there's a Camp.
Raphael Space Center
Passcode: Gate 2
Once you enter the Raphael Space Center, scan the corpse towards the top-left of the area, slumped against a circular wall. You can use the Passcode you earn to open the big doors on the left.
Body Core #3
After opening Gate 3 in the Raphael Space Center, you'll find a corpse in the middle of the room surrounded by enemies. Interact with it for the Body Core.
Can: Nectar Apple
In the top-right corner of the Raphael Space Center, on the opposite side of where you got the Passcode for Gate 2, there's a can of Nectar Apple on the floor next to a circular wall.
Design Pattern: Black Rose
Once you've restored the power in the Raphael Space Center, go through the door directly opposite where you found the Nectar Apple can. There's a red box in here, but trying to open it will trigger a bunch of lasers. Carefully leap over them to the button on the left wall and deactivate them. Then you can open the box for the Black Rose blueprint.
Supply Camp #4
After restoring the power, go through the gates that open and you'll find the Supply Camp behind a wall, just before Gate 4.
Camp #5
After the fight with Belial, you'll come to some enormous green doors. Go through them and then directly on the left is the Camp.
Cargo Lift 121
Body Core #4
When the Cargo Lift gets stuck after a short period of exploration, head through the door Lily guides you to and then take the staircase to the left. Go down the lift and interact with the corpse under the stairs for the Body Core.
Accessory: Large Round Glasses
Take the lift back up from the previous Body Core and climb up the shaft using the yellow hand holds. Then swing across and drop into the room with a previously locked gate. Open the box for the Large Round Glasses.
Maintenance Sector
Camp #6

After reaching the Maintenance Sector, fight your way through some foes. Eventually you'll reach some beams you need to jump across to reach the way forward. Just on the right is the Camp.
Tower Outer Wall
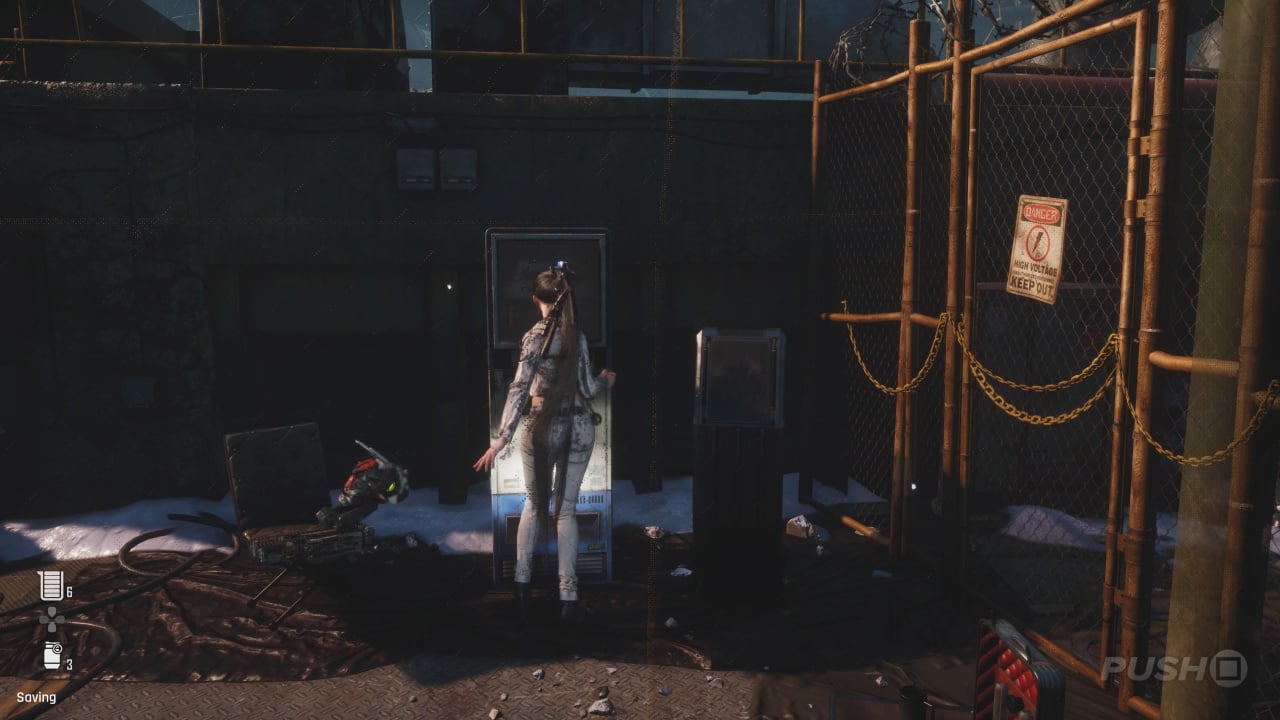
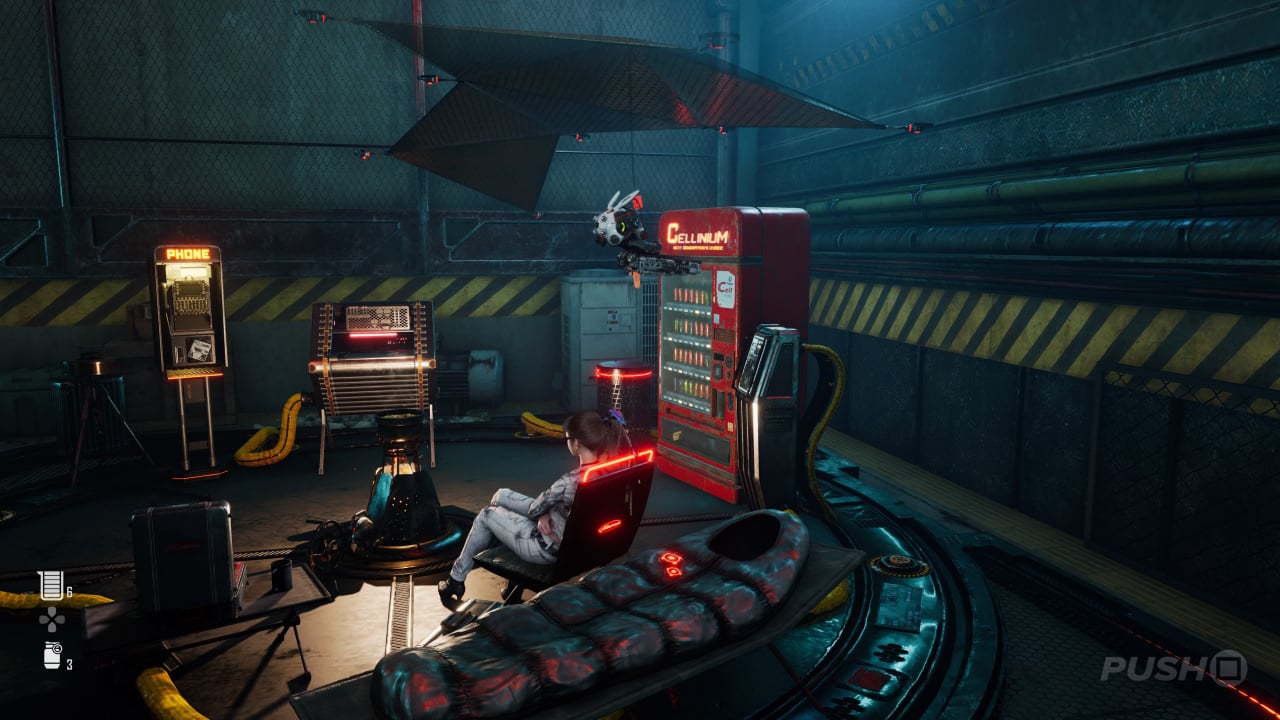
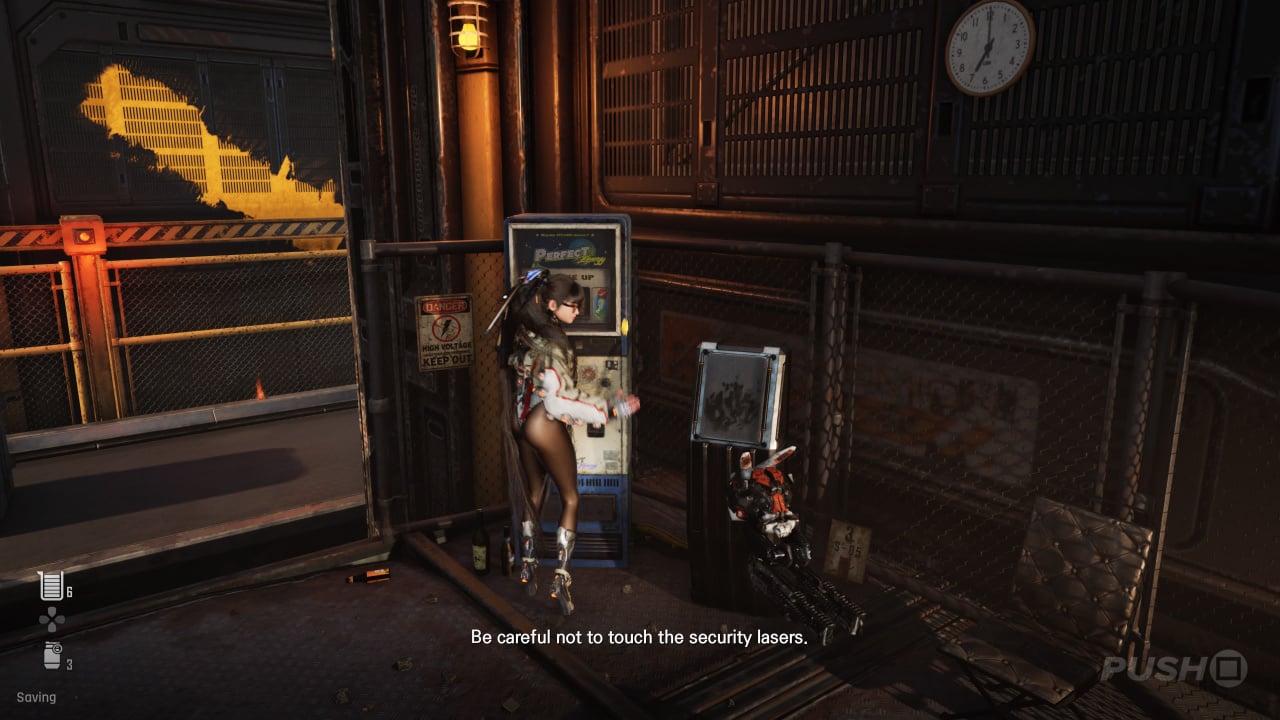
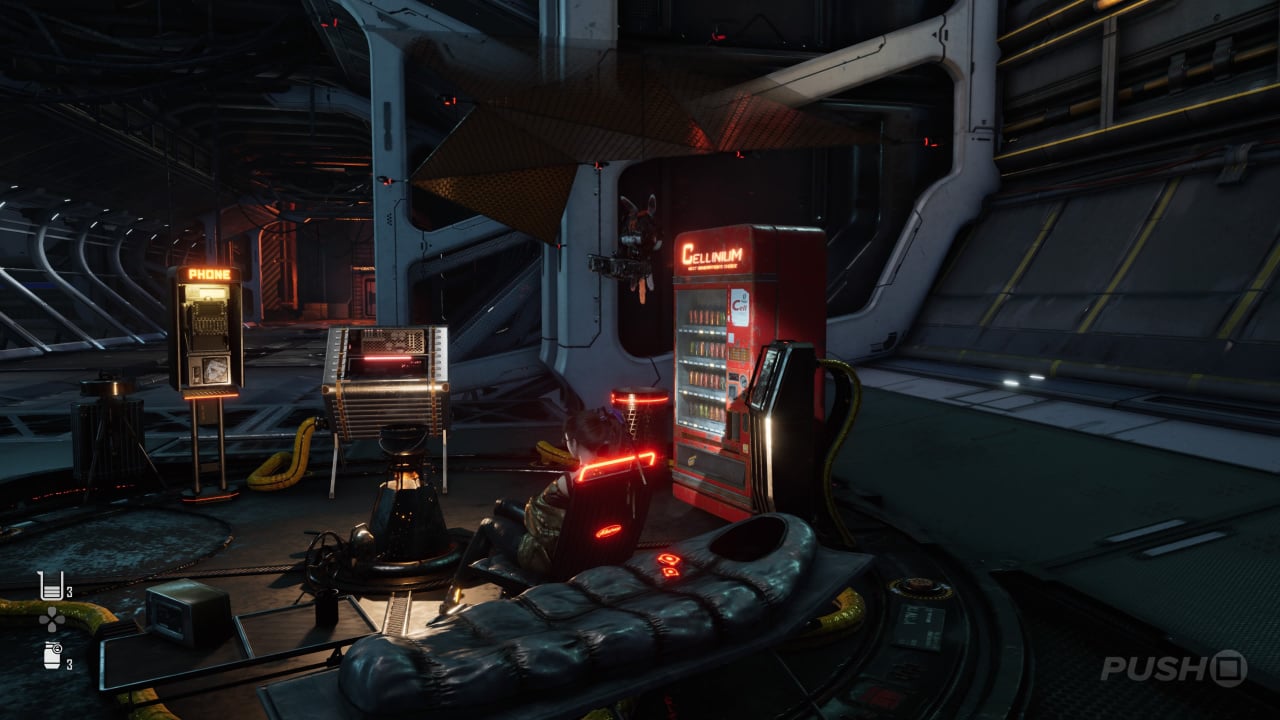
Can: Moonwell
After you briefly go outside on the Tower Outer Wall and need to use the service drones to navigate your way back inside, you'll have to deal with a Machine Hive. Kill it then jump around to the right and follow the path. You'll find a Fiz vending machine with the Moonwell can inside.
Passenger Lift 161
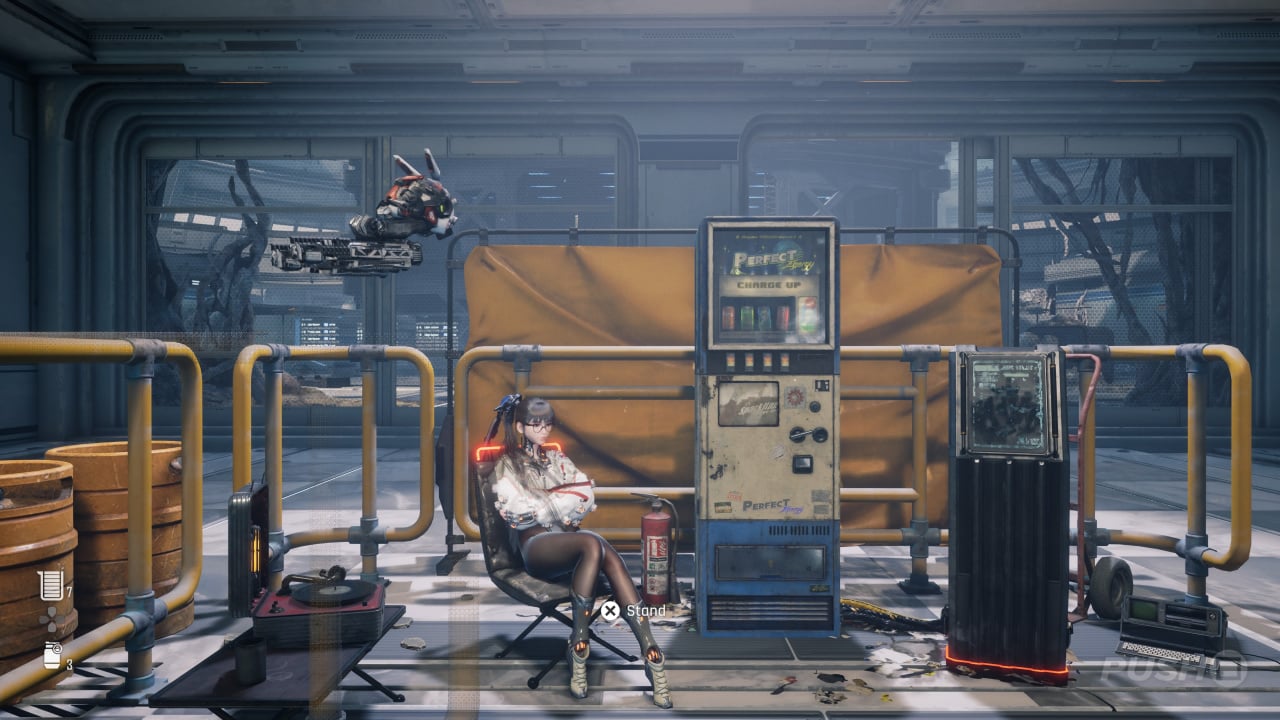
Camp #7

On the left, as soon as you get aboard Passenger Lift 161, you'll find the Camp.
Beta Core #3
After you take the yellow rope up to the fourth floor, on the left, you'll see a corpse next to a bed. Interact with it for the Beta Core.
Prestige Lounge
Accessory: Silver Tooth
Once you reach the Prestige Lounge, follow the corridor and look for a red box on the right among the couches. You'll get the Silver Tooth earrings.
Supply Camp #5

As you make your way deeper into the Prestige Lounge, this Supply Camp will be activated automatically during a cutscene.
Vermillion Garden
Design Pattern: Photogenic
Shortly after the battle with the Karukuri, you'll enter a room with two chests. Open the one on the left for materials, while the right includes the Photogenic costume blueprint.
High Orbit Station
Beta Core #4
Once you've climbed the elevator shaft, look immediately left of the doorway and you'll see a corpse slumped against the wall. Interact with it for the Beta Core.
Supply Camp #6
To the right of where you found the Beta Core, immediately after climbing the elevator shaft, you'll find a Supply Camp. This should be your 87th overall Supply Camp, and you'll find the final two during the last mission of the game.
Did you find this Spire 4 walkthrough in Stellar Blade helpful? Have a look at our Stellar Blade guide, and let us know in the comments section below.


Comments 1
Hypertube, beta core one, take the path on the RIGHT and double-jump around the wall.
Show Comments
Leave A Comment
Hold on there, you need to login to post a comment...