In the sixth part of our Elden Ring walkthrough, we're going to guide you through the Mountaintops of the Giants. This is the area directly northeast of Leyndell, Royal Capital. We're going to reveal how to make your way through the snowy region, eventually ending up at the Forge of the Giants. As always, we're going to outline the most straightforward route to completing your objectives. There's a fair bit of optional content in this region, so feel free to explore before rejoining the guide at a later stage.
Detailed below is how to complete Mountaintops of the Giants. We've broken the guide down into easy to follow steps that will get you on your way to completing everything you need to do here.
Make Your Way Up the Mountains
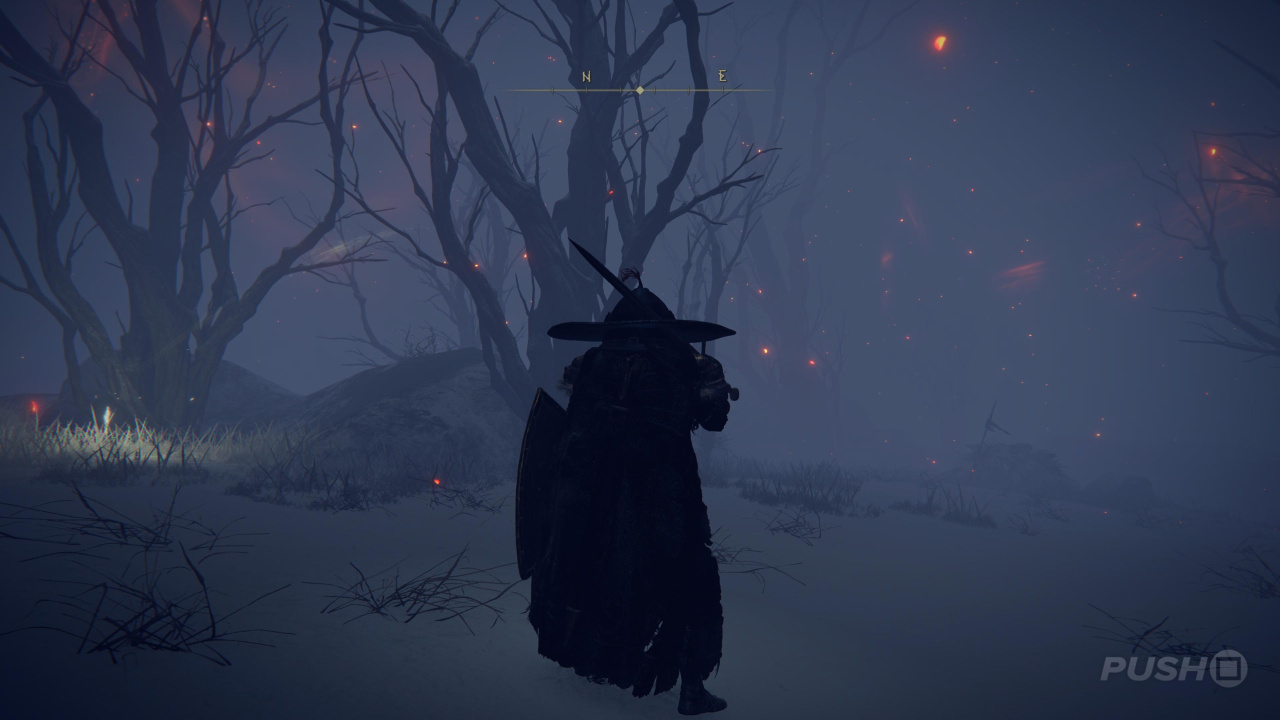
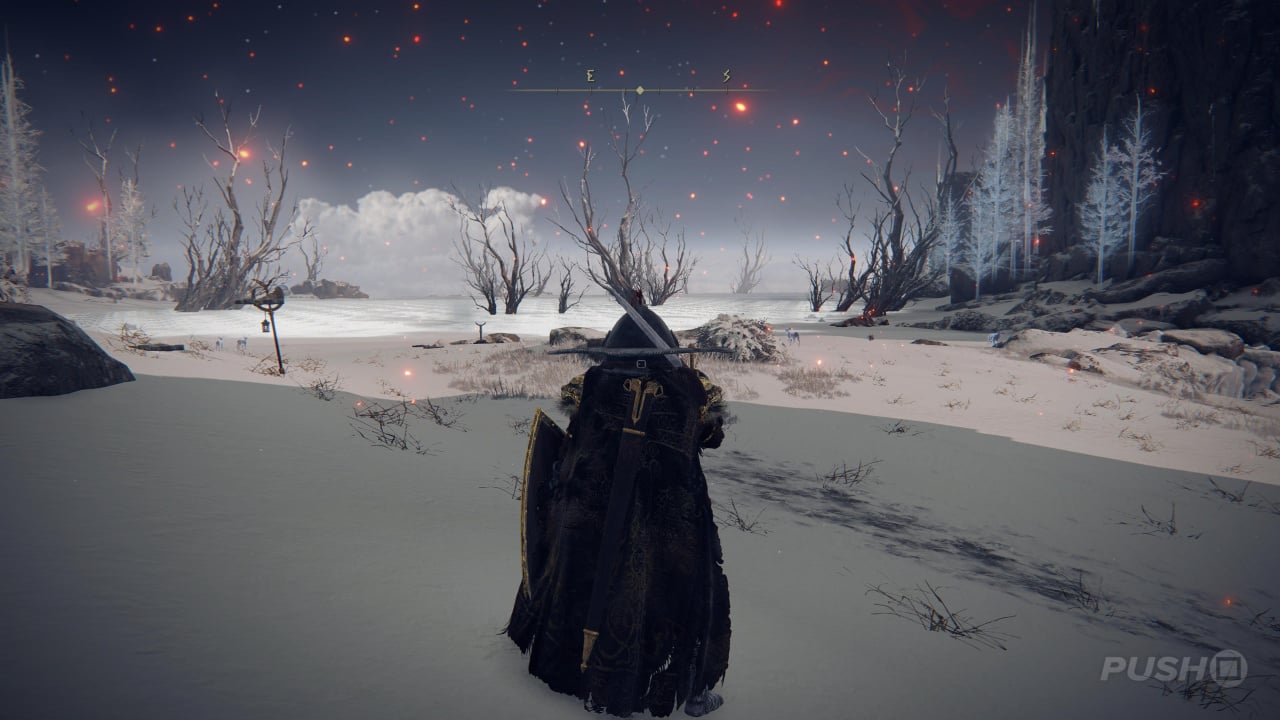
Picking up where our Leyndell, Royal Capital walkthrough left off, straight ahead of you will be the Site of Grace for the Forbidden Lands. Mount Torrent in this region to get around faster, and take the linear path up the mountain. While it may seem like it's easy to get lost here, you're actually following a very linear route through to the Grand Lift of Rold. Rush past the boss that spawns here, and in the very back right corner of the snowy area is a tree you can navigate around to get into the next part of the map.
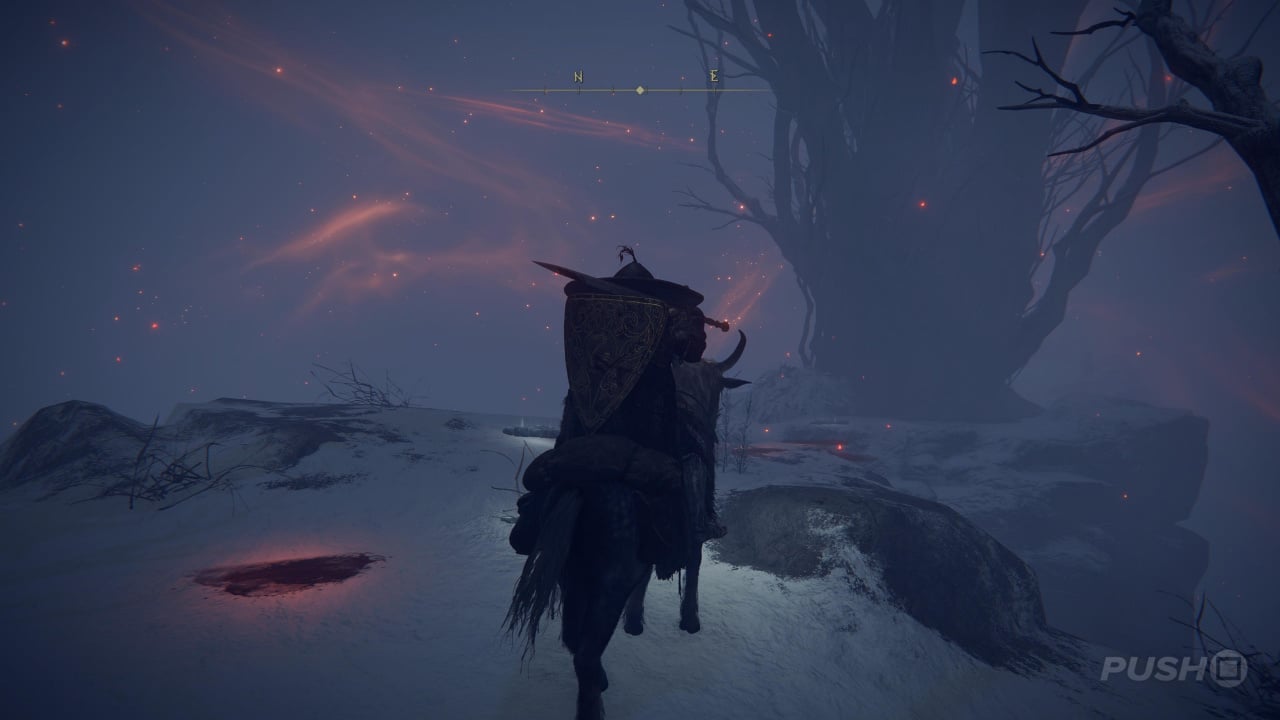
Jump across, and then once more to the other side. Once again head up towards the Grand Lift of Rold, keeping an eye out for the Golden Seed (See Also: Elden Ring: All Golden Seed Locations) on your right along the main path. At the entrance to the lift will be an optional boss fight against Black Blade Kindred, but feel free to skip it and press on. Approach the two statues in the centre of the Grand Lift of Rold and select the Hoist Medallion option. You'll now be taken to the top in a cutscene.
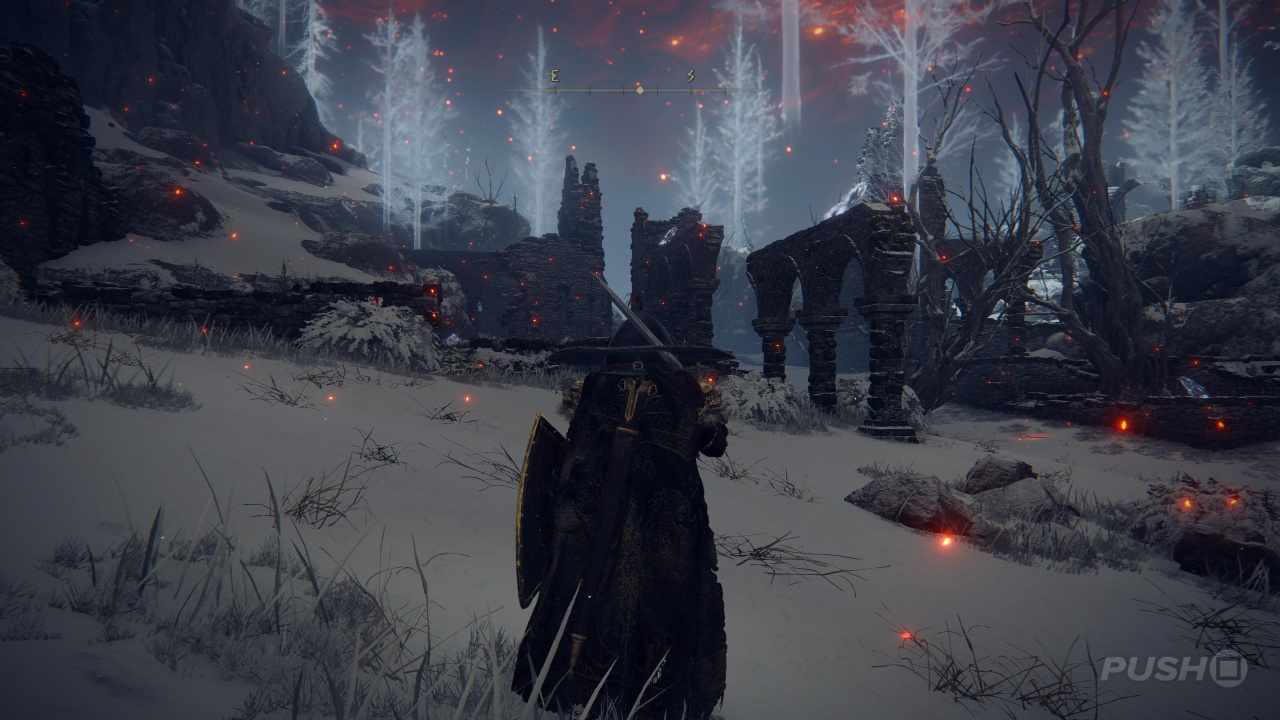
Follow the only path open to you and you'll quickly come across the Site of Grace called Zamor Ruins. Rest here if you need to, and make sure to pick up the Mountaintops of the Giants, West map just before by the usual spot.
In front of the Site of Grace are some ruins, which are optional if you want to explore. In terms of the mainline path, put your back to the Site of Grace and look southeast. You'll spot a path heading upwards to the left of the ruins, and that's where you must go.
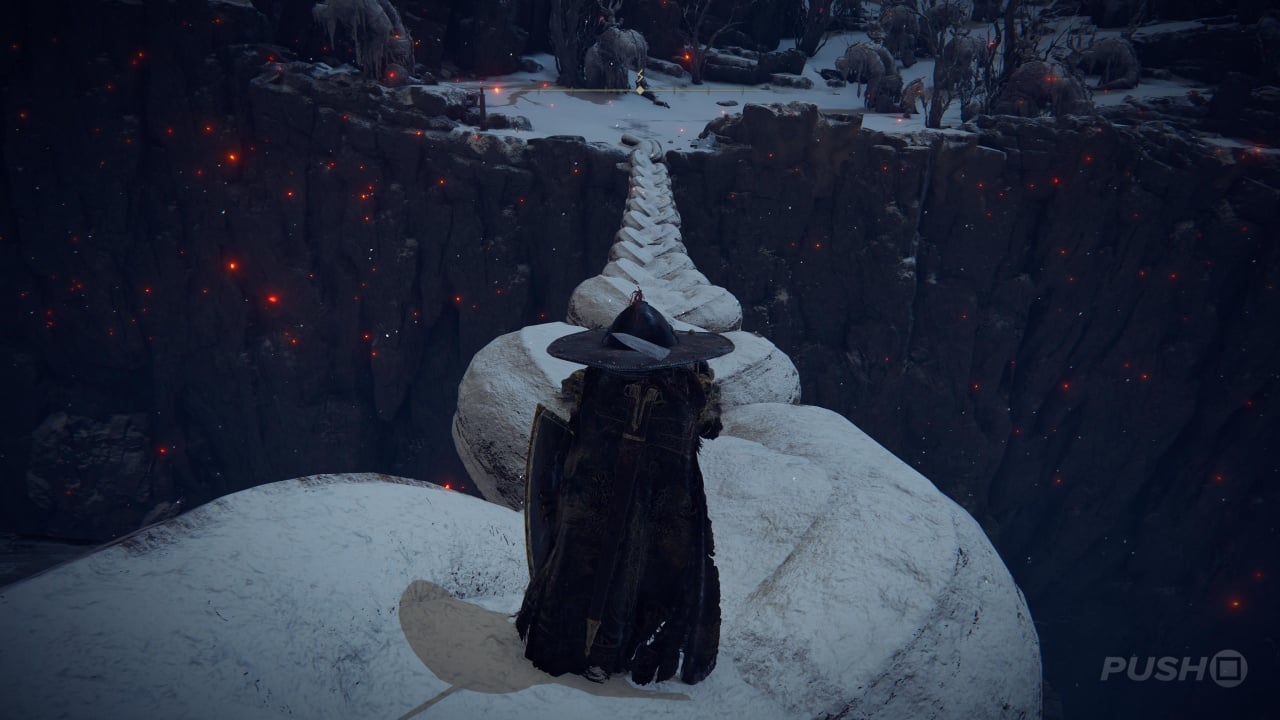
The path will naturally flow to a gap through the cliffs, which should be passed through. Drop down into a vast area with enemies ahead and a narrow path bridging the gap between where you are and the mountains ahead. We must cross that path in order to progress.
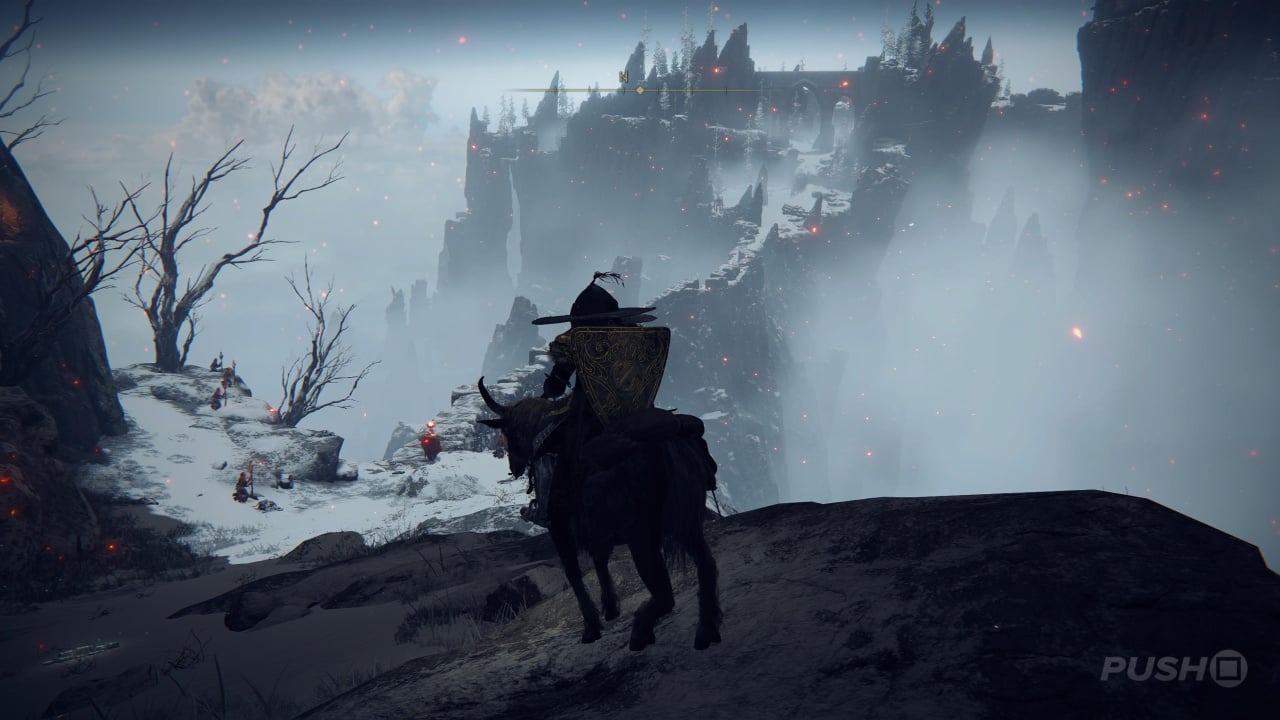
Kill the enemies here if you like, but jump onto the narrow bridge and begin crossing. As you get closer to the other side, you'll spot a giant archer firing at you. Try and use the crevices and pathways within the bridge to avoid these. On the other side, feel free to kill it. Up ahead, after crossing some rubble, will be your next Site of Grace.
Avoid the Dragon and Reach Giants' Gravepost
Your next port of all is to actually get on top of the cliffs to your right, which we'll do by heading up the path ahead of us before reaching a frozen river. You're in the right place if you spot the giant walking along in front of you. Turn right here, and follow the path along until you come to the end of the frozen river. Along the way, you'll find a Golden Seed (See Also: Elden Ring: All Golden Seed Locations) nearby yet another giant. Rest at the Site of Grace you come to at the end of the frozen river.
Up ahead will be a vast frozen lake that a dragon has taken control of. You could choose to fight it if you like, or follow the cliff edge to its conclusion to find the main path ahead. You'll have to ride quite far aboard Torrent, but just stick to the righthand side and you'll eventually make it. Once there, head to your left to find the First Church of Marika, which contains a Sacred Tear (Elden Ring: All Sacred Tear Locations) and a handy Site of Grace.
From there, head up the cliff to your left to find a small enemy settlement, which you'll need to pass through. There's a Site of Grace just before it, though, so rest up there. The castle here is entirely optional, so hurry up the path and the only way forward will be to cross a great iron chain.
Do so and we'll have reached our destination for this objective: the Site of Grace labelled Giants' Gravepost.
Kill Fire Giant
Take the pathway up the mountain, through the giants that are both frozen in place and still alive. As you near the top, you should spot another Site of Grace. This will be our main checkpoint for the Fire Giant boss battle. When you're ready (and we mean ready), head to your left and you'll soon spot a chain linking the area you're in to the boss arena. Cross it and prepare to take on Fire Giant.
For help killing this boss, refer to the following guide: Elden Ring: How to Beat Fire Giant.
Reach the Forge of the Giants
With Fire Giant out of the way, you can proceed to the final location of this area: the Forge of the Giants. Head up the hill and then onto the chain linking you to the forge. Once at the top, run along the lefthand edge. At the very end of the path will be a Site of Grace, which you must rest at. Once you've spent your Runes, select the Talk to Melina option.
A new conversation will play out, with Melina asking you if you're prepared to commit a "cardinal sin". In order to progress, you must select the "I'm ready" option. A story-critical cutscene will then play and the next time you gain control, you'll be in Crumbling Farum Azula. Click the link to continue our walkthrough.
How difficult did you find the Fire Giant boss fight? Let us know in the comments below, and check out our Elden Ring guide for much more help and information.


Comments 0
Wow, no comments yet... why not be the first?
Leave A Comment
Hold on there, you need to login to post a comment...