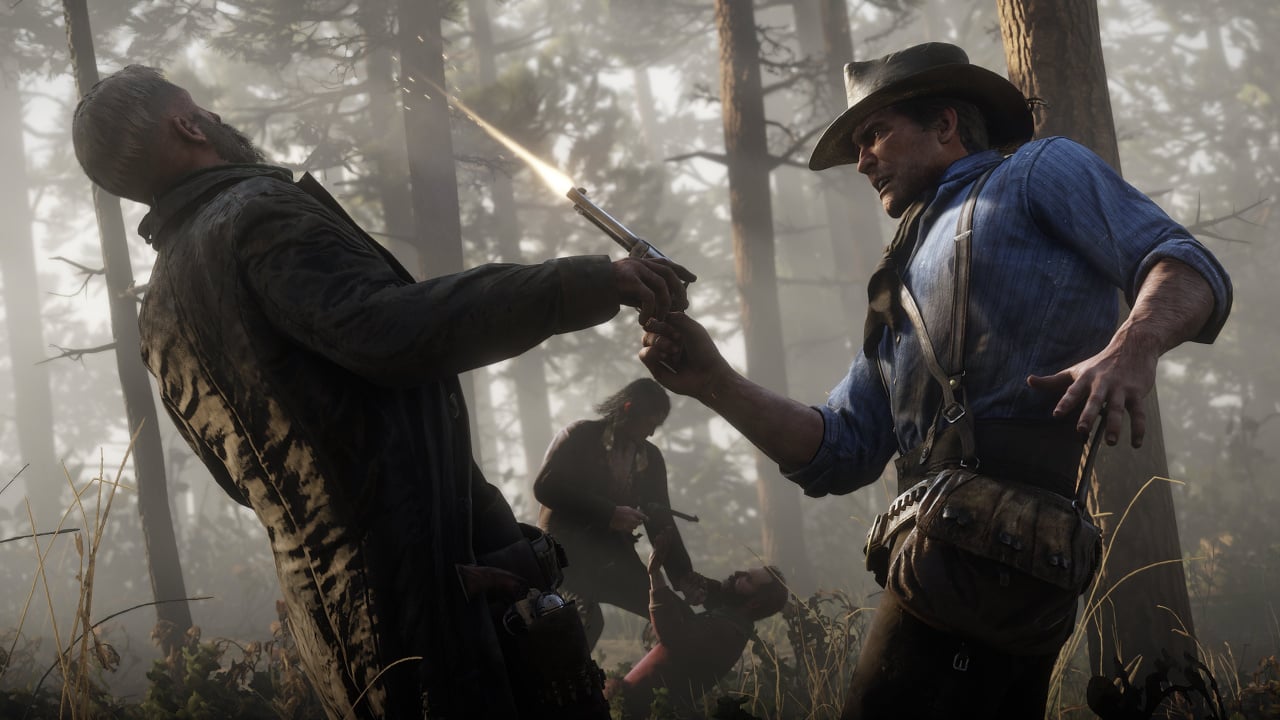
Can you make Red Dead Redemption 2 control better? Is there a way to make aiming in RDR2 more responsive? The game's often clunky controls have been a sticking point for many players, but after spending over 100 hours with the open world title, we've found surprisingly effective ways to improve how the game actually plays, especially during combat.
In this guide, we're going to go over the control settings in Red Dead Redemption 2 and break down each step that you can take to make the game feel more responsive.
How Do You Improve Red Dead Redemption 2 Controls?
The controls in Red Dead Redemption 2 have a lot of options that you can tweak to your liking. Admittedly, not all of them make a huge difference, but you can certainly make the game feel more like other, more responsive shooters by adjusting various settings.
Red Dead Redemption 2 Aiming Settings
At the top of the control options menu in Red Dead Redemption 2, you'll find the Targeting section. By changing these settings, you essentially switch between auto aiming and free aiming.
Auto aiming lets you lock onto targets immediately when you hold L2 to aim, and generally makes the game easier.
Free aiming gives you more control over your aim, and is a better fit for players who want to test their skills.
Now, let's go over each option in the targeting section.
- Lock-On Mode (on foot) - This determines the aiming system that you use while on foot. Your options are Normal, Narrow, Wide, and Free Aim. Normal gives you a moderate amount of auto aim and targets enemies that are close to where you're trying to aim. This presents the most balanced way to play. Narrow provides auto aim that targets enemies that are right in front of you and not too far to either side. Wide can target any enemy that's on your screen, and makes the game easier overall. Free aim disables any immediate auto aim. We recommend using whichever setting you're most comfortable with.
- Aim Assist Strength (on foot) - This setting determines how strong your auto aim actually is. The higher the bar, the more the game will pick out a target for you. At full, the game will always lock you on to a target when you hold L2.
- Lock-On Mode (mount/vehicle) - This is the same as the on foot setting, except it only applies to when you're riding your horse, a wagon, a boat, or a train.
- Aim Assist Strength (mount/vehicle) - Again, the same as on foot, except it only applies to when you're riding your horse, a wagon, a boat, or a train.
All of the above settings really depend on how you want to play the game. If you don't want to worry too much about combat, or you just want to make it easier, try Normal or Wide Lock-On Mode, and then adjust the aim assist appropriately.
If you want a balanced mix of aim assist and free aiming, we recommend opting for Normal and putting Aim Assist Strength about halfway. This setting means that you'll still have to aim, but the game will help by keeping your crosshair near to your target.
If you want to avoid auto aim altogether, set it to Free Aim and turn Aim Assist Strength off completely. If you're doing this, we definitely recommend reading the rest of this guide, as we're going to detail how to make free aiming more responsive.
How Do You Make Aiming More Responsive in Red Dead Redemption 2?
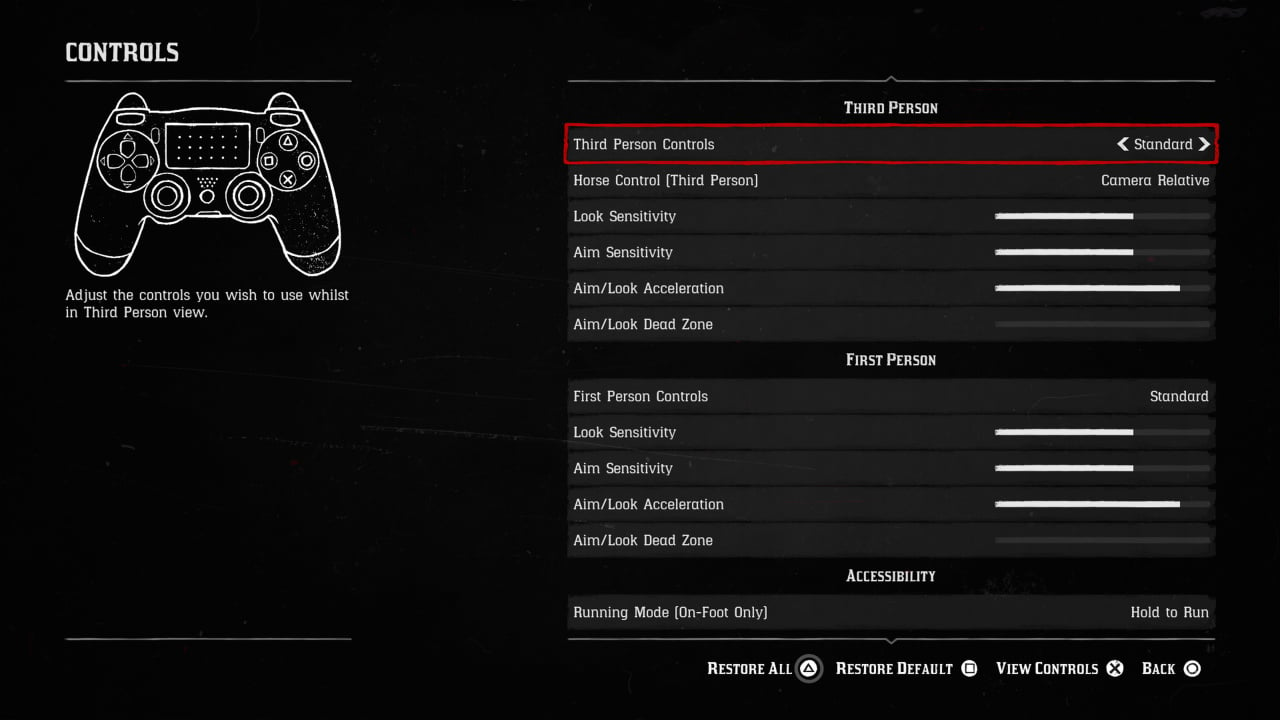
To make aiming more responsive in Red Dead Redemption 2, you'll want to look at the Third Person and First Person sections of the controls menu, depending on which camera you like using.
The options included in these sections determine how responsive shooting feels in general, and in our opinion, the default settings aren't very good.
These are the options that you should be tweaking if you want aiming to feel more responsive in Red Dead Redemption 2:
- Look Sensitivity - This setting determines how quickly the camera turns when you move the right analog stick. If the bar is at half or below, you're going to find that looking around has a weight to it that can make it feel a little unwieldy. For the smoothest experience, we recommend putting it above half by two or three notches. Put it too high, however, and you'll probably find that the camera moves far too quickly.
- Aim Sensitivity - Just like Look Sensitivity, this setting determines how quickly you can move your aiming crosshair when holding down L2 to aim. And again, like Look Sensitivity, you'll want this to be above the halfway mark to ensure that it's smooth and not janky. For this one, we recommend putting it above half by one, two, or three notches. Go too high and you'll likely struggle to keep your crosshair on your targets because it'll move too fast.
- Aim/Look Acceleration - This is where things get interesting. This setting determines how long it takes for the camera or aiming speed to reach its fastest point. If this bar is low, you'll find that your camera moves very slowly before hitting a decent speed and staying there. As such, we recommend keeping this bar near the top. That said, you may find that precise aim is a little harder with this set to maximum. Try knocking the bar down just a couple of notches from the top for aiming that gives you a tiny bit of weight, but not enough to make it feel sluggish.
- Aim/Look Dead Zone - Now this is probably the most important setting when it comes to making Red Dead Redemption 2 feel more responsive. By default, this thing is set to half, and it's the main factor in making aiming feel like it's got a sluggishness to it. If you want your aim to be as smooth as possible, we honestly recommend turning this off completely by lowering the bar the whole way. This makes aiming much more precise as it forces it to more accurately mirror the movement of your right analog stick.
In summary, we've found that disabling the Aim/Look Dead Zone setting is a must if you want the smoothest and most responsive aiming in Red Dead Redemption 2. Couple this with a high Aim/Look Acceleration setting and you should find that aiming, especially free aiming, is a lot more precise and a lot less sluggish. Applying these options can make a noticeable difference whether you're using third person or first person view.
Add in auto aiming options to suit your style of play, and you'll hopefully find Red Dead Redemption 2's aiming to be more responsive and snappy across the board.
For reference, this is what our control settings look like after 100 hours with the game (feel free to copy them):
Did you find our guide covering controls and how to improve aiming in Red Dead Redemption 2 useful? Let us know in the comments below.


Comments 7
Thank you! I've been slowly getting used to them, but occasionally I still hit R2 instead of L2 for dialog. When that happens, everything gets REALLY interesting
Thanks. Very helpful mini-guide.
I’ve been overcoming the shooting by using Dead Eye to mark multiple enemies heads then shooting them all in one go. I don’t know if this is how Rockstart expect people to play, but it makes shootouts quite easy.
@Wesker This is how it's meant to be. It's not a particularly hard game by any means. But there is bound to be a 'hard' or 'survival' mode to be patched in soon to make things more difficult.
I've been messing around with the controller settings myself and came to pretty much the same conclusion as in the article. Especially the dead zone is set way too high by default for unknown reasons
@Flurpsel yeah i’m more or less playing like it’s a Fallout game and i’m using VATS, except it’s called Dead Eye. When you unlock the ability to see animals vital organs it’s even more like VATS. Not that I mind, I actually find it very satisfying.
@starhops not just me then? 😁
Don't forget, under 'controls', in the 'accessibility' section, you probably want to switch the "hold to run" setting to "toggle to run." Who wants to have to hold X any time you want to run on foot? That means you have to stop running to focus on anything. I don't know why this setting is backwards as a default but everybody finds "toggle to run" more comfortable and conveinient.
Show Comments
Leave A Comment
Hold on there, you need to login to post a comment...