Need a Suburbs walkthrough for The Last of Us 1, including all collectibles? In this The Last of Us 1 guide, we're going to show you how to achieve 100% completion in Suburbs, which is part of The Suburbs chapter.
There are 4x Artefacts, 1x Firefly Pendant, 1x Comic, 1x Training Manual, 1x Workbench, 1x Safe, and 4x Optional Conversations to find in Suburbs, as the group continue their search for the Fireflies.
The Last of Us 1: Suburbs Walkthrough
Phew, after the Sewers, it's good to be outdoors! There are Weapons Parts in the back of the van on your right, so be sure to snag those before you continue down the path. You'll see the radio tower on the horizon, so at least you know where you're heading. Walk down the street and head inside the brick house.
Artefact #1: Looting Note
Inside the brick house on the right side of the street, go up to the second floor and in the room with the easel and bunk beds. You'll find the Artefact named Looting Note on the chest of drawers. There are other supplies in here, so be sure to grab them all, including those in the basement.
Optional Conversation #1
Follow the street down and go inside the kitchen of the house with 'U LOOT I SHOOT' graffitied on the wall. Listen to what Henry has to say about barbecues. Then over the road, stand outside the 'NO TRESPASSING' house and Henry will ask you a question, triggering an Optional Conversation opportunity.
Optional Conversation #2
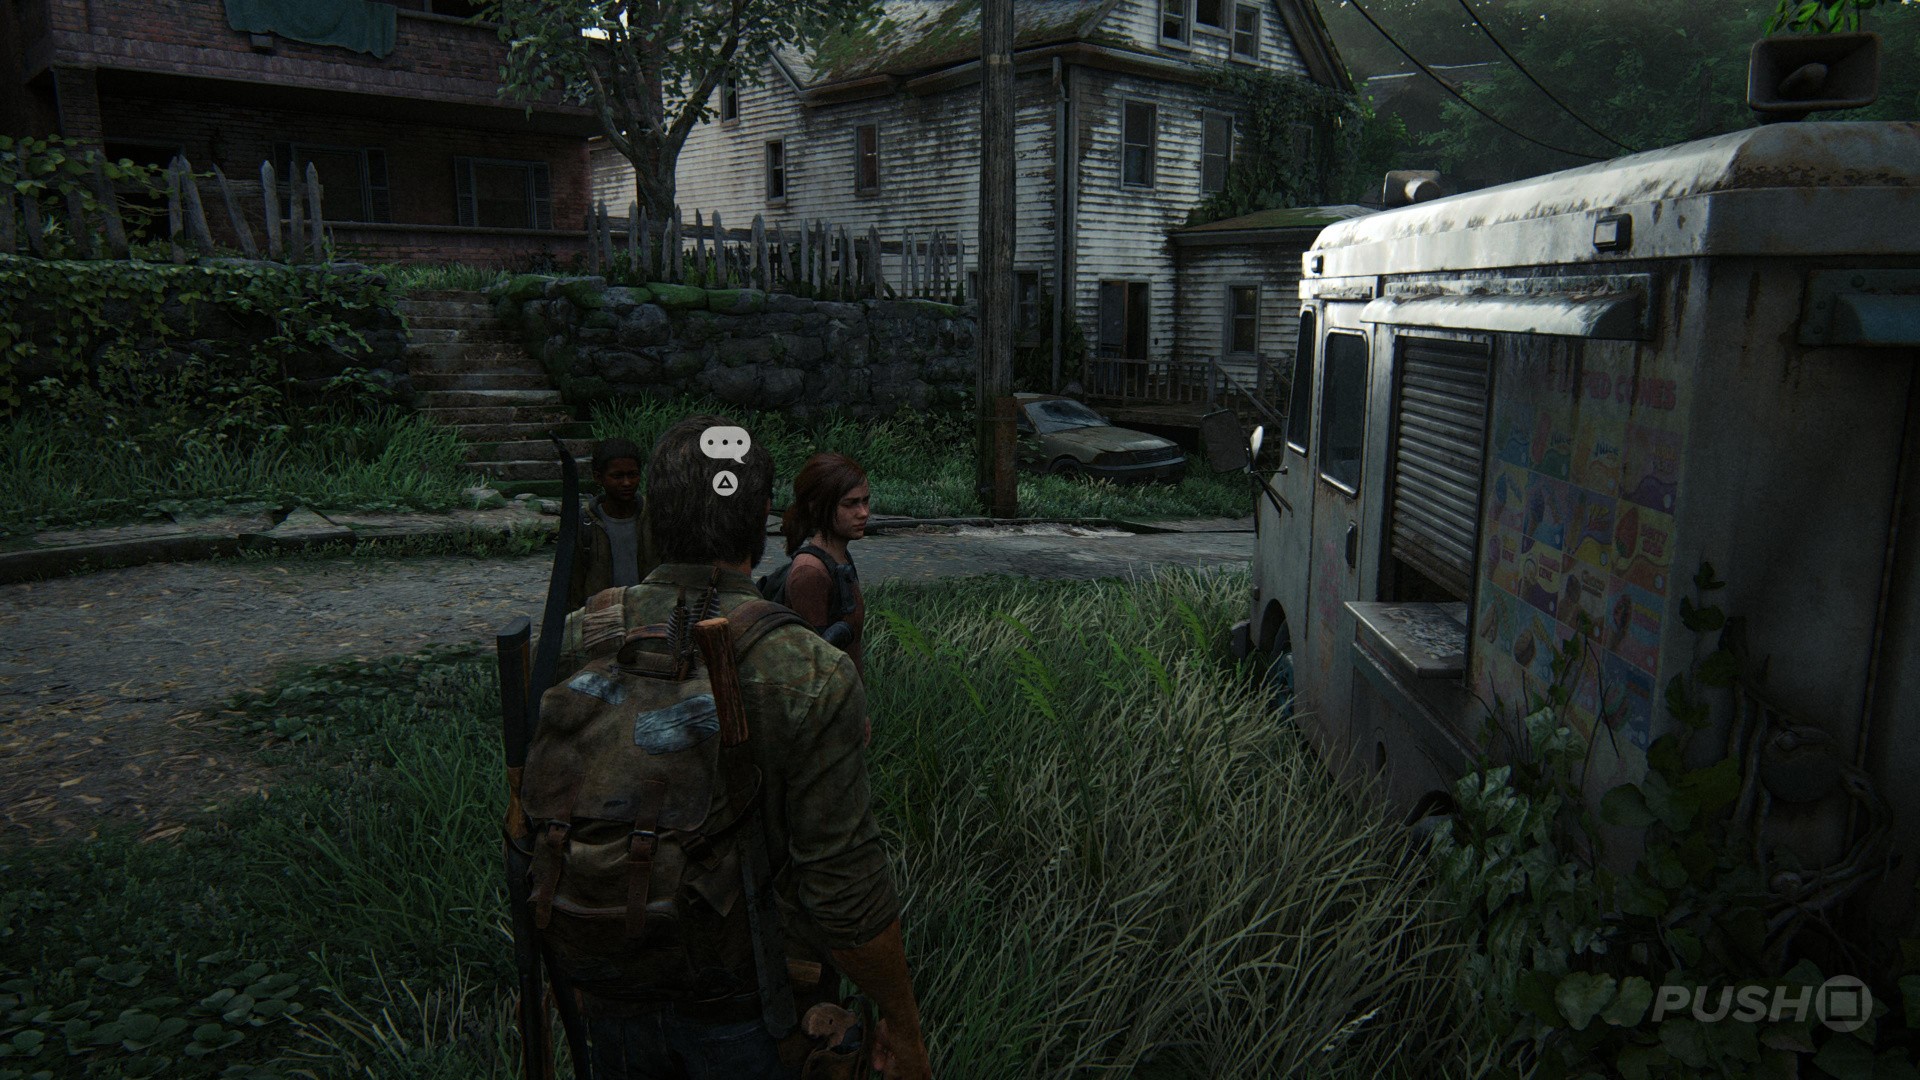
Continue down the hill, just past where Ellie overhears the dogs, and stop next to the ice cream truck. Sam and Ellie will get into a conversation about it, before asking Joel a question. This is another Optional Conversation opportunity.
Workbench #1
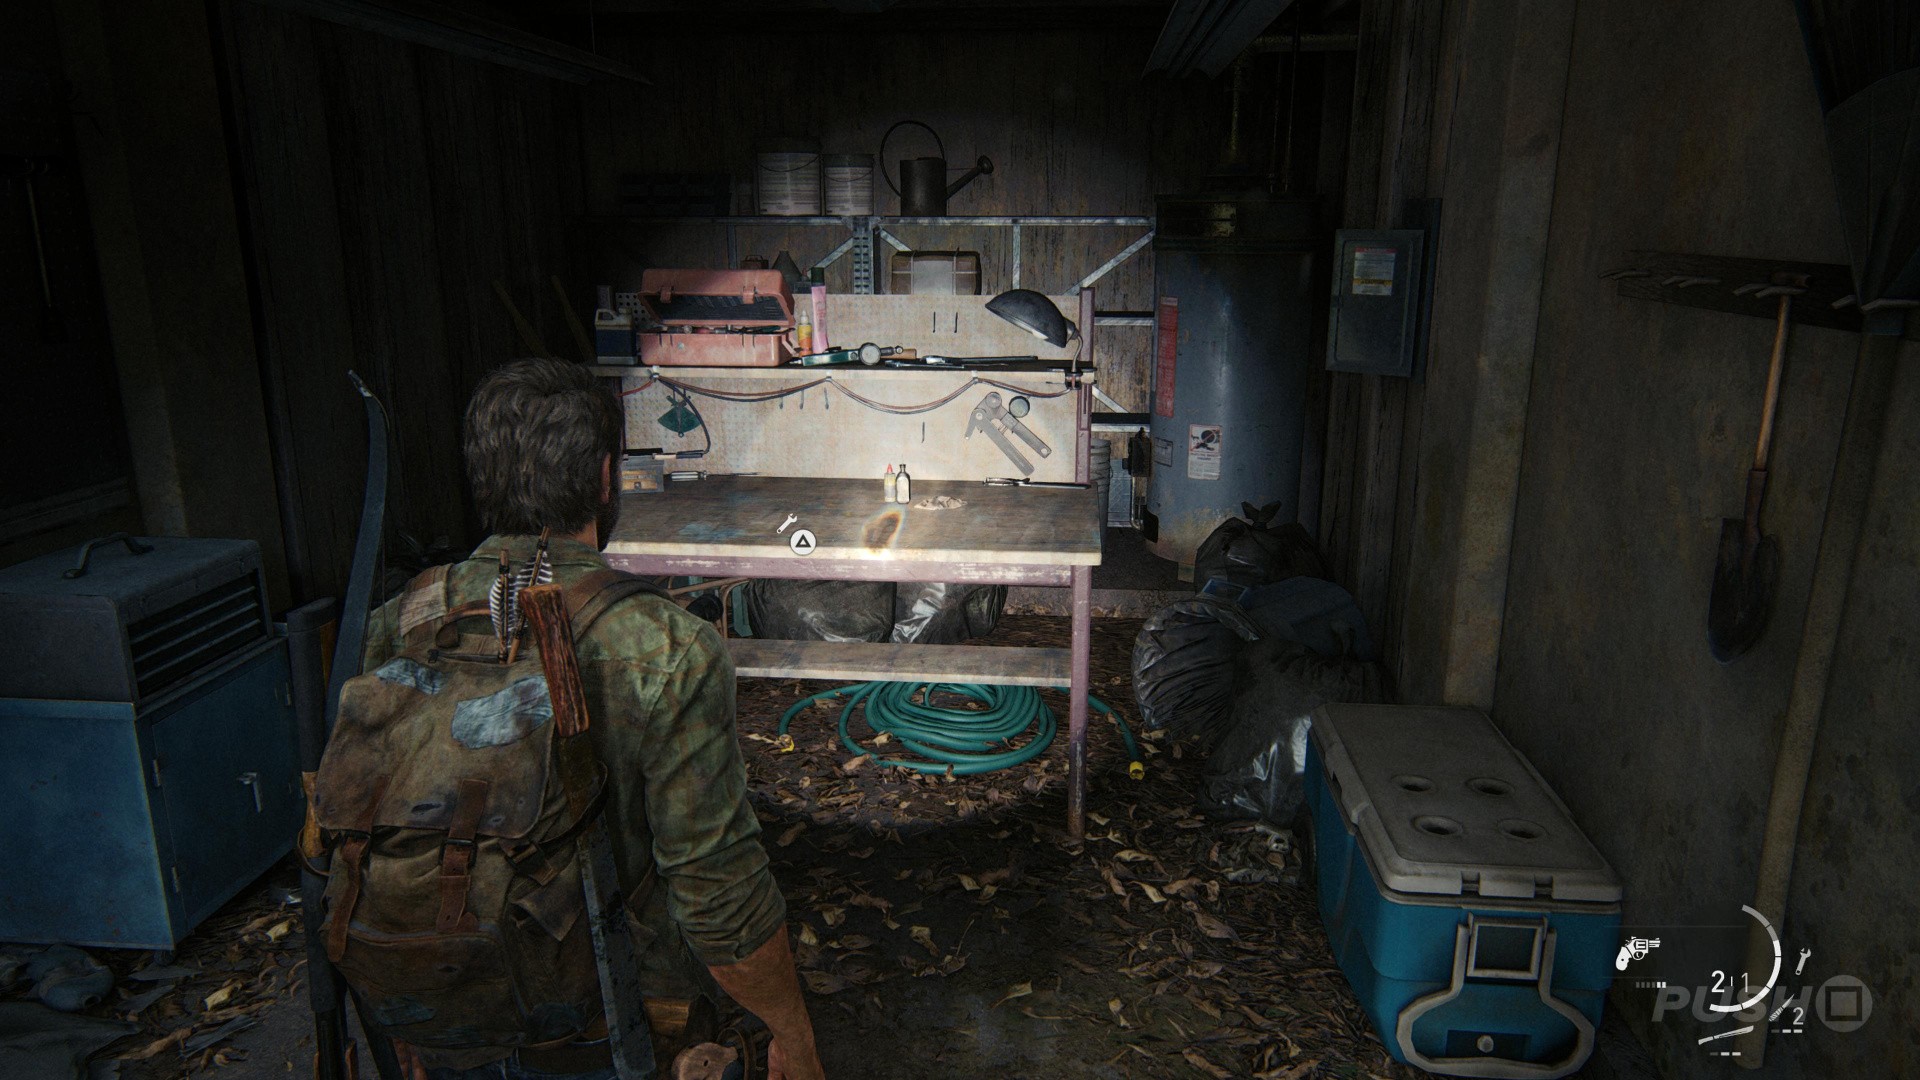
Across the other side of the road from the ice cream truck, there's a garage with a Workbench inside. Use it to upgrade your Weapons.
Artefact #2: Father's Note
Go in the brick house, next door to the one with the garage that has a Workbench inside. Head up to the second floor and you'll find an Artefact named Father's Note on the desk.
Training Manual #1: Melee Techniques
In the same house where you found the Artefact named Father's Note, on the landing at the top of the stair case, pull the attic cord and then boost Ellie up. She'll hand you a Training Manual named Melee Techniques.
Artefact #3: Survivor's Note
Move further down the street, to the house with the red graffiti on the front, and head upstairs. You'll find an Artefact on the floor next to a chest of drawers named Survivor's Note. This is next to a computer in The Last of Us and The Last of Us Remastered.
Comic #1: Messenger Particle
Go into the children's bedroom in the same house as you found the Artefact named Survivor's Note. There's a Comic called Messenger Particle on the desk. You'll find this in the bathroom in The Last of Us and The Last of Us Remastered.
Artefact #4: Matchbook
Continue on up to the next floor from where you found the Artefact and Comic. There's another Artefact named Matchbook just past the staircase.
Safe #1
You may have noticed there was a Safe Code Combination on the Artefact you found on the top floor. Head back down to the master bedroom where you got Survivor's Note and look in the wardrobe for the Safe. The Safe Code Combination is 08-21-36. Loot the Supplements and Weapons Parts inside, and you'll unlock the Sticky Fingers Trophy if you've been following our The Last of Us guide.
Optional Conversation #3
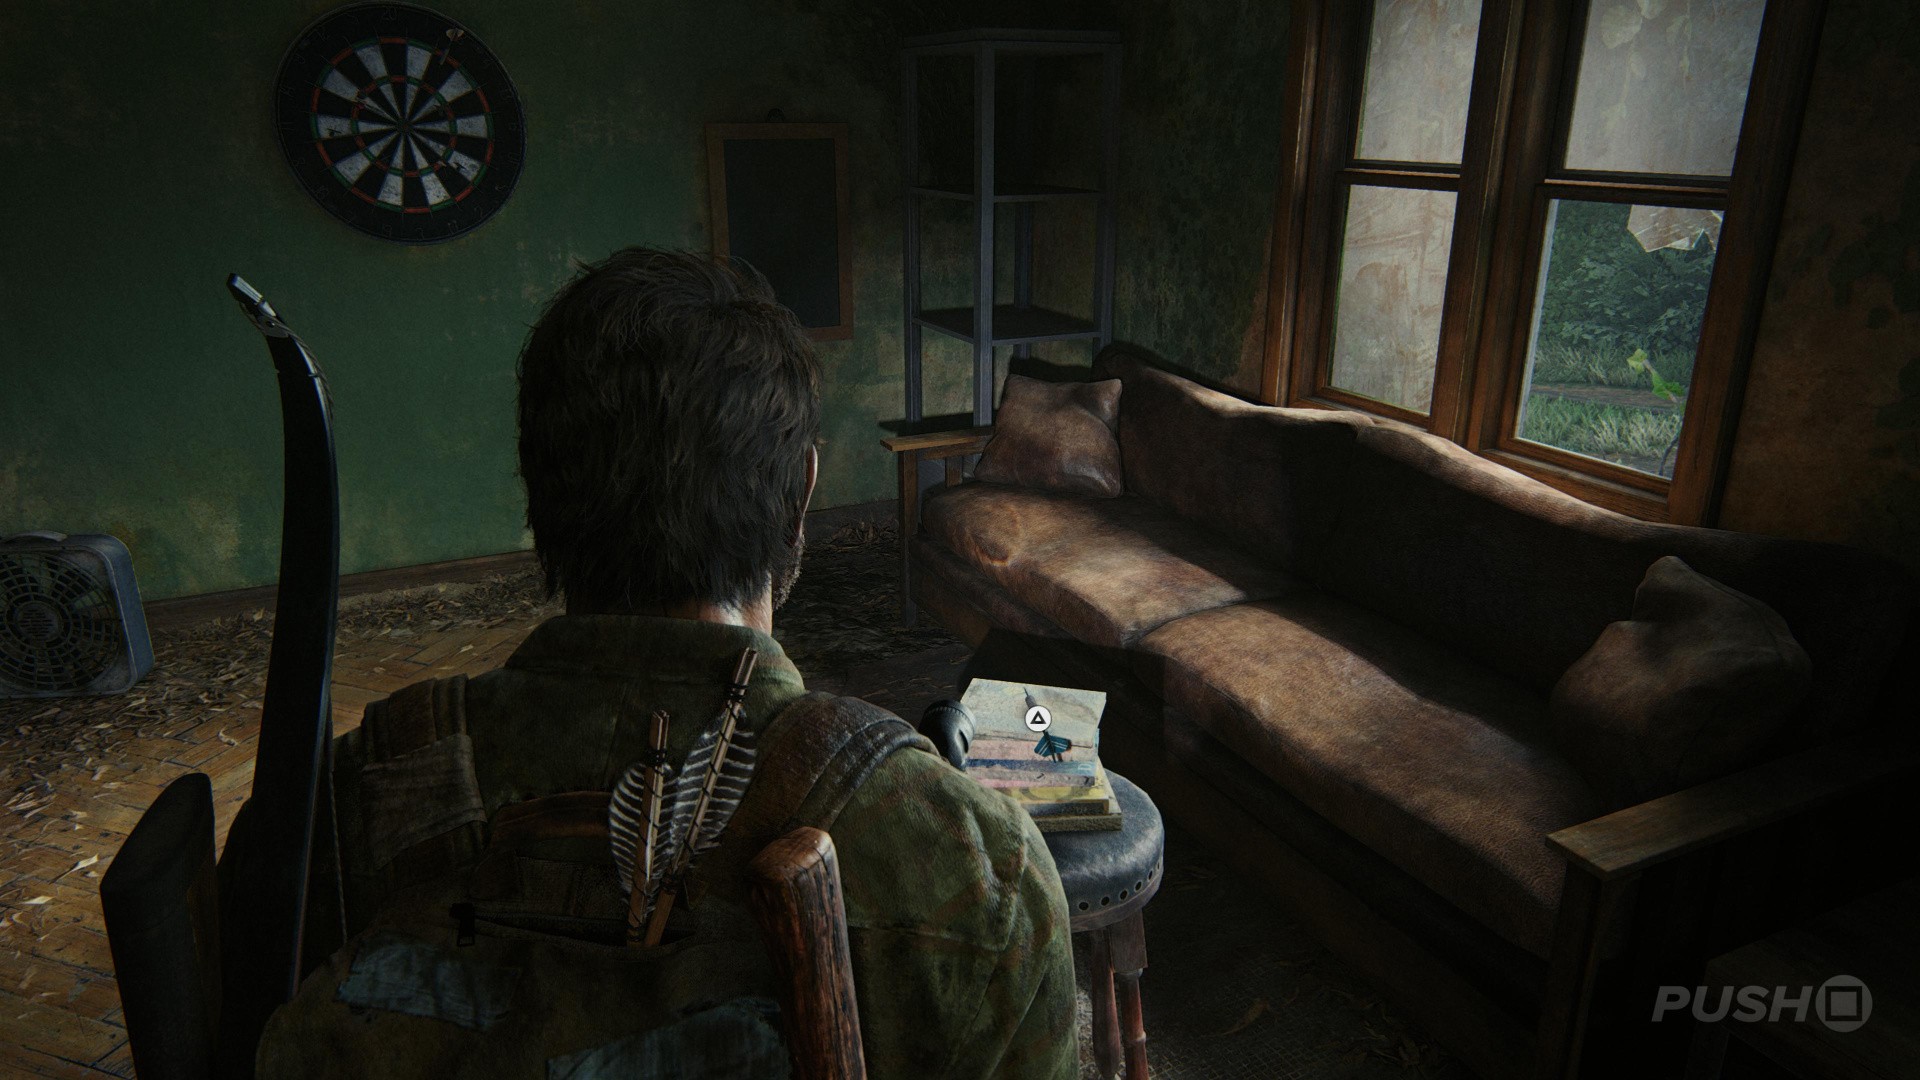
When you come back down the stairs in the house where you opened the Safe, the kids will be playing darts. Wait for them to finish their game, and then pick up the darts on the stack of books and throw one yourself.
Firefly Pendant #1: White's Firefly Pendant
Once you come back outside, head into the garden that's marked with a Firefly symbol, next to where the road is blocked at the end of the street. Hanging from the tree branch is a Firefly Pendant named White's Firefly Pendant. Knock it down with a bottle or brick, and then collect it from the ground.
Optional Conversation #4: Ellie's Jokes 5
Head down towards the end of the street, where the road is blocked. Joel will tell Henry about his plan of reuniting with Tommy. Just linger around here, and eventually you'll get an Optional Conversation opportunity, assuming you've triggered all the previous ones on this page. It's another one of Ellie's Jokes. Remember to be patient, it'll take a few moments for the prompt to appear. Frustratingly, this one can be a bit buggy. If it doesn't trigger, then restart the chapter and repeat all of the Optional Conversation opportunities on this page to try again.
Head back through the house where you played darts and go out through the back and into the garden. You should see a new street of houses stretching down the road. Jump down from the staircase to trigger a cutscene.
You've got a sniper to deal with, and you're being hunted. Stay crouched behind cover and only move when the sniper shoots. There are a number of approaches you can take here, but effectively you're trying to work your way towards the white house at the end of the road. We'd recommend heading to the left-side of the street first, and climbing through the window. There's a guard inside, but if you're quite enough you can get a stealth kill. There are supplies in all of the houses, so if you've got the nerve, be sure to loot them all.
Then come back outside and use the cover to get to the right side of the street. Bandits are going to come out looking for you, so be sure to deal with them efficiently, and make your way into the house. Remember to only move after the sniper has fired.
Once you're in the house, loot it for supplies and make your way up to the third floor. The sniper is hiding in the front room, so get ready to tap the square button as he confronts you.
Now time for another one of The Last of Us' most iconic scenes. In the sniper nest you'll need to cover Sam, Henry, and Ellie by taking out the bandits who are pouring into the street. You can go for headshots, but body shots will mostly do the job. Eventually the Humvee from earlier will show up. Continue to take out the bandits until the guy starts tossing Molotovs from the Humvee's hatch. Deal with him and watch the chaos unfold. Unfortunately, there's still more to come: Clickers will pile onto the street. Kill as many as you can, protecting your friends, and then watch the cutscenes as you continue onwards to the Hydroelectric Dam.
Did our Suburbs walkthrough for The Last of Us 1 help? Did you find all Artefacts, Firefly Pendants, Comics, Training Manuals, Workbenches, Safes, and Optional Conversations? Check out our The Last of Us 1 guide for much more information on the game, including all collectibles.


Comments 0
Wow, no comments yet... why not be the first?
Leave A Comment
Hold on there, you need to login to post a comment...