Need a Safehouse walkthrough for The Last of Us 1, including all collectibles? In this The Last of Us 1 guide, we're going to show you how to achieve 100% completion in Safehouse, which is part of the Bill's Town chapter.
There are 3x Artefacts, 1x Firefly Pendant , 1x Training Manual, and 1x Optional Conversation to find in Safehouse, as you finally meet up with the eccentric Bill.
The Last of Us 1: Safehouse Walkthrough
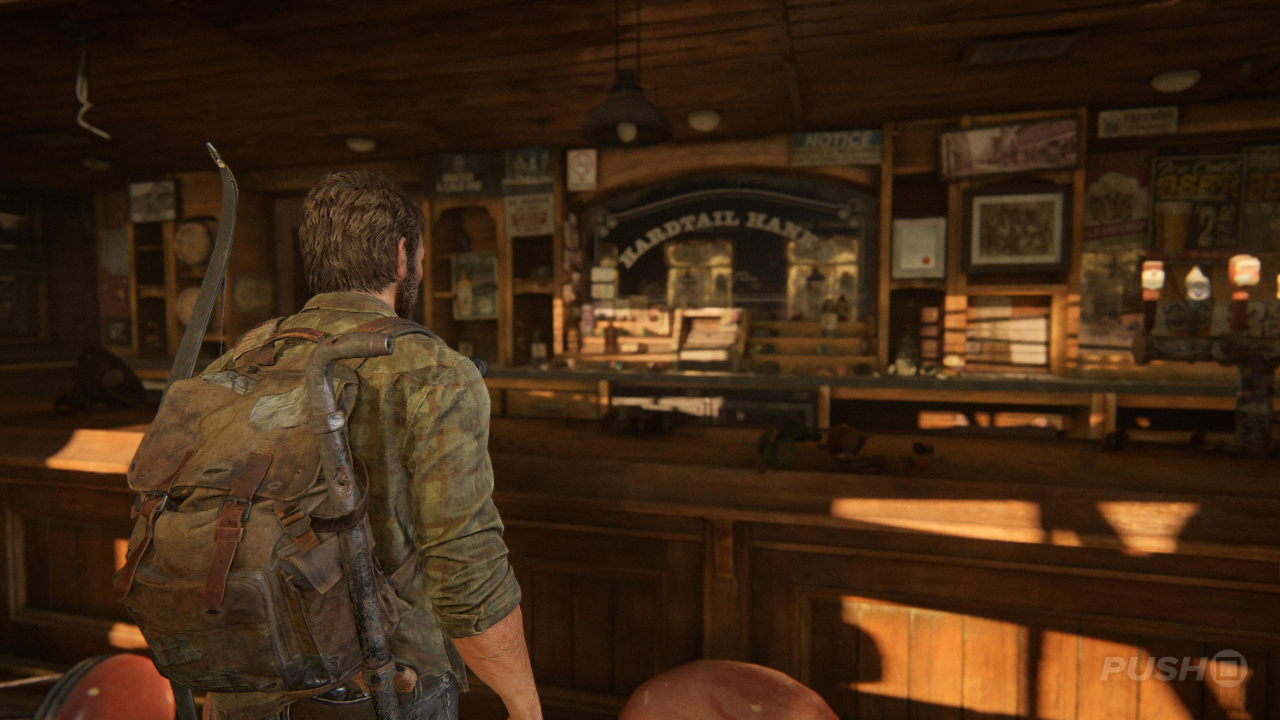
After all the chaos of The Woods, it's time to take a breather. You'll start out in an old diner rich with resources, and you're going to want to grab everything you can get your hands on.
Artefact #1: Bill's Map
Immediately to your right, when you regain control, on the table is an Artefact named Bill's Map.
Artefact #2: Fences Note
Behind the dart board, to the right of where Bill handcuffed Ellie to the drainpipe, there's a small back room. On the coffee table is an Artefact called Fences Note. There are lots of other supplies in this room, so be sure to collect them all.
Training Manual #1: Shiv Sharpening
Near to where Bill's waiting for you, on the bar, you'll find a Training Manual named Shiv Sharpening. Collecting this will also unlock the Self Help Trophy.
Optional Conversation #1
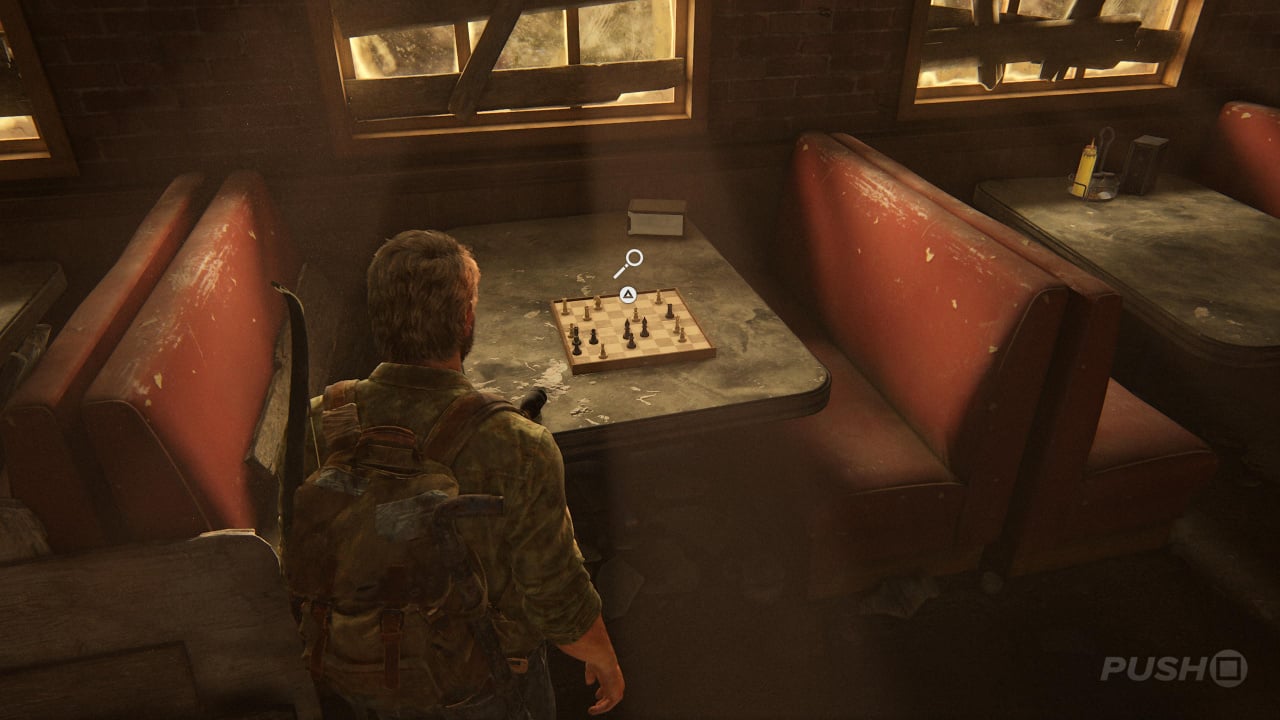
Opposite the bar, look at the chess board on the dining table, and push the triangle button to trigger an Optional Conversation.
Once you're done, head back over to Bill and follow him up the stairs. Make sure you've collected everything you want from the previous room before moving on, because there's no going back once you close the door behind you.
Artefact #3: Hunter's Note
At the top of the stairs, after you've closed the door to the restaurant behind you, turn immediately right and follow the corridor down to a kitchen area. On the table you'll find an Artefact named Hunter's Note.
Simply keep following Bill through various buildings and down some stairs. You can search any rooms you encounter along the way and collect any supplies you may still need. This is a good opportunity to really stock up so stick at it. Go down stairs and wait for Bill to clear one of his traps, before he leads you outside.
Once you head outside, prepare yourself. You're going to get ambushed, so reload your weapons and craft any items you need. There are a lot of them and you're going to have to fight so be prepared. Your best option is to stay on the move and create some distance. Spin around by pressing down on the analogue stick and X, and then fire off some shots before repeating the process until they're all dead.
Firefly Pendant #1: Vincent's Firefly Pendant
After the big fight with all the infected, head to the right of where you first entered this outside area, and look up at the traffic light. There's a Firefly Pendant hanging from it. Lob a brick to knock it down, and then pick it up from the ground for Vincent's Firefly Pendant.
Head back across opposite where you got the Firefly Pendant, and reconnect with Bill. There's a shed near to a staircase where you can restock your supplies. Once you're done, head up the stairs and into the cellar to begin the Graveyard chapter.
Did our Safehouse walkthrough for The Last of Us 1 help? Did you find all Artefacts, Firefly Pendants, Comics, Training Manuals, Shiv Doors, Safes, and Optional Conversations? Refer to our The Last of Us 1 guide for much more information on the game, including all collectibles.


Comments 0
Wow, no comments yet... why not be the first?
Leave A Comment
Hold on there, you need to login to post a comment...