Need a Go Big Horns walkthrough for The Last of Us 1, including all collectibles? In this The Last of Us 1 guide, we're going to show you how to achieve 100% completion in Go Big Horns, which is part of The University chapter.
There are 5x Artefacts, 3x Firefly Pendants, 1x Comic, 1x Training Manual, 1x Workbench, and 2x Optional Conversations to find in Go Big Horns, as Joel and Ellie close on the Fireflies.
The Last of Us 1: Go Big Horns Walkthrough
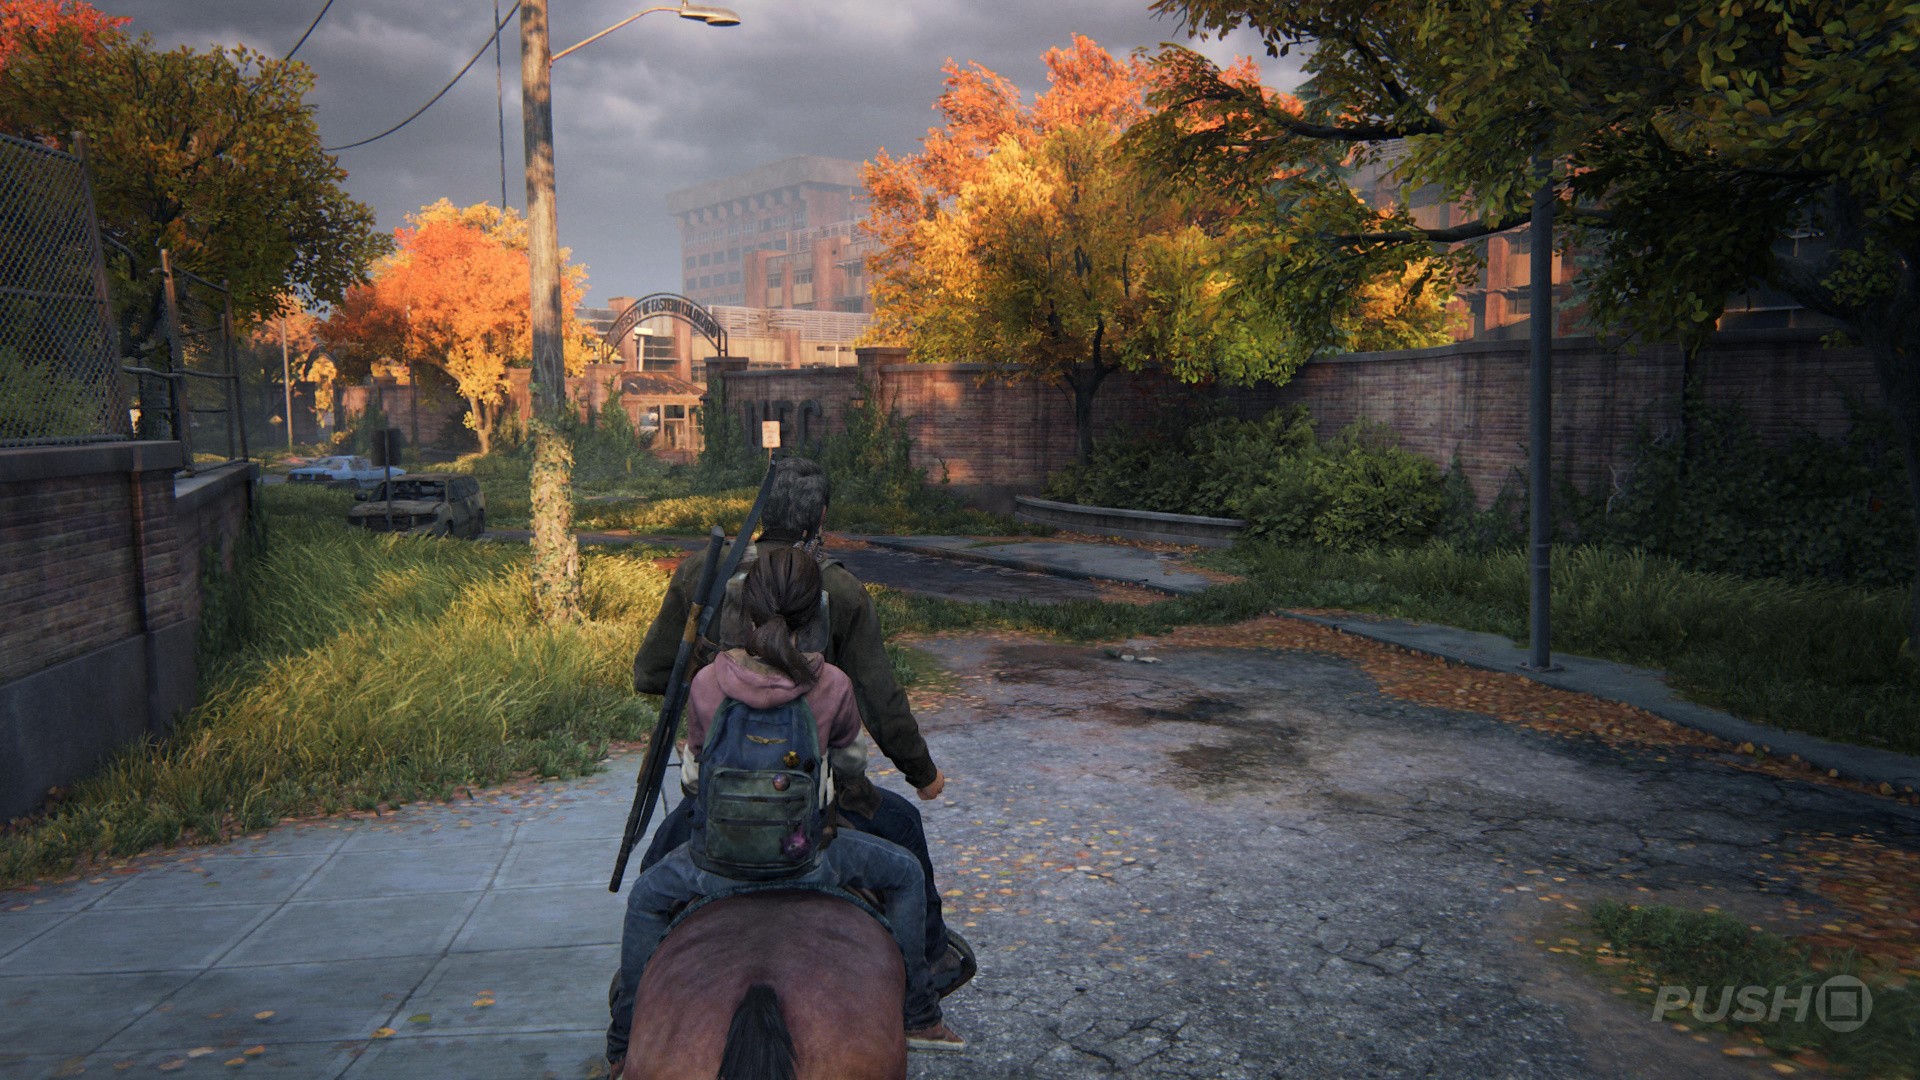
With the Ranch House behind you, you've arrived at the University — as Joel said, "Go Big Horns!" Before you make your way inside, though, turn around and head back the way you've just came.
Comic #1: Free Radicals
At the top of the street, behind where the chapter begins, you'll find a Comic named Free Radicals on the back car seat. This is on the bonnet of the car in The Last of Us and The Last of Us Remastered.
Weapon: Flamethrower
Head inside the main campus and up the hill through the gates. On the right you'll notice an open garage, and you'll discover a new Weapon inside: the Flamethrower. Things are about to get pretty hot!
Workbench #1
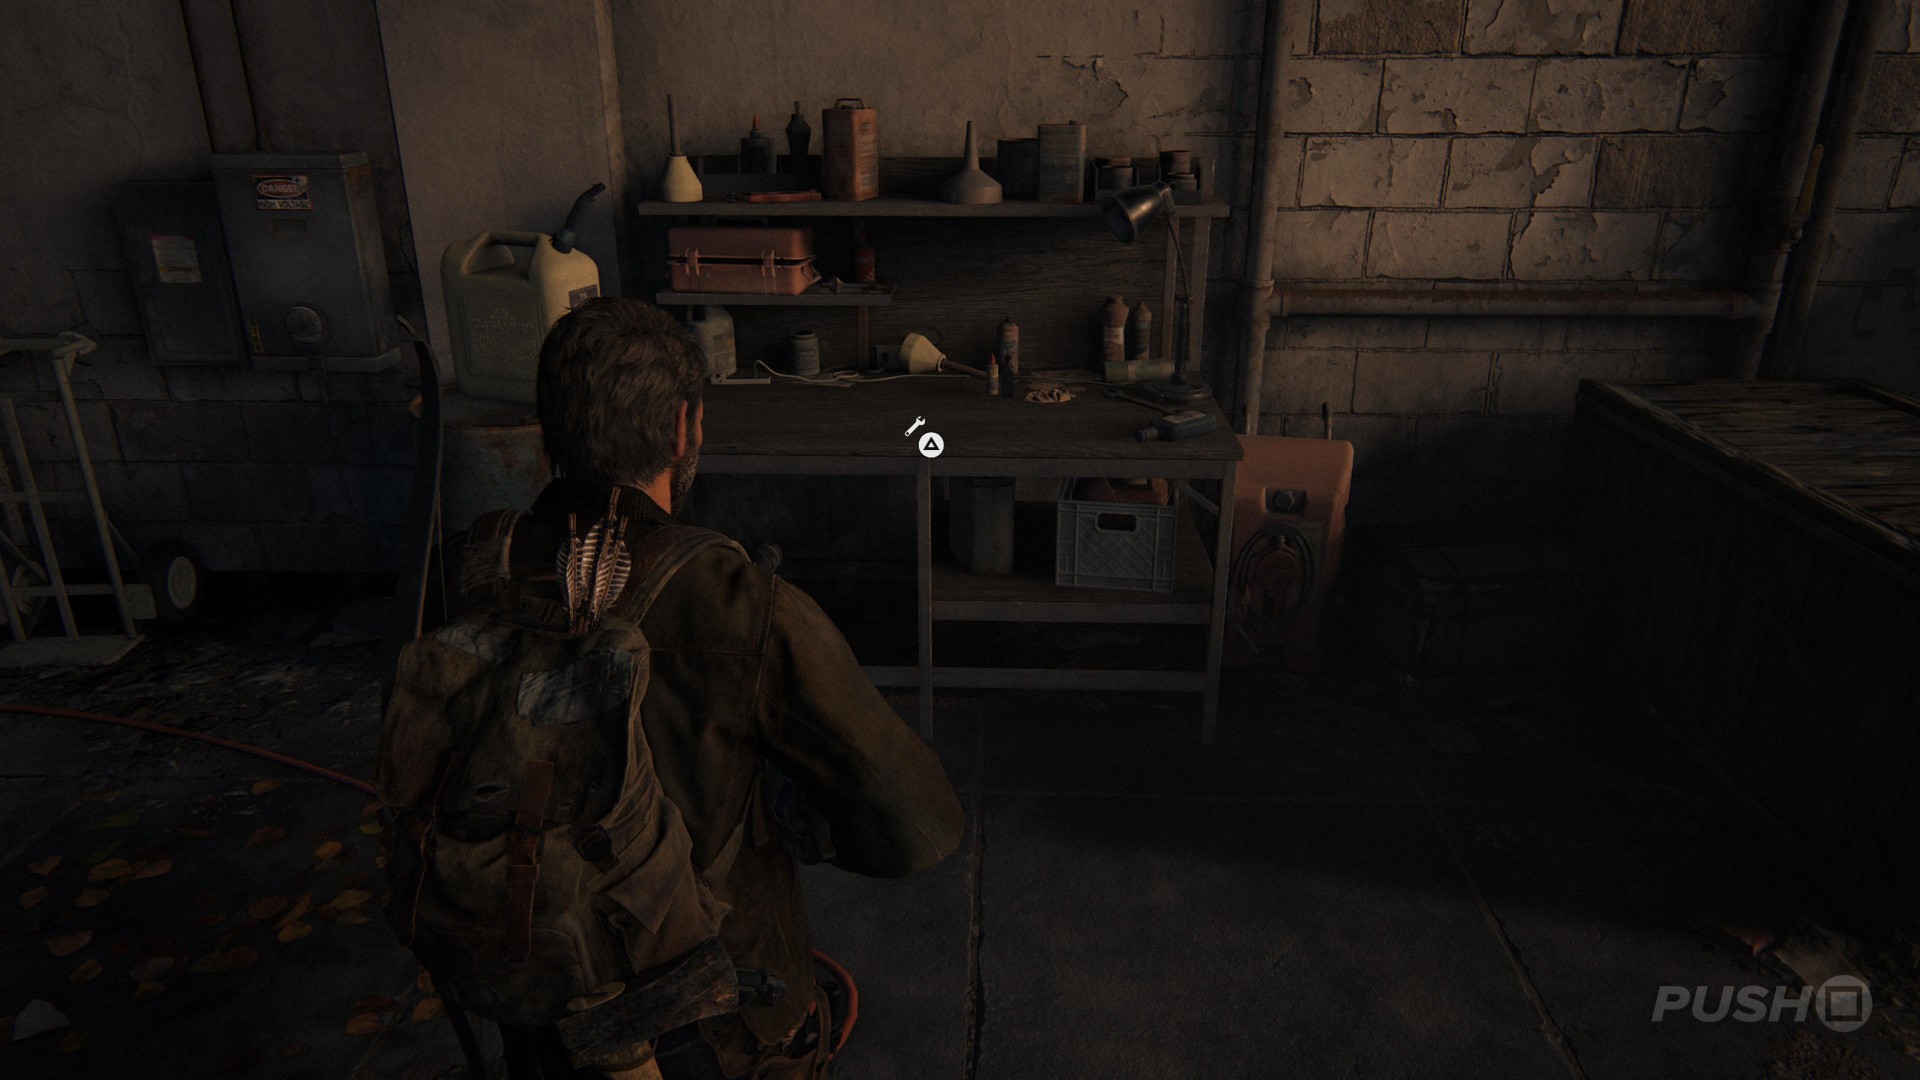
Just behind where you find the Flamethrower, there's a Workbench you can use to upgrade it, so feel free to spend a bit of time on that. If you need Weapons Parts, then you'll find plenty in the area, as well as some Supplements.
Artefact #1: Sniper's Nest Log
Go up the metal staircase to the third floor, in the same garage area where you got the Flamethrower. Head out onto the balcony, and you'll see someone's been camping up here. Next to the deck chair and some supplies is an Artefact named Sniper's Nest Log.
Optional Conversation #1
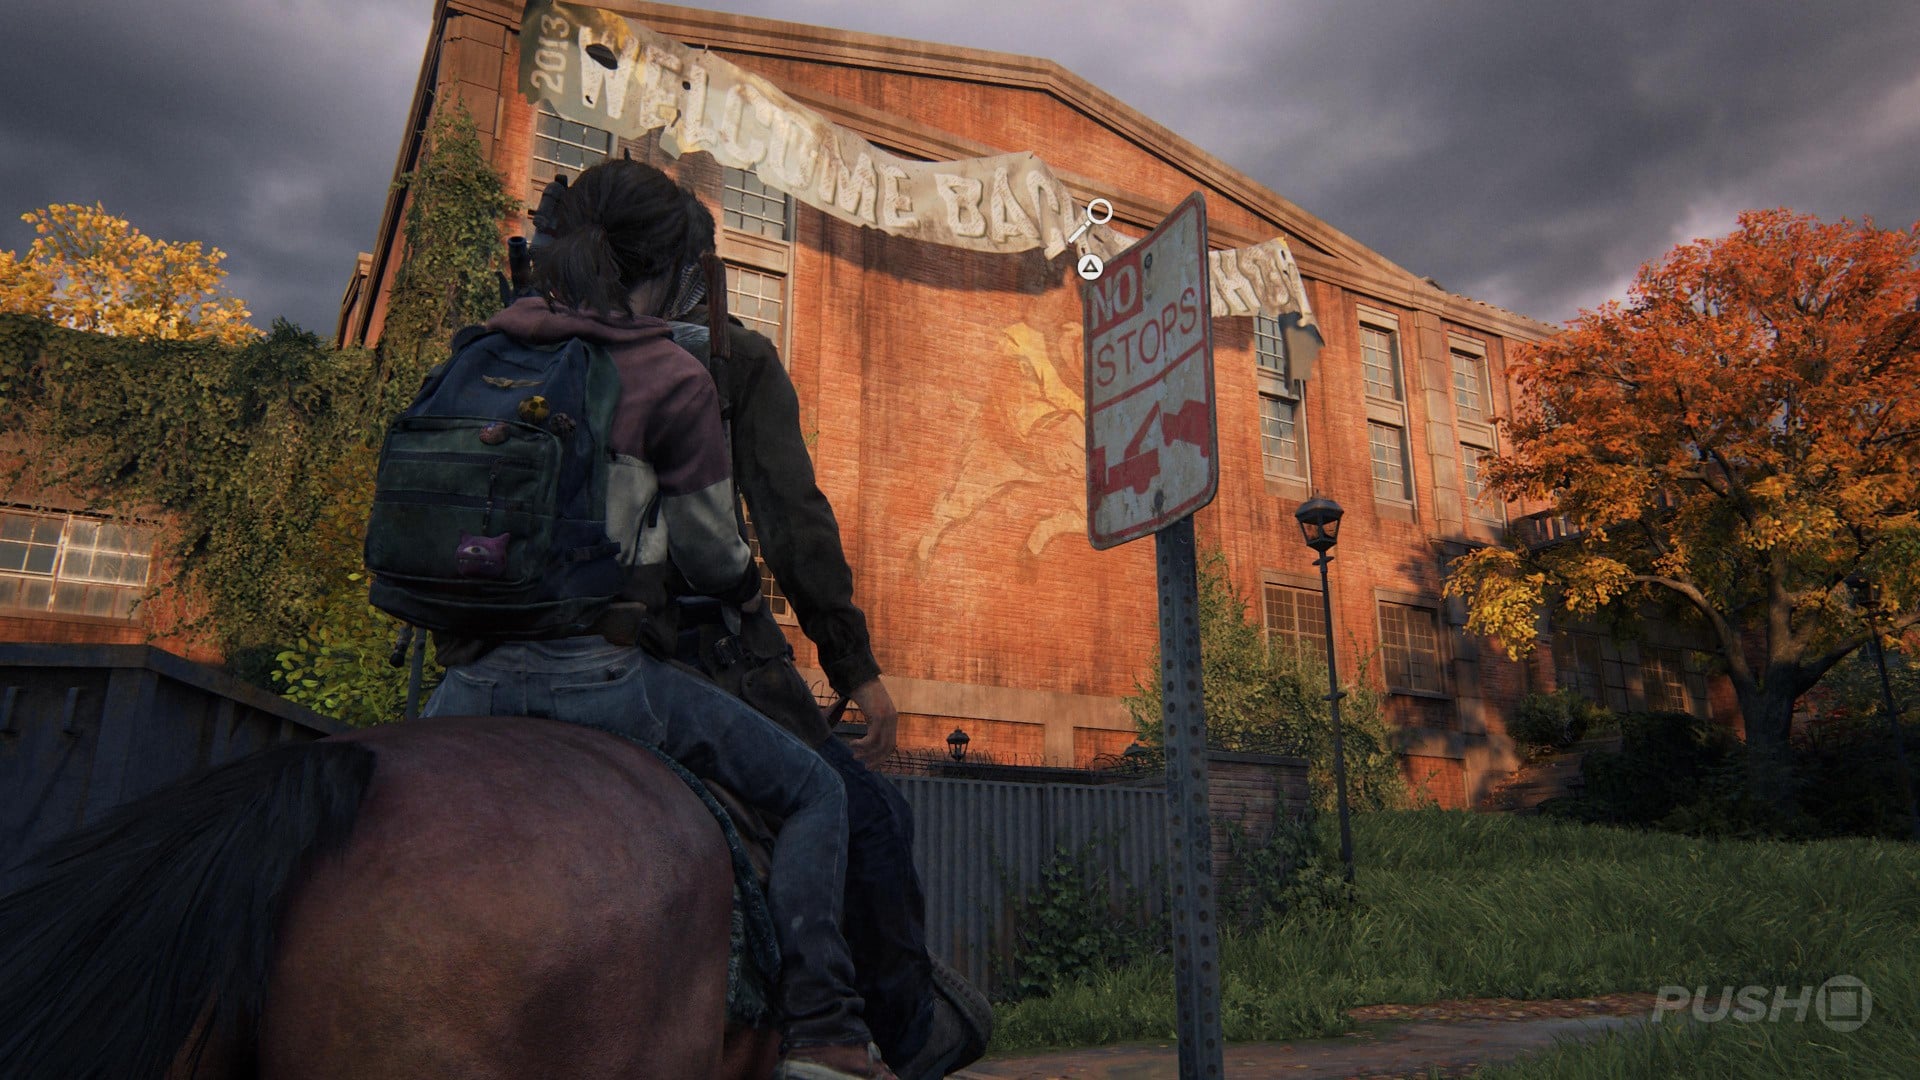
Return to Ellie and climb aboard the horse. There are some barriers lined with barbed wire dead ahead, but you can use your horse to clear them. Dead ahead, on the side of the big university building wall, there's a banner. Interact with it for an Optional Conversation opportunity.
Firefly Pendant #1: Pino's Firefly Pendant
Continue forward up the staircase, when Ellie points out the mirror-like building on the left. First head right, and you'll see a Firefly Pendant hanging in a tree. Toss a bottle at it to knock it down, then pick it up to collect Pino's Firefly Pendant.
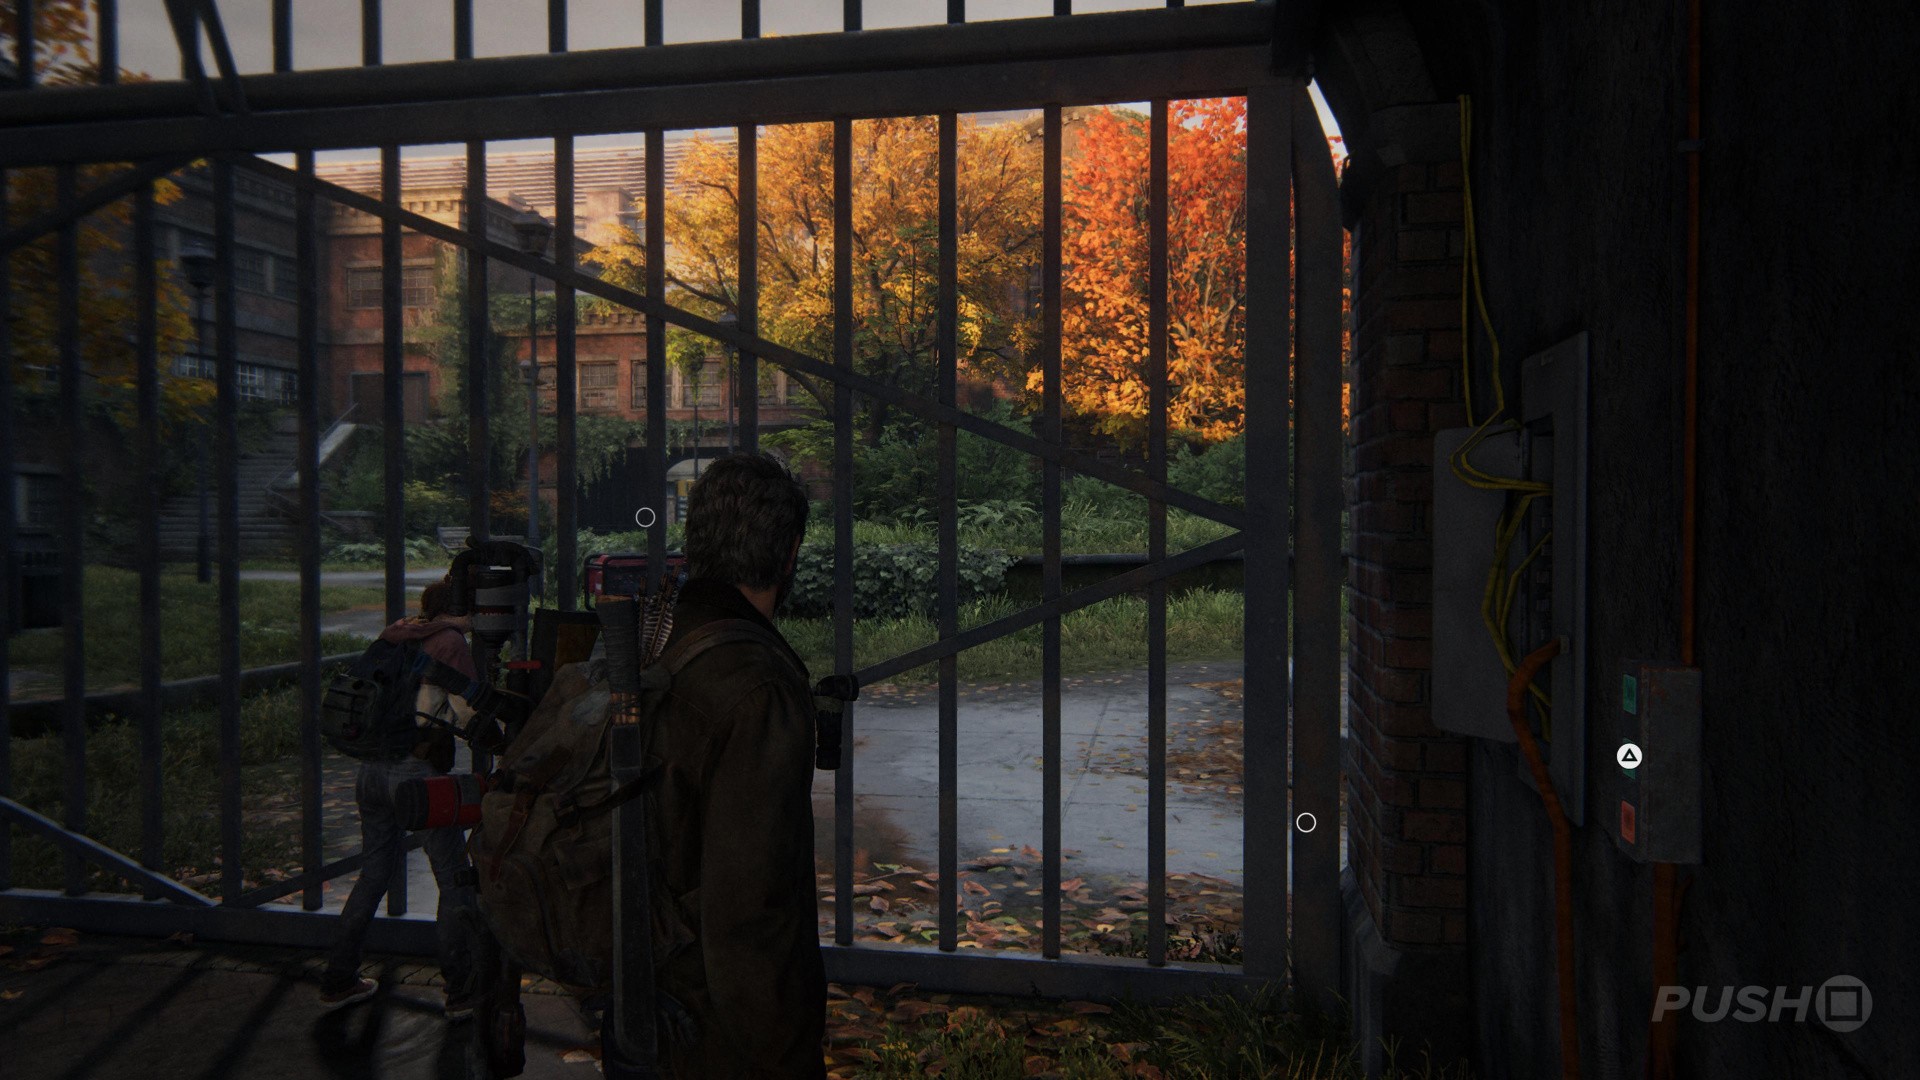
Head inside the building on the left and go down the corridor. You'll eventually come to a metal gate, so push the triangle button to prise it open. You'll overhear Runners, forcing you to split from Ellie and the horse.
Artefact #2: Wall Panel Note
After you've got through the metal gate, and split up from Ellie and the horse, look across to the wall opposite, where the door panel is. There's an Artefact named Wall Panel Note pinned to the wall.
Head on up the stairs, as you're looking for a generator to power the door panel you've just discovered. Unfortunately, there are a bunch of Runners on the second floor. You can choose to take them out stealthily if you wish, but seeing as you've not long grabbed a shiny new Flamethrower, you may want to light them up. It's up to you how you approach, of course! Once you've dealt with everyone, power up the generator, and then head back downstairs. Use the door panel to open the gate, and continue on outside.
Firefly Pendant #2: Rohner's Firefly Pendant
After using the door panel to get back outside, head up the staircase on the left and then look to the building on the right. There's a broken window which you can access by climbing on the dumpster. Inside this second-floor room you'll find Supplements and Weapon Parts. On a desk beneath a window, you'll find a Firefly Pendant named Rohner's Firefly Pendant.
Climb back on the horse and hop over the barbed wire. There's a statue in the centre of the courtyard, so use that to orient yourself and head right to the Ding Hall. There's an open window on the ground floor you can climb through here, so dismount the horse and head inside.
Training Manual #1: Health Sterilization
In the Ding Hall building, go up the staircase, and climb through the window out onto the roof. Walk along the roof a short way and climb into the next window. Under the window, on a desk, is a Training Manual called Health Sterilization. You'll also find Weapon Parts and Supplements in this room.
Optional Conversation #2
Just beyond Ding Hall, on the left, you'll see a Firefly logo graffitied on the wall. Interact with it for an Optional Conversation. There's another Firefly logo on the wall straight ahead, at the end of the path here. If you don't unlock the Optional Conversation with the first one, try the other. This is a known bug, specifically in The Last of Us and The Last of Us Remastered.
Continue forward until you reach a metal gate on the right. Ellie will try to lift it but won't have any luck. There's a generator on the side and a door panel. You can trigger some Optional Conversations, but they don't count towards your overall total. Crawl through the doorway, beneath all the debris, on the right wall.
Artefact #3: UEC Campus Map
Immediately after crawling under the debris, just right of the gate you can't get through, there's an Artefact named UEC Campus Map on the main desk directly opposite the doorway. You'll also find some Supplements in this reception-like area, so be sure to grab those, too.
Artefact #4: Student's Journal
Go up the stairs and onto the corridor where all the student dorm rooms are. Go inside the room labelled 200-B (or 202) and open the desk drawer. You'll find an Artefact named Student's Journal inside.
Take the time to loot the various dorm rooms and their connected bathrooms, then continue down the corridor until Joel puts on his gas mask. You'll reach a big hole in the ground, but before you fall down, craft some gear and reload your weapons so you're prepared. There are a bunch of Clickers down here, the majority of which you should be able to take out using stealth kills and Shivs. Further right down the corridor, however, is a Bloater. You're going to want to blow this one up, so use explosives — or alternatively your Flamethrower to set fire to it. That's because it's carrying a Firefly Pendant. Be sure to ensure you've dealt with all the other Clickers before engaging, though.
Firefly Pendant #3: Warren's Firefly Pendant
As mentioned above, you need to set fire to or explode the Bloater after the corridor with all the dorm rooms in order to get it to drop a Firefly Pendant named Warren's Firefly Pendant. If done correctly, you'll find the Firefly Pendant on the floor next to the Bloater's body.
Artefact #5: Newspaper Clipping
After you've dealt with all the Clickers, barge open the door at the end of the hallway, and head up the stairs. Go in room labelled 205-B (or 209) and on top of the fridge is an Artefact named Newspaper Clipping. There are also some Supplements in this room, in the cupboard beneath the keyboard.
Loot the rest of the dorm rooms to replenish your supplies, then head outside into the Courtyard, which takes you outside on the other side of the gate you couldn't get through earlier. Wheel the generator over to the yellow cable and Joel will plug it in, enabling Ellie to operate the door panel and open the gate. Remember, you need to power the generator up before the door panel will work.
Once you're back on horseback, take the exit out of the courtyard and jump over the barbed wire barriers. You're right near the Science Building now, but you should take a moment to search the various medical tents outside for supplies first.
Firefly Pendant #4: Griggs' Firefly Pendant
In the tent that's at the far end of the area where you entered, you'll find a Firefly Pendant named Griggs' Firefly Pendant on the desk. There are also some Weapon Parts in here, so be sure to grab them.
Right, it's finally time to get into the Science Building. Head forwards from where you found the Firefly Pendant and jump over the barbed wire barrier. Get off your horse and drag it to the drop the hill, then let it roll into the rusty gates ahead. Push the dumpster up against the truck to the right, and climb up and into the hole in the side of the Science Building.
Did our Go Big Horns walkthrough for The Last of Us 1 help? Did you find all Artefacts, Firefly Pendants, Comics, Training Manuals, Workbenches, and Optional Conversations? Check out our The Last of Us 1 guide for much more information on the game, including all collectibles.


Comments 1
This guide is a SERVICE! Thank you for the help man. Seriously.
Show Comments
Leave A Comment
Hold on there, you need to login to post a comment...