Need a Downtown walkthrough for The Last of Us 1, including all collectibles? In this The Last of Us 1 guide, we're going to show you how to achieve 100% completion in Downtown, which is part of the The Outskirts chapter.
There are 4x Artefacts, 1x Firefly Pendant, 1x Shiv Door, 1x Safe, and 1x Optional Conversation to find in Downtown, as Joel and Tess continue to move forward with their mission of delivering Ellie to the Fireflies.
The Last of Us 1: Downtown Walkthrough
Time to head back Outside into the rain, and this time we're heading downtown. Follow Tess, but when she goes up to the bridge, crouch underneath the gap and look for some Supplements on the left. Then make your way back the way Tess came, and up onto the bridge again.
Artefact #1: Evacuation Leaflet
As you make your way up the bridge and onto a street, look on the right for a traffic light. Directly beneath it you'll find the Artefact, which is named Evacuation Leaflet.
Follow the street forwards. Along the way you'll hear an ominous scream off into the distance, but don't let it deter you. Before you clamber up the soggy hill, head inside the 18-wheeler on your left and grab the Weapon Parts inside. Then go up the aforementioned hill and look over the edge. There's no way down so you're going to have to go around. Take the only path available to you around to The Goldstone Building.
Firefly Pendant #1: Lenz's Firefly Pendant
Before you head inside The Goldstone Building, just look at the trees directly after the building's sign. There's a Firefly Pendant named Lenz's Firefly Pendant hanging from a branch. Use a nearby brick to conserve ammo and toss it at the pendant to knock it down. Then pick it up.
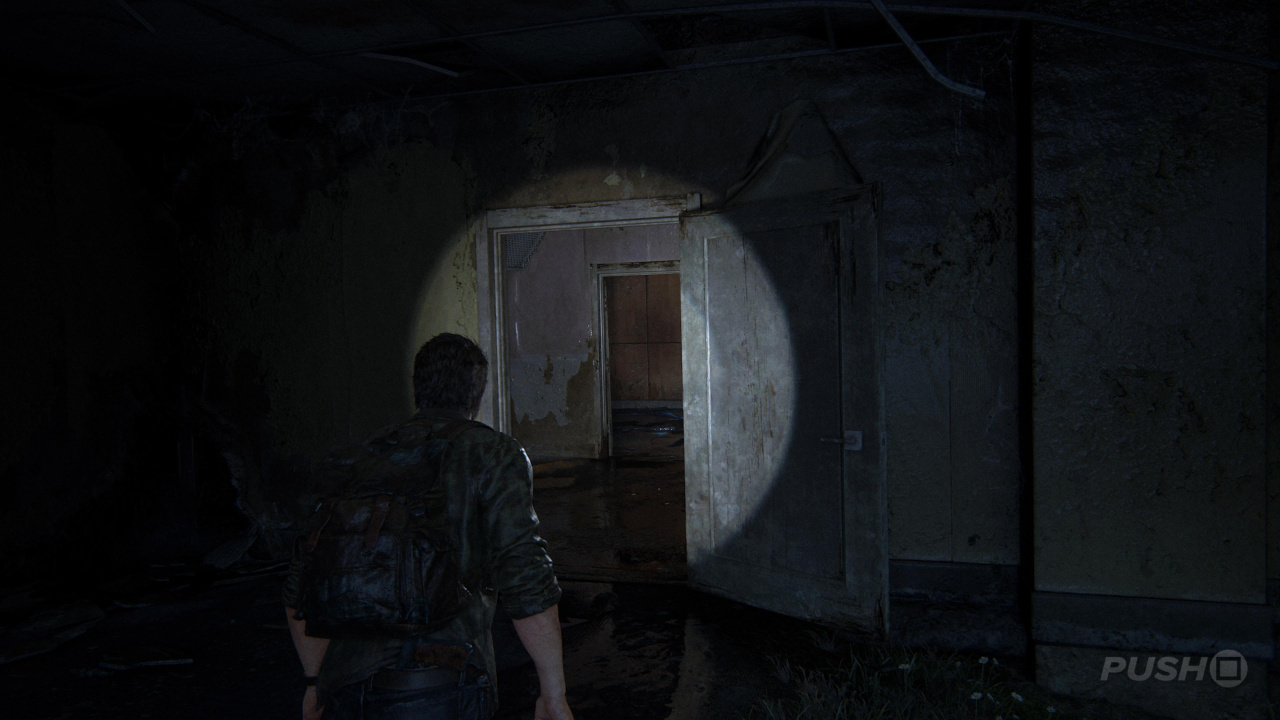
Finally, you can go inside. There's a closed door on the left, which you can open and head inside for some resources. Once you're done, take the open door on the right.
Optional Conversation #1
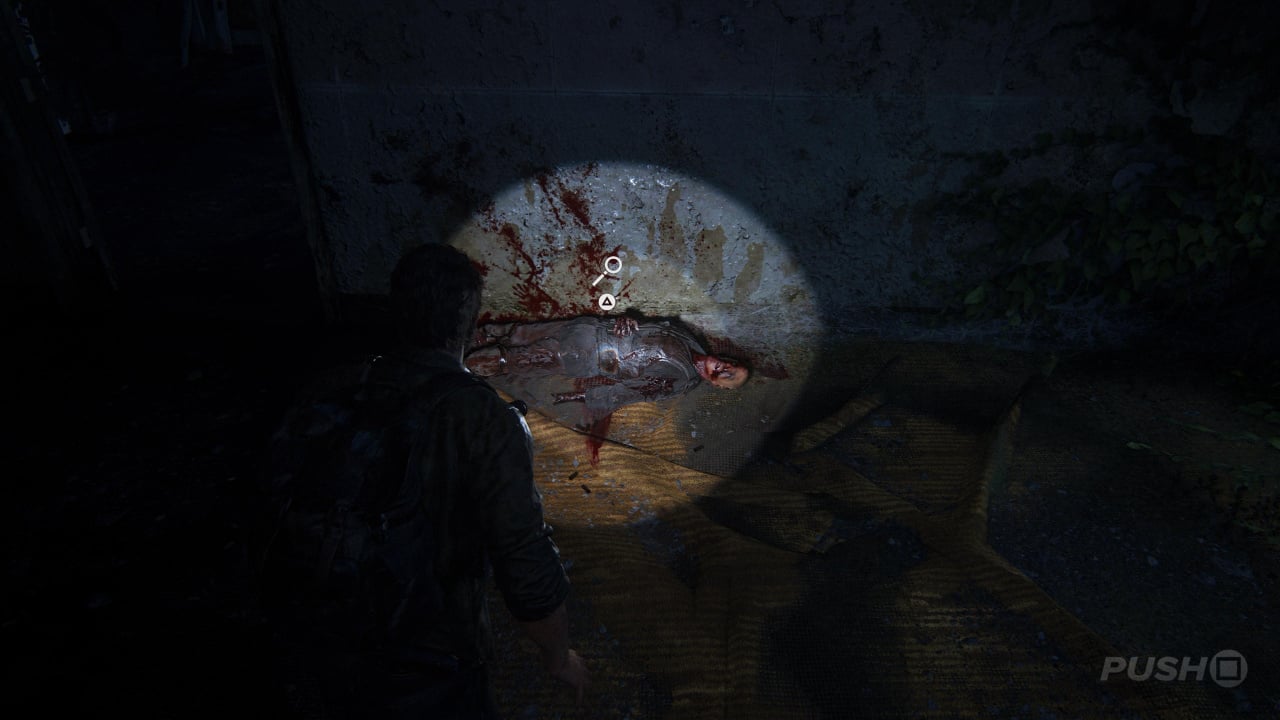
As you come in through this door, there's a dead body on the floor immediately on the other side of the doorway. Interact with it for an Optional Conversation.
Directly opposite the doorway you've just come through is another door you can open. Head inside the room to grab some weapon supplies from the long table ahead. Then go up the stairs.
Artefact #2: Field Ops Log
As you go up the stairs, you'll happen across another corpse slumped against the wall. Next to him is an Artefact named Field Ops Log.
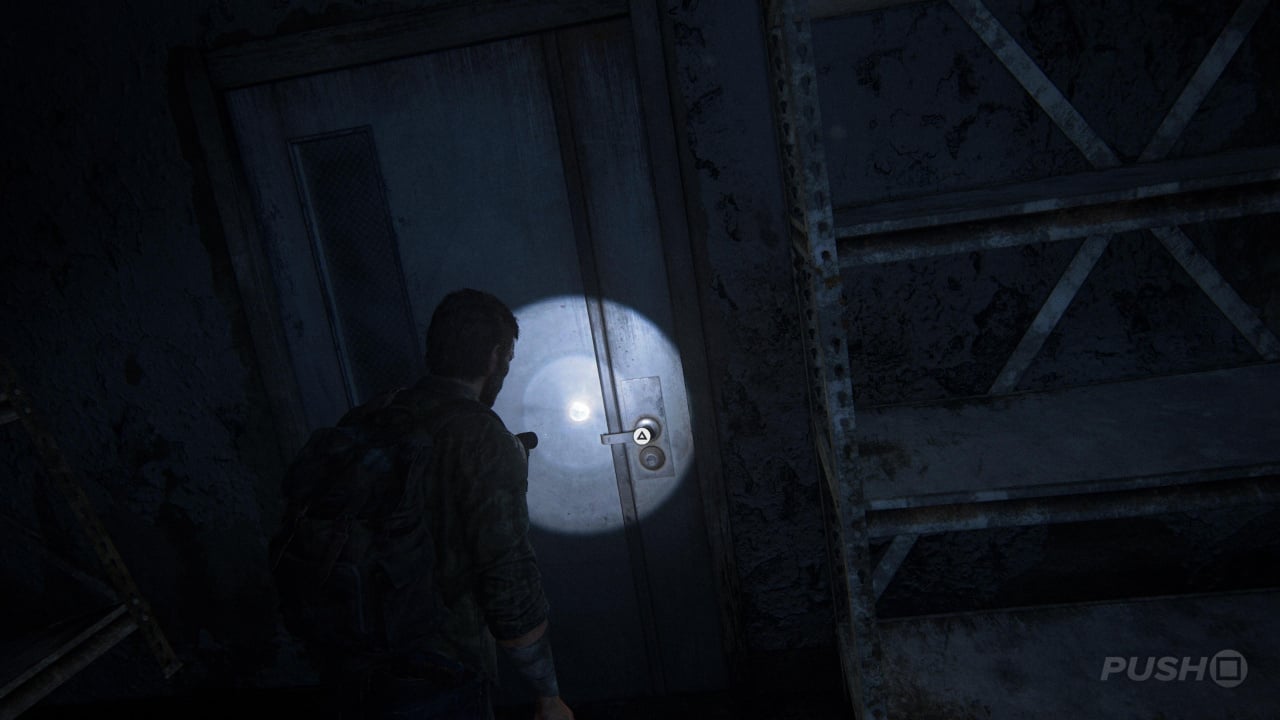
Keep going up the stairs. If you carry on to Level 6 at the top, you'll be able to get some additional supplies on the lower difficulty levels. Otherwise, get off at Level 5 and interact with the Clicker. Move it away from the doorway and then bust through into the next room.
Forge forward, remembering to collect supplies along the way. You'll end up in an area with office cubicles. Open the door to the right and you'll be ambushed by a Clicker. Tap the square button to escape its clutches.
Shiv Door #1
Immediately after you are confronted by the Clicker, head into the room on the right, and through the doorway. Directly opposite is a locked Shiv Door, so open it and loot the items inside.
Go back to the corridor where you were previously confronted by the Clicker, and take the exit on the left at the far end of the corridor. Boost Tess up and wait for her to haul you and Ellie over the edge. Then you'll find yourself in another room with another Clicker. This time use the bottles scattered across the floor to distract its attention, and make your way around the perimeter of the room to some scaffolding, which you can climb to escape.
Hop over the staircase, and then pull the drawers towards you to create an opening. Climb over and head outside of the building onto the window washing carts. Then make your way around the perimeter of the building and back inside, through an open doorway.
Weapon: Revolver
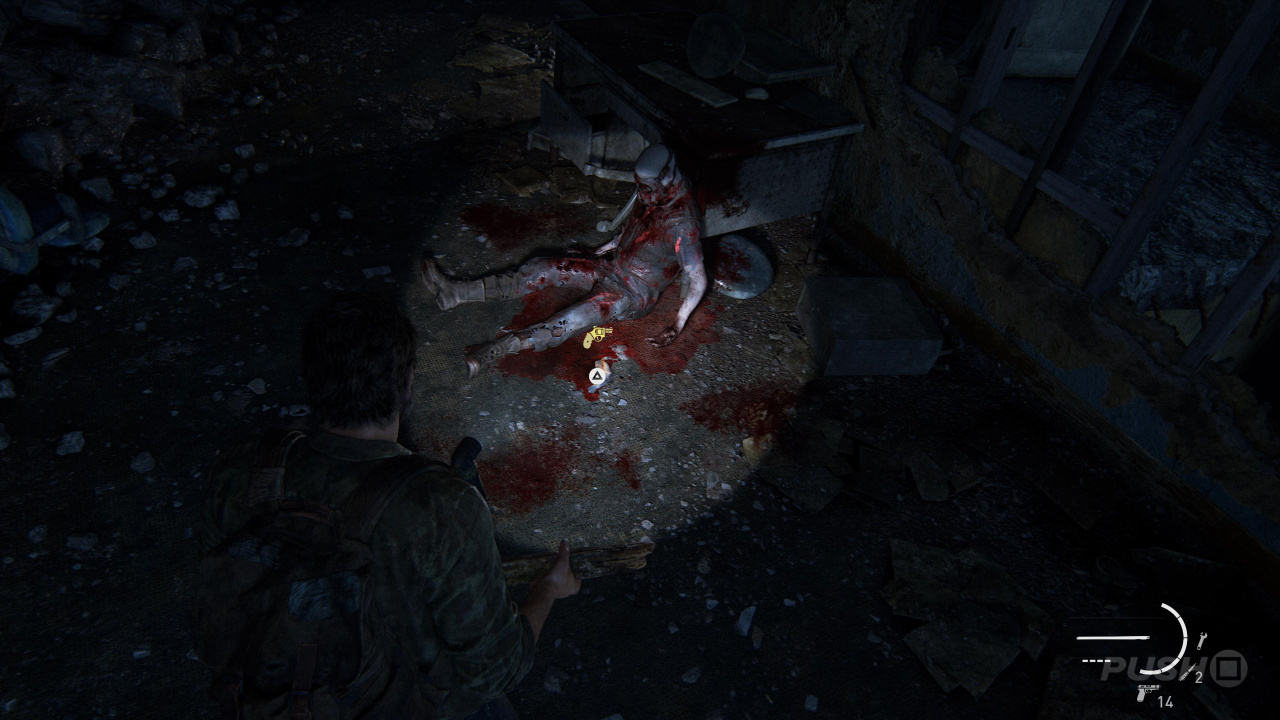
Immediately on the other side of the door is a corpse with a new Weapon named the Revolver.
Drop down the hole and immediately crouch. There are a ton of Runners and Clickers in this area, but if you approach carefully you can stealth kill them all. Take the first Runner immediately in front of you, and then the second on the left. Use a Shiv to kill the Clicker, and finally take the remaining two Runner in the end room. Once you're done, Joel will signal to Ellie and Tess that they can follow him down now.
Take the ramp up in the end room and interact with the big metal drawers. Drag them out of the way so that Tess and Ellie can make it into the next room, and they'll help you get a way through. You're now going to want to get left and down; basically follow the route until you reach a big sign that says Oliver on it. Remember to loot any supplies you discover along the way.
Keep working your way down until you end up in the subway. Directly ahead of you is a corpse with a discarded Molotov cocktail, which you're naturally going to want to grab.
Artefact #3: Firefly Map
Directly ahead of where you found the Molotov are some stairs. Climb them to find a corpse, with an Artefact named Firefly Map next to it.

Make your way round the corner and into the room with all the Clickers. Remember you can use bricks and bottles to divert their attention, and also Shivs for an instant kill. Head to left first of all, and dispatch of the Runner outside the store. Then go behind the counter and open the drawer.
Artefact #4: Note to Derek
In the area with all the Clickers, shortly after the subway, on the left is a medicine shop. Inside the drawer of the medicine shop, you'll find some ammunition and an Artefact named Note to Derek.
Safe #1
On the opposite side of where you found Note to Derek, there's another shop named Round Note. There's a Runner in here, so just be careful to dispatch it. Once you're done, access the Safe with the combination code 03-43-78. You can find more information on how to open the Safe in Downtown through the link.
Go through the waiting room and back to the subway on the other side. Kill the Clicker waiting for you, then boost Tess up to grab the ladder and climb your way out, as you move on towards the Museum.
Did our Downtown walkthrough for The Last of Us 1 help? Did you find all Artefacts, Firefly Pendants, Shiv Doors, Safes, and Optional Conversations? Check out our The Last of Us 1 guide for much more information on the game, including all collectibles.


Comments 0
Wow, no comments yet... why not be the first?
Leave A Comment
Hold on there, you need to login to post a comment...