Do you need a Lost walkthrough for The Callisto Protocol? Lost is the fifth chapter in the game and sees Jacob reluctantly teaming up with Dani. As part of our The Callisto Protocol guide, we're going to share a Lost walkthrough that helps you through every part of the level, including puzzles and combat. There are 4 Implant Bios and 4 Audio Logs in this chapter.
Subscribe to Push Square on YouTube168k
The Callisto Protocol: Lost Walkthrough
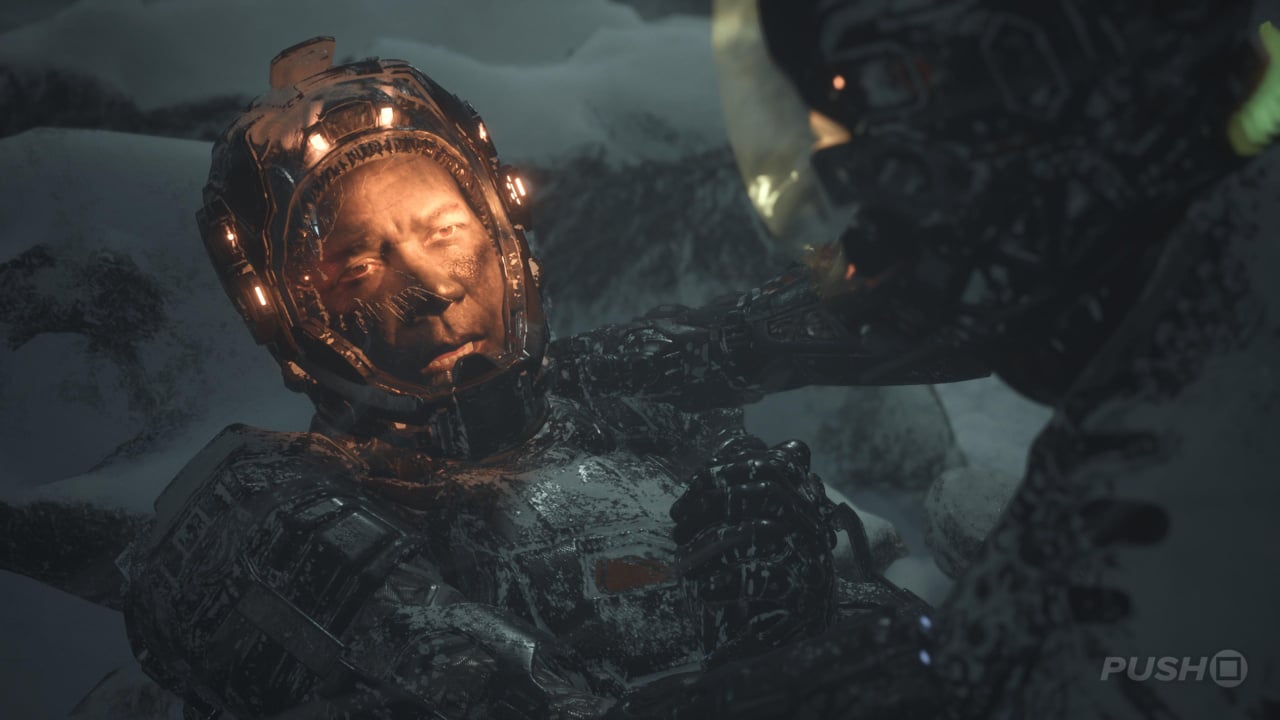
Picking up where Habitat left off, you're now outdoors in a snowstorm. There's no obvious destination ahead of you, so just walk ahead. You'll encounter an enemy along the way, then cross a rocky bridge with lights to guide your way forward. Then drop down into a new area, shimmy between the rocks, and approach the body on the floor. Elias dies in the following cutscene, so now you really are on your own.
When you regain control, push forward into the outpost in front of you. Interact with the panel on the left to open the gates, but before entering the building on your right, follow the path forward to the end to find Audio Log #1: Terraforming and some Hand Cannon Ammo. In the room to the right of it is an Energy Convertor.
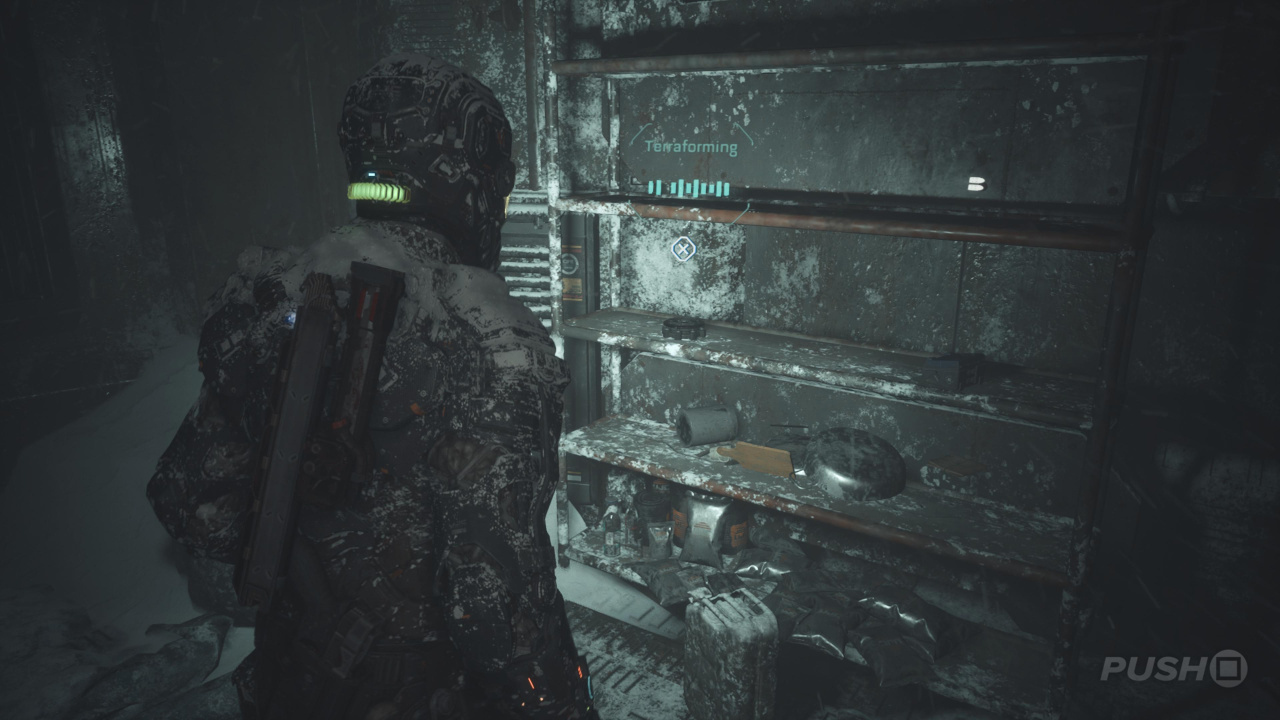
Audio Log #1: Terraforming
When you open the gates at the outpost, follow the path all the way to the end instead of going into the building on your right. Inside a room in the back is Audio Log #1: Terraforming.
With those supplies picked up, enter the building labelled Surface Exploration. You'll find a Reforge station in the room on your immediate right, then the path through the facility is fairly linear. On the level below there's a Health Injector to take off the wall, but beware two of the seemingly frozen enemies in that room are actually alive and will attack you.
When you're back outside, make your way up the path to the bridge. Along the way, enemies will pop out of the snow on the ground one by one. Once you've crossed the bridge — the main part of which is shimmying along the right-hand side and avoiding the gaps in the floor — kill the enemy that jumps out at you and then interact with the panel to open the gates blocking your path.
In this next area, you'll need to help a worker who has become trapped. First, though, there are a number of enemies to kill and we recommend using your GRP to throw the red explosives all about the place at them to make for some easy kills. Once they're dead, another enemy will open up a door on the right-hand side allowing you to progress. In here is a Health Injector and Implant Bio #1: Richard Cids. Now you have access, go through another newly-opened door on the left-hand side of the area.
Implant Bio #1: Richard Cids
In the area where you're told to help a trapped worker, an enemy will open a door on the right-hand side. In here will be Implant Bio #1: Richard Cids on the floor.
The path through the tunnels is completely linear, so soak up the atmosphere and deal with any enemies you encounter along the way. You will come across a new enemy type whilst down there, but they can be killed with just one bullet. Eventually, you'll climb a small ladder and briefly return to the open air to cross over into another building through Garage Airlock N107.
Audio Log #2: Combusters
When you enter the tunnels having crawled under debris, you'll reach a fork in the road that either takes you left or right. Take the left-hand path and at the end will be Audio Log #2: Combusters.
In the next room, you'll fall into a combat arena with multiple enemies to kill. Follow the usual strategy of using the GRP for easy kills and then finishing any left with guns and melee attacks. Once the encounter is over, head upstairs and talk to your new friend, who will kindly give you the TK4 Riot Shotgun. Continue upstairs, where you'll find some Health Gel, Hand Cannon Ammo, and Riot Gun Ammo along with Implant Bio #2: Lt. Devon Wayne. Use his credentials on the console in this same room.
Implant Bio #2: Lt. Devon Wayne
Once you've been given the TK4 Riot Shotgun as part of the main story, go upstairs to the next room and Implant Bio #2: Lt. Devon Wayne can be found on the floor.
This opens the Workshop N212 door to your left, which has Hand Cannon Ammo and a Reforge station just behind it. Continue to your left down the staircase where an airlock will depressurize to let you back outside. In the next building, call the lift and then beat the enemy inside. On the floor above is a crawlspace with a locked door on the other side, which is our next objective. In the area with the caged enemy, climb onto the crate and through to grab the Gate Fuse, then return to the locked door to open it. As well as Health Gel and Hand Cannon Ammo to pick up, you can interact with the console here. Return to the crate and exit the room to your left.
You'll now be in the Power Station. Begin by interacting with Implant Bio #3: Ofc. Aaron Taycho in the turbine. Doing so immediately spawns a load of enemies, so throw them into the environmental hazards around you and finish any stragglers with your Stun Baton.
Implant Bio #3: Ofc. Aaron Taycho
Once you reach the Power Station, head on over to the turbine with Implant Bio #3: Ofc. Aaron Taycho stuck inside.
Go upstairs and interact with the console in the control room. There's a Reforge station in here for any upgrades, then exit out the Courtyard Access S502 door. Go outside and you'll encounter a load of dead bodies. However, some of them still have a bit of life left and will surprise you as you run along. Once they're sent to the grave too, run over to Dani to trigger a cutscene.
When you regain control, follow Dani into the wreckage of your old ship. As you enter, you'll unlock the Crash Site Trophy. There's an Energy Convertor and Health Gel to find in the mess hall as well as Audio Log #3: Max's Concern.
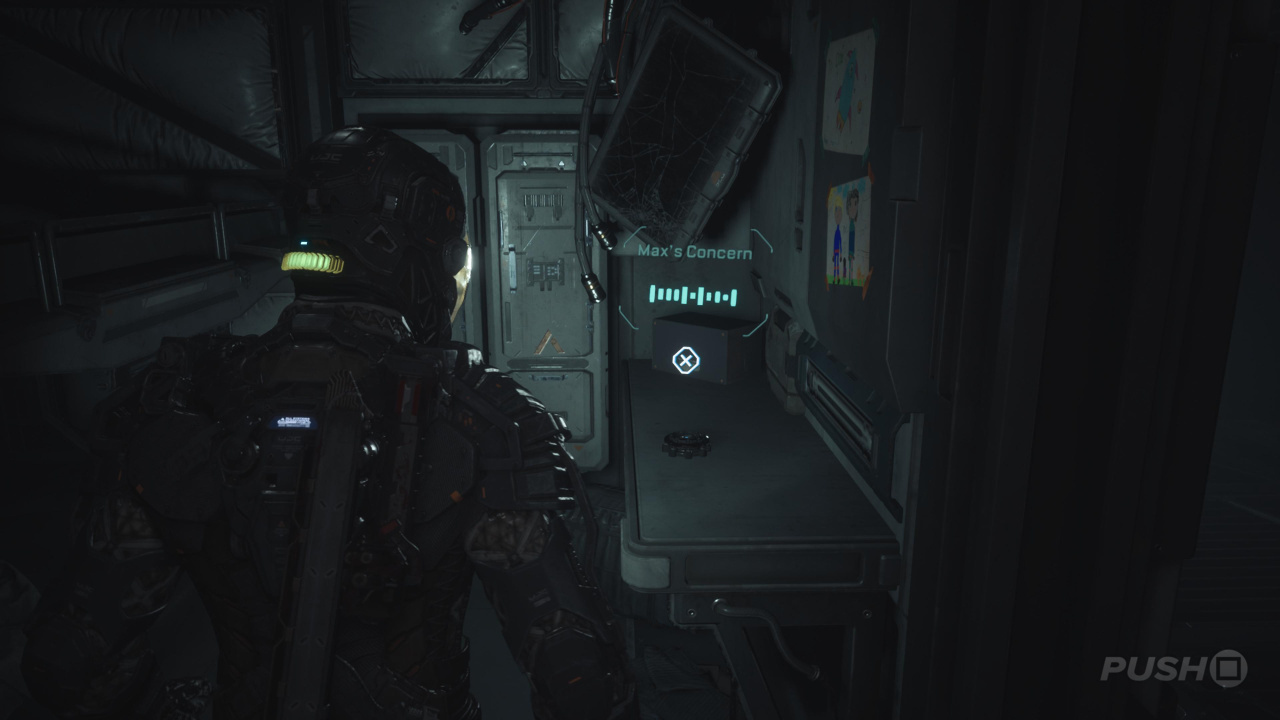
Audio Log #3: Max's Concern
When you return to the wreckage of your old ship with Dani, Audio Log #3: Max's Concern will be in the second room on your left in the mess hall.
Drop down into the cargo hold, then turn back on yourself to find Dani trying to open some cargo. When you regain control after the cutscene, enter the building and grab the Decoder off a table on your left, and then enter the vehicle on your right to take Implant Bio #4: Sgt. Scott Dvinty. Continue to follow Dani afterwards. In the second hangar after walking through the control room, you'll also find Audio Log #4: Shipments.
Implant Bio #4: Sgt. Scott Dvinty
After paying a visit to your old ship, you'll regain control of Jacob in front of a new structure. Shimmy inside, and then on the right-hand side of the hangar, search the vehicle to find Implant Bio #4: Sgt. Scott Dvinty.
Audio Log #4: Shipments
Very shortly after acquiring Implant Bio #4: Sgt. Scott Dvinty, you'll walk through an airlock, then a control room, and finally find yourself in a second hangar area. In here is Audio Log #4: Shipments.

Once the elevator arrives in the hangar, interact with the panel to take it back up. When you reach the top, you'll unlock the In the Pipe, Five by Five Trophy. A cutscene will see the ship you've been seeking destroyed, then you'll have control of Jacob as he falls through the sky in the aftermath. Complete the quick time event to grab on to a railing and the chapter will be complete.
The Callisto Protocol: Lost Objectives
- Find Elias
- Find Shelter in the Outpost
- Keep Moving to the Hangar
- Try to Help the Trapped Worker
- Find a Way Through the Tunnels
- Enter the Tunnels to the Garage
- Reach Control Room
- Find the Keycode
- Unlock the Security Room with a Code
- Unlock Security Gate
- Explore the Power Station
- Enter the Power Control Room
- Use Code to Open the Gate
- Find Dani in the Courtyard
- Follow Dani
- Find Dani
- Follow Dani
Was our Lost Walkthrough for The Callisto Protocol helpful? Refer to our The Callisto Protocol guide for much more information, and share any further tips in the comments below.


Comments 0
Wow, no comments yet... why not be the first?
Leave A Comment
Hold on there, you need to login to post a comment...