Do you need a Habitat walkthrough for The Callisto Protocol? Habitat is the fourth chapter in the game and sees Jacob trying to escape the prison. As part of our The Callisto Protocol guide, we're going to share a Habitat walkthrough that helps you through every part of the level, including puzzles and combat. There are 3 Implant Bios and 4 Audio Logs in this chapter.
Subscribe to Push Square on YouTube168k
The Callisto Protocol: Habitat Walkthrough
The Habitat chapter picks up immediately where Aftermath left off, at the bottom of the ladder you've just scaled. Manourvere below and around all the pipework to begin, then take the ladder down the floor below. Take the Health Injector off the wall if needs be, and use the Reforge station opposite if you've got enough Callisto Credits for upgrades. Head down the flight of steps in the centre of the room when you're ready, then down another ladder.
A hologram will give you your objective at the bottom: follow the red pipe. To begin, grab the crate next to the Water Processing door, and move to your right to access a chest on the platform above. Inside you'll find Callisto Credits and an Energy Convertor. Hop back down and move the crate next to the central column to find a Pristine Energy Convertor. Now crawl through the vent that the movable crate was originally covering.
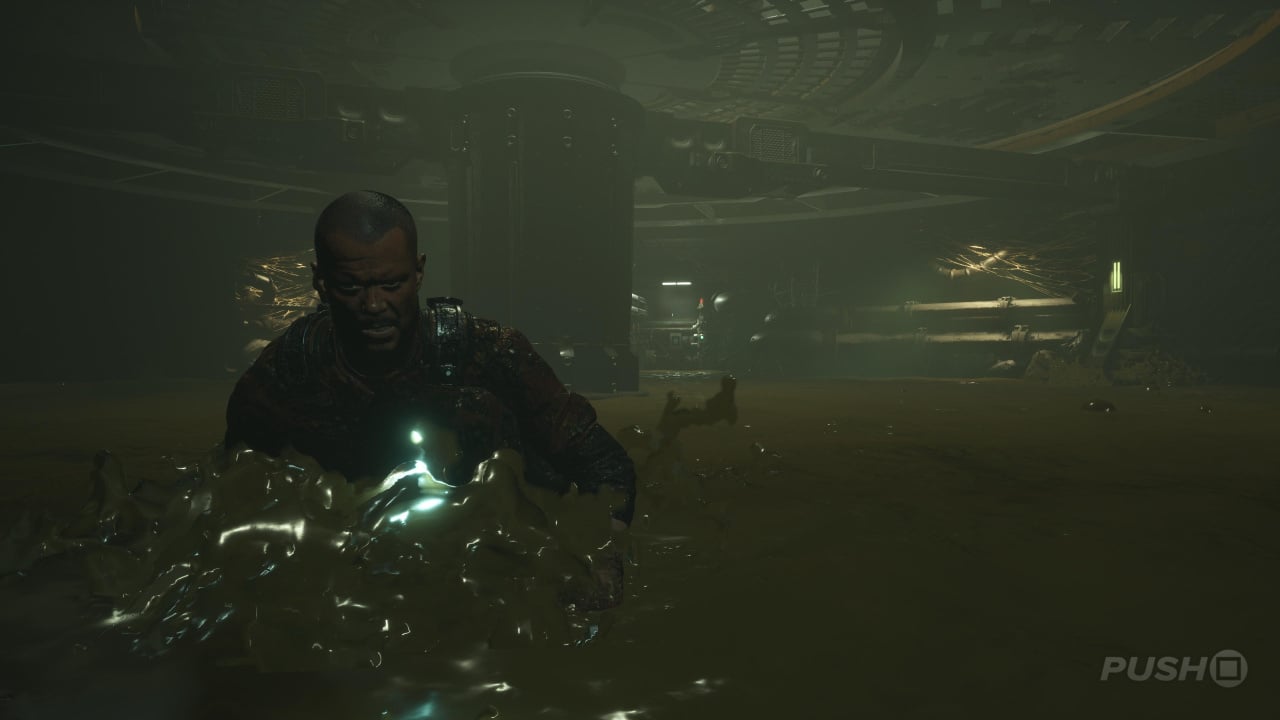
You'll fall into a pool of what looks to be sewage, and there's an enemy hiding beneath the surface. Kill it, then use a valve to open a vent just up ahead. Crawl through, duck under the pipes, and at the end, a brand new enemy type will briefly be revealed. Shortly after, you'll be in an area with the Purification B H207 door on your left, but first head to the right, killing the enemy you find, and then climbing the two ladders to grab some Hand Cannon Ammo. Then drop back down, and climb up the platform near the aforementioned door for a chest with Callisto Credits inside. Up here you'll also find Audio Log #1: Corruptors.
Audio Log #1: Corruptors
When you spot the Purification B H207 door, climb up on top of the crate nearby and Audio Log #1: Corruptors will be in this area.
Return to the floor below and crawl through the vent.
In the next room, first scout out your surroundings by taking Health Gel and Skunk Gun Ammo from the two lockers, then grab the two blue Gate Fuses from the crates in the middle of the area. These must be placed in the consoles in corners of the room opposite from each other, but beware of the enemy that appears while you're completing this task. Once everything is powered up, you can head into Access Hall H271. Before you go through, though, grab Implant Bio #1: Ofc. Bruno Vorenus off the body next to the door.
Implant Bio #1: Ofc. Bruno Vorenus
In the room where you need to pick up two Gate Fuses and place them in consoles on opposite sides, Implant Bio #1: Ofc. Bruno Vorenus will be right next to the Access Hall H271 door.
In the next area, duck under the piping but don't go down the ladder just yet. Instead, take a left and use the GRP to pull the mesh off the vent. Climb all the way through and you'll end up in a supply room containing Health Gel and a chest with a GRP Battery Pack, Skunk Gun Ammo, and a Pristine Energy Convertor inside. Exit out the door here and you'll be back where you originally came from, allowing you to easily go down the ladder. There are some Callisto Credits and Skunk Gun Ammo hidden within the pipes on the left-hand side of the next area, but first, turn the valve in the back. This lets you use the vent just to the right to progress.
In the next room, you'll find a Reforge station and another valve to turn. A load of little critters will appear once you turn it, so kill them all at once with a BI-55 Pistol shot. Now exit the room and use the vent you've just unlocked. It will lead you to a new room with three enemies inside after some ducking and climbing.
In this general area, you'll find a chest containing Callisto Credits, a GRP Battery Pack, Skunk Gun Ammo, and an Energy Convertor. Just above it, you can pull down a box with a Health Injector inside. Just be warned three enemies will spawn behind you as soon as you open the chest. Once they're dead, head to the middle of the area and climb a ladder in the back, picking up more Skunk Gun Ammo as you go. Take the Gate Fuse from the console, kill the two enemies that appear when you get back down, then place the Gate Fuse in the other console next to Access Hall H206.
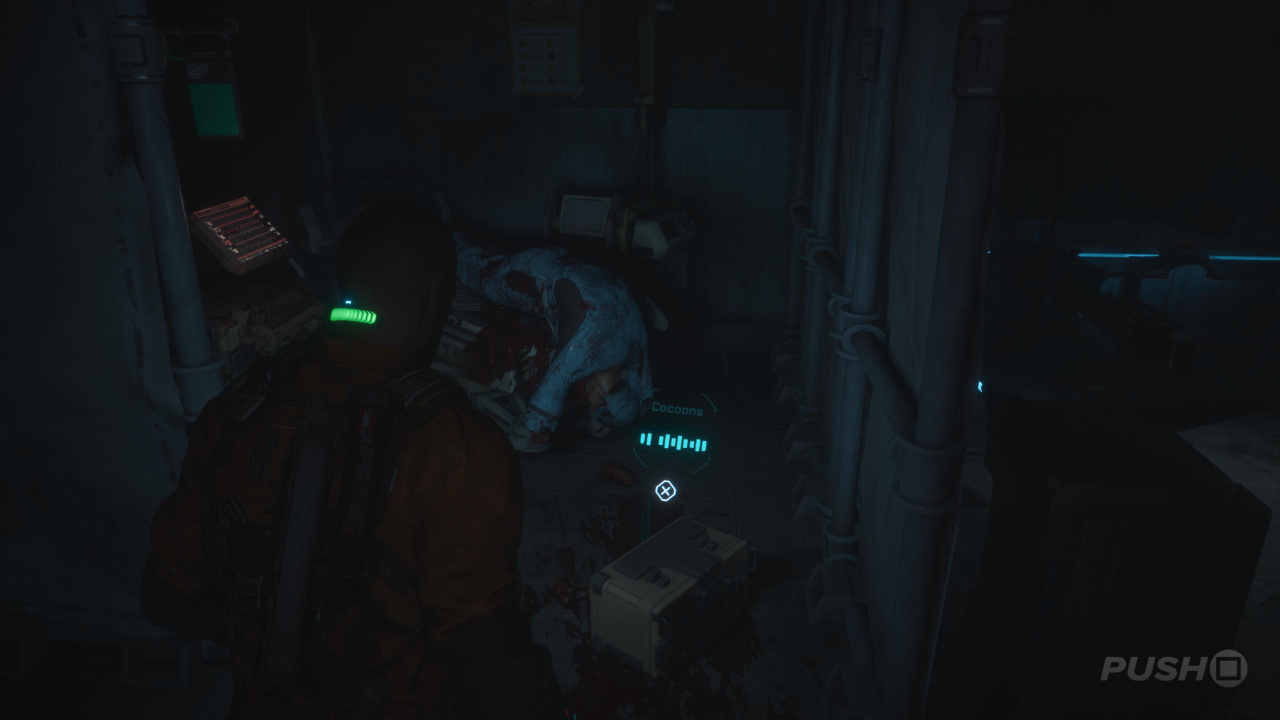
Before going through the Water Control H262 door, carry on along the corridor to find a panel you can interact with and access a storage room. Switch the Gate Fuse from the console it's in to the other one, then grab Skunk Gun Ammo, Callisto Credits, and Hand Cannon Ammo from the lockers inside. There's then more ammunition, Callisto Credits, and a GRP Battery Pack in the room up ahead, along with a chest containing ammo and a Pristine Energy Convertor. You'll also find Audio Log #2: Cocoons in the same room.
Audio Log #2: Cocoons
Once you reach the Water Control H262 door, don't enter and instead carry on along the corridor to find some storage rooms after switching a Gate Fuse. In a corner of the room, you'll find Audio Log #2: Cocoons on the floor.
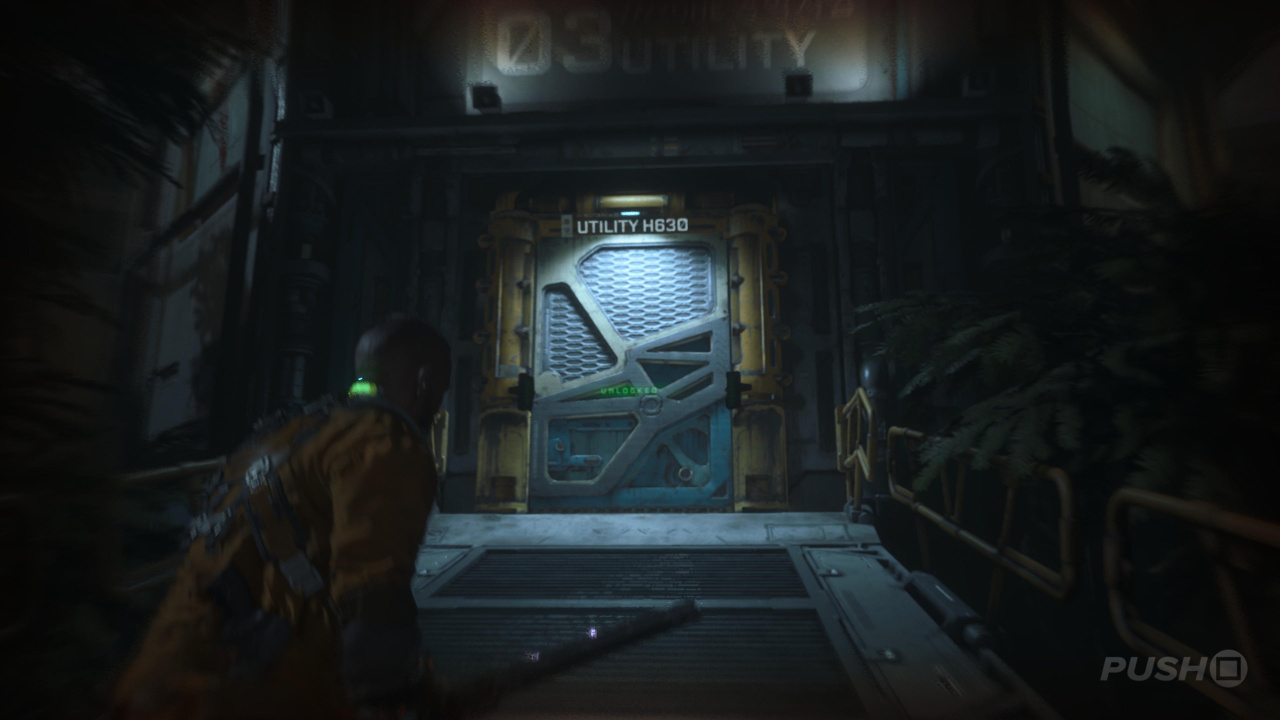
With all those items gathered, up double back to the Water Control H262 door and enter. Approach the console in the centre with the hologram to be given a new objective of finding a code on a guard - there's also ammo to find throughout the area. Head into Maintenance Hall F263 and then through the unlocked door next to the dirty Maintenance F4 sign. In here you'll find a Reforge station and lots of supplies.
Once you're ready, continue and shimmy through the gap in the lockers. An enemy will ambush you in the next room, which teaches you to shoot tentacles if you spot them growing out of a monster. Once it's dead, the body in the back gives you Implant Bio #2: Ofc. James Reese. This is also the code you need for the objective, so return to Water Control H262 and interact with the console.
Implant Bio #2: Ofc. James Reese
You'll get this one as part of the main story. When trying to get a code from a guard, Implant Bio #2: Ofc. James Reese can be taken off the body in the room where you're introduced to tentacles growing out of enemies.
After the cutscene, you must face off against the new enemy type that was teased earlier. It can briefly turn invisible, so we recommend using guns against it rather than melee weapons. Once you've killed three of them, the process will be complete and you can interact with a panel at the back of the room. Cross over, climb the ladder, and then get into the hatch. At the very bottom of the ladder, first turn around to get some Callisto Credits and Skunk Gun Ammo. Now follow the tunnel the other way.
Water will suddenly flood the tunnel, and it's taking you with it. You have control here, so avoid the obstacles in your path and then complete the quick time events once enemies appear. You'll eventually shoot out of the tunnel and grab onto a chain, so climb up it to safety. When you regain control, you'll unlock the Without a Paddle Trophy.
Climb out of the water, taking the Health Injector off the wall and then the Skunk Gun Ammo from the locker. Three or four enemies will appear in the long corridor up ahead, so dispose of them. Ahead you can interact with a panel next to the Maintenance F815 door to get some supplies and Callisto Credits. Once you've gathered everything — there's a chest if you search hard enough — return to the other door and enter. Go down in the lift, then extend the bridge to Oxygen Processing.
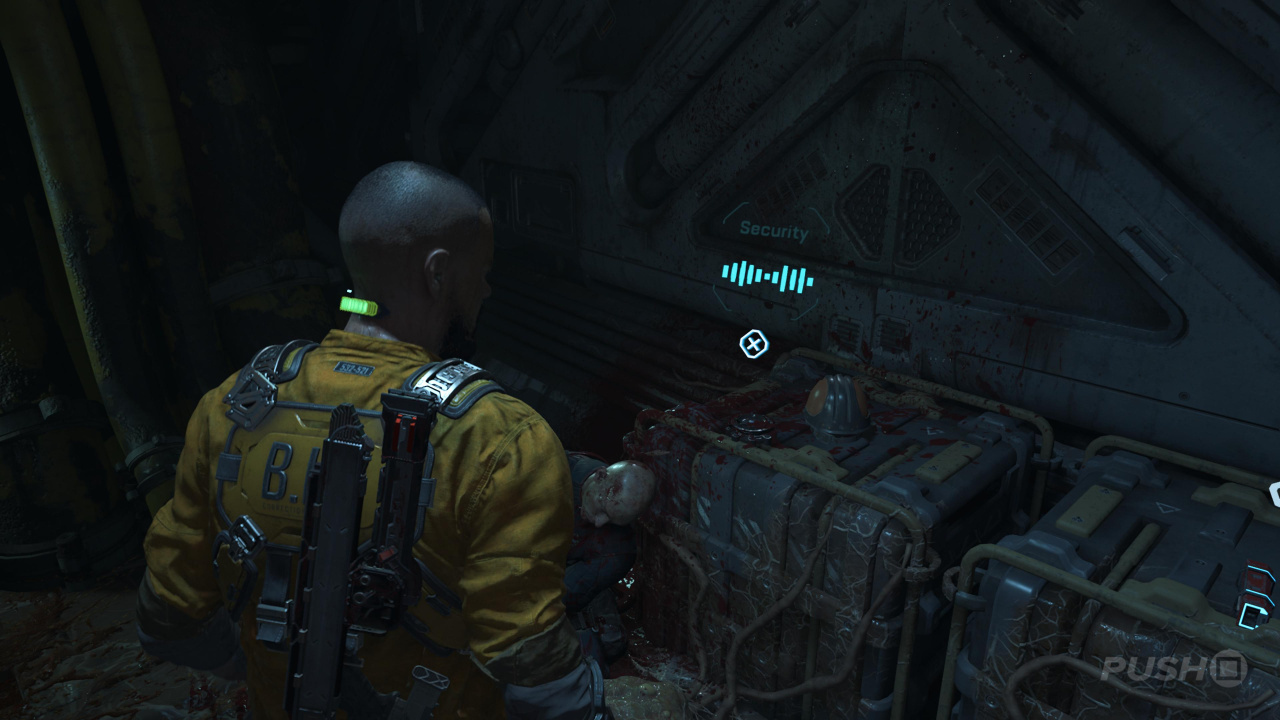
There's a security unit patrolling up ahead, so aim for its head and take it down with a couple of shots. Head through the Oxygen Processing H623 door on the back left corner of the open area. Another hologram inside will reveal the guard you need to find in order to get their credentials, but first, use the Reforge station for upgrades. Start by taking the door on your left and following the path all the way around and shimmying through a gap to find Audio Log #3: Security.
Audio Log #3: Security
When you reach the Oxygen Processing area, the only door open for you will be Oxygen Processing H623. Once inside, take the unlocked door on your left and follow it all the way around, shimmying into a closed space with a dead body. Audio Log #3: Security will be on a crate here.
There are two enemies to kill and a chest to loot on the way back to the main area, where you should enter the other door: Oxygen Processing H625. There are quite a few enemies lying in wait in this corridor, so play this section carefully. In the next corridor, there's an enemy that'll ambush you on your left and a Health Injector on the wall. Duck under the pipes ahead and kill the enemy that appears from the vent at the end of the corridor. You should head into the room on your right next; it's very hard to see properly in here but there's a Gate Fuse you can grab if you smash the windows blocking your path.
Little critters will be all over the floor after you take it, so kill them and place the Gate Fuse in the now locked door you came through. Go back into the corridor, then climb up the crate on your right and into the vent. Once you crawl out the other side, you can take Implant Bio #3: Sgt. Bill Pekelo and complete the main objective.
Implant Bio #3: Sgt. Bill Pekelo
This is acquired as part of the main story in the Oxygen Processing area. After you crawl through a vent, Implant Bio #3: Sgt. Bill Pekelo will be on the ground right in front of you.
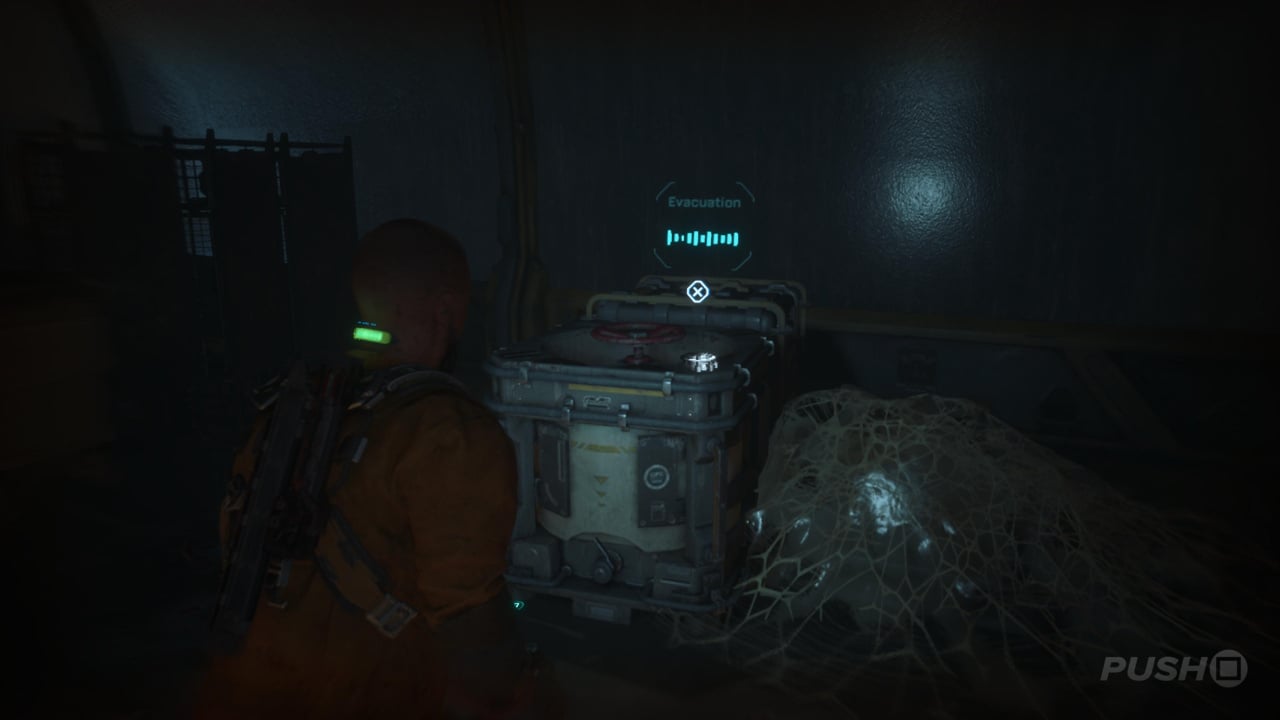
You can now interact with the Tram Security computer, opening up more of the facility. Go back outside and across to the other side of the area, taking care of the enemies on your way, and enter the only other unlocked door. Before you go down the hatch in the back right corner of this room, enter Hall H631 by destroying the panel next to it. Kill the three enemies in the back and then grab Audio Log #4: Evacuation off the crate.
Audio Log #4: Evacuation
Once you get the Tram Security computer up and running after picking up Implant Bio #3: Sgt. Bill Pekelo, you'll cross over into another building. Take the door on the left and head down to the end of the corridor to find Audio Log #4: Evacuation.
Return to the entrance and take the ladder down the hatch. To your right will be a larger arena filled with enemies and environmental hazards. Use your GRP for some easy kills, then mop up the rest. In the back-right corner of the room is your exit point, underneath a crate and a pipe. Shimmy through, then climb up the broken walkway to Elias. The next cutscene ends the chapter.
The Callisto Protocol: Habitat Objectives
- Follow the Red Pipe
- Get Code from Guard
- Drain Tank Six
- Reach the Biodome
- Reach Oxygen Control Room
- Get Code from Guard
- Reach Oxygen Control Room
- Reach the Utility Hatch
- Look for the Fallen Walkway
Was our Habitat Walkthrough for The Callisto Protocol helpful? Refer to our The Callisto Protocol guide for much more information, and share any further tips in the comments below.


Comments 0
Wow, no comments yet... why not be the first?
Leave A Comment
Hold on there, you need to login to post a comment...