Looking for an Abyss Levoire walkthrough in Stellar Blade? This page will demonstrate how to discover every collectible and resource in the second underground section of Shift Up's console debut. As part of our Stellar Blade guide, our Abyss Levoire walkthrough will detail the locations of Design Patterns, Camps, and more.
Subscribe to Push Square on YouTube168k
Where Are All Collectibles and Resources in Abyss Levoire in Stellar Blade?
Below you'll find a full Abyss Levoire walkthrough, which details the locations of all key collectibles and resources in the Stellar Blade stage.
Emergency Exit
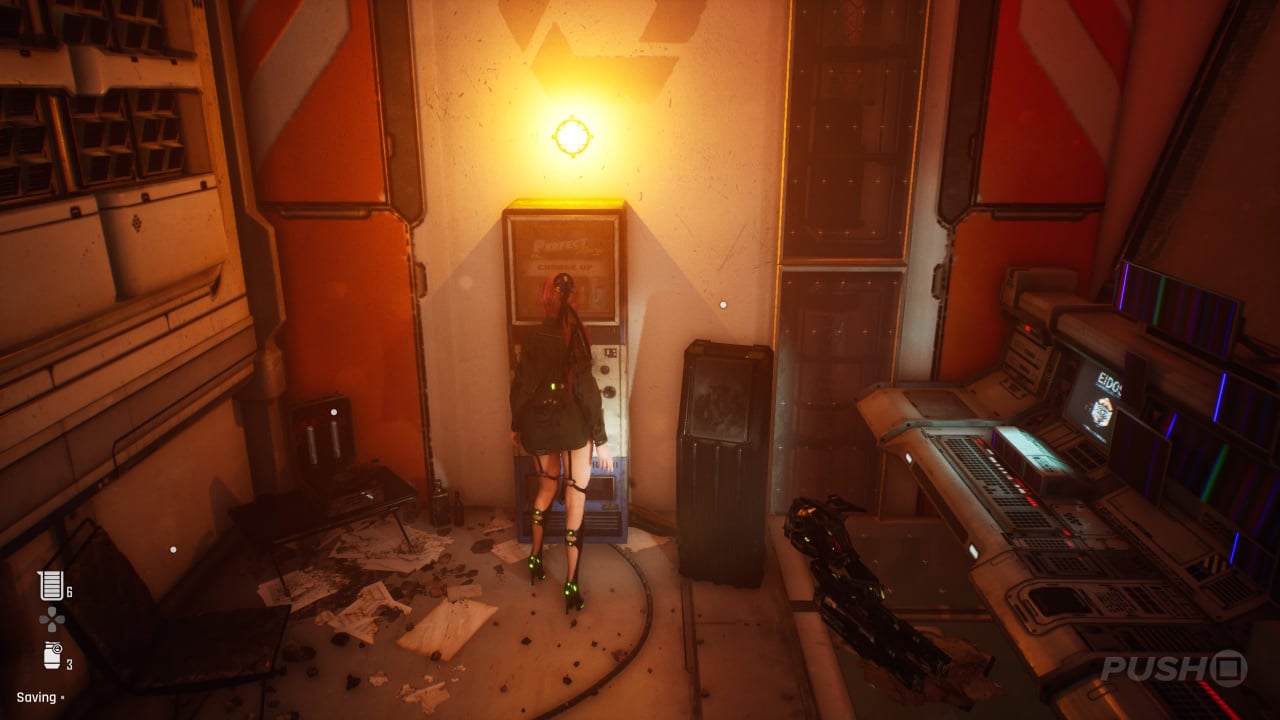
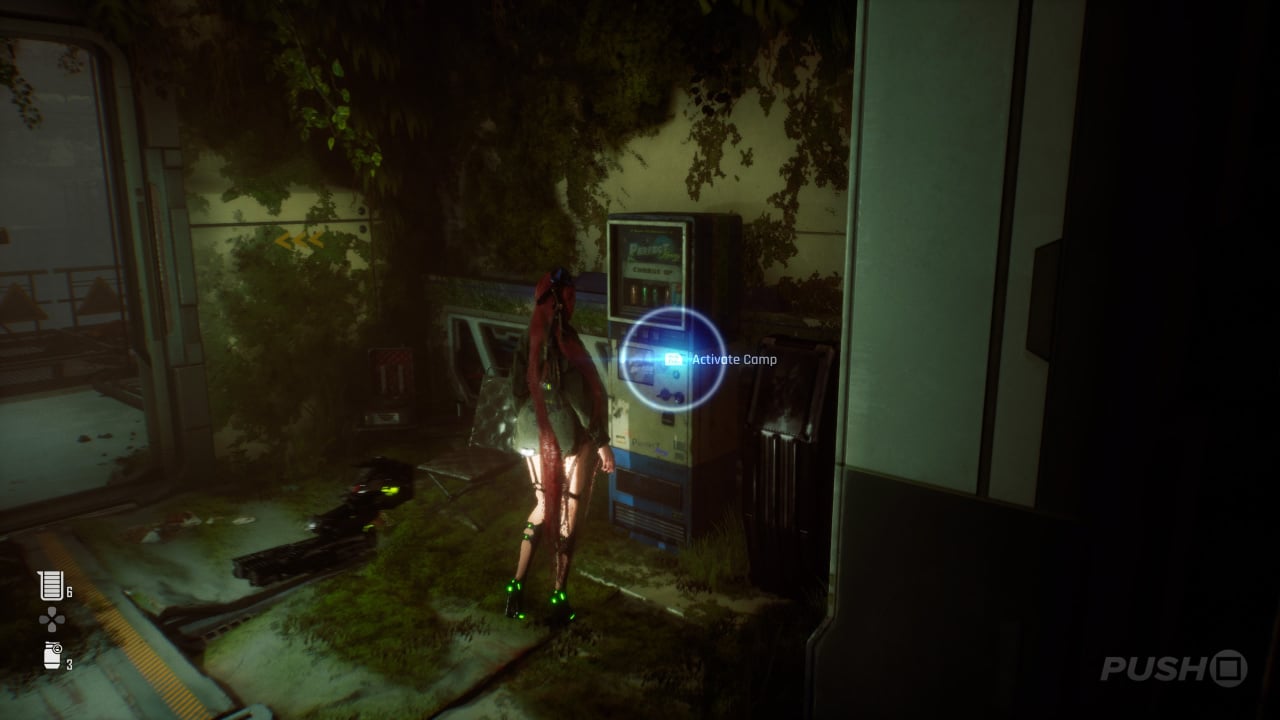
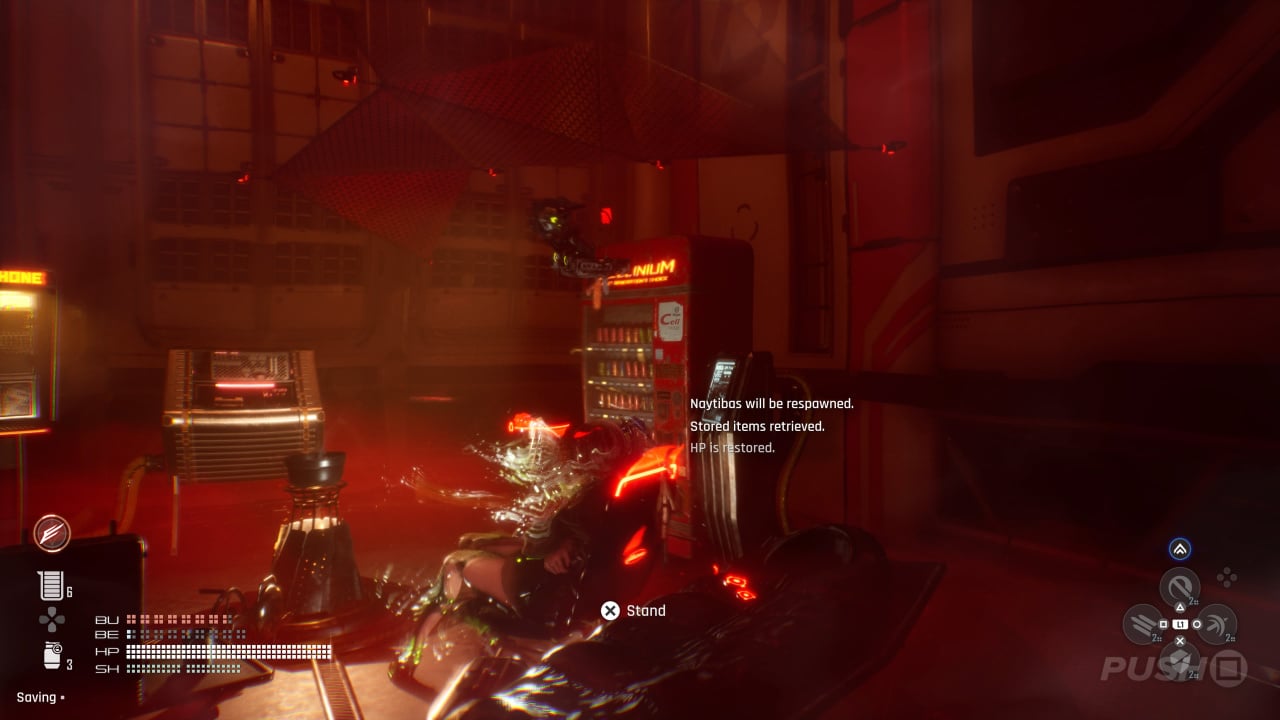
Supply Camp #1
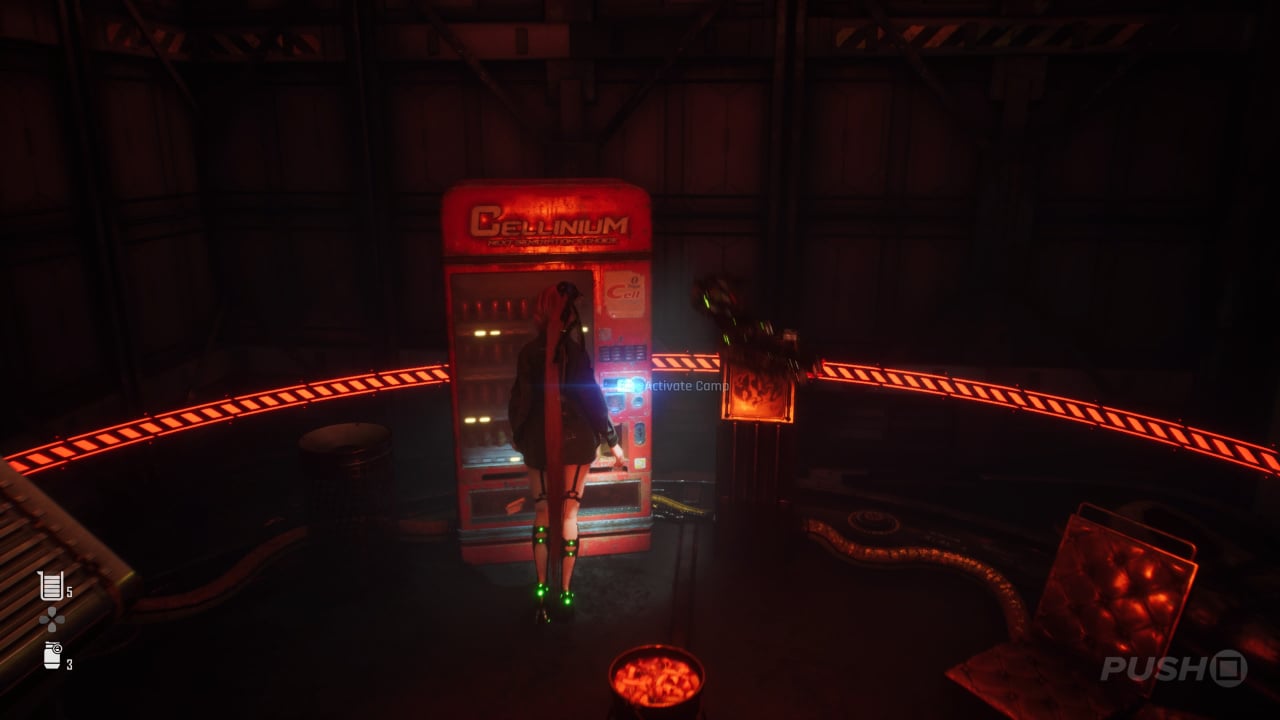
As soon as you enter Abyss Levoire, head down the stairs and you'll find the Supply Camp directly in front of you. This one is hard to miss.
Camp #1
After destroying the Hive and stopping all of the fans, there's a Camp just to your right behind where the Hive was.
Closed Lobby
Design Pattern: Planet Diving Suit (3rd)
After opening the Vent and the Gate with the computer consoles, backtrack slightly to the corridor with the locked doors and take the left path. You'll get stuck in a room with Naytibas and lasers. Kill all of the enemies and then open the box that sits on the central platform to get the Planet Diving Suit (3rd).
Capsule Cluster Room
Camp #2
Once you've successfully navigated the Capsule Cluster Room by jumping from floating platform to floating platform, you'll find a Camp just on the left in the next room, behind the door.
Camp #3
Very shortly after the previous Camp, unlock the gate by interacting with the control panel, and at the top of the stairs in the next room is another Camp, on the left.
Underground Passage
Camp #4
Eve will point out when you enter the Underground Passage that there are loads of Naytibas lurking beyond the gate. You still need to open it anyway, of course. Clear them all out and then follow the path into a room with lots of lasers. The Camp is on the left.
Camp #5
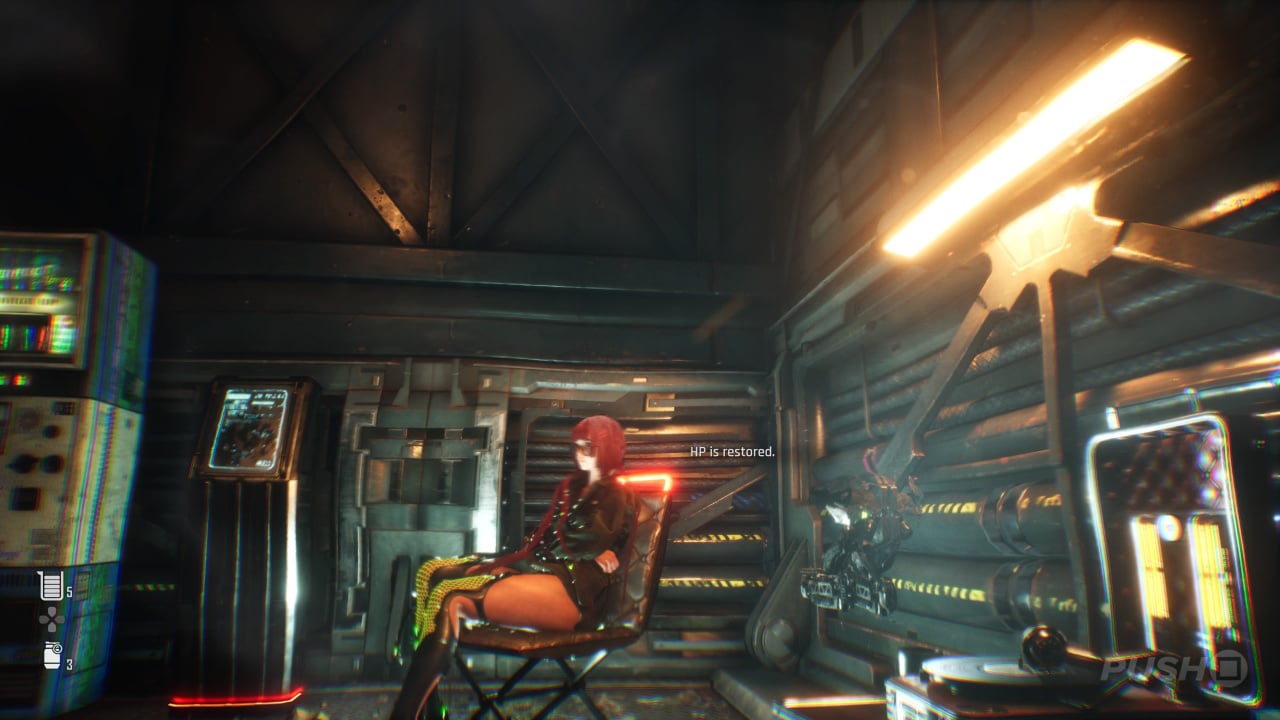
Once Adam takes back controls of the comms, after you've successfully navigated the room with lasers, you'll find a Camp just to your right.
Laboratory Ruins
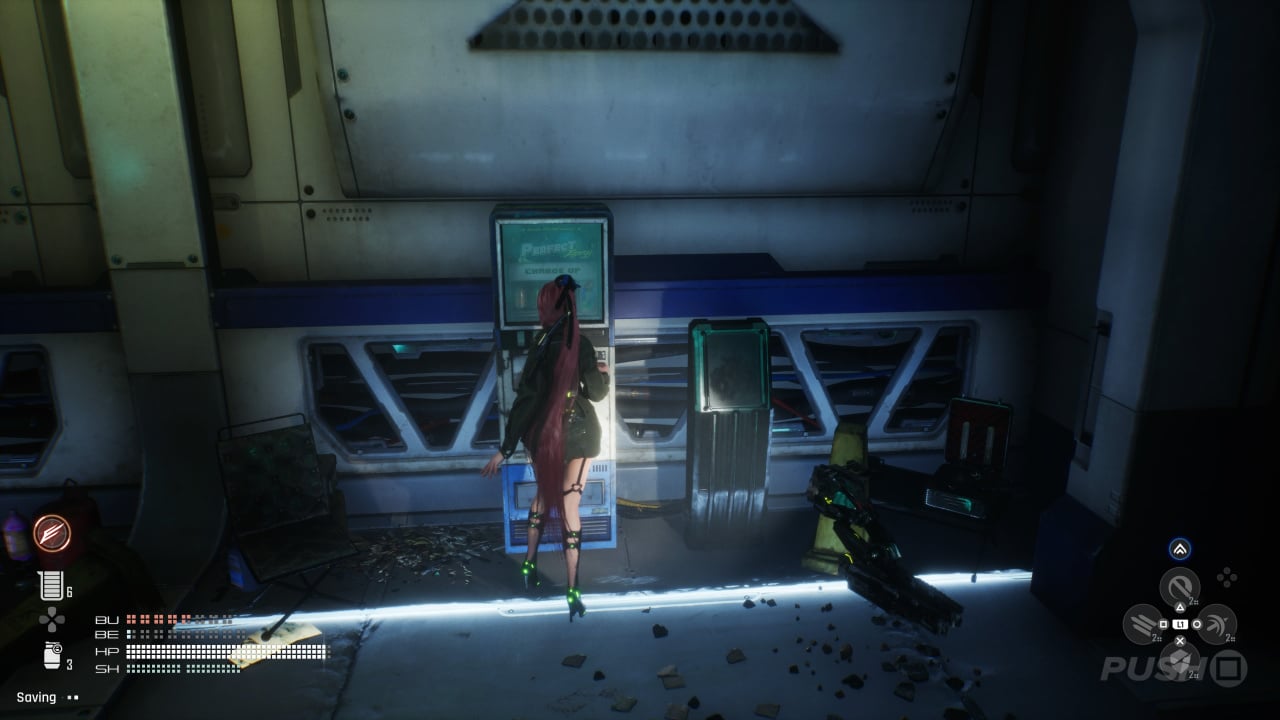
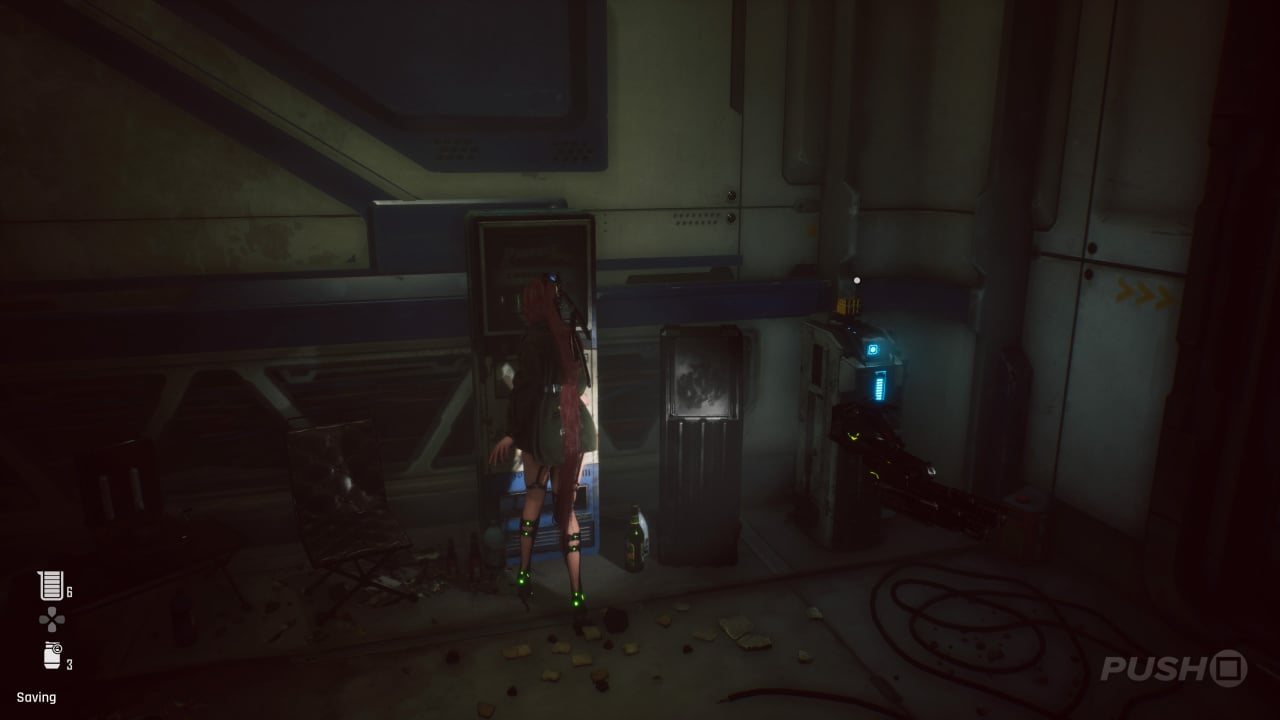
Supply Camp #2
Make your way through the Laboratory Ruins by completing all of the various platforming sequences, and once you've successfully reached the other side, Adam will encourage you to take a rest at the Supply Camp in the room to the right. It's immediately before the Heart of the Contamination.
Did you find this Abyss Levoire walkthrough in Stellar Blade helpful? Explore our Stellar Blade guide, and let us know in the comments section below.


Comments 0
Wow, no comments yet... why not be the first?
Leave A Comment
Hold on there, you need to login to post a comment...