How do you kill all the bosses in Returnal? As part of our Returnal guide, we're going to tell you how to beat every boss fight in the game. If you're looking for some tips and advice on how to defeat all the bosses, we've got all that lined up for you below. Of course, beating boss battles will earn you a few Returnal Trophies towards that Platinum you're going for. For more information about Trophies, see our guide — Returnal: All Trophies and How to Get the Platinum. Also, if you're wondering whether bosses have to be fought every time, check out this guide — Returnal: Do You Have to Fight the Bosses More Than Once?
Returnal: All Bosses and How to Beat Them
Below are some tips and strategies for fighting all the bosses in Returnal. There are five bosses in total.
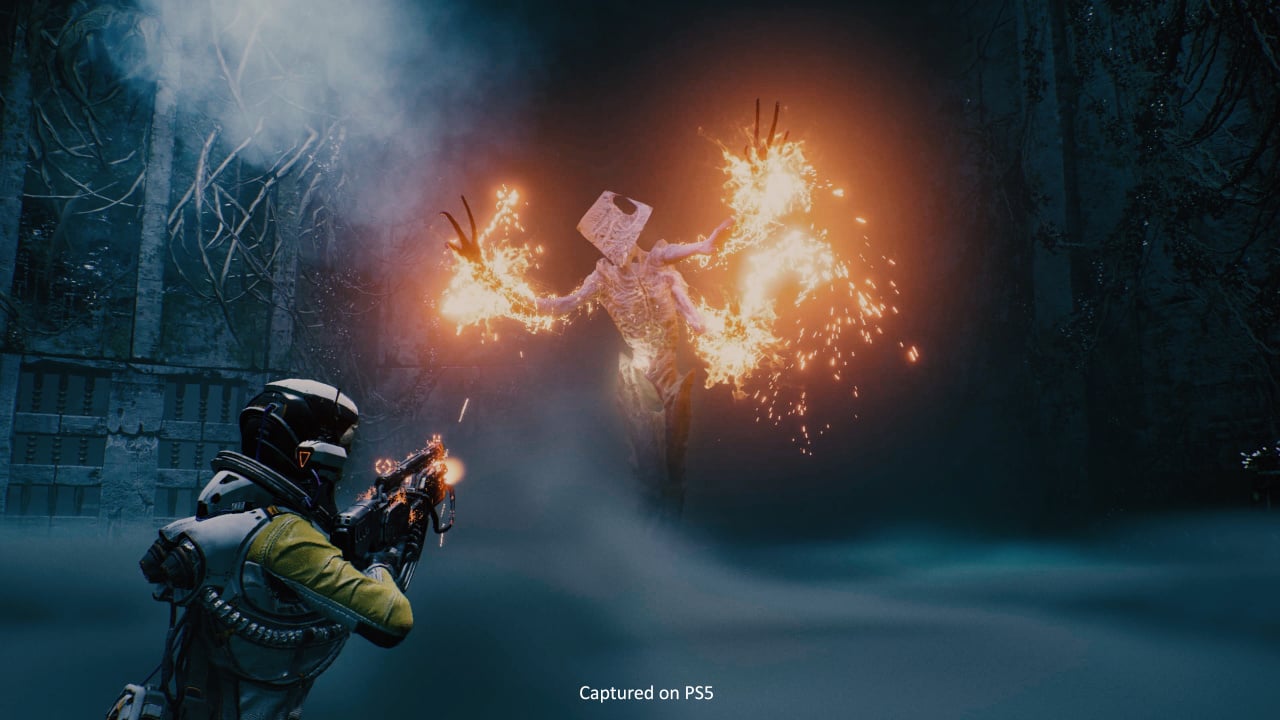
How to Kill Phrike in Overgrown Ruins
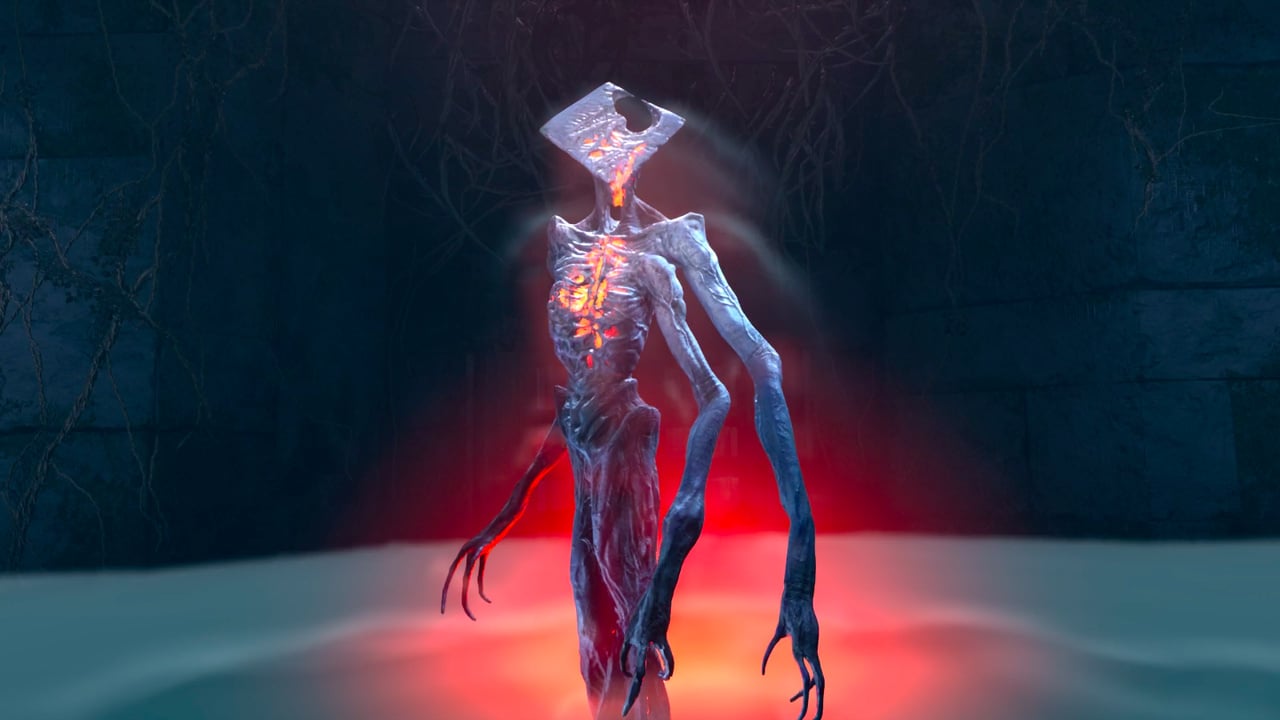
Phrike is the first boss you'll encounter in Returnal. He's found at the bottom of a chasm in Overgrown Ruins, and you'll fight the creature in a large arena filled with fog.
This boss isn't too tough to beat, but you need to have your wits about you at all times. Phrike fires fast-moving projectiles that home in on you — these can be avoided with a dash just before they reach you. In his first two phases, the boss will throw out lots of projectiles that fall slowly from above. These are pretty easy to avoid. Also, in all three phases, he can sink into the floor and move quickly around the arena. Keep tabs on him by watching where the glow moves to.
He'll also summon an expanding circle you'll need to jump over, and he combines this by rushing towards you and swiping at you. The best way to deal with that is to jump and dash away from Phrike and over the circle in one move.
Later on in the fight, Phrike will also fire large sweeping laser beams, either horizontally or vertically. Again, the dash is your best friend here; dash through or to the side of the beam and carry on.
In his third and final phase, Phrike will do his melee strike more often, and will introduce a new bullet hell pattern. This pattern is a rotating swirl on the floor. We dealt with it by jumping over it, but it's possible to stay on the ground and weave through the projectiles.
Ultimately, the most important thing to remember is to keep the pressure on. You won't win the fight just running around — shoot Phrike as often as you can, using your weapon's alt-fire at every opportunity. Our preferred weapon to take into this fight is the assault rifle-style Tachyomatic Carbine, which is easy enough to find in the Overgrown Ruins. That's not to say you can't win with other weapons, but the decent rate of fire means you can keep chipping away at that health bar near-constantly.
How to Kill Ixiom in Crimson Wastes
Atop the mountain is Ixiom, a flying boss that's no joke.
Ixiom's main thing is fast movement and big bullet hell patterns that force you to stay on the move. The boss does pause in places, allowing you to focus your fire on him, so as with Phrike, keep applying the pressure as much as you can. Don't forget your alt-fire, and any consumable items you may have! The large, spiralling bullet patterns look intimidating, but they're not so bad; you can either keep to one side or dash into the middle of the pattern, where it's safe. Meanwhile, smaller bursts of projectiles aren't too much trouble.
When you finish a phase of the fight, Ixiom launches into the air and crashes down to the middle of the arena. He stays there for some time, expelling an energy wave and a mess of projectiles. This is a tricky part of the battle and will really test your avoidance skills, but you should aim to get in as much damage as you can while the boss is stationary.
When he's done with this, he'll jet off again. Watch for the danger marker around Selene's waist to see where Ixiom will appear next; he will zoom across the arena, leaving behind a swirl of bullets and an energy wave. He'll do this pass a few times, so stay on the move and you should be fine. The fight returns to normal after this.
Keep watching out for his large bullet patterns. Eventually, Ixiom will fly up and will fire a wide beam at you — this is easily dodged with your dash. However, it's followed up with some fast moving bullets that home in on you.
Ixiom begins the third phase stood in the centre as outlined above, so get your dodging skates on. After this, he'll start leaping at you with some melee strikes. These spawn a few projectiles too, so dash away just before he attacks and you should be far enough away. Be careful — these melee attacks also launch a fast moving shockwave, so jump after he does these. Ixiom will also start slamming the ground, sending out even more (slower) shockwaves for you to hop over.
The last attack up his sleeve sees him firing fast and slow projectiles at you, which are relatively easy to avoid. As with Phrike, you should never stand still, always be ready for a quick dodge, and deal out damage as often as you can. An assault rifle style weapon will be your friend, so try to take in a Tachyomatic Carbine or Hollowseeker for this fight.
How to Kill Nemesis in Derelict Citadel
At the very top of Derelict Citadel, you'll encounter Nemesis, an enormous boss that you fight from a stationary platform. The spectacle of this fight is arguably what will get you killed. If you strip away the grandiose nature of the boss, it isn't too much harder than what's come before. Nemesis is a huge creature, but by now you should be fairly adept at dodging bullets and lasers.
A key thing to note: don't aim for Nemesis' head, shoot at the red glowing spot on its chest. This is where you'll deal damage.
Nemesis' first order of business is to fire blue projectiles at you. These don't pose much of a threat, just keep to one side to avoid them. It's also going to fire fast moving, homing bullets at you; try to dodge into these at the last possible moment to avoid them. The boss is going to spew curved bullet patterns at you, but again, a dash through them should suffice. Watch out for his floating friends — they might come towards your platform and fire lasers that sweep across. You can't damage them, so dash through the laser fire and concentrate your shooting on that weak spot. Those laser-firing things will also shoot down at the floor, causing shockwaves for you to jump over.
Once phase one is done, Nemesis will crumble and relocate. You'll need to use your hookshot to get over to the other platform that's facing the boss. Phase two is more of the same, but you'll be dealing with more threats at once, including sweeping lasers, shockwaves, and bullet hell from the main boss. Just keep moving, dodging everything as best you can, and fire on that red weak spot at all times. Oh, and don't forget your alt-fire!
After phase two, Nemesis will blow you away. You'll be free falling, and can shoot while you do, so don't let up. Use your hookshot to climb up onto solid platforms, advancing closer to Nemesis. It's going to be firing out huge swirls of projectiles, but leap from platform to platform and you should be able to avoid most of that. Those laser dudes are your biggest headache here. If you see one approach the platform you're on, the best thing to do is just bail out and find a different one. At this point, the fight is just about endurance; outlast Nemesis with a combo of your grapple hook, dashes, and constant fire.
In terms of weapon recommendations, we'd try to take in either a Hollowseeker, a Tachyomatic Carbine, or the Thermogenic Launcher.
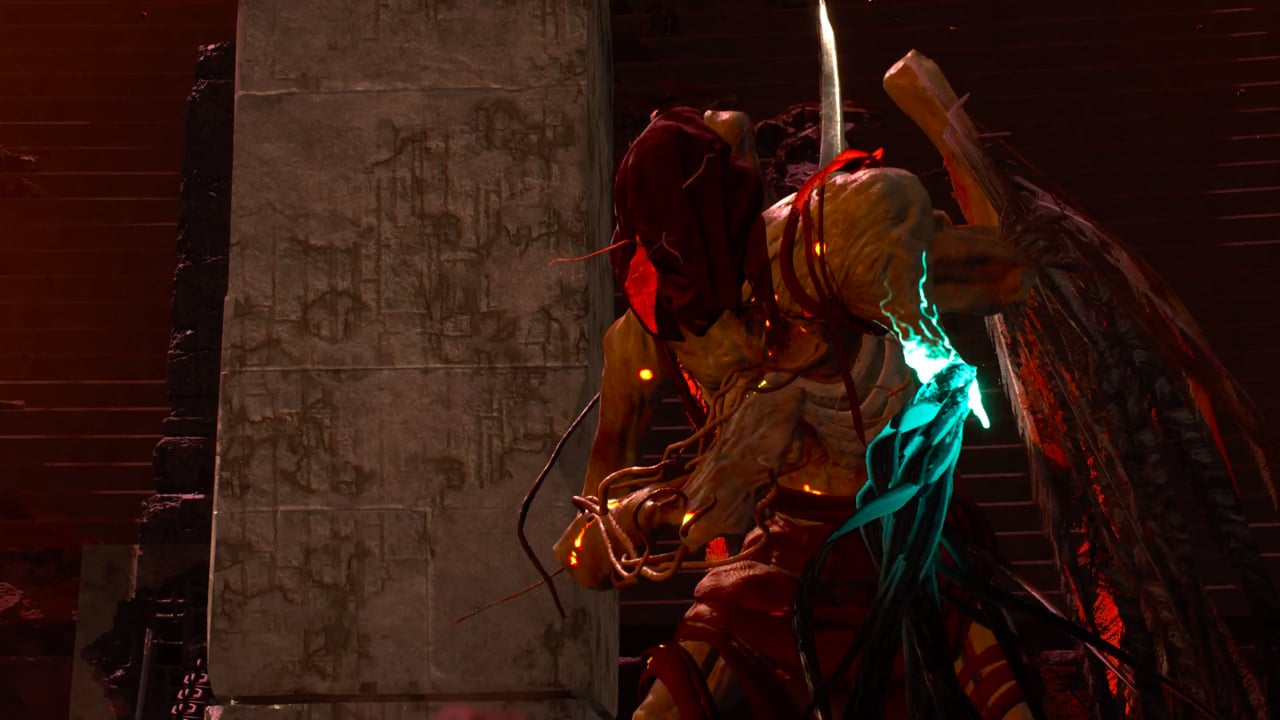
How to Kill Hyperion in Echoing Ruins
Hyperion resides in the Echoing Ruins, tormenting Selene with incessant music. This bizarre, organ-playing boss is an odd one, but certainly nothing to sniff at either.
This is possibly the most hectic fight so far, with threats coming from all sides. Hyperion starts by firing blue homing bullets at you, and a red projectile that causes a shockwave on the ground. Next up is a bunch of yellow bullets, and then all these three at once. Then, more blue bullets, and a pink, sweeping laser. We'll say it again — don't stay still and damage the boss as often as you can. Later on in the phase, projectiles will rain down from the pipes of Hyperion's organ — it's all kinds of nonsense, but stay relatively close to the boss and you should be okay.
In phase two, the boss turns around and will start throwing lots of green and blue projectiles out. These aren't too bad, but watch out: soon to follow the projectiles are vines that come up on the floor underneath you, and there isn't much warning. Just as you're jumping over these, Hyperion is going to start launching big blue cross patterns for you to dash through. Oh, and don't get too close to the boss, as he's going to bring up spikes all around himself. Eventually, once damaged enough, he'll return to the organ, which again brings down more projectiles. This is a perfect opportunity to weigh into him with his back turned.
Phase three, and it's more of the same — there's just even more of it. Spikes from the floor, those big blue crosses, projectiles raining from the sky. He's also going to bring up thorns on either side of you, and then send bullets down the funnel, which is a tricky moment. It means you'll be damage if you dash to the side, so dash into the projectiles just as they reach you. This part doesn't last too long, thankfully. After that it's rinse and repeat — Hyperion will return to the organ once damaged enough, so keep moving and keep shooting. Don't get too close to the boss for fear of spikes. We recommend any weapon that lets you stay at mid or long range, so pretty much anything except for the Spitmaw Blaster.
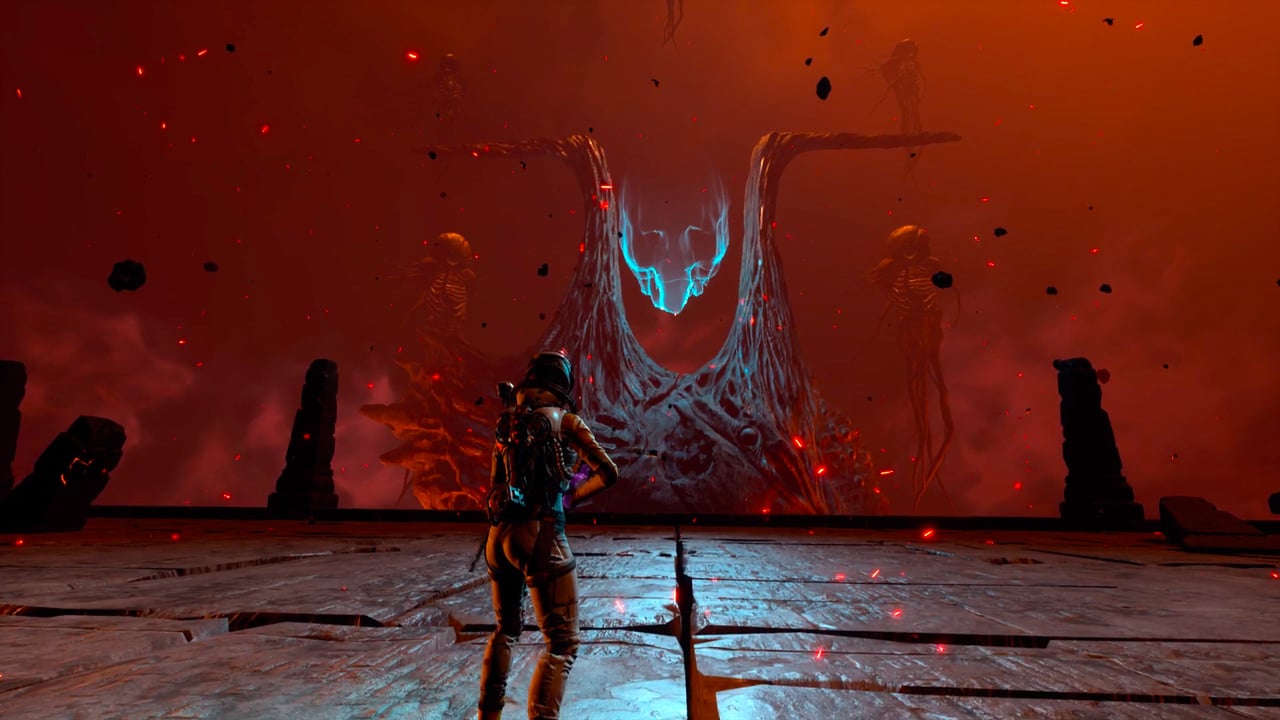
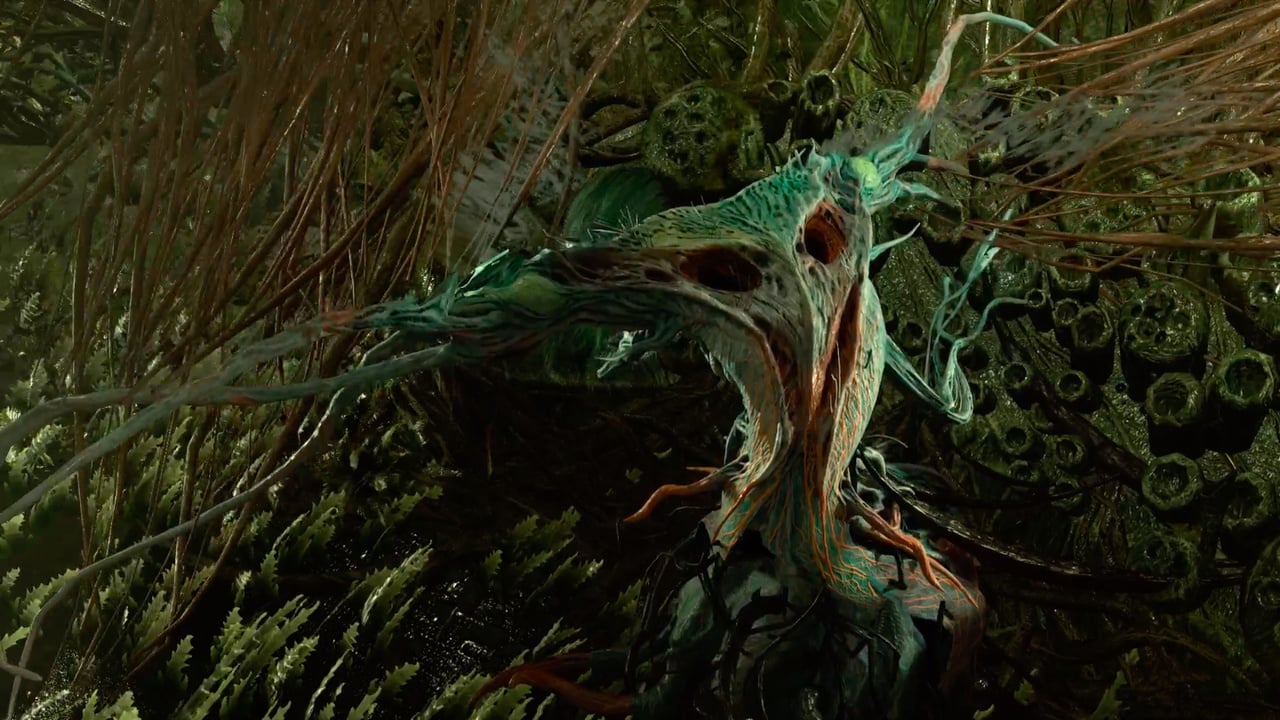
How to Kill Ophion in Abyssal Scar
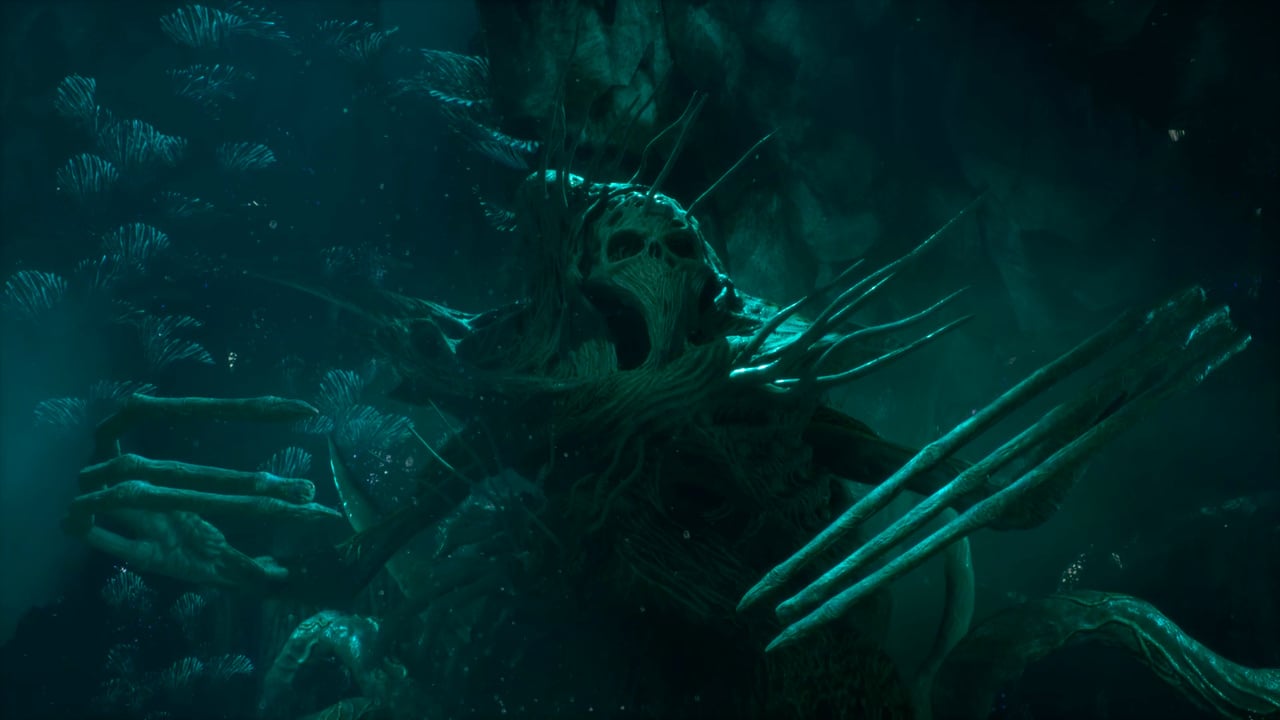
Ophion is the absolute monstrosity you see above, residing at the very end of the underwater hellscape that is Abyssal Scar.
This guy doesn't move much, but will really put you through the wringer. The most important thing to note for this boss fight is the blue orbs that appear around him. Shoot these orbs, and they will reveal red spots on his body that are susceptible to damage. Try to make sure you have one of these orbs active at all times so you have something to shoot at.
He starts off letting loose green projectiles; they move slow, but there are a lot of them. You're also going to need to watch out for dark purple shockwaves — you cannot dash through these, you'll need to jump over them to avoid taking a hit. Your screen will also fill with yellow bullet patterns too, but by the time they reach you, they should be easily avoided. He's going to lob fast-moving blue projectiles at you as well, so dash away from those.
Phase two and Ophion transforms into something even more horrible. In this form, he may slam down his big hands, sending out those dark purple shockwaves again. You'll recognise most of his attacks from phase one, but new tricks include purple laser beams that descend from above or shoot down at the ground (you can't dash through these). Any bullet hell patterns aren't too hard to dodge, as they tend to be fairly spaced out when they reach you. Stay vigilant and don't forget those blue orbs to reveal his weak spots.
Phase three, and he transforms yet again. Ophion will now get very trigger happy with those purple lasers, so don't stop moving, and remember you can't dash through these beams. He's also going to throw basically all the bullet hell stuff at you simultaneously, which looks rather nice but can be hard to avoid. Back up and dash through when needed. A swirling green bullet pattern comes next, and fast-moving projectiles come at you. This is very tricky to dodge, and frankly, you'll have a hard time not taking a hit here. Keep strafing and dash like a madman.
We took a Tachyomatic Carbine into this fight, but other good options would be a Hollowseeker, a Thermogenic Launcher, or maybe a Dreadbound.
How many bosses have you defeated in Returnal? Which is your favourite boss fight? Tell us in the comments section below, and read our Returnal guide for lots more information on the game.


Comments 0
Wow, no comments yet... why not be the first?
Leave A Comment
Hold on there, you need to login to post a comment...