Do you need a Chapter 9 walkthrough for Resident Evil 4? This is the ninth of 16 Chapters in the game, which form the Main Story. As part of our Resident Evil 4 Remake guide, we're going to share our in-depth Chapter 9 walkthrough. It will cover every enemy encounter, puzzle solutions, highlight Collectibles, mention Blue Request Notes, and touch on any other points of interest. The walkthrough is broken down into the main objectives the game tells you to complete.

Leon is finally reunited with Ashley, but he finds her paralyzed with guilt for what she has done. After some words of comfort, Ashley collects herself and the two set off together to meet up with Luis.

Resident Evil 4 Remake: Chapter 9 Walkthrough
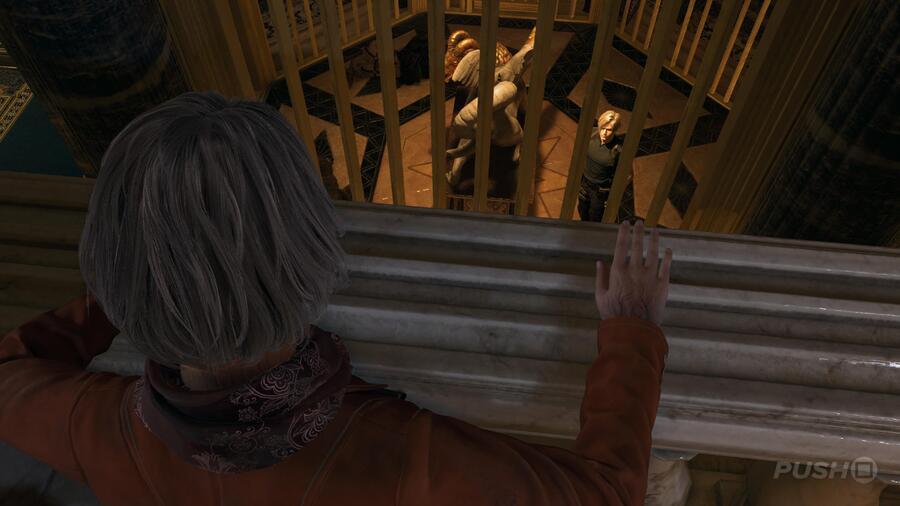
Resident Evil 4 Remake: Chapter 9 Walkthrough 1
Image: Push Square

Leon and Ashley have been reunited, but that's only one less thing to worry about at the moment. Now they must reach Luis further in the Castle.

Head for the Ballroom

The Courtyard awaits you right at the start of Chapter 9, which contains a little puzzle. You'll find lots of supplies and a Clockwork Castellan within the hedge maze, but also three little towers. You need to make it to all three of them and pull the levers within. This will open up the way forward to the Grand Hall. The only one you may have some trouble with is the western tower as you look at the Map. When you pull the lever, Zealots will rush Ashley so you'll need to get back to her quickly and defend her. On the plus side, the gate blocking your path back to the Merchant is now gone.

With the three flags over the gate raised, enter the Grand Hall. In a room to the right is the Merchant, but the main attraction of this area is the Headless Statue Puzzle. First complete Destroy the Blue Medallions 4 and More Pest Control, then refer to our How to Solve the Headless Statue Puzzle in the Grand Hall guide for a full walkthrough.

Rescue Leon

After the events that follow completing the Headless Statue Puzzle, you'll be playing as Ashley. She is much less capable in combat, so this section of the game will be played in a much more stealthy manner. Begin by taking the Lantern off its pedestal, and then heading through the newly revealed passage. The path will eventually lead you through a door and to a Grandfather Clock, which you'll need to set the correct time on in order to open it.

Go through the door and into the Library, heading south as you need a key for the Elevator. Place the Lantern on the pedestal at the end of the room to reveal a new path that leads to a crank. Turn it all the way and you'll lower a set of stairs on the other side.

On the second floor, you'll find a Bunch of Keys. Pick them up and head back to the Elevator in the Library, only for suits of armour to start patrolling the area. Stay quiet and crouched at all times, shining the Lantern at them if you get caught. Once you reach the Elevator, use the third key along and go up. The Elevator doesn't make it all the way, though, so you'll need to climb up the rest of the way.

In this next room, head to the end and look at the note on the table. It tells you the time the Grandfather Clock must be set to is 11:04. You can do that for the Grandfather Clock in the room you're currently in, and then also the one you saw just before the Library. You can see what that looks like in the image below.

Follow the newly revealed path down, avoiding the suit of armour, and use the crank to return to the Library. Cross over and go back to the other Grandfather Clock, adjusting the time to 11:04. The path will take you to another Elevator, which leads to the Mausoleum. To open the gate, pull on the four chains on the sides of the Mausoleum. Make sure you do it quickly, though, because the suits of armour will start attacking you.

At the end of the next room, you've got another little puzzle to solve involving Lanterns. You need to match the light they're shining up with the picture on the wall. The Lantern that Ashley has can be swapped out for the one in the back (or the middle), with just a plain circle on the wall. The one you pick up then goes on the left, and that third Lantern goes on the right. Getting them all in the correct spot allows you to take the Salazar Family Insignia.

Now you have the Salazar Family Insignia, return to the Shield-shaped Slot near Leon via the Library and you'll be able to get access to the balcony leading back to him. The following cutscene ends Chapter 9.


Did you find our Chapter 9 walkthrough for Resident Evil 4 useful? Click through to our Resident Evil 4 Remake guide for more information and share any further tips in the comments below.