Do you need a Tales and Revelations walkthrough for A Plague Tale: Requiem, including all collectibles? In this A Plague Tale: Requiem guide, we're going to reveal how to achieve 100% completion in Tales and Revelations. There are 3 Souvenirs, 1 Feather, and 2 Secret Chests to find in Tales and Revelations.
A Plague Tale: Requiem: Tales and Revelations Walkthrough
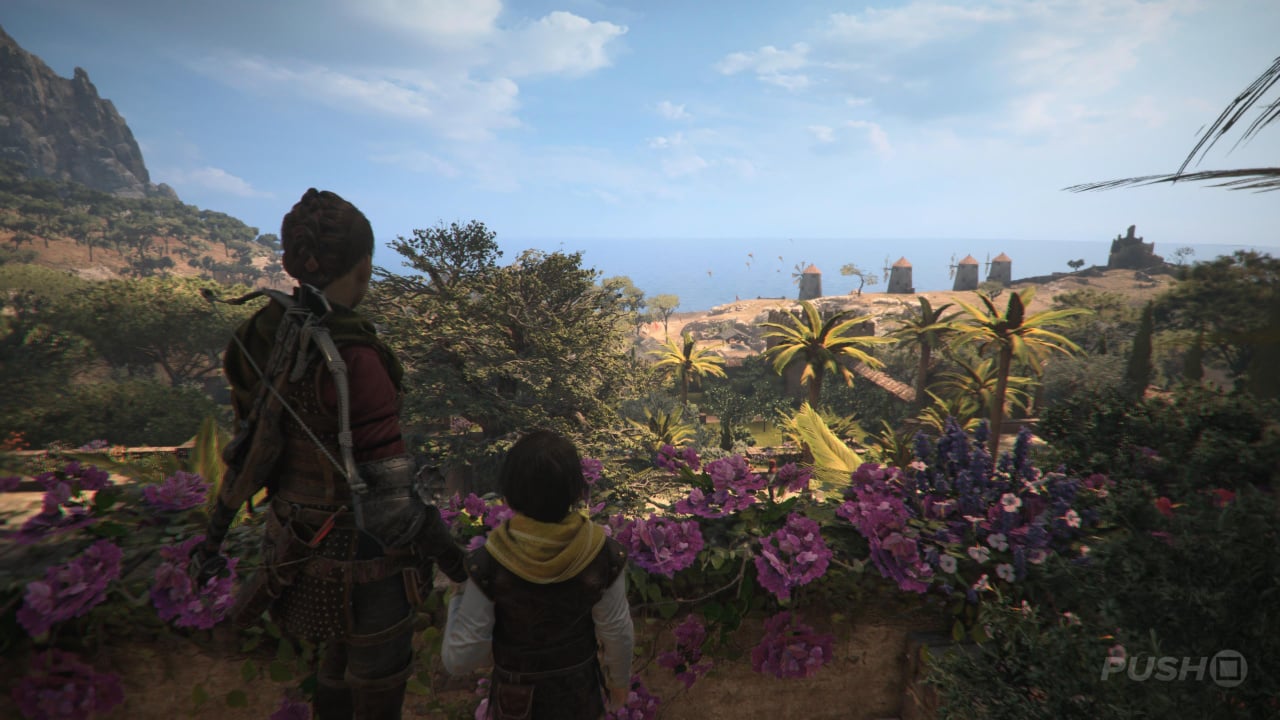
After a good night's sleep, Amicia and Hugo will be given free rein to explore the grounds of the palace and the surrounding area. This is a large location — the biggest in the whole game — so we're going to focus on the collectibles first and then pick up the main path afterwards.
Leave the palace by taking the paths down through the gardens and then talking to the guard at the door to be allowed into the valley. Go down the stairs after the cutscene with Sophia and Hugo will run over to a bird statue ahead. These guide you to the main objective in the area, but first, let's grab Secret Chest #1 and Souvenir #1: Nice Screeching.
Secret Chest #1
Once you're with Sophia, the main story will tell you to follow statues of birds. When you find the first one, look down to your left and there'll be a big valley down there. Follow the river and you'll eventually find a tower. Open the locked door by shooting the latch from the outside through the window, and then climb up to find the Secret Chest.
Souvenir #1: Nice Screeching
On the floor above Secret Chest #1. Look out over the valley and an interaction prompt for this Souvenir will appear.
Go back to the bird statue you found back at the start of the valley, and this time take a right past the house. When you reach the next house along, with a man working on its roof, a woman will shout that lunch is ready. Here's where you'll find Souvenir #2: A Thousand More Years.
Souvenir #2: A Thousand More Years
Return to the starting area of this chapter, at the foot of the palace. Take a right this time and head into the village. You'll come across a house that has people working on it, and as you approach, they'll be told lunch is ready. There's a path to the right of them leading to an old tree you can interact with and unlock the Souvenir.
This one can be a bit glitchy, with Hugo stopping halfway through the conversation. Close the game completely if this happens and try again. It should fix the problem.
Return to the path, follow it across the bridge, and continue to follow the directions of the bird statues. You'll eventually be pointed in the direction of an area with stone arches towering above it. Enter here by moving a wooden beam blocking a gap in the wall. Drop down into the theatre and set fire to the tall grass to reveal a map on the ground.
You must now reach the structure built into the rock up in the mountain. Start by leaving the theatre, and crossing over to the other side of the valley via another bridge to your right. Then take the sandy paths directly in front of you to begin climbing upwards. When you reach a locked gate, you'll leave the large valley area for the linear path up to the sanctuary. There's also a very short time skip to get you closer to the sanctuary.
Continue up the hill, taking the time to drink some spring water, and you'll eventually encounter a herd of goats blocking the road. You'll find Souvenir #3: Tramontane in this area.
Souvenir #3: Tramontane
On the long road up to the sanctuary, you'll find yourself blocked by a herd of goats. You'll need to take an alternate path, but the goatherd asks you to look out for his missing goat. A short while up the path on your left will be a small, ruined fort, and you'll hear the goat bleating inside.
To the right of the locked door is some hay you can set on fire. Doing so will reveal a crawlspace for Hugo, who will unlock the door if you direct him through the hole. Interact with the goat inside and you'll unlock the Souvenir.
Once you've got the Souvenir, continue up the path to the sanctuary. Here you can find Secret Chest #2.
Secret Chest #2
After climbing up a ledge just after Souvenir #3: Tramontane, the sanctuary will come back into view and you'll hear a soldier talking. Stop where you are and turn around. You should spot another ledge to climb up next to the path. Climb up and you'll find Secret Chest #2.
Return to the path after Secret Chest #2 to find guards up ahead. However, since you're guests of the island, you can't kill them and you can't be spotted either. If you are, it's an instant fail. Stealth is paramount here, but a new ability from Sophia's Prism will make things a bit easier. She can direct sunlight onto tall grass to send smoke up into the air, distracting enemies for a limited time. Use it to reach the building ahead of you.
Use the Workbench on your left if you've enough resources for any upgrades, and then shimmy along the wall. Now follow the steps up to a few more ruins, at which point guards will appear. Stick to the tall grass again, using Sophia's Prism when necessary. You need to keep heading up the hill, looking out for a ruined tower. It's the one Hugo suggests using, with a heavily armoured guard patrolling its outskirts. At the very top, you'll find Feather #1: Barn Owl.
Feather #1: Barn Owl
After sneaking past all the guards on the way up to the sanctuary, you'll need to climb a tower as part of the main path. The objective would have you exit halfway up, but continue climbing all the way to the top and at the end of the path you find will be the Feather of a Barn Owl.
Drop down and move through the tall grass to trigger a cutscene. Now dressed as everyone else, follow the Count and Countess into the sanctuary. There's little else you can do, so just follow everyone else's lead until you're handed the torch. Now walk through the water ahead, extinguishing the flame once you pass under the waterfall. On the other side, hand the torch over and you'll be in front of a large firepit. Sophia will soon save you and direct you to follow her down another passage.
Go through the door at the end of the hall and enter the garden for a cutscene. After pushing the door open, you'll be in the sacred quarters. Interact with every item in the following few rooms and you'll unlock the Old Protector's Items Trophy. Before moving along, always do a sweep of the room you're in to make sure you don't miss anything and thus void the Trophy.
In the first room, there's the wooden house, the bed, and a set of dolls to interact with. In the second room, there's the suit of armour, a box of wooden toys, weapons rack, and drawings on top of the chest. In the laboratory, there's the athanor, two potions, chemical instruments, and cooking apparatus. In the room upstairs, there are some scrolls to interact with in the back-left corner. Once you've unlocked the Trophy, go over to Sophia for a cutscene.
Afterwards, you'll need to sneak around the garden to get away from the Count and Countess. It's a linear path, though, so you shouldn't have any trouble working out where to go. Once you escape into the sewers, the chapter will end.
Did our Tales and Revelations walkthrough for A Plague Tale: Requiem help? Browse our A Plague Tale: Requiem guide for more help and information, including all collectibles.


Comments 0
Wow, no comments yet... why not be the first?
Leave A Comment
Hold on there, you need to login to post a comment...