Do you need a Tower walkthrough for The Callisto Protocol? Tower is the eighth chapter in the game and concludes the story of Jacob and Dani. As part of our The Callisto Protocol guide, we're going to share a Tower walkthrough that helps you through every part of the level, including puzzles and combat. There are 4 Audio Logs in this chapter.
The Callisto Protocol: Tower Walkthrough
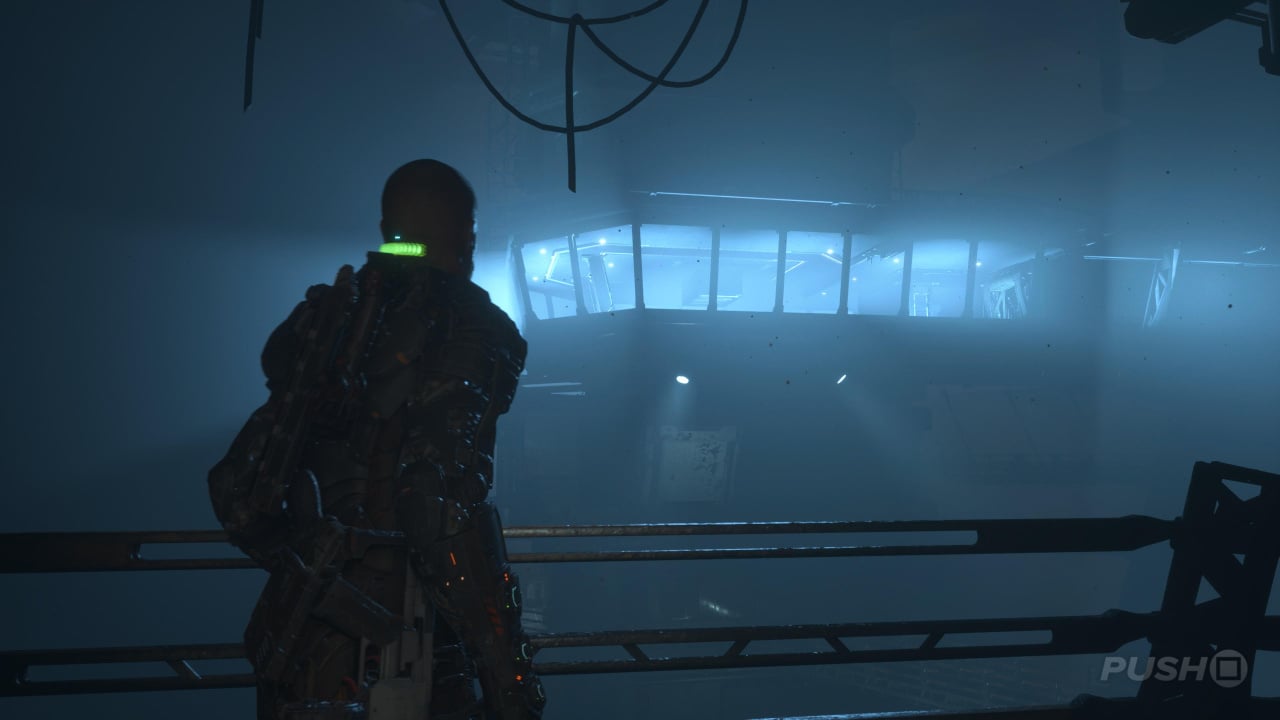
At the start of the chapter, we're back in the very same cell we began our short stint in Black Iron Prison in. Start by taking a right and following the directions given to you over the radio. Use the Reforge station if you can afford upgrades, then head into the room behind the station, grabbing all the supplies on your way. There's yet another Two Head in the server room, so kill it using the same strategy as before. Take the Gate Fuse out of the console in the back once it's dead and take it to the other panel where the Reforge station is.
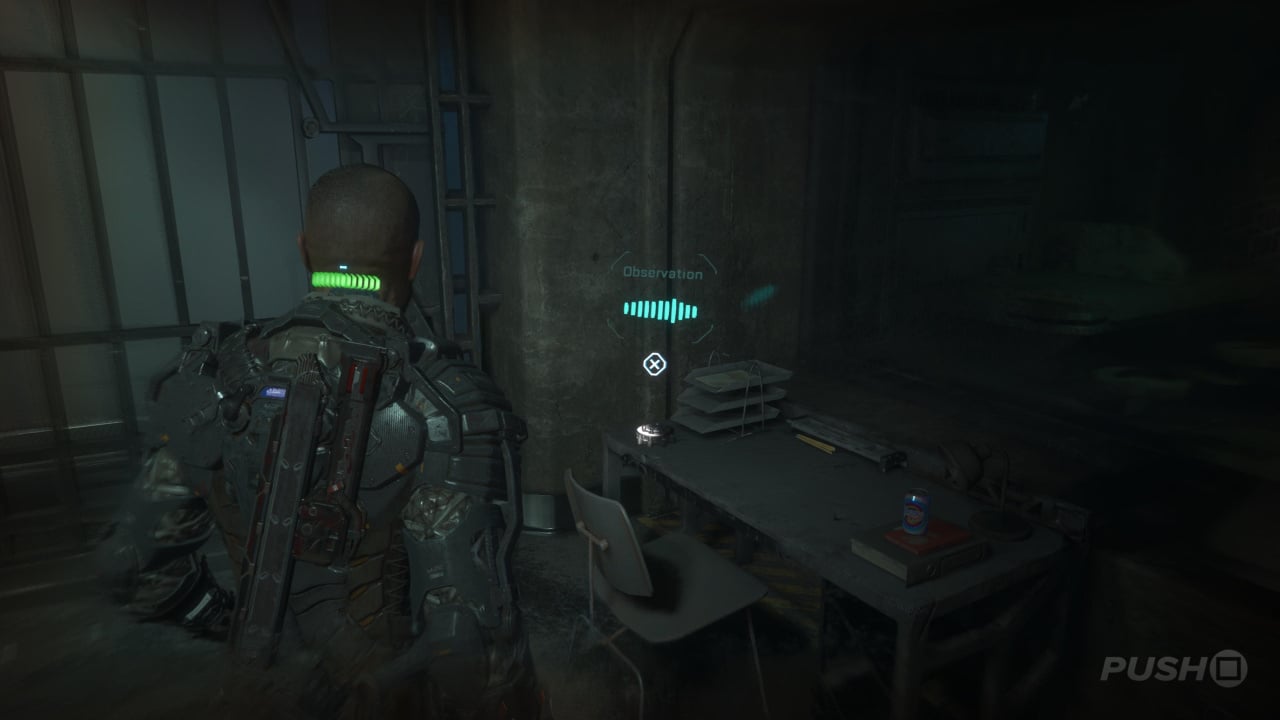
Take the CPU Printer from the shelf on the right, then go down the corridor. At the very end will be Audio Log #1: Observation.
Audio Log #1: Observation
After beating the Two Head early on in the chapter, you'll unlock a door using a Gate Fuse. At the end of the corridor that follows is Audio Log #1: Observation.
Next, interact with the panel next to the door labelled Psyc Ward A301 to open it and head on through. Search the lockers for Assault Rifle Ammo and Callisto Credits, then deal with the two enemies in the corridor. There are even more enemies in the rooms up ahead, but they shouldn't give you too much trouble. Go down the stairs at the end and head through to the Morgue, taking the Health Injector off the wall if needs be.
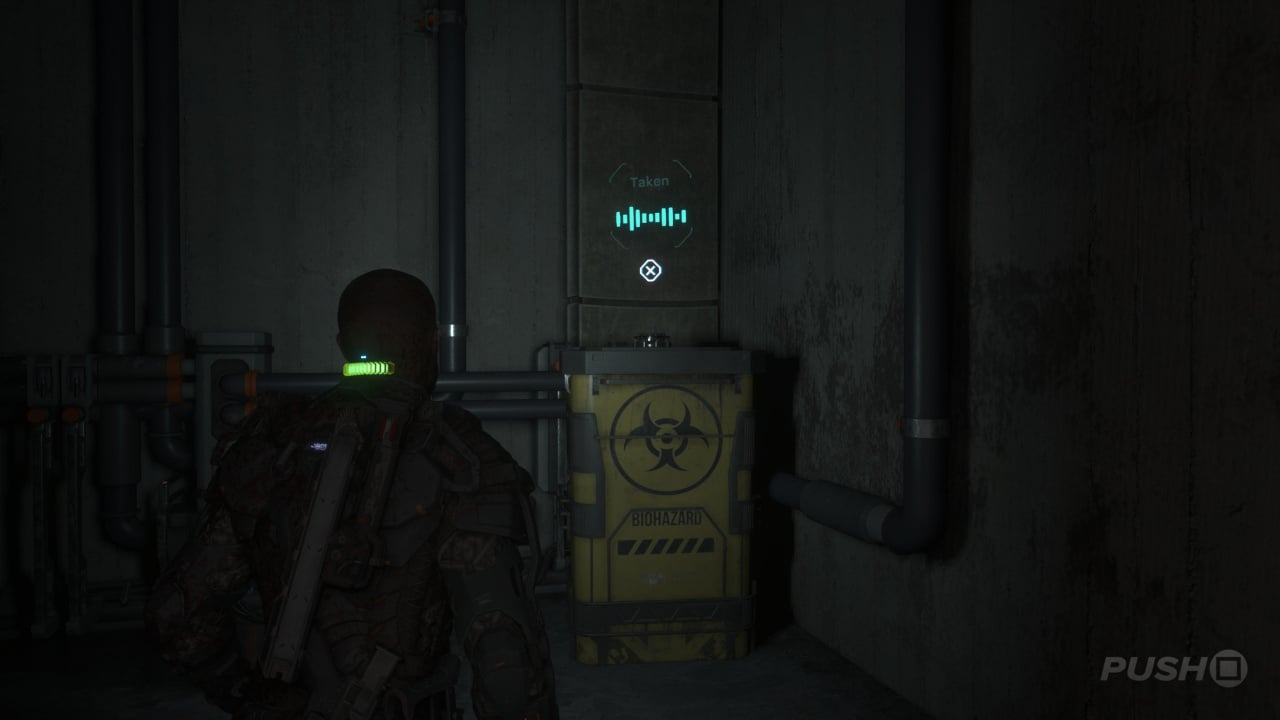
More enemies lie in wait just ahead, but to progress, take the first door on your right and down a ladder access through a hole in the wall. At the bottom, turn left and open up the mesh covering a vent at the end of the corridor using your GRP. Grab the Gate Fuse on your right, then go up one flight of the stairs opposite to find Audio Log #2: Taken.
Audio Log #2: Taken
While making your way through the Psyc Ward, you'll eventually need to destroy a metal mesh covering a vent to make progress. On the other side, take a right and go up one flight of stairs. Here you'll find Audio Log #2: Taken.
Return to the corridor and go through the only other door here and then insert the Gate Fuse into the console. On the other side, stock up on supplies and buy any upgrades you need from the Reforge station. Go through the door and you should recognise this area as being the same one you've been through before at the start of the game. You've got another Two-Head to deal with now, flanked by a few standard enemies.
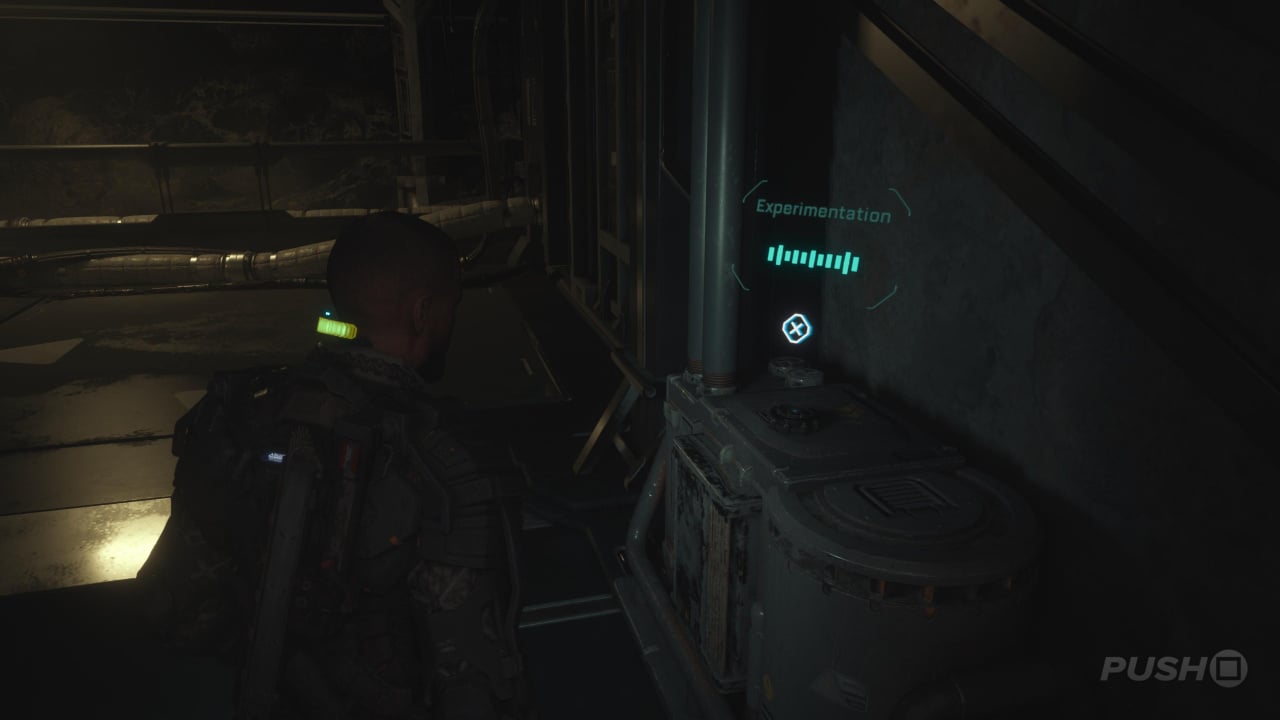
Once they're all dead, head through the single unlocked door in the middle of the corridor and go through the security gate. Once the defensive systems have powered down up ahead, go through the next door. On the other side, you'll find Audio Log #3: Experimentation.
Audio Log #3: Experimentation
After killing a Two Head in an area you should recognise from earlier in the game, you'll pass through two doors and a security gate. When you reach the one where it's announced security defences are powering down, Audio Log #3: Experimentation will be on the other side.
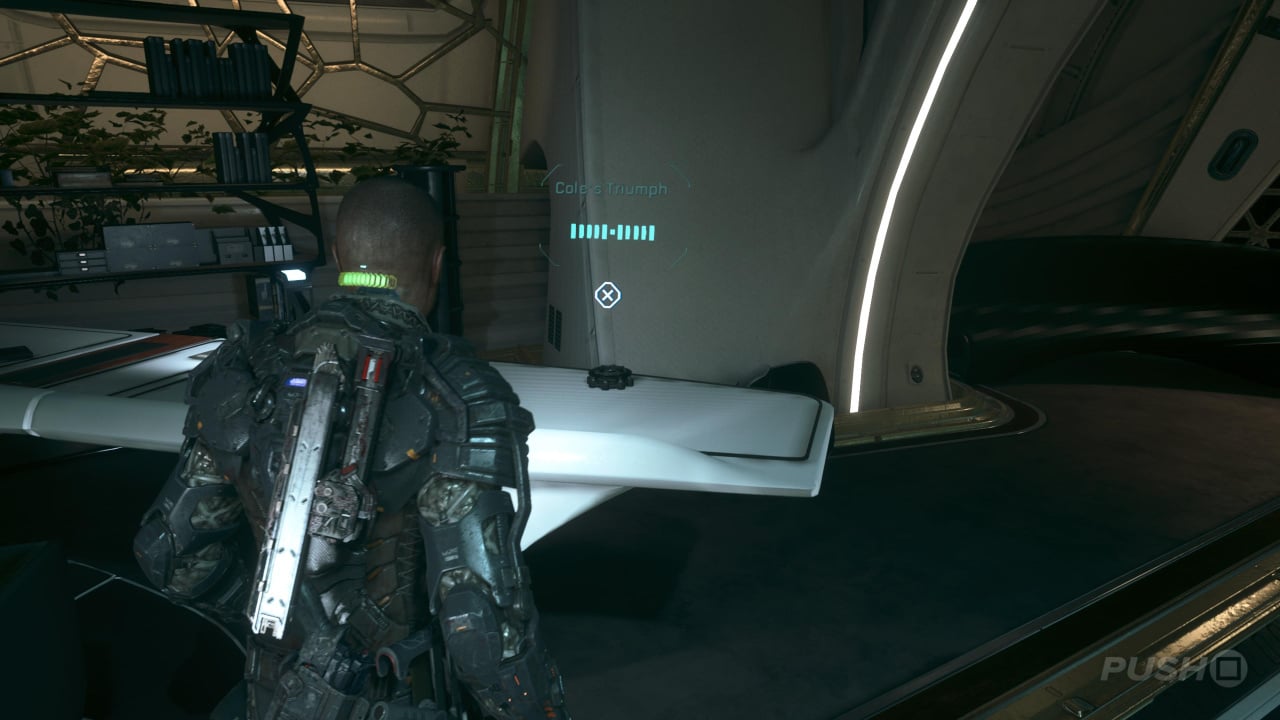
Go through the next door for a cutscene reuniting with Dani. Take the elevator up to the Tower, and on a table on the left-hand side will be Audio Log #4: Cole's Triumph.
Audio Log #4: Cole's Triumph
Following the cutscene with Dani and Dr. Mahler, you'll take an elevator up to the Tower. In the next room, look for a table on the left with Audio Log #4: Cole's Triumph on it.
The next door will turn out to be a dead end, and you'll be transported into flashbacks of past events from a new perspective. When you get control back, go through the door and prepare yourself at the Reforge station. Stock up using the boxes spread throughout the following corridor, then interact with the panel to go through the only other door here.
The first phase will play out just like your first encounter with this boss: prioritise dodging and blocking before getting a few of your own hits in. After roughly three or four combos, the boss will transform into a new form. Here, you'll have access to the corridor you gathered supplies from so grab the red explosives with your GRP and launch them at the boss. This will get rid of its protective outer casing, so with it weakened, shoot it as much as possible.
Repeat this process again to remove the outer casing and reveal its weak point. After the second time, it's shell shouldn't come back, leaving it open to firepower. Beware of the enemies that spawn all around you here; focus on them first before returning to the boss. Keep a safe distance, running away when it charges and using the pieces of cover to avoid its projectiles. Continue shooting it and eventually it will die.
After the cutscene, sprint to the exit with Dani. Once the cutscene plays, congratulations! You've beaten The Callisto Protocol.
The Callisto Protocol: Tower Objectives
- Search for the Lab
- Talk to Dr. Mahler
- Look for the Warden
Was our Tower Walkthrough for The Callisto Protocol helpful? Refer to our The Callisto Protocol guide for much more information, and share any further tips in the comments below.


Comments 3
If you struggle with the boss, like I did, try activating the high contrast mode in the accessibility options. This way you'll see the crawler enemies very easy. Honestly I beat the boss first try after I activated the option.
@BrotherFilmriss yeah the final boss is easy, just treat it like a Two Head. Those crawly mcxolodies makes the fight more complicated than it needs to be.
Overall, a good guide to get through the game while finding all the audio logs, which is what I wanted to accomplish. I feel about halfway through, the author either missed little things, like lockboxes and chests, or was playing difficulty where these things didn't spawn. I was also surprised by enemies in few spots because there was no mention of them. Nothing major missing.
Tap here to load 3 comments
Leave A Comment
Hold on there, you need to login to post a comment...