Need a The Slums walkthrough for The Last of Us 1, including all collectibles? In this The Last of Us 1 guide, we're going to show you how to achieve 100% completion in The Slums, which is part of the Quarantine Zone chapter.
There are 5x Artefacts (4x Artefacts in The Last of Us: Part I) to find in The Slums, as Joel and Tess make their way through an unsavoury part of Boston.
The Last of Us 1: The Slums Walkthrough
Immediately at the beginning of this chapter, after you've been given the all-clear by the boy Tess pays, walk through the market-like area. This follows directly from Beyond the Wall. The people here are shady, so be sure to keep yourself to yourself. You'll eventually get on a bus, which is being used as a kind of makeshift shelter.
Artefact #1: Drafting Notice
Once you get off the bus, head straight forwards and look for a puddle on the ground and a bunch of scattered papers. Pick up one page for an Artefact named Drafting Notice
Artefact #2: Wanted Poster
Move forward from where you found the previous Artefact and interact with the pinboard directly ahead. You'll get Wanted Poster, which reveals a little more about Marlene.
Once you've picked up the Artefacts, follow Tess down the alleyway, where she'll bribe a local thug. Get ready because you're about to be ambushed, so reload your weapon in preparation.
Tess will tell you to flank the thugs you fight in this courtyard area, so use the crates and boxes as cover to get the angle on them, and then use headshots to minimise the ammo you use. Once they're dead, follow Tess forward into another alleyway.
You'll need to boost Tess up onto the wall with triangle, and she'll in turn grab your arm and pull you up. Keep pushing forward until you reach a wire fence with a hole in it, and crawl through the gap.
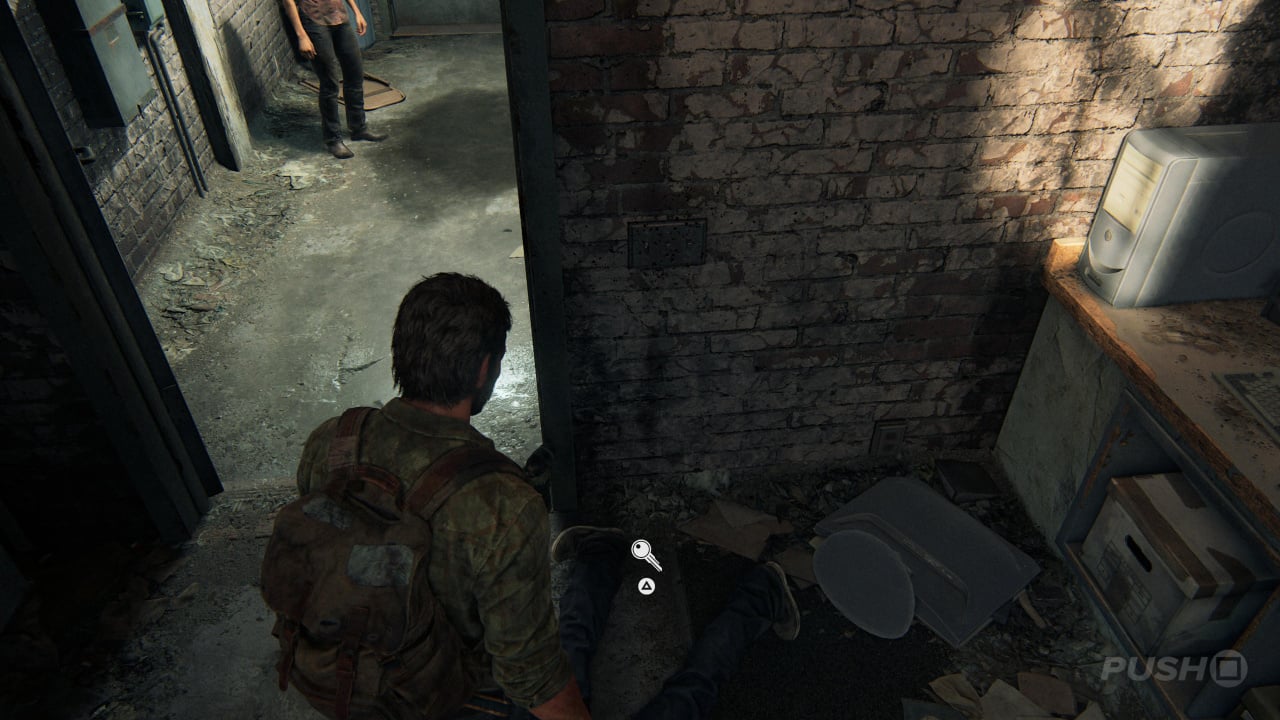
As soon as you enter the courtyard, two guards will walk out of the building. You're going to take one each, so go for the goon on the right side and remain crouched to approach. Get a stealth kill, and then head back to the building they came from. There are two more baddies in here, and you can use Listen mode with R1 to pinpoint their precise location. Stealth kill the one closest to you and loot the body for the Warehouse Key, which is required to progress.
Artefact #3: Warehouse Key*
The Warehouse Key you loot to progress the story is listed as an Artefact in The Last of Us and The Last of Us Remastered, but not in The Last of Us: Part I. Either way, it's mandatory to continue the story.
In the next area, pick up the bottle from atop the crates and use it to lure the nearby enemies into a position where you can easily take them out. You can choose to use stealth or your guns here, but obviously it's always best to conserve as much ammo as possible. Head into the warehouse either up the staircase or through the front, but beware, there are some foes on the upper balcony which can be difficult to take out if you enter on the ground floor.
Once you've dealt with everyone, explore the offices on the upper-level of the warehouse for a Shiv and some Health.
Head back down to the ground floor of the warehouse, and use the metal rope chain to open the big sheet metal door. You'll automatically drop down into a shipyard area, which is one of the most challenging combat encounters in the game thus far.
There are a number of goons patrolling the outside of the docks that you'll want to deal with first. We recommend heading left and dealing with the guards on the left-side of the building, before using your bottles to disturb the patterns of the enemies inside the main building. Once you do go inside, be careful you don't get flanked, as goons will come from all sides — and potentially even behind you.
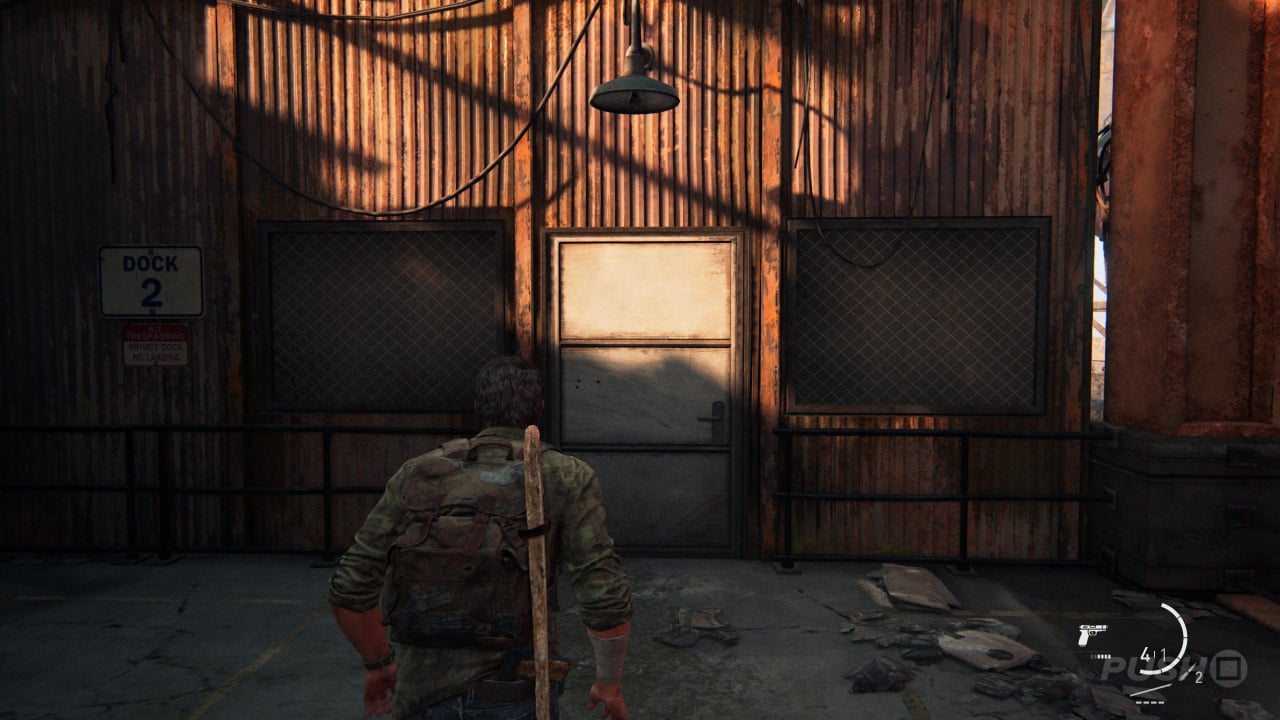
Once you've dealt with them all, there's a locked door right at the end of the building marked with a Dock 2 sign, but don't go through that just yet.
Artefact #4: Shipping Manifest
In the docks area, where you first drop in, look to the rails on the right overlooking the ship graveyard. An Artefact named Shipping Manifest is on the floor.
Artefact #5: Docks Notes
From the previous position, head inside the building, through its right entry point. You'll see two blue dumpsters with cloth and materials inside on the right. An Artefact named Docks Notes is just on the ground behind them.
Once you've scavenged everything, head through the door mentioned above and you'll get into a chase with Robert. You need to keep up with him otherwise this will be a Game Over. Once you've caught up with him, watch the cutscene, and continue on with The Cargo.
Did our The Slums walkthrough for The Last of Us 1 help? Did you find all Artefacts? Take a look at our The Last of Us 1 guide for much more information on the game, including all collectibles.


Comments 0
Wow, no comments yet... why not be the first?
Leave A Comment
Hold on there, you need to login to post a comment...