Need a The Enemy of My Enemy walkthrough for The Last of Us 1, including all collectibles? In this The Last of Us 1 guide, we're going to show you how to achieve 100% completion in The Enemy of My Enemy, which is part of The Last of Us: Left Behind expansion.
There are 2x Artefacts to find in The Enemy of My Enemy, as Ellie works her way back to Joel.
The Last of Us 1: The Enemy of My Enemy Walkthrough

The Fun and Games are over, and you're back in the present day for The Enemy of My Enemy. You'll wake up in the medical helicopter you reached in So Close. Simply move forward, scavenging supplies, until you see Octopus Records at the end of the corridor.
Artefact #1: Crew Photo
Just before Octopus Records, on the right is a doorway with No Entry written above it. Head inside and at the back of the room is a decomposing body with an Artefact named Crew Photo next to it.
Continue forward towards Octopus Records, which will trigger a cutscene as a bandit and Clickers rush out of the store. Pick up the Bow that gets dropped and take out the three bandits who are looking for you. You shouldn't have too much trouble with these, as there's lots of cover you can use to sneak about, and the enemies are generally quite spread out. Remember, your Bow will be a silent kill, too, assuming you don't miss your shot.
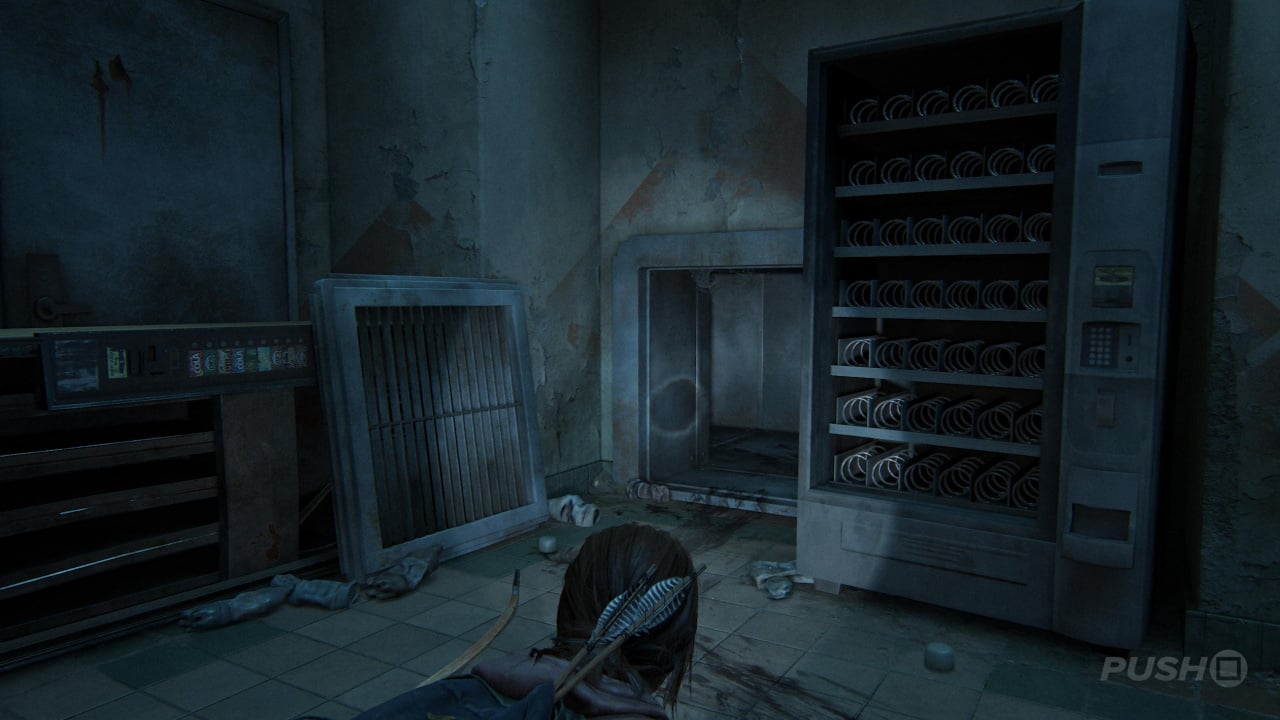
Take the time to loot Octopus Records and the bandits you've killed for supplies, and then follow the blood trail on the ground just beyond the record store into an air vent.
Artefact #2: Duct Recorder
There are multiple ways you can go once you're inside the air vent, but follow the streak of blood smeared on the floor first. Eventually you'll come to a dead body, with an Artefact named Duct Recorder next to it. Grabbing this will unlock the Chronicles Trophy if you've followed our The Last of Us 1 guide to reach this point.
Turn around from the dead body where you found the Artefact and go left and right until you reach a part of the vent where it slopes down. Continue down this way until you come out into a room with infected and bandits. Now for the fun stuff: grab a brick and throw it at the humans. This will prompt the infected to attack them, so watch on as the chaos unfolds. You'll unlock the Live Bait Trophy for your troubles. Wait for everything to settle down before dropping down and dealing with any stragglers and looting the store for supplies.
Head back out into the main mall corridor, and Ellie will point out how close you are. Unfortunately, you need to find a way around. The shop on the right side of the corridor, named Great Plains, is the only way to go, so climb up on the vending machines and in through the hole in the wall. As you move forward deeper into the store, you'll hear infected in the room to the right, while bandits will infiltrate straight ahead. Toss a bottle or brick between them as they get closer, and watch from safety once again as the chaos unfolds. Deal with any stragglers and then scoop up all the supplies.
Once you're ready, climb out through the big hole the bandits entered through, and once you're upstairs lift up the metal shutters opposite. You're back more or less where you started in Back in a Flash, but there are still a couple of really big fights left ahead of you. Heal up and reload your weapons, then head towards the staircase, collecting any supplies along the way.
A bunch of bandits will appear, and they're trying to get to Joel, so you need to be quick and efficient here. Instead of taking the staircase, stealth kill the bandit who goes into the shop directly in front of you, then drop down the crates to the lower floor. There'll be more bandits in front of Swirl's Frozen Yogurt shop, so pick them off either with your Bow or gun. If you do get detected, be careful of getting flanked here. Once you've dealt with everyone, heal up and collect any supplies.
Finally, the coast is clear and you can get back to Joel. Try to lift the shutter in front of the Swirl's Frozen Yogurt shop. Unfortunately, even more bandits will arrive. This is a tough encounter, but the best way to approach is by heading up the yellow staircase opposite the main elevator, at the back. This allows you to close the gap on the bandits, and you're not at an elevation disadvantage once you go up the stairs. Pick a couple of, collecting the Hunting Rifle from a corpse, and then a bunch of infected will appear. Now this is going to be a three-way fight.
As was the case earlier on, you can use bottles and bricks to lure infected onto the bandits, and thin out the numbers of both. Kill anything that moves, and finally remove to Swirl's Frozen Yogurt shop to transition to another flashback in Escape from Liberty Gardens.
Did our The Enemy of My Enemy walkthrough for The Last of Us 1 help? Did you find all Artefacts? Have a browse of our The Last of Us 1 guide for much more information on the game, including all collectibles.


Comments 0
Wow, no comments yet... why not be the first?
Leave A Comment
Hold on there, you need to login to post a comment...