Do you need a Below walkthrough for The Callisto Protocol? Below is the sixth chapter in the game and sees Jacob leave for Arcas Station. As part of our The Callisto Protocol guide, we're going to share a Below walkthrough that helps you through every part of the level, including puzzles and combat. There are 2 Implant Bios and 3 Audio Logs in this chapter.
The Callisto Protocol: Below Walkthrough
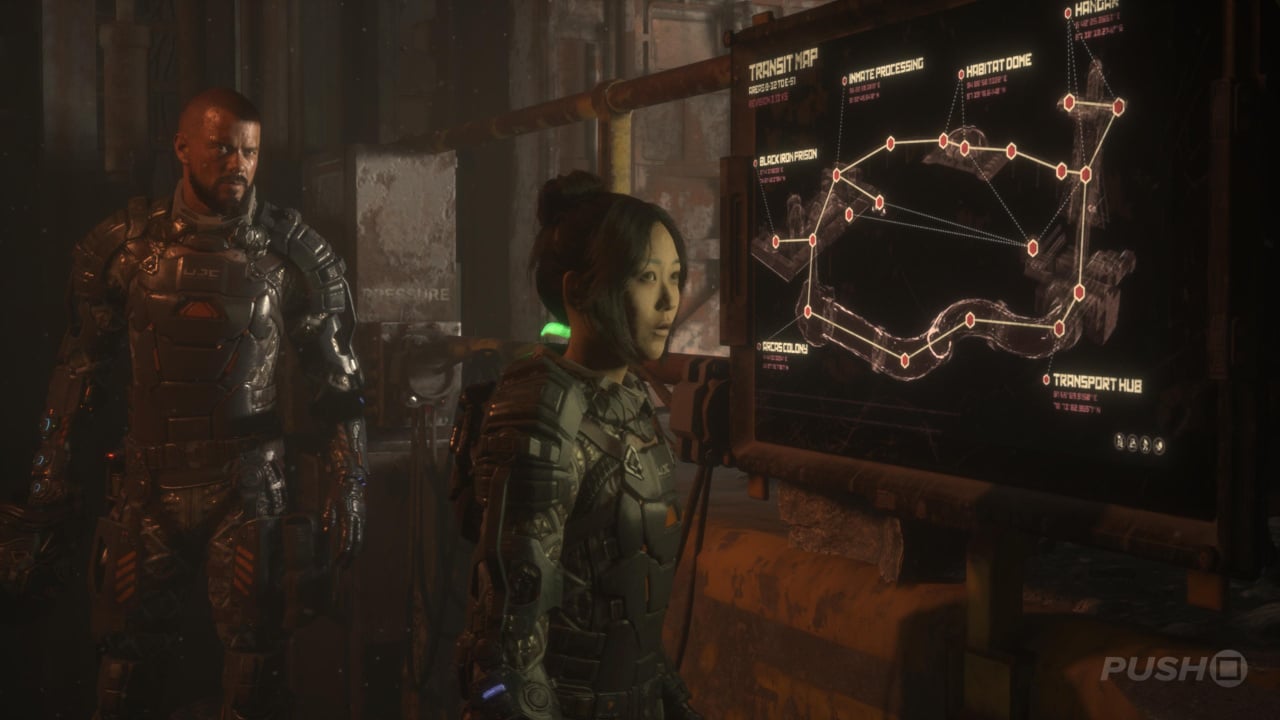
Now below the Black Iron Prison, follow Dani through the tunnel, climbing over bits of rubble, and then down the elevator shaft. When Jacob is separated from Dani, you'll continue climbing down, shimmying between debris, and then falling all the way to the bottom when Dani fails to catch you. When you reawaken, there'll be a new type of enemy to kill.
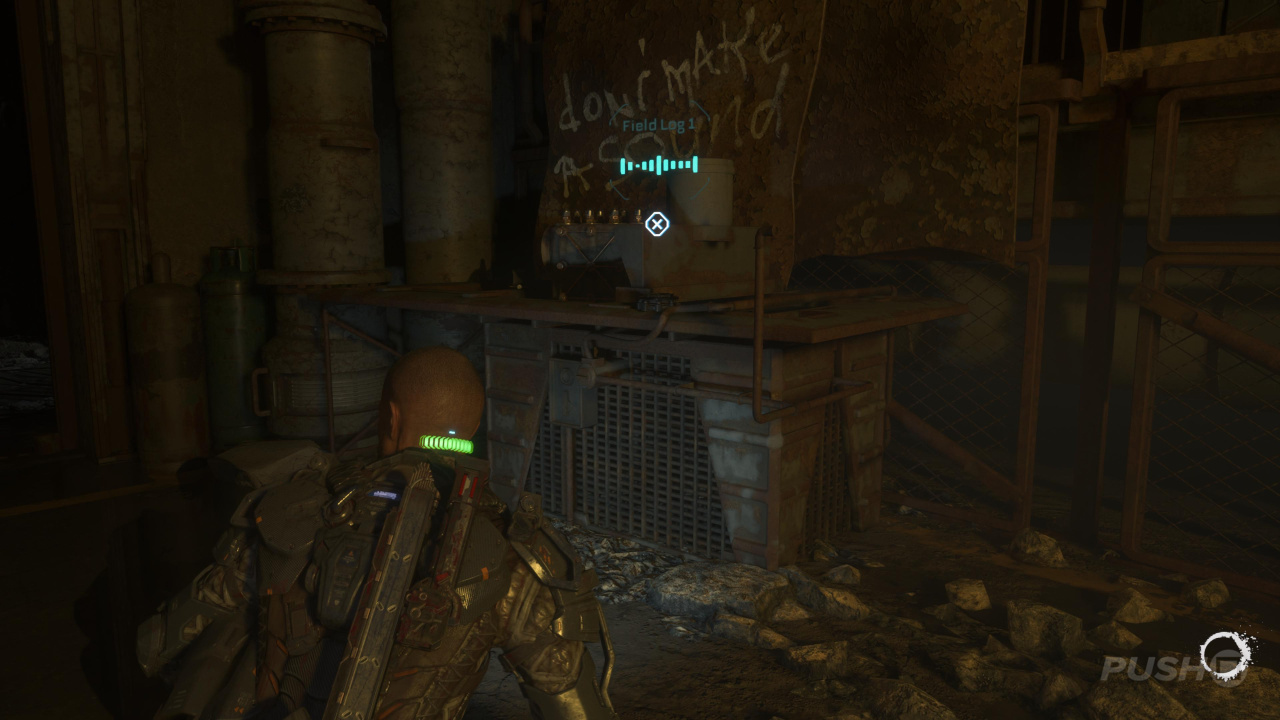
Follow the orange lights on the ground to keep pressing forward after the encounter, and in the next room, you'll learn these new enemies are blind. Therefore, make as little noise as possible and stay crouched. You can also grab Audio Log #1: Field Log 1 here.
Subscribe to Push Square on YouTube168k
Audio Log #1: Field Log 1
On top of a crate in the room where you learn the new enemy type is blind.
You'll encounter many more of these enemies in the area coming up, so the best way of killing them is staying crouched and sneaking up behind them for an easy kill. Begin by taking a left — there are three of these enemies patrolling — and follow the path around until you spot a room on your right. In here you'll find the Tactical Pistol Schematic along with Health Gel and Hand Cannon Ammo. Continue along and down the ladder, then upload the Tactical Pistol Schematic to the Reforge station on the level below.
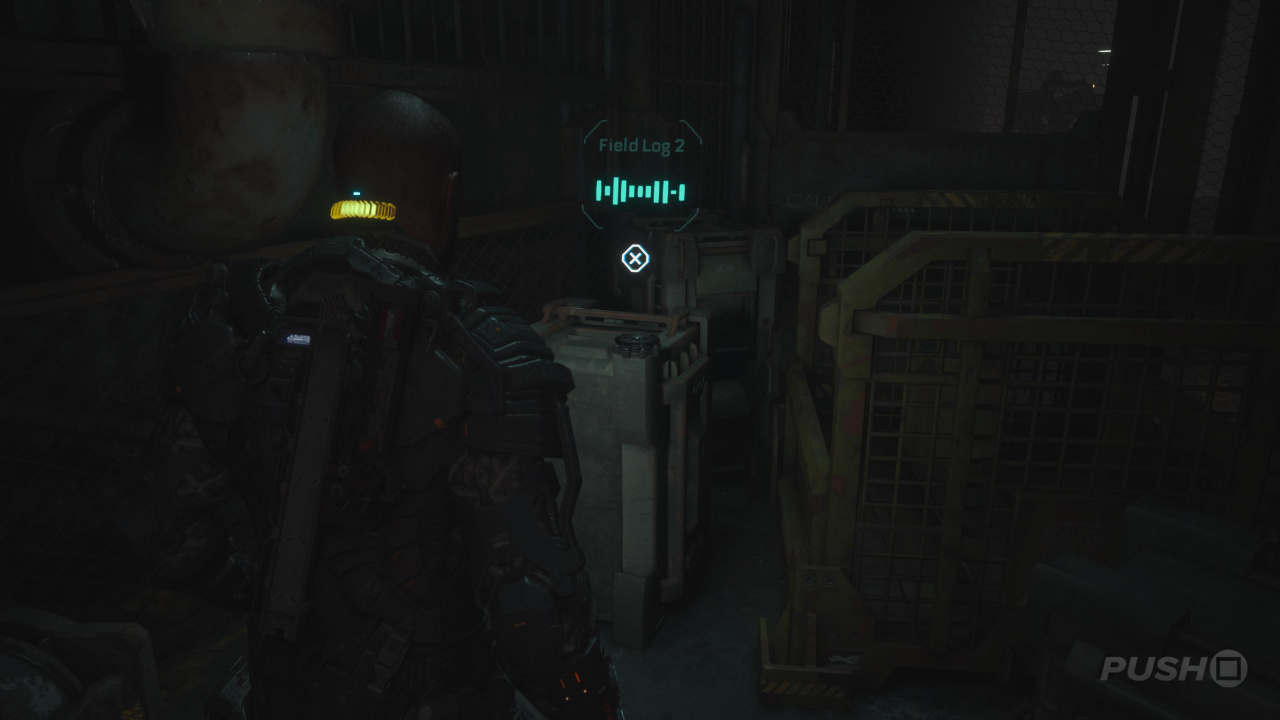
Take a left and drop down into the opening — there are more blind enemies down here so be careful — and crawl through to a new part of the tunnel section. Four blind enemies will soon appear, and we recommend taking them all down at once with the red explosive in the back. In the next corridor on the left is Audio Log #2: Field Log 2; take that and then climb up to the next floor on your right.

Audio Log #2: Field Log 2
As you work your way through the tunnels, you'll come upon a short section with four blind enemies patrolling. Just past them is a corridor, and taking the left turn leads you to Audio Log #2: Field Log 2.
Grab the Health Injector in the cave and watch out for the enemy that'll grab onto you — complete the quick time event to kill it. Crawl through and then duck down in the cave, making use of the spikes on either side in the next area to kill the next enemies that spawn. The next area is full of both enemies and vehicles, the former of which actually pose a threat.
Still of the blind variant, sneak up behind them for easy kills. If things do go bad, though, there's a red explosive you can use near the garage. When they're all dead, approach the locked door in the back to be handed your new objective of finding the Power Tunnels Keycard. Head on through the open gate labelled Transport Platform to find it.
Use the Reforge station if needs be, then go through the door on the right. Take the Keycard off the console on the large platform and return to the locked door in the previous area. Now you need to follow the yellow cables on the floor to find the power reactor, but first head down the path on the right to find Implant Bio #1: Dr. Sheehan Yune.
Implant Bio #1: Dr. Sheehan Yune
After opening the locked door with the Keycard and being handed the objective of finding the power reactor, take the path on the right instead of the one on the left. At the end you'll find Implant Bio #1: Dr. Sheehan Yune.
Return back to where you were and take the other path leading down. More blind enemies can be found down here, so make quick work of them with your GRP or bullets and melee hits. Many more will be between you and the objective, but you'll have made it to the end of this particular section when you notice a small set of stairs leading up to the Power Station.
In the first room, you'll find Health Gel, Callisto Credits, Hand Cannon Ammo, and a Reforge station, then you can go up the stairs and drop down into another area after passing through a control room. About five or six blind enemies all activate at once down here, so we suggest running away instead of engaging. It's not worth the firepower or loss of health. They'll chase you, though, so be quick about it if you're going to fight any other enemies you encounter. It's very easy to get ganged up on here.
Once you shimmy through a crack and spot a ladder to climb on the left, you're in the clear. Enter the Power Breaker room and interact with the console; now you must reset the breakers.
Audio Log #3: Secret Room 2
Also in this general area is Audio Log #3: Secret Room 2. Before entering the Power Reactor room, shimmy through the rock ahead of you instead and at the end of the path will be what you're looking for.
Go through the newly unlocked door and head for the breaker opposite to power it up. To find the second breaker, take the ladder down on the other side of the path. The place is full of blind enemies, though, so deal with them first. Flip the switch and go through the newly unlocked door on this same level. As always, though, there are going to be some blind enemies to contend with first.
Once they're all dead, climb up to the third and final breaker on the left-hand side and flip the switch. Doing so unlocks the Power Up Trophy. Now make your way back to the platform; just follow the orange cables if you're unsure of where to go. A lot of blind enemies will stand in your path back there, but you probably assumed that would happen anyway.
When you get back, open all the chests and interact with the console to start moving. Enemies will spawn whilst you're on your way there, so deal with them swiftly. The second part of this encounter will be a boss fight against Two Head. This will likely prove difficult, so don't sweat it if you have to repeat the fight a few times. Keep your distance at all times, pummeling it with bullets as much as you can. When it kneels down, get in close for some melee hits. After a time, it'll lose one of its heads, meaning you're close to killing it. Repeat the strategy and eventually, you'll down it and unlock the Two Heads Are Better Than One Trophy.
Your ride will now have reached Arcas Station, so get off and head for the door. Along the way, you can grab Implant Bio #2: Arden Jeddha. Going through the door completes the chapter.
Implant Bio #2: Arden Jeddha
After the fight with Two Head, you'll get off the moving platform and the single path ahead will lead you straight to Implant Bio #2: Arden Jeddha.
The Callisto Protocol: Below Objectives
- Follow Dani
- Find Another Way Down
- Follow Dani
- Find Another Way Down
- Find the Power Tunnels Keycard
- Unlock the Power Tunnels Door
- Locate the Power Reactor
- Reset the Breakers
- Find the First Breaker
- Find the Second Breaker
- Find the Third Breaker
- Return to the Transport Platform
- Ride the Platform to Arcas
- Survive the Platform Ride
- Locate Arcas Station
Was our Below Walkthrough for The Callisto Protocol helpful? Refer to our The Callisto Protocol guide for much more information, and share any further tips in the comments below.


Comments 0
Wow, no comments yet... why not be the first?
Leave A Comment
Hold on there, you need to login to post a comment...