What are all enemy scan locations for the Tactical Guide in Star Wars Jedi: Survivor? As part of our Star Wars Jedi: Survivor guide, we're creating walkthroughs for specific Trophies. Completing this task unlocks the Intergalactic Geographic Trophy.
Note: This guide is a work in progress. Please check back daily for more information.
Subscribe to Push Square on YouTube168k
Star Wars Jedi: Survivor: All Enemy Scan Locations for the Tactical Guide
As you're working your way through the game, you'll regularly come upon new enemy types that BD-1 wishes to scan for the Tactical Guide. When this happens, a prompt will appear above the dead body and BD-1 will alert you with a sound. You can then head over and push down on the D-Pad to add the enemy to your Tactical Guide.
Below you'll find a list of all enemy scan locations for the Tactical Guide in the order they appear on the menu. We've included images and a text description of the location we were able to scan each enemy. Please note that due to the open-ended nature of the game, you may be prompted to scan enemies in different places. You can view the Tactical Guide by pressing the Options button and then scrolling over to the right using R1.
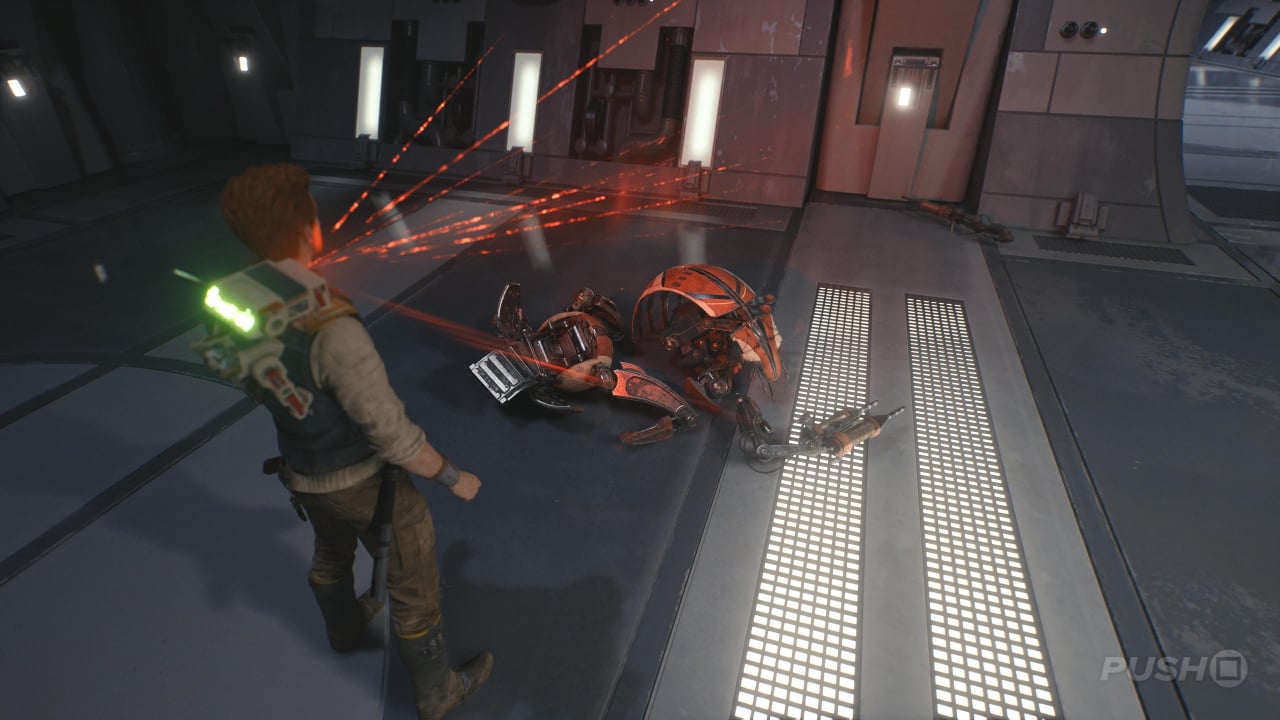
All Enemy Scan Locations The Galactic Empire
There are 7 enemies to scan for The Galactic Empire section of the Tactical Guide. Please note the Scout Trooper, Scout Trooper Commander, Stormtrooper, Stormtrooper Commander, AT-ST, Security Droid, Flametrooper, Heavy Assault Trooper, Probe Droid, Rocket Launcher Trooper, Electrobation Purge Trooper, Electrostaff Purge Trooper, Purge Trooper Commander, The Ninth Sister, and Darth Vader are all automatically added to the Tactical Guide and don't need to be scanned.
All Enemy Scan Locations The Galactic Empire Shield Trooper
Location: Koboh — Basalt Rift
Just after the Meditation Point in the Basalt Rift, you'll find a Shield Trooper fighting a droid.
All Enemy Scan Locations The Galactic Empire Jetpack Trooper
Location: Jedha — Halls of Ranvell
When you reach the very top of the Halls of Ranvell outside, you'll encounter a Jetpack Trooper. It's in the same place where you can open up a Shortcut.
All Enemy Scan Locations The Galactic Empire DT Sentry Droid
Location: Jedha — Trailhead Pantheon
Just beyond the Meditation Point, you'll encounter a BT Sentry Droid as part of the critical path.
All Enemy Scan Locations The Galactic Empire Security Droid Enforcer
Location: Jedha — Arid Flats
Encountered along the mainline path to Pilgrim's Sanctuary.
All Enemy Scan Locations The Galactic Empire ISB Agent
Location: Nova Garon — Hangar Bay
Automatically encountered along the main path to find Bode on Nova Garon.
All Enemy Scan Locations Bedlam Raiders
There are 15 enemies to scan in the Bedlam Raiders section of the Tactical Guide. Please note the three versions of Dagan Gera, Urgost, Fist of Rayvis, Rayvis, and Beetu Deetu are all automatically added to the Tactical Guide and don't need to be scanned.
All Enemy Scan Locations Bedlam Raiders B1 Battle Droid
Location: Koboh — Gorge Crash Site
Just after the Meditation Point in the Gorge Crash Site, you'll progress by wall-running, and then you will encounter your first B1 Battle Droid, which can be scanned.
All Enemy Scan Locations Bedlam Raiders B1 Melee Battle Droid
Location: Koboh — Swindler's Wish
After crossing the gorge in Swindler's Wish to head to the Forest Gate, a group of B1 Melee Battle Droids will get out of a drop pod.
All Enemy Scan Locations Bedlam Raiders B2 Battle Droid
Location: Koboh — Gorge Crash Site
Upon exiting a cave in the Gorge Crash Site, you'll wall run over to a short fight scene containing a B2 Battle Droid.
All Enemy Scan Locations Bedlam Raiders BX Droid
Location: Koboh — Derelict Dam
Just after encountering a Roller Mine for the first time, further into the cave will be a BX Droid in a tight corridor.
All Enemy Scan Locations Bedlam Raiders BX Droid (Hybrid)
Location: Koboh — Devastated Settlement
In the room with Orb Couplers above the Meditation Point in the Devastated Settlement.
All Enemy Scan Locations Bedlam Raiders BX Droid (Rifle)
Location: Koboh — Loading Gantry
Found in the next room along from the Meditation Point in the Loading Gantry.
All Enemy Scan Locations Bedlam Raiders Droideka
Location: Koboh — Loading Gantry
Automatically encountered as part of the mainline path through the Loading Gantry on the way to rescuing Zee.
All Enemy Scan Locations Bedlam Raiders E3-VE3
Location: Koboh — Untamed Downs
Past a green laser wall inside a cave in the Untamed Downs. It's just to the left of the entrance area from the Bygone Settlement.
All Enemy Scan Locations Bedlam Raiders The Mastiff
Location: Koboh — Yurt Barracks
From the Meditation Point in the Lucrehulk Core, go down the slope and then take a right and follow the path to the end. Climb up, then immediately turn around and use Lift on the door on the other side of the gap. Jump over and then beat The Mastiff in a boss battle.
All Enemy Scan Locations Bedlam Raiders Bedlam Raider Lieutenant (Single-Blade)
Location: Koboh — Observation Deck
You can grab this scan when you finish off the double boss fight neat the top of the Observation Deck.
All Enemy Scan Locations Bedlam Raiders Bedlam Raider Lieutenant (Double-Blade)
Location: Koboh — Devastated Settlement
This is a boss fight at the top of the Devastated Settlement in the Grand Courtyard.
All Enemy Scan Locations Bedlam Raiders Magnaguard
Location: Shattered Moon — Automated Forge
You'll fight this enemy in a boss encounter as part of the main story. Scan it after defeating it.
All Enemy Scan Locations Bedlam Raiders Raider Veteran
Location: Shattered Moon — Automated Forge
A Raider Veteran will ambush you as you make your way through the Automated Forge.
All Enemy Scan Locations Bedlam Raiders Raider Grunt
Location: Koboh — Gorge Crash Site
Very shortly after encountering a B1 Battle Droid for the first time, you'll go into a cave and the next enemy encounter will have a Raider Grunt to scan.
All Enemy Scan Locations Bedlam Raiders Bedlam Smasher
Location: Koboh — Lucrehulk Core
Automatically encountered as you make your way to rescuing Zee.
All Enemy Scan Locations Haxion Brood
There are 8 enemies to scan in the Haxion Brood section of the Tactical Guide.
All Enemy Scan Locations Haxion Brood Haxion Brood Commando
Location: Koboh — Fogged Expanse
You'll encounter this enemy as part of a Rumor called Find Vaslyn Martz.
All Enemy Scan Locations Haxion Brood Haxion Brood Bounty Hunter
Location: Jedha — Timeworn Bridge
Hanging out on the first section of the broken bridge.
All Enemy Scan Locations Haxion Brood Haxion Brood Shock Commando
Location: Koboh — Derelict Dam
This is the enemy you need to defeat as part of the Rumor called Find Kit Ostar.
All Enemy Scan Locations Haxion Brood Haxion Brood Gunslinger
Location: Koboh — Boiling Bluff
You'll find this enemy either naturally as you explore Boiling Bluff or you'll they'll be made a target via a Bounty.
All Enemy Scan Locations Haxion Brood Haxion Brood Grenadier
Location: Koboh — Observatory Understructure
You'll encounter this enemy when finishing a Rumor called Find Selfin Jook.
All Enemy Scan Locations Flora and Fauna
There are 17 enemies to scan in the Flora and Fauna section of the Tactical Guide.
All Enemy Scan Locations Flora and Fauna Gorocco
Location: Koboh — Derelict Dam
From the Meditation Point in the Derelict Dam, cross the broken bridge and you'll happen upon a small battle arena where a Gorocco will jump down and fight you. Scan it after defeating the beast.
All Enemy Scan Locations Flora and Fauna Gorger
Location: Koboh — Smuggler's Tunnels
After shimmying through a gap in the wall, drop down into the pool of water to find some Gorgers.
All Enemy Scan Locations Flora and Fauna Vile Bilemaw
Location: Koboh — Fogged Expanse
In the arena at the bottom of the Fogged Expanse. You'll need to slide down to reach it.
All Enemy Scan Locations Flora and Fauna Gorocco Matriarch
Location: Koboh — Derelict Dam
From the Meditation Point, right the elevator on the right-hand side up, Lift the door, and then fight the Gorocco Matriarch.
All Enemy Scan Locations Flora and Fauna The Mire Terror
Location: Koboh — Viscid Bog
From the Meditation Point in the Gorge Crash Site, use Lift on the door behind you and take the elevator all the way down into the Viscid Bog. Then use Lift on three rocks to cross the gap to The Mire Terror.
All Enemy Scan Locations Flora and Fauna Rancor
Location: Koboh — Sodden Grotto
You'll find a Rancor at the end of the Sodden Grotto. It also acts as the boss fight for a Rumor called Find Missing Prospectors. Scan it once it's dead.
All Enemy Scan Locations Flora and Fauna Bilemaw
Location: Koboh — Swindler's Wash
At the northern end of Swindler's Wash.
All Enemy Scan Locations Flora and Fauna Rawka
Location: Koboh — Swindler's Wash
Drop down into the water below the Meditation Point in Swindler's Wash to find Rawkas.
All Enemy Scan Locations Flora and Fauna Spawn of Oggdo
Location: Koboh — Fort Kah'lin
On the second level of Fort Kah'lin, there's an area with lots of droids guarding a pit. Head there and you'll automatically fall into the battle arena with the Spawn of Oggdo.
All Enemy Scan Locations Flora and Fauna Bramlik
Location: Koboh — Devastated Settlement
On the level above where Caij Vanda is properly introduced in a cutscene, you'll find Bramlik to kill and then scan.
All Enemy Scan Locations Flora and Fauna Shiverpede
Location: Koboh — Gorge Crash Site
From the Meditation Point at the Gorge Crash Site, head to the left of the elevator and you'll encounter a Shiverpede in the water.
All Enemy Scan Locations Flora and Fauna Mogu
Location: Koboh — Basalt Rift
Up the road that leads to the Chamber of Reason on your left. You'll first see a Mogu throwing another enemy about.
All Enemy Scan Locations Flora and Fauna Hardshell
Location: Jedha — Ruins Landing Site
Right at the very start of your first arrival on Jedha, just up the hill.
All Enemy Scan Locations Flora and Fauna Golden Skriton
Location: Jedha — Desert Ridge
From the Meditation Point labelled Anchorite Base, go round to the left to the large open area in the Desert Ridge. To the right of the slope in the back is a small area you can enter with the Golden Skriton inside.
All Enemy Scan Locations Flora and Fauna Skriton
Location: Jedha — Halls of Ranvell
You'll fight a Skriton as part of the main story through Jedha. Scan it after beating it.
All Enemy Scan Locations Flora and Fauna Sutaban
Location: Jedha — Monastery Walls
Inside the broken building to the left once you come upon the main area in the Monastery Walls.
All Enemy Scan Locations Flora and Fauna Sutaban Alpha
Location: Jedha — Crypt of Uhrma
Enter the Crypt of Uhrma from the Blustery Mesa area along the Pilgrim's Path. You'll need to solve a puzzle to enter: use Pull on the top left rock, the top right, and then the bottom middle left and bottom middle right rocks to open the door. Follow the path around and you'll find the Sutaban Alpha.
All Enemy Scan Locations Droids
There are 2 enemies to scan in the Droid section of the Tactical Guide.
All Enemy Scan Locations Droids Roller Mine
Location: Koboh — Derelict Dam
To the left of the second giant tar pit in the Derelict Dam, you'll stumble upon a comedic scenario involving a few enemies that are being killed by Roller Mines. Drop down and scan the debris of the Roller Mine.
All Enemy Scan Locations Droids Scavenger Droid
Location: Coruscant — Hangar 2046-C
On the other side of the Mantis is a Scavenger Droid scratching at the floor. Destroy it and then scan it.
Did you find our All Enemy Scan Locations for the Tactical Guide for Star Wars Jedi: Survivor useful? Click through to our Star Wars Jedi: Survivor guide for more information and share any further tips in the comments below.


Comments 1
The Galactic Empire and Bedlam Raiders are stuck at 95%
Show Comments
Leave A Comment
Hold on there, you need to login to post a comment...