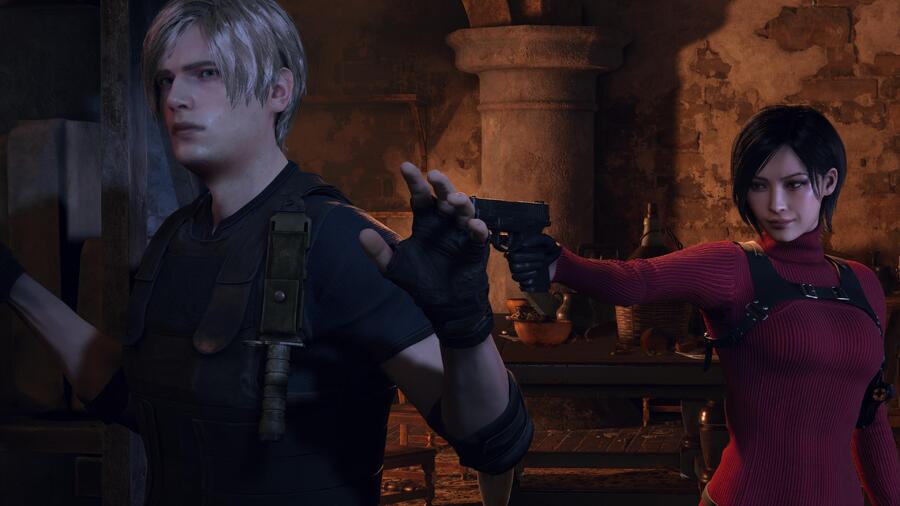
Do you need a Chapter 8 walkthrough for Resident Evil 4? This is the eighth of 16 Chapters in the game, which form the Main Story. As part of our Resident Evil 4 Remake guide, we're going to share our in-depth Chapter 8 walkthrough. It will cover every enemy encounter, puzzle solutions, highlight Collectibles, mention Blue Request Notes, and touch on any other points of interest. The walkthrough is broken down into the main objectives the game tells you to complete.
After using Leon's own knife against him, Ashley ran off deeper into the castle. Something wasn't right with her; it was as if she was being controlled like a puppet. Confused and concerned, Leon goes after her.
Resident Evil 4 Remake: Chapter 8 Walkthrough

The Las Plagas parasite suddenly took hold of Ashley at the conclusion of Chapter 7, leading to Leon being separated from her. The name of Chapter 8 is to get her back all over again.
Find Ashley
On your own once more, you can't follow Ashley's exact footsteps due to the gate in your path, so instead head north to meet the Merchant. Buy whatever you need and upgrade your favourite weapons, then exit and head further into the castle. Inside, you'll encounter some figures sitting down in a circle. They never do anything, so don't worry about killing them. You should be concerned about what's ahead, however.
Subscribe to Push Square on YouTube169k
Drop down into the next room by vaulting over the railing. You need to find a lantern to go in the statue on the left side of the gate in front of you, and it's being held by a special kind of Zealot in the next room. It'll be flanked by a lot of common Zealots, and the worst thing you could do is stay in the room you're currently in. Enter the arena for proper, and take advantage of the red barrels all over the place. Gang the enemies up around them for easy kills, and then go for the special Zealot and pick up the Crimson Lantern once it's dead. Place it on the statue back in the first room and you'll be able to progress.
At the end of the corridor is the Bindery, which contains a reunion with Ada. Once you regain control, you'll have to make it out of this room by solving a puzzle built into the locked door. First, find the four Lithographic Stones. There's one by the door you came through, a second behind glass in a brown box, the third is on the bookshelf next to the puzzle, and then the last Lithographic Stone is already slotted into the puzzle door itself.
You now need to match the symbols on the Lithographic Stones with the ones on the wall. You can rotate the pieces, so there are actually two symbols on each Lithographic Stone. The red, square shield symbol goes at the top, the blue, square sword to the right, the blue, hexagonal armour at the bottom, and then the red, hexagonal headpiece goes on the left. View the images below to get a visual idea of what that looks like.
Follow the long corridor ahead, grabbing the Small Key and then pushing the bookshelf aside. It's at this point you'll encounter a new enemy: a Plaga. These are easy to kill if they're on their own, but if you let them control another Zealot, they'll be a lot more dangerous, as demonstrated. Once it's dead, go downstairs to find the Merchant and a Typewriter to save at. Shoot the counterweight to raise the gate and continue onto the castle walls outside.
Deal with the archers up above, then shoot the counterweight holding the drawbridge up. More Zealots will be waiting for you on the other side, and a Hand Grenade would come in handy here. There'll also be a Plaga in the back so look out for an enemy charging at you. In the next room, you'll encounter a new mechanic: pulling a lever to switch between open and closed gates.
Leave the lever alone for now; instead, go upstairs and deal with the Zealot and Plaga. You can climb down the ladder here, then drop down into a new area. Immediately turn around and follow the path underneath the area you've just been two find a further two Zealots as well as a lever you should pull. The symbol will change from a sun to a moon, and opens up a gate behind you. You can then climb up one level, go a short distance, and then drop back down again to find the path out of the area. You'll now also be able to grab an Ornate Necklace from the red chest.
Turn around, go up the ladder, and continue heading upwards, killing the Zealots along the way. You're in the right place if you encounter a lever directly next to a locked gate; pull it to progress upwards. At the top, you're in for a surprise: an armoured El Gigante. This monster will constantly throw rocks at you from its position. The main path takes you to the left, but if you head right first, you'll be able to get a Clockwork Castellan and an Emerald.