Do you need a Chapter 3 walkthrough for Resident Evil 4? This is the third of 16 Chapters in the game, which form the Main Story. As part of our Resident Evil 4 Remake guide, we're going to share our in-depth Chapter 3 walkthrough. It will cover every enemy encounter, puzzle solutions, highlight Collectibles, mention Blue Request Notes, and touch on any other points of interest. The walkthrough is broken down into the main objectives the game tells you to complete.

"Your blood has accepted the Gift." With these ominous words, Leon's formidable attacker vanished. While trying not to think about the true meaning behind them, Leon continues on his search for Ashley.

Resident Evil 4 Remake: Chapter 3 Walkthrough

Resident Evil 4 Remake: Chapter 3 Walkthrough 1
Image: Push Square

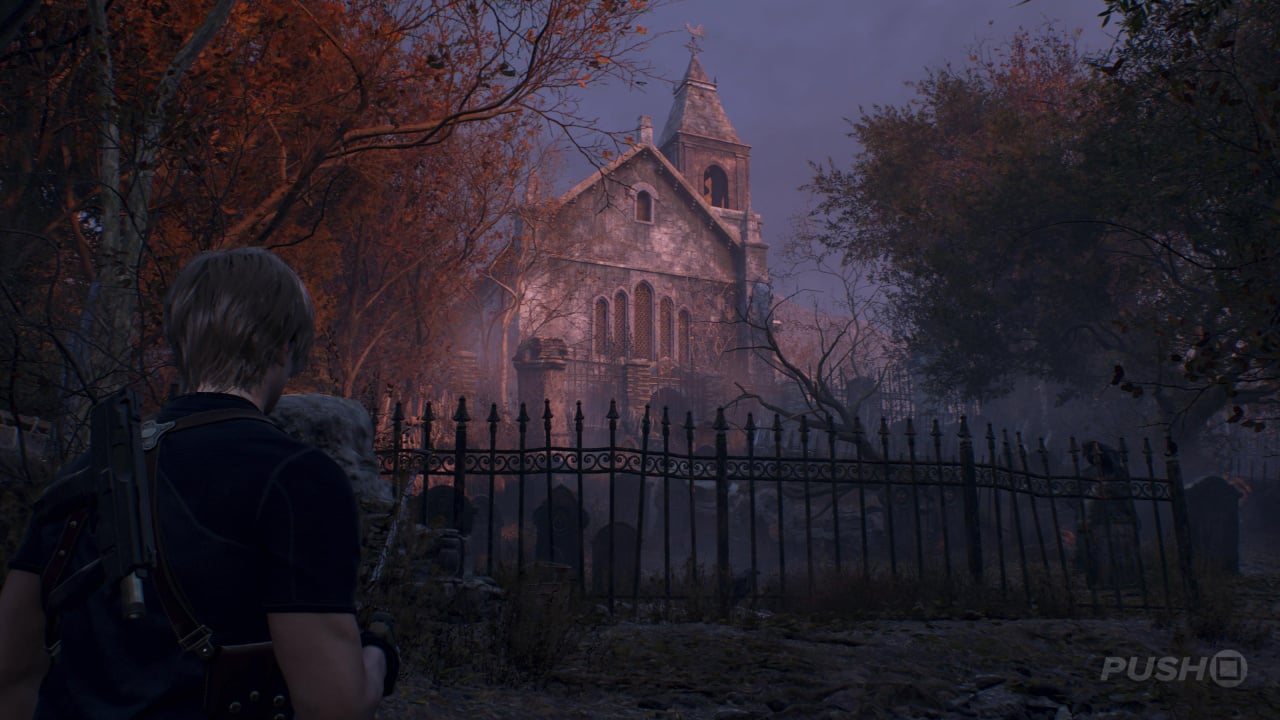
After another encounter with the tall man and a sighting of a mysterious red-dressed woman, you'll automatically regain control of Leon and have a quick call with Hunnigan in the Village Chief's Manor. Your objective remains the same: go to the Church to try and find Ashley.

Head for the Church

Before you leave the bedroom, grab the Handgun Ammo from the side. You might also notice a lever hidden behind a painting, which reveals access to the attic. However, this is something you'll need to return to later on as you can't get up there just yet. Go outside to find darkness is beginning to fall, but also an old friend. Yes, the Dog really is still alive! Rescue it from the bear trap, and just like old times, it'll help you out later on.

Now you can use the Insignia Key on the locked gate outside the Village Chief's Manor and link back up with the Village Square. When you get to the centre, the tower just to the left of the Town Hall will suddenly collapse. This means you'll need to go through the building on your right and then climb out the window to then use the Insignia Key at the front entrance. A pack of Colmillos will be patrolling the area, so keep an eye out for them too.

However, before going into the Town Hall, follow the path to the left of the entrance down a ladder. In the sewers, you'll find lots of Pesetas and Handgun Ammo. Now you can return to the Town Hall and come out the other side to find the Merchant, grabbing the Handgun Ammo, a Spinel, a First Aid Spray, Pesetas, and Shotgun Shells along the way. Maybe buy the TMP from the Merchant, then grab the Blue Request Note called Viper Hunter off the wall and keep it in mind as you progress.

Follow the only path open to you beyond the Merchant and it'll take you to the Church. Before you head up into the graveyard, loot the little house to your right, taking the Pesetas, Resources (S), and Handgun Ammo. Now make your way to the Church, dealing with any Villagers you encounter. A quick interlude reveals the Church entrance is locked, so take the path to your right and around the back of the building, taking the Kitchen Knife from the breakable box as you go. In a small shed around the back, you'll find another Blue Request Note called Grave Robber, which you can complete now.

Upon fulfilling its requirements, return to the Church and enter through the door on the right side. In here you'll find a few Files to look at and read, with the map on the back wall handing you a new objective: to cross the Lake. Before continuing down the trapdoor, feel free to save at the Typewriter.

Cross the Lake

Once you exit via the tunnel, first go right to unlock the gate that was blocking access from the Church to your current location, then return to where you were and begin crossing the wooden bridge. A fair few Villagers will be on hand to greet you as you cross, but they shouldn't pose much of a threat at this point. Break the nearby boxes and barrels for supplies, then continue on into the cave. Watch out for the tripwire as you go, then grab the Pesetas and Handgun Ammo out of the barrel once you exit along with the Blue Request Note named Destroy the Blue Medallions 2. You can finish this as you work towards the next objective.

Cross the Quarry, then follow the path to the Merchant and the Shooting Range. This is the first time you'll encounter the latter, which is exactly what it says on the tin. You can earn Charms by earning high scores which unlock special effects in the game. When you're ready to head out, grab the Clockwork Castellan nearby and go north.

You'll now be at the shore of the Lake, and there's a Boat nearby you can use to cross. However, it's out of gas. Grab the supplies like a Yellow Herb, Kitchen Knife, and lots of Pesetas in the houses opposite the Boat and head west in search of petrol, grabbing the File along the way so you can pinpoint some Boat Fuel. Going through the short cave reveals the Fish Farm, where the Boat Fuel is located in the back. Deal with the Villagers that stand in your way and grab the Boat Fuel from the house in the back. Once you have it, use the ladder to the right outside to quickly get back to the entrance and fins more breakable boxes with supplies inside along the way.

Once you're back at the water's edge, you can use the Boat Fuel on the Boat and start to cross the Lake. However, Del Lago has other ideas. This is a boss fight where you must use the Harpoons on the Boat and throw them at the gigantic fish that's started towing you.

Defeat the Lake Monster

You have an infinite amount of Harpoons to make use of, so keep on throwing them at Del Lago's visible body over and over again. After you've landed enough hits, it'll disconnect from the boat and charge at you mouth first. Pummel it with as many Harpoons as possible to knock it off course at this point. After repeating this process a few times, Del Lago will die and you'll win the boss encounter. This concludes Chapter 3.


Did you find our Chapter 3 walkthrough for Resident Evil 4 useful? Click through to our Resident Evil 4 Remake guide for more information and share any further tips in the comments below.