Do you need a Chapter 13 walkthrough for Resident Evil 4? This is the thirteenth of 16 Chapters in the game, which form the Main Story. As part of our Resident Evil 4 Remake guide, we're going to share our in-depth Chapter 13 walkthrough. It will cover every enemy encounter, puzzle solutions, highlight Collectibles, mention Blue Request Notes, and touch on any other points of interest. The walkthrough is broken down into the main objectives the game tells you to complete.

Ada Wong shows up out of nowhere again, but Leon wonders where her allegiance truly lies. Is she an ally, or is she just using him again? Regardless of Ada's intentions, Leon can now pursue Krasuer and save Ashley thanks to her.

Resident Evil 4 Remake: Chapter 13 Walkthrough

Resident Evil 4 Remake: Chapter 13 Walkthrough 1
Image: Push Square

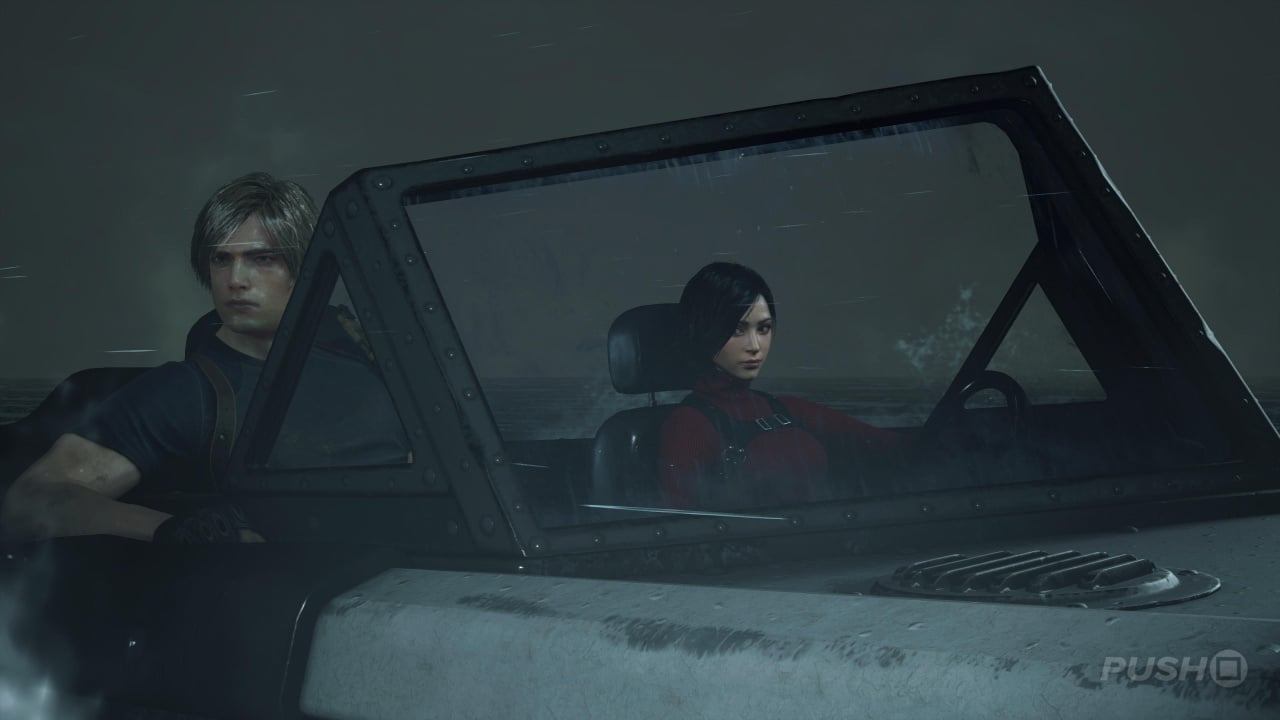
Leon is well on his way to rescuing Ashley once again thanks to the efforts of Ada, who lends him the keys to a speedboat to take to the Island. However, she quickly leaves the protagonist behind to fend for himself as the red-dressed assassin has other matters to attend to.

Go After Ashley

When you regain control of Leon, you'll be on the Island. It probably goes without saying that you can no longer backtrack to the Castle or the Village at this point, so it's all guns blazing ahead to rescue Ashley. Climb the cliffs and you'll catch your first glimpse of the Island. This first area is known as the Wharf, and it's littered with enemies and security turrets that'll shoot you (it's a one-hit kill too) to death should you cross into their red lasers. It goes without saying then you should avoid these at all costs.

Follow the path through the cave and you'll encounter your first security turret. Don't cross its red lasers; instead, head round to the right and interact with its control panel to turn it off. Check in with the Merchant (you should buy the Treasure Map: Island) on the way back, then use the newly unlocked path to progress to the main section of the Wharf.

To get through this next encounter, you need to defeat a load of Soldiers (the standard enemy type on the Island) as well as deal with the security turrets. What you must remember is that when you interact with the switch on a security turret, you are not completely turning them off. Instead, you're simply moving the red lasers that trigger their activation to a different position. Therefore, always stay focused and don't accidentally run into any red lasers.

You can attempt to play this first stretch of the Wharf stealthily, but good luck carrying it all the way through. There are too many Soldiers about, so once the alarm is raised, feel free to whip out the big guns. At this point, a Brute with a minigun attached to its arm will join the fight. We recommend taking it down at a distance using the Stingray. When the coast is clear, grab the Pearl Bangle and head for the main gate and change the direction of the security turret blocking your path by following a narrow path near the cliff edge. Press the button, then backtrack around the Wharf to where you can come out on the other side of the red laser by working your way through the ruined buildings.

After opening the big, metal doors, you'll continue along the cave, killing the Soldiers and grabbing some Pesetas and Handgun Ammo along the way. Take the ladder at the end up and kill the Soldiers here stealthily if you can. If you shoot the red barrel buried deep in the caves, you can get the Golden Lynx.

Up ahead will be more Soldiers, one of which has a Rocket Launcher. Try and take this enemy out first with the Stringray, then deal with the rest through clever crowd control. Sweep the area for supplies, then push open the gate in the back to progress to the next part of the Island. Another Soldier carrying a Rocket Launcher is just up ahead, and in that same area you spot those enemies in is an Elegant Crown and a Clockwork Castellan. Make sure to shoot it after dealing with all the enemies, then push further into the facility up the stairs. Just watch out for the tripwire covering the entrance.

You'll now be in Surveillance, which has a couple of Soldiers patrolling inside. Collect any supplies on the bottom floor as well as the Velvet Blue and then head upstairs. There's another tripwire up here you could actually use to your advantage: lure an enemy into triggering for a free kill or two. In the control room, press the button to release the lock on the door below. Through here, you'll find Ashley locked inside a room.

Rescue Ashley

However, to get to her, you need to create a level three keycard. To begin, stealth kill the Soldier and the Brute guarding the entrance to her cell. Every other path is either locked or blocked, so take the ladder upstairs and work your way through Utilities, dealing with the Soldiers and collecting supplies like the Velvet Blue along the way (did you enjoy one of Resident Evil 4's most classic scares in the kitchen?).

Resident Evil 4 Remake: Chapter 13 Walkthrough 13
Image: Push Square

You'll come across more Keycard Locks as you make your way through the facility, with Dissection being the only place you can enter. Once there, head south back the way you came and go into the room with a green light. Read the File to learn of your next objective, then redirect the power using the panel.

Get the Level 3 Keycard

Exit the room and use the lever you've just drawn power to raise the gate, then head back north, grab the Red Beryl from the now open room, and then interact with the Electronic Lock Terminal. To work out how to solve this puzzle, refer to our All Combination Lock and Electronic Lock Terminal Solutions guide

Once inside, take the Level 1 Keycard from the back. As soon as you exit the room, you'll be attacked by a Regenerador. You don't have the item required to kill these enemies yet, so try and run around it into the room opposite to grab the Gold Ignot by smashing the glass. Next, return to the Power Control Lever and redirect electricity to the Freezer. Now you have a Level 1 Keycard, you can open the door. In here, interact with the Overwrite Terminal on the back wall. The process of acquiring a Level 2 Keycard takes a bit of time, so of course the game throws another Regenerador at you now. To wait the time out, try and blow its legs off so it can't easily attack.

While you're waiting, you can also solve the Electronic Lock Terminal and get the LE 5. For the solution, check out our All Combination Lock and Electronic Lock Terminal Solutions guide once more. Once the Overwrite Terminal has done its job, return to the panel and take the Level 2 Keycard out. Now you have this, head all the way to the end of the main corridor in this area and use the Level 2 Keycard on the Level 2 Keycard Lock.

You'll now be in Systems, which houses a few Soldiers to deal with as well as some supplies to add to your inventory. Continue through to the Incubation Lab, where you'll spot four Regeneradors in pods and a small room in the back. Head on through and grab the Biosensor Scope. You should attach this to one of your weapons — like the Stringray or newly acquired LE 5 — as it provides an easy method to killing Regeneradors for good. When you look through the Biosensor Scope, you'll be able to spot parasites inside a Regenerador. Destroy all of these and the enemy will be dead for good.

In fact, you'll need to do this right away. To gain access to the final Overwrite Terminal, you must find a Wrench. It turns out one of the Regeneradors in the Incubation Lab has swallowed one, so examine each enemy through the Biosensor Scope to pick out which one it is. When you find it, kill the Regenerador and take the Wrench out of it so you can interact with the Overwrite Terminal in the back.

Just like last time, you'll need to wait a bit for the process to complete. Soldiers will flood the Incubation Lab at this point, so kill them while you wait. Once the Level 3 Keycard is complete, take it out of the panel and use it on the locked door just outside the Incubation Lab. Follow the path around to the Holding Cell with Ashley inside and Chapter 13 will be over once you swipe the Level 3 Keycard.


Did you find our Chapter 13 walkthrough for Resident Evil 4 useful? Click through to our Resident Evil 4 Remake guide for more information and share any further tips in the comments below.