Keruf's Salvage Unlimited is a Salvage Contract in Horizon Forbidden West found in Barren Light and issued by Keruf. You'll likely discover it during The Embassy, but it can't be completed until after you've entered the Forbidden West. As part of our Horizon Forbidden West guide, we're going to explain everything you need to know about Keruf's Salvage Unlimited.
Keruf's Salvage Unlimited: Overview
| Type | Description | Recommended Level |
|---|---|---|
| Salvage Contract | A group of Oseram has set up a salvage operation in the Forbidden West. Their camp is a must-stop for discerning hunters looking to trade. | 8 |
Keruf's Salvage Unlimited: Walkthrough
Once you've entered the Forbidden West, after completing The Embassy, you'll be able to pick up your first batch of Salvage Contracts by speaking with Larend. Unlike other quests in Horizon Forbidden West, Keruf's Salvage Unlimited is divided into a series of Salvage Contracts, each issued by a different merchant. We've included a list of All Contracts below.
The primary quest givers which contribute to Keruf's Salvage Unlimited are as follows:
- Larend
- Handa
- Runda
- Danur
Each Salvage Contract functions a little like a fetch quest, where you need to travel to a specific location in order to loot gear from a particular machine or recover a lost item. The complete Salvage Contracts will be added as a Datapoint to your Focus, and it's worth reading through each one before embarking on your mission in order to learn a little more about what's required.
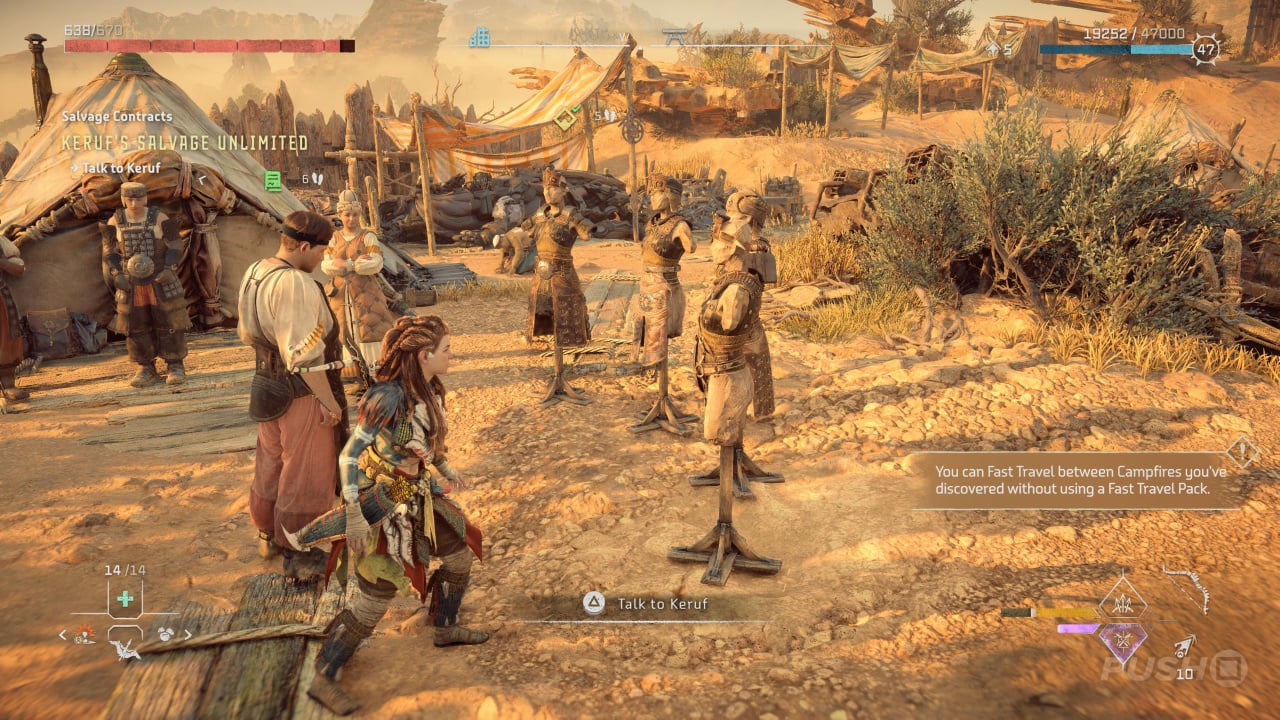
Once you've fulfilled all 17 Salvage Contracts issued by all four Salvage Contractors, return to speak with Keruf at the Barren Light Salvage Camp, where Larend is stationed. After a cut-scene, you'll get the Oseram Artificer for your troubles.
Larend: Where to Find His Salvage Camp
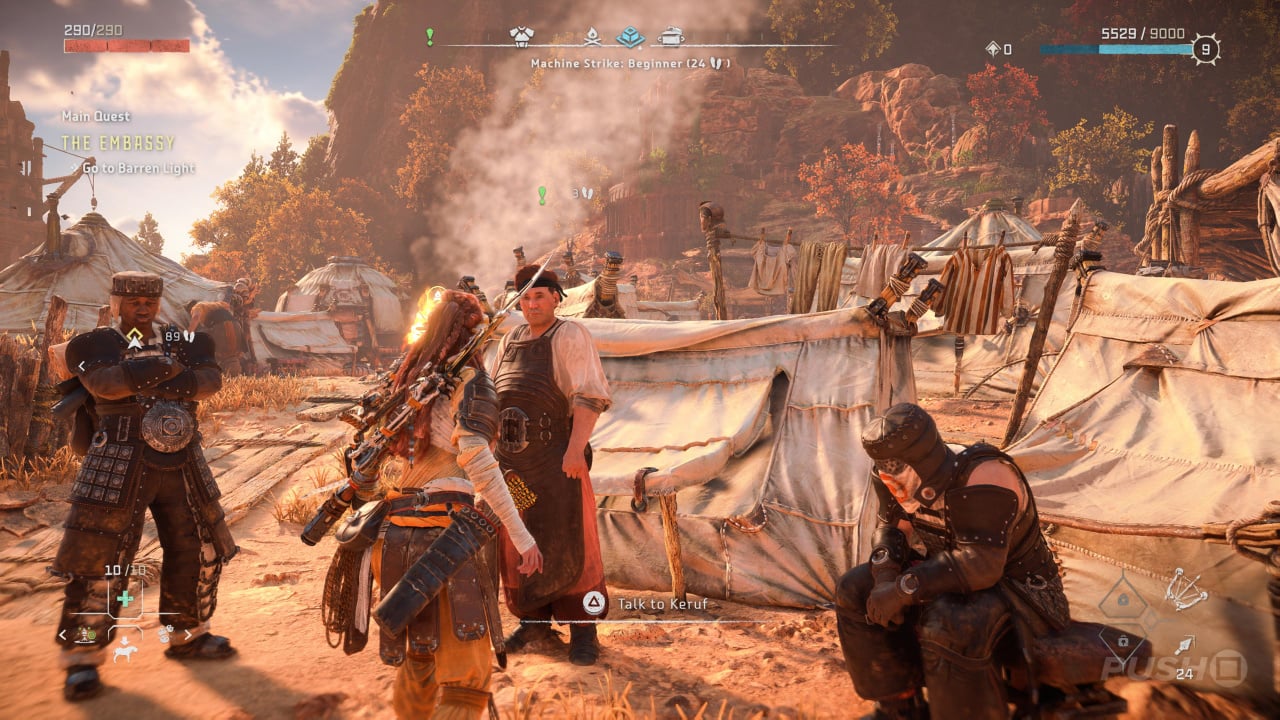
Larend is one of the first people you'll encounter in the Forbidden West, briefly after completing The Embassy. His camp is just west of Barren Light, but you'll speak to Keruf first before being introduced to Larend and taking on his Salvage Contracts.
Larend's contracts include:
- Convoy Ambush
- Alarm Antennas
- Scavengers
- Elusive Fanghorn
Handa: Where to Find Her Salvage Camp
Handa will likely be the second or third Salvage Contractor you discover, in the Greenswell area, northeast of Scalding Spear. Upon completing Handa's final Salvage Contract, likely Speedy Lancehorns, her camp will be attacked by Spikesnouts and Scroungers, so make sure you're prepared.
Handa's contracts include:
- Ancient Relics
- Property Retrieval
- Plowhorns and Plants
- Ravager Cannon
- Speedy Lancehorns
Runda: Where to Find Her Salvage Camp
Runda's camp is setup not far from Hidden Ember, to the northeast of Relic Ruins: The Stillsands.
Runda's contracts include:
- Lost Supplies
- Pristine Bellowback
- Missing Gear
- Rollerback Salvage
Danur: Where to Find His Salvage Camp
You'll find Danur south of Fall's Edge, in the jungle area, known as The Raintrace. When you first make contact with him, make sure you come prepared, as he will be in the middle of battle against three Stalkers.
Danur's contracts include:
- Mine Launchers
- Colleague and Key
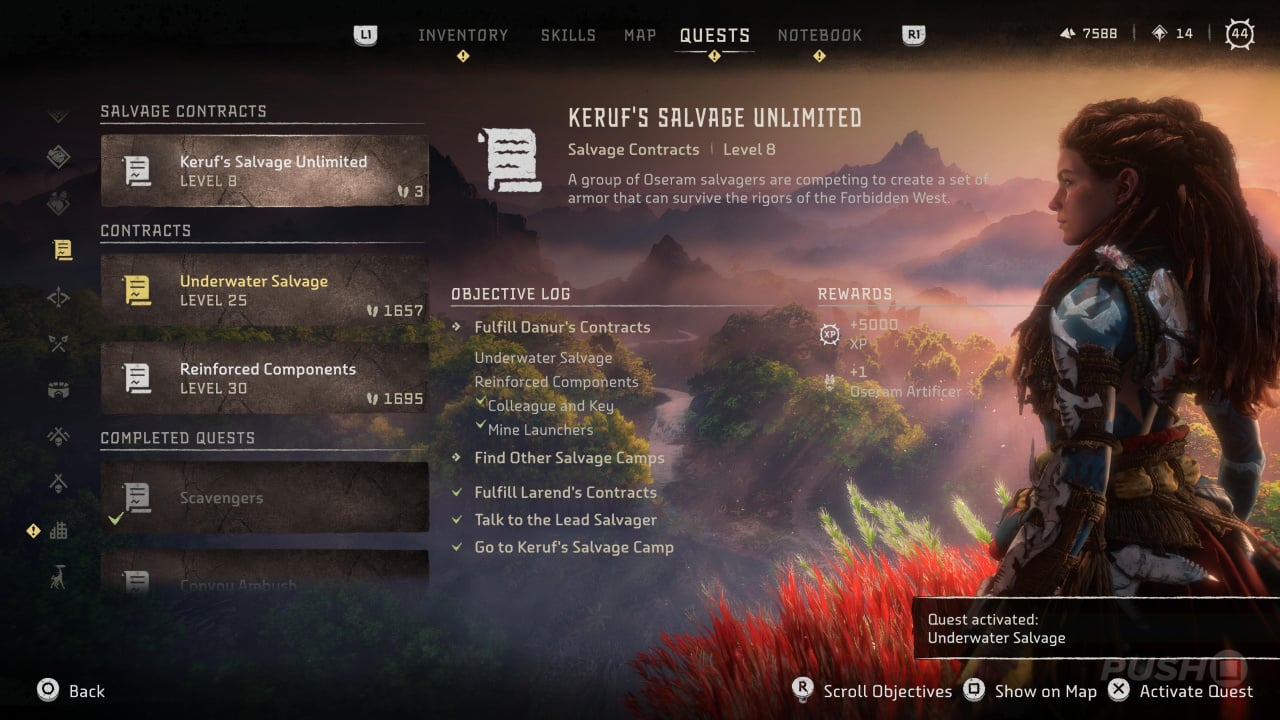
- Underwater Salvage
- Reinforced Components
Objective Log
- Talk to Keruf
- Go to Keruf's Salvage Camp
- Fulfil Larend's Contracts
- Fulfil Handa's Contracts
- Fulfil Runda's Contracts
- Fulfil Danur's Contracts
- Find Other Salvage Camps
- Talk to Keruf
Keruf's Salvage Unlimited: All Contracts
There are 17 Salvage Contracts that comprise Keruf's Salvage Unlimited. They are as follows:
| Contract | Description | Issued By | Recommended Level | Rewards |
|---|---|---|---|---|
| Convoy Ambush | Larend requires plating from a Shell-Walker Crate to craft his armour. Ambushing a nearby convoy should provide his team with what they need. | Larend | 8 |
|
| Alarm Antennas | Larend needs Alarm Antennas to complete his armour. Shooting them off before the machines can call in reinforcements will require true skill. | Larend | 8 |
|
| Scavengers | Larend thinks Scrapper Jaws will be a worthy addition to the armour he's crafting. His team has tracked a pack but can't seem to lure them in. | Larend | 8 |
|
| Elusive Fanghorn | Larend's got his eye on a Fanghorn whose speed has made it tricky to capture. Its salvage could give his armour an edge in Keruf's competition. | Larend | 10 |
|
| Ancient Relics | To make her armour a true masterpiece, Handa will need ancient machine parts found in the silent graveyards of the Old World. | Handa | 10 |
|
| Property Retrieval | Rogue salvagers have stolen treasure maps that Handa needs to complete her armour. Someone needs to find these scoundrels before they get away with the goods. | Handa | 15 |
|
| Plowhorns and Plants | Handa has found a herd of sturdy Plowhorns, salvage from which will help complete her armour. | Handa | 15 |
|
| Ravager Cannon | Acquiring a Ravager Cannon will help Handa make an armour that's both strong and fierce. It'll take a skilled hunter to shoot one off intact. | Handa | 20 |
|
| Speedy Lancehorns | Handa has targeted an elusive herd of Lancehorns. She needs their salvage to finish her armour. | Handa | 20 |
|
| Lost Supplies | Runda knows her crew's rations are buried somewhere out in the desert, but only a Bristleback's nose has any hope of finding them. | Runda | 15 |
|
| Pristine Bellowback | Runda's people are too exposed out in the desert. A Bellowback's Cargo Sacs should help them setup a defensive perimeter. | Runda | 18 |
|
| Missing Gear | Runda's crew needs to set up camp to recover from their latest misadventures, but they can't do it without their gear. | Runda | 20 |
|
| Rollerback Salvage | With her crew on the mend, Runda hopes to recover the Rollerback salvage she needs to complete her armour. | Runda | 26 |
|
| Mine Launchers | A group of Oseram salvagers are in desperate need of Mine Launchers. Without them, they'll be overrun by dangerous machines. | Danur | 30 |
|
| Colleague and Key | Danur needs to open Warend's locked trunk. Unfortunately, the key went missing after Warend lured a Thunderjaw away from the camp. | Danur | 30 |
|
| Underwater Salvage | Danur can't complete his armour without Warend's sunken salvage. | Danur | 25 |
|
| Reinforced Components | Danur requires Bethemoth parts reinforced by Spikesnouts to make his armour. | Danur | 30 |
|
Keruf's Salvage Unlimited: Outfits Obtained
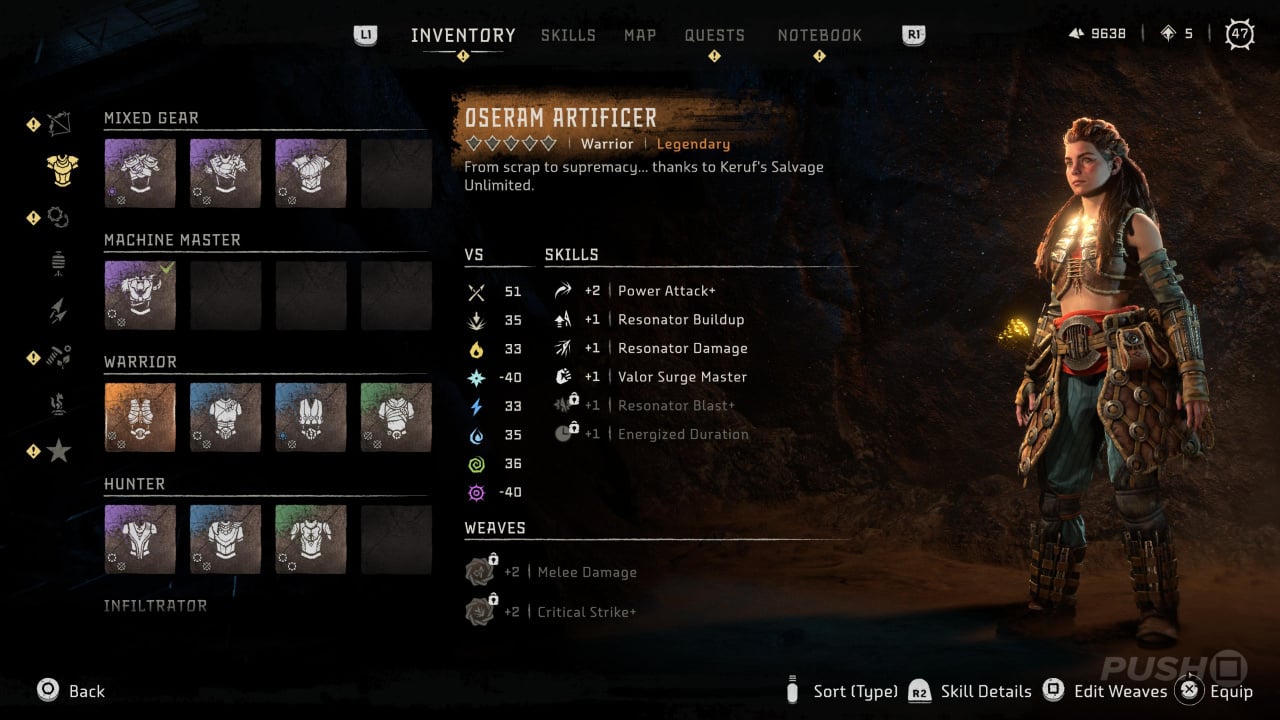
- Oseram Artificer: From scrap to supremacy, thanks to Keruf's Salvage Unlimited.
Keruf's Salvage Unlimited: Rewards
- 5,000 XP
- 1 Oseram Artificer
Did you follow this walkthrough for Keruf's Salvage Unlimited? For more information on Horizon Forbidden West, including All Quests, refer to our Horizon Forbidden West guide through the link.


Comments 0
Wow, no comments yet... why not be the first?
Leave A Comment
Hold on there, you need to login to post a comment...