How do you solve Relic Ruins: The Long Coast in Horizon Forbidden West? Where is Relic Ruins: The Long Coast and how do you complete it? As part of our Horizon Forbidden West guide, we're going to show you how to get through Relic Ruins: The Long Coast with step-by-step instructions. If you're looking for help with other Relic Ruins, see our guide: Horizon Forbidden West: All Relic Ruins and How to Solve Them.
Horizon Forbidden West: How to Solve Relic Ruins: The Long Coast
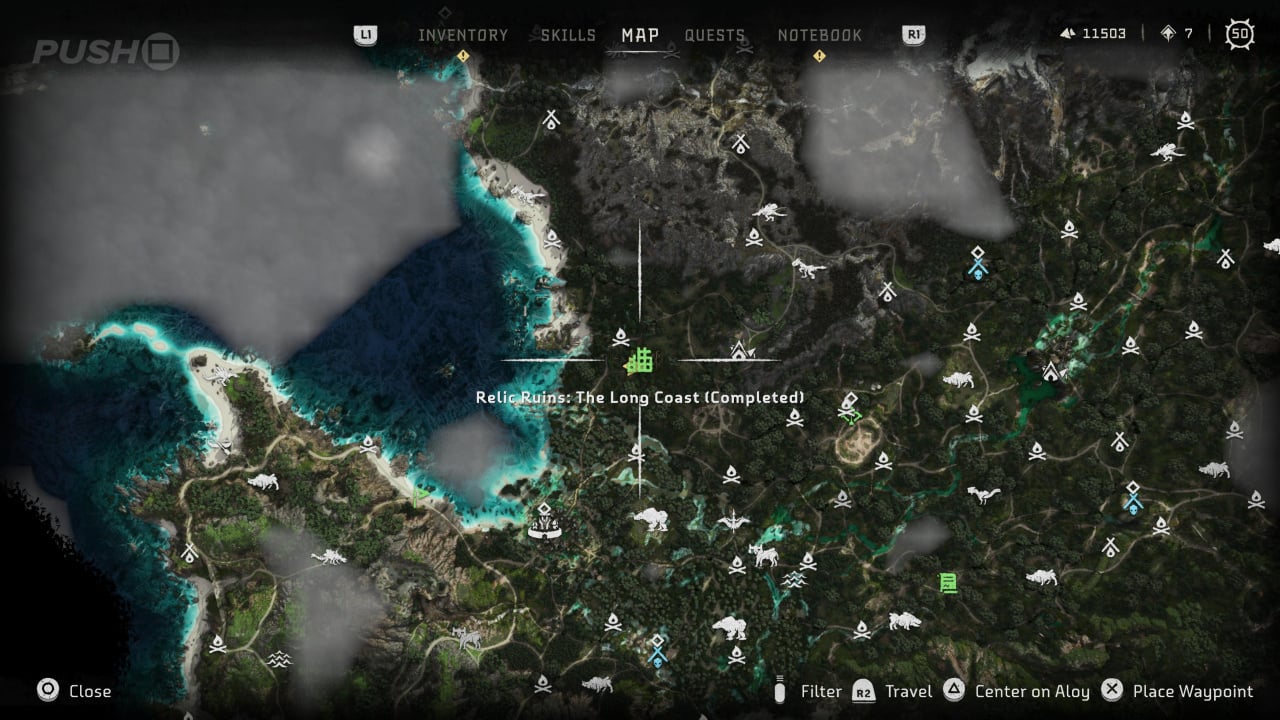
This is the first Relic Ruin you'll come across in the game. Above pictured is where it appears on the map.
How to Complete Relic Ruins: The Long Coast
Follow these steps to solve Relic Ruins: The Long Coast and collect Ornament #7: The Bill.
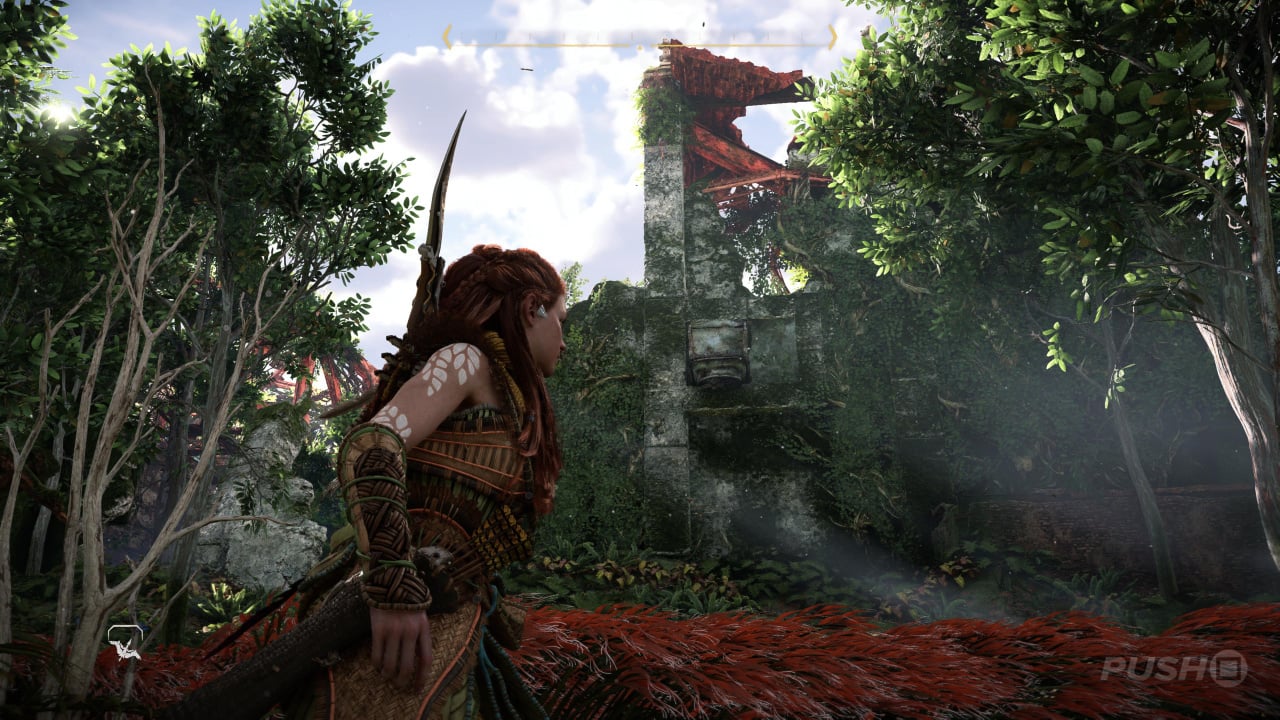
When you enter the Relic Ruin, you'll see a battery compartment on the right. This powers an adjacent elevator, but you need to find an Energy Cell first. Above will be a grapple point — zip up to it and you'll be on the upper floor. Follow this upper area along to the left and you'll find an Energy Cell inside another compartment. Remove it and take it back to that elevator battery compartment by going down the stairs.
The elevator is now working. Go in and press the button to activate it. It'll take you back up to that upper floor you were on before. In the ceiling of the elevator is a hatch cover you can pull down with the Pullcaster. Do this.
Around the other side of the elevator (on the outside), you can climb up higher. Climb to the top and look out over the inside of the ruins. Across the way is a crate that can be moved. Jump and glide over to it.
Once by the crate, behind you is a wall you can blow up with Firegleam. Ignite it and then bring the crate through the hole you made. Push it down to the lower level.

Call the elevator back down if it's at the upper floor. Push the crate into the elevator, and leave it in there for now.
Return to where you first found the crate, then drop down to the lower level. Over on the left, you can get up to a raised platform. At the far end of this are some handholds — climb these over to the right, where you can drop down and ignite another Firegleam.
After this, turn around and through a small hole in the wall, you should see a lever you can pull with the Pullcaster. Do this and some hanging lights will move along a rail. Grapple up to the lights, then push circle to leap behind and up to another platform, where there's a second crate.
Move the crate to the lower level. Bring it through to where the elevator is and push it inside. Ride the elevator up with the two crates.
Bring one crate out onto the upper level, and push the second crate so that it's below the hatch in the elevator ceiling you opened up earlier. Jump back down and call the elevator down to the lower level. Use the grapple point to get back up to the upper level.
Move the crate on the upper level so it falls onto the roof of the elevator. Drop through the hatch, send the elevator up, then climb back out through the hatch to the upper level. You can now use the upper crate to reach the handholds inside the elevator shaft. Climb up and you'll find the Ornament on a ledge.
That's how to solve Relic Ruins: The Long Coast in Horizon Forbidden West. Have you finished this Relic Ruin yet? Find out how to solve all Relic Ruins through the link, and check out our Horizon Forbidden West guide for loads more help and info.


Comments 0
Wow, no comments yet... why not be the first?
Leave A Comment
Hold on there, you need to login to post a comment...