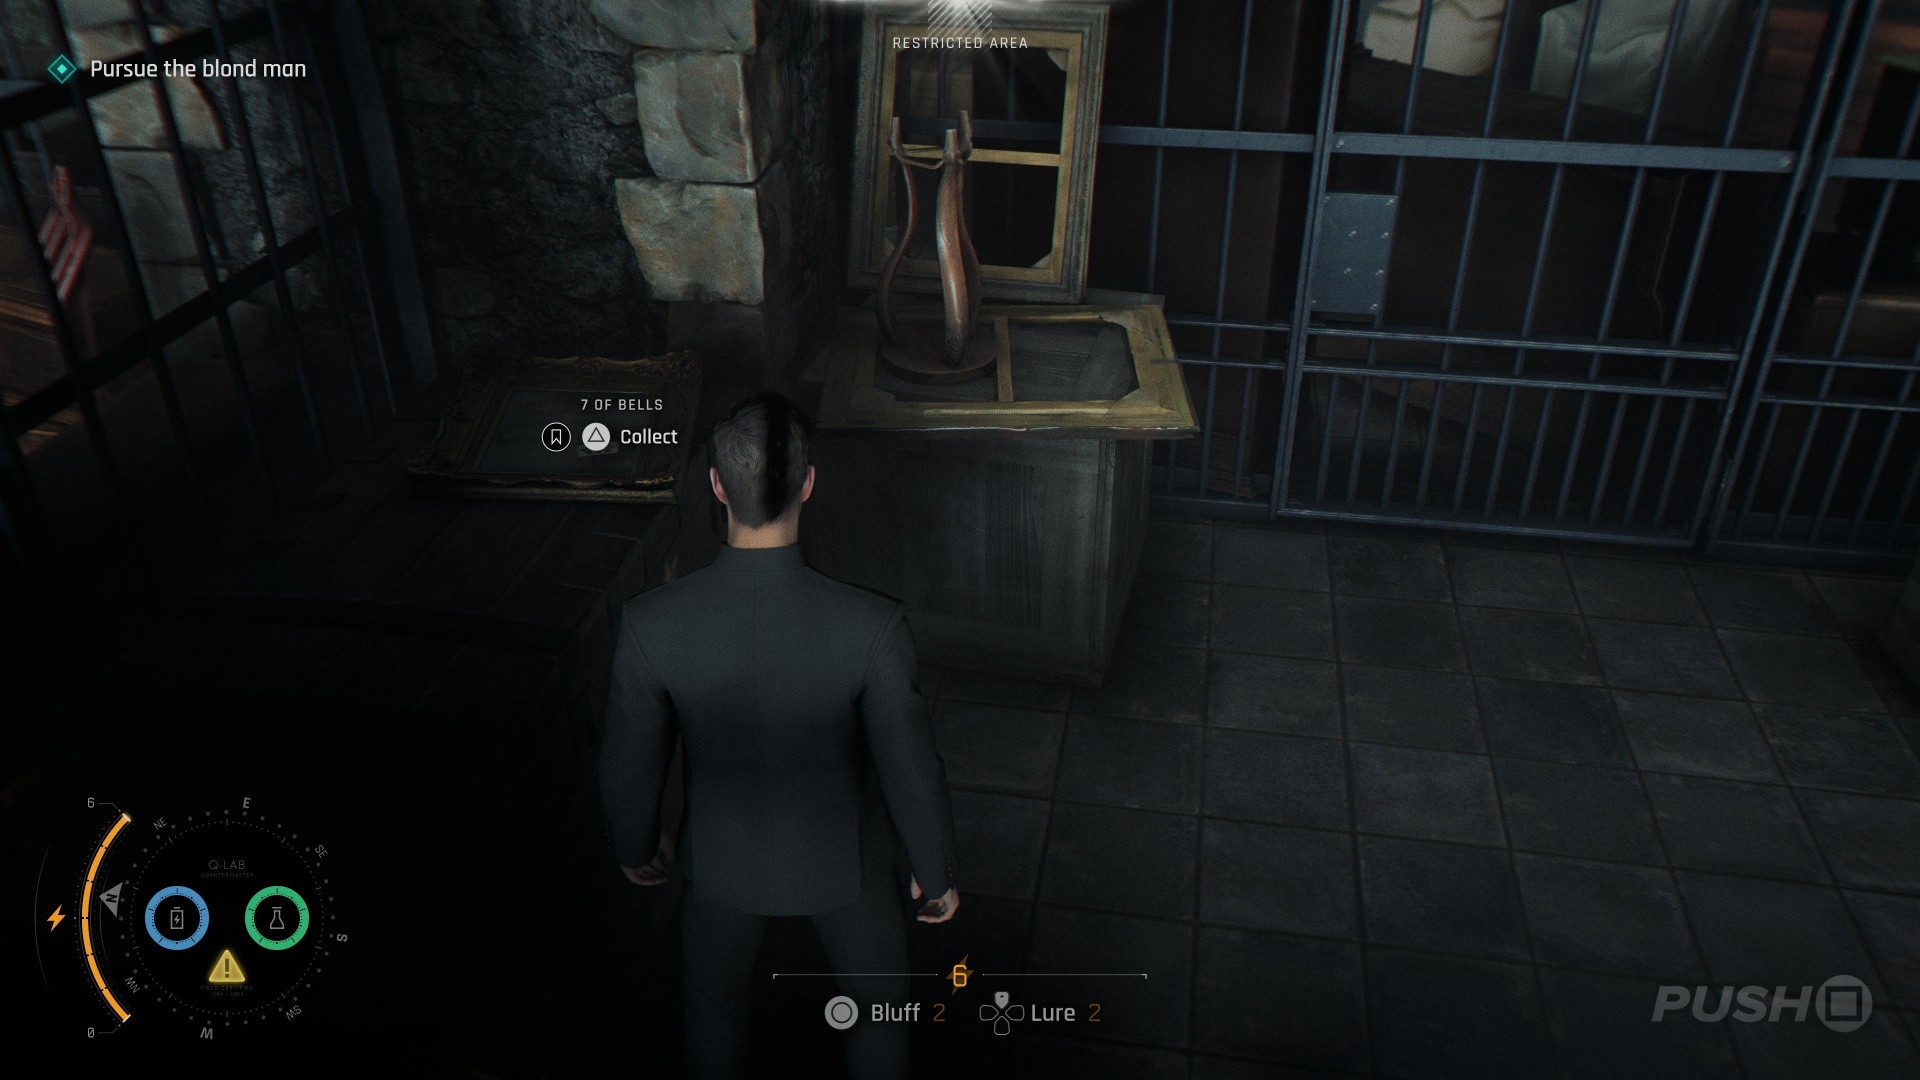
It's time for some proper secret agent action. Your first stop? A chess tournament in Slovakia. Your role? Chauffeur.

In this part of our 007 First Light walkthrough, we'll be focusing on All the Time in the World. Let's do this.

Where Are All Collectibles in 'All the Time in the World' in 007 First Light?
007 First Light: All the Time in the World Walkthrough - All Collectibles Locations 1
Image: Push Square

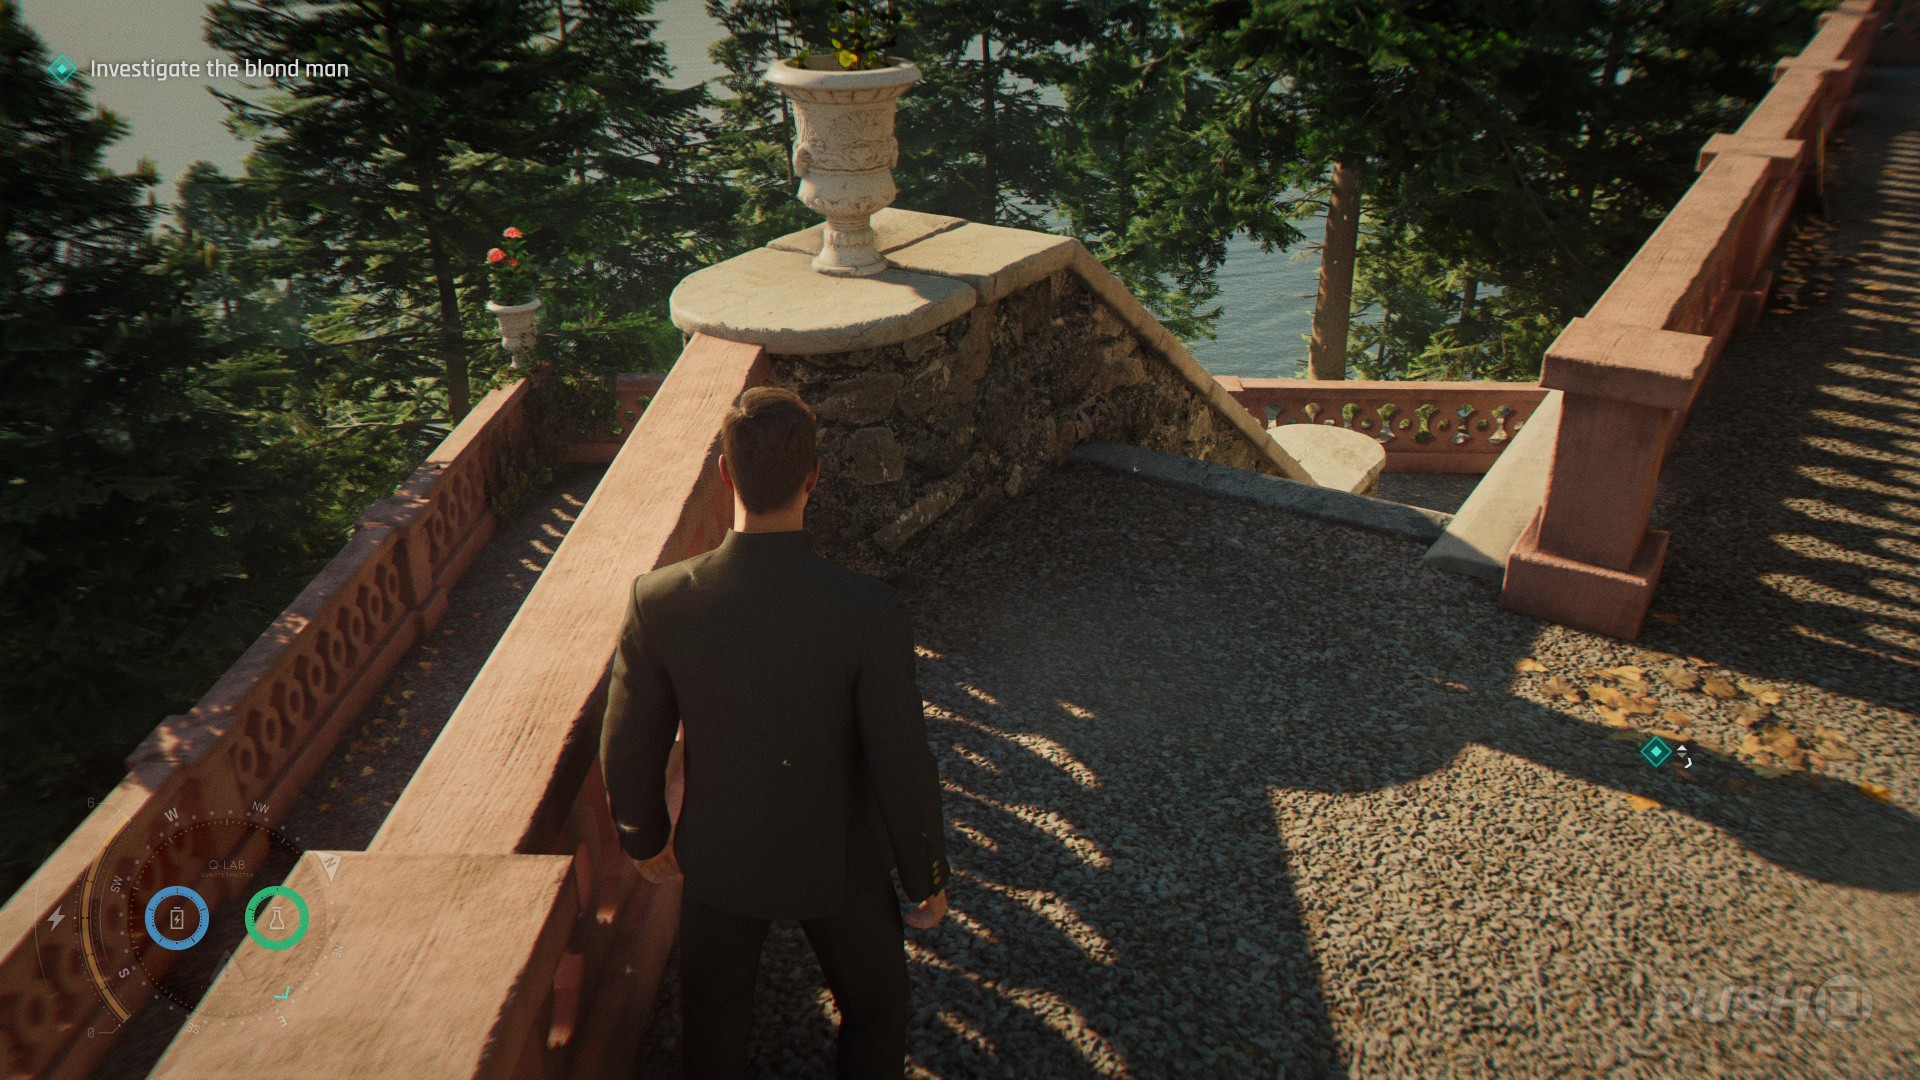
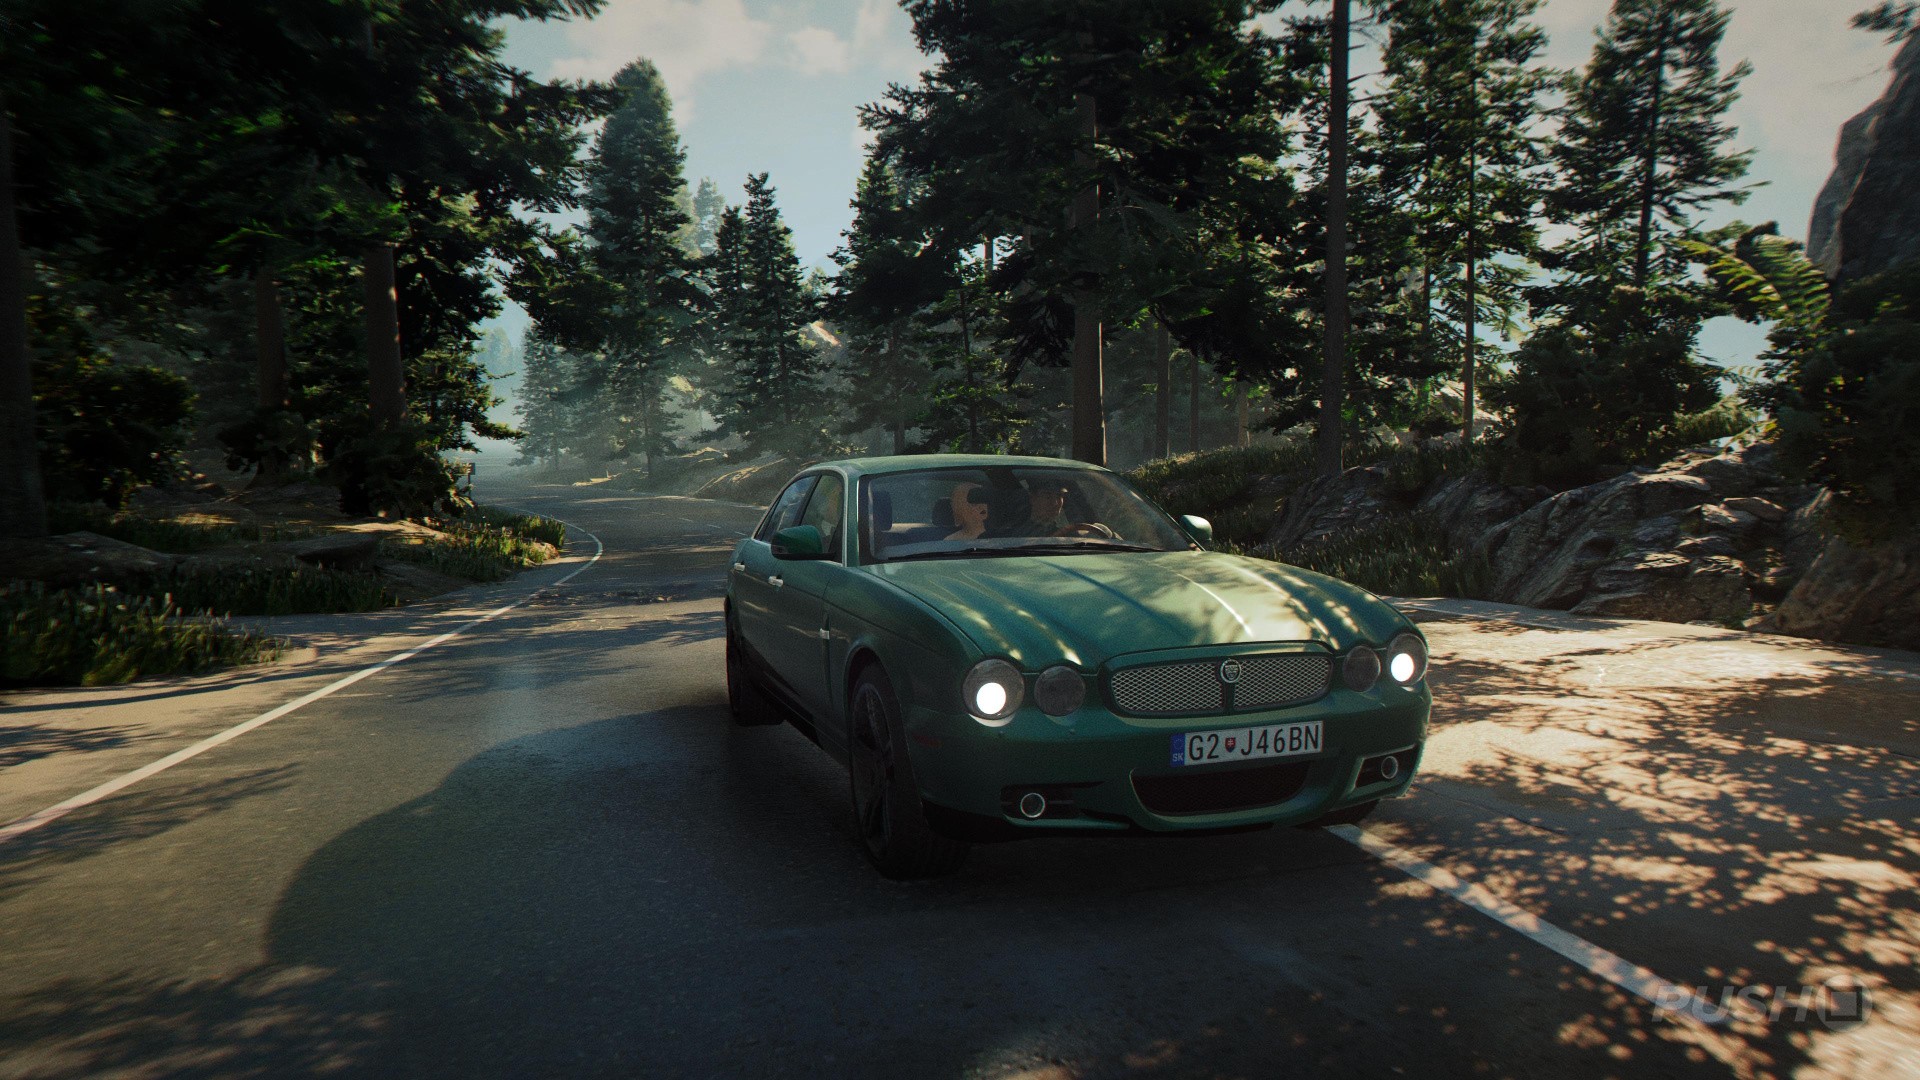
There are 9 collectibles in All the Time in the World.

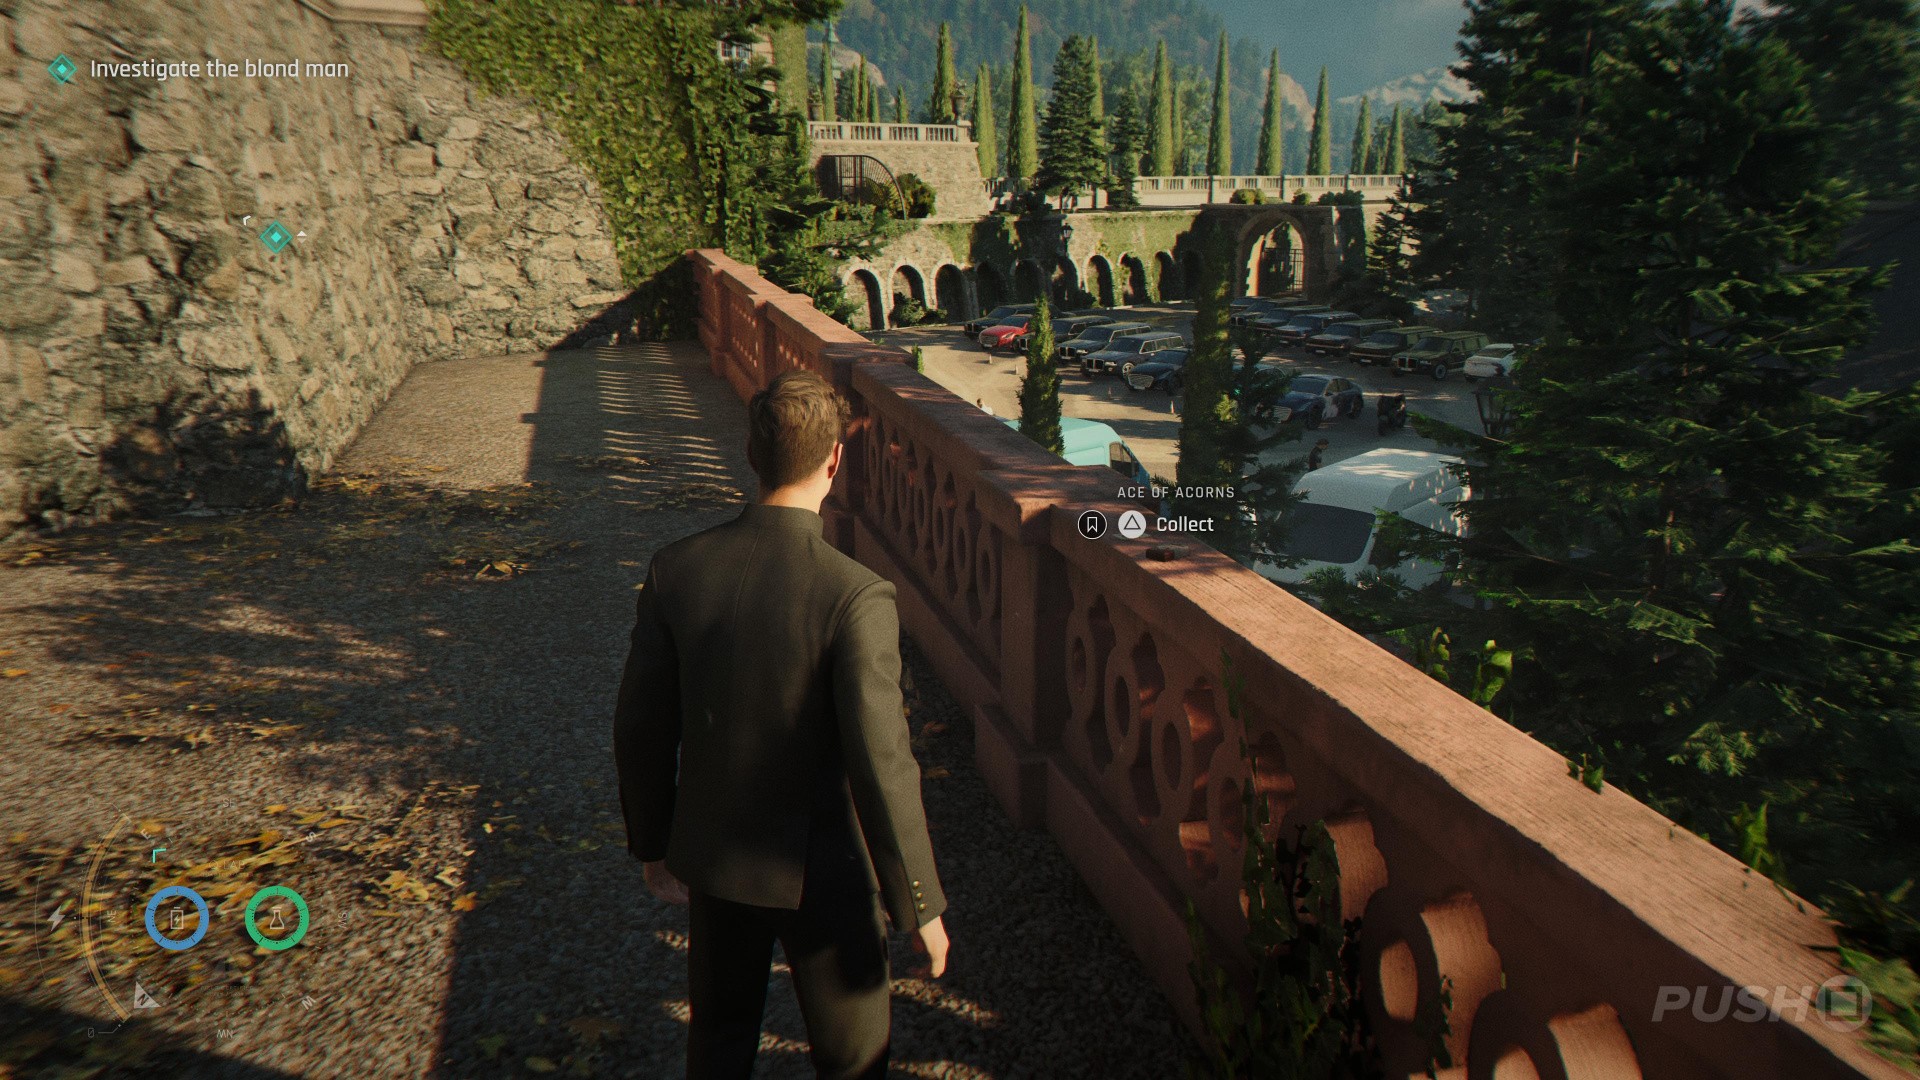
Card: Ace of Acorns
007 First Light: All the Time in the World Walkthrough - All Collectibles Locations 2
Image: Push Square
007 First Light: All the Time in the World Walkthrough - All Collectibles Locations 3
Image: Push Square
007 First Light: All the Time in the World Walkthrough - All Collectibles Locations 4
Image: Push Square
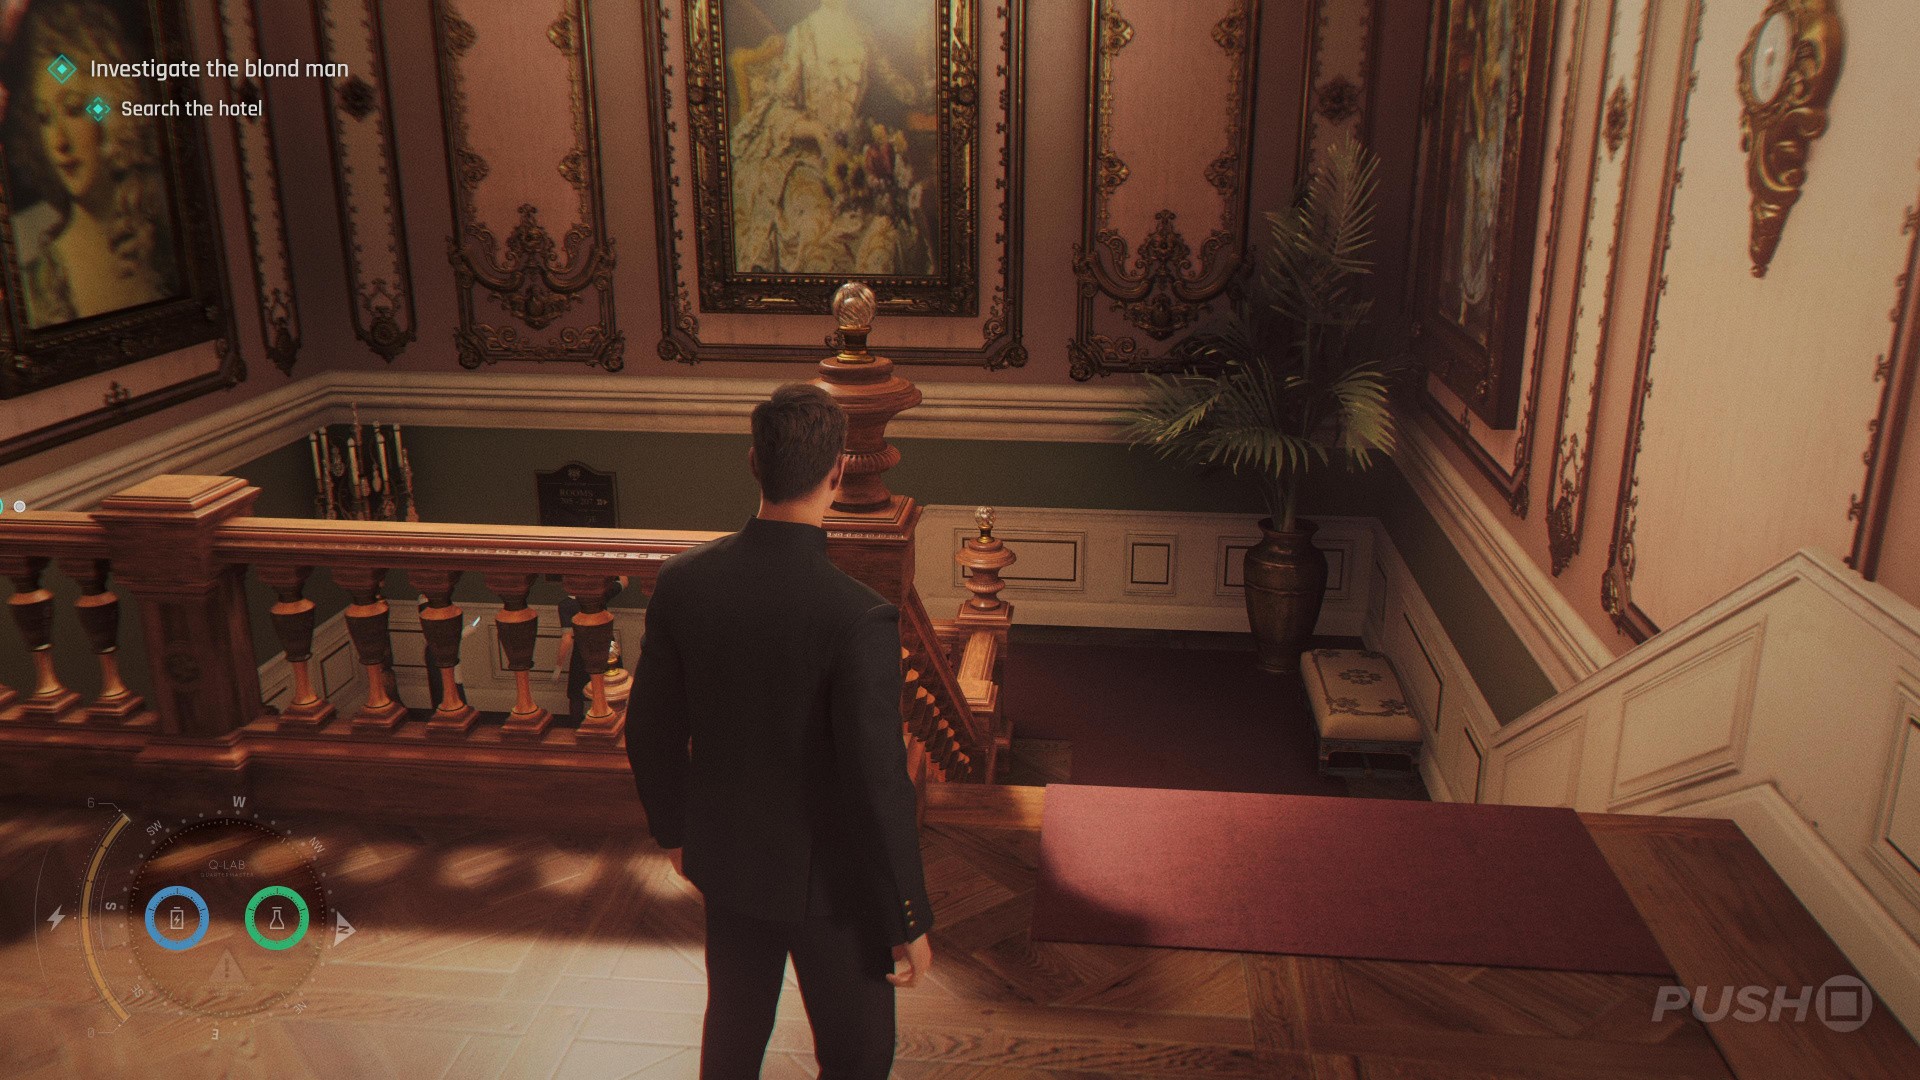
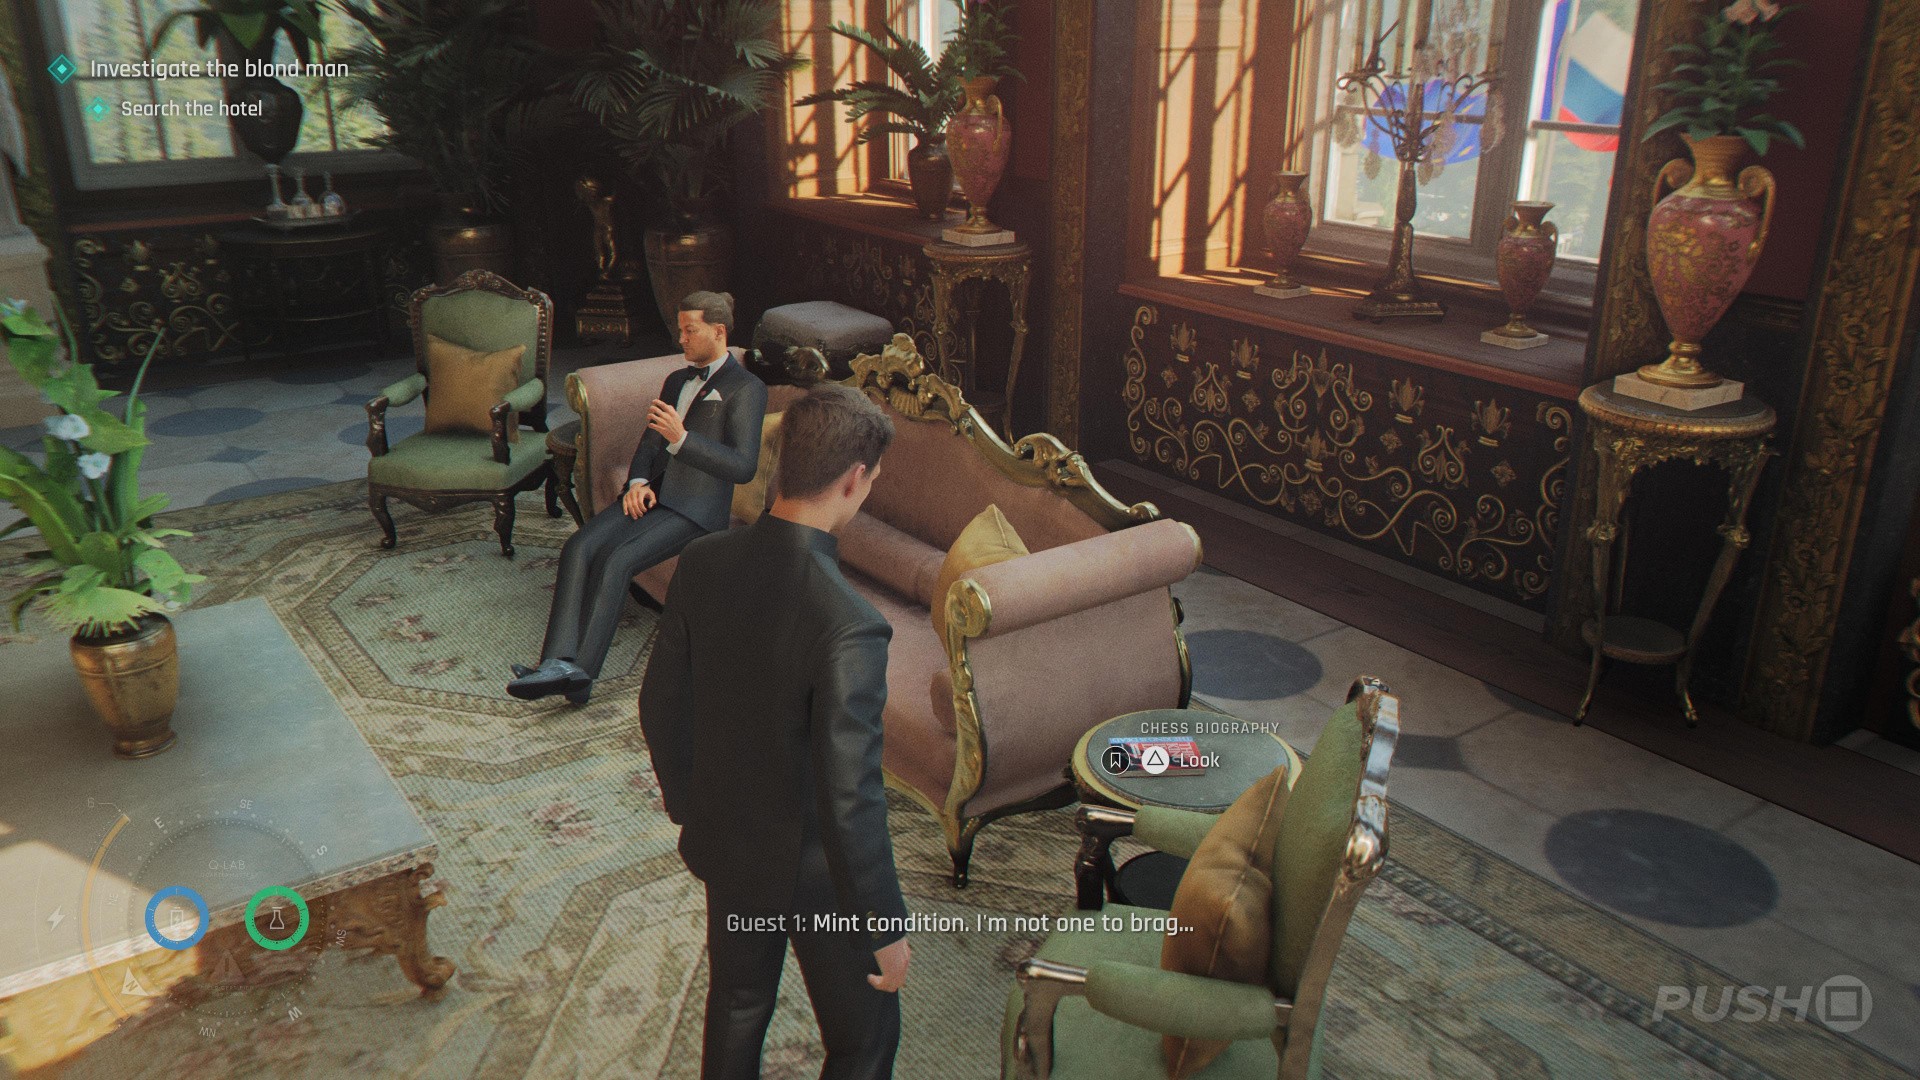
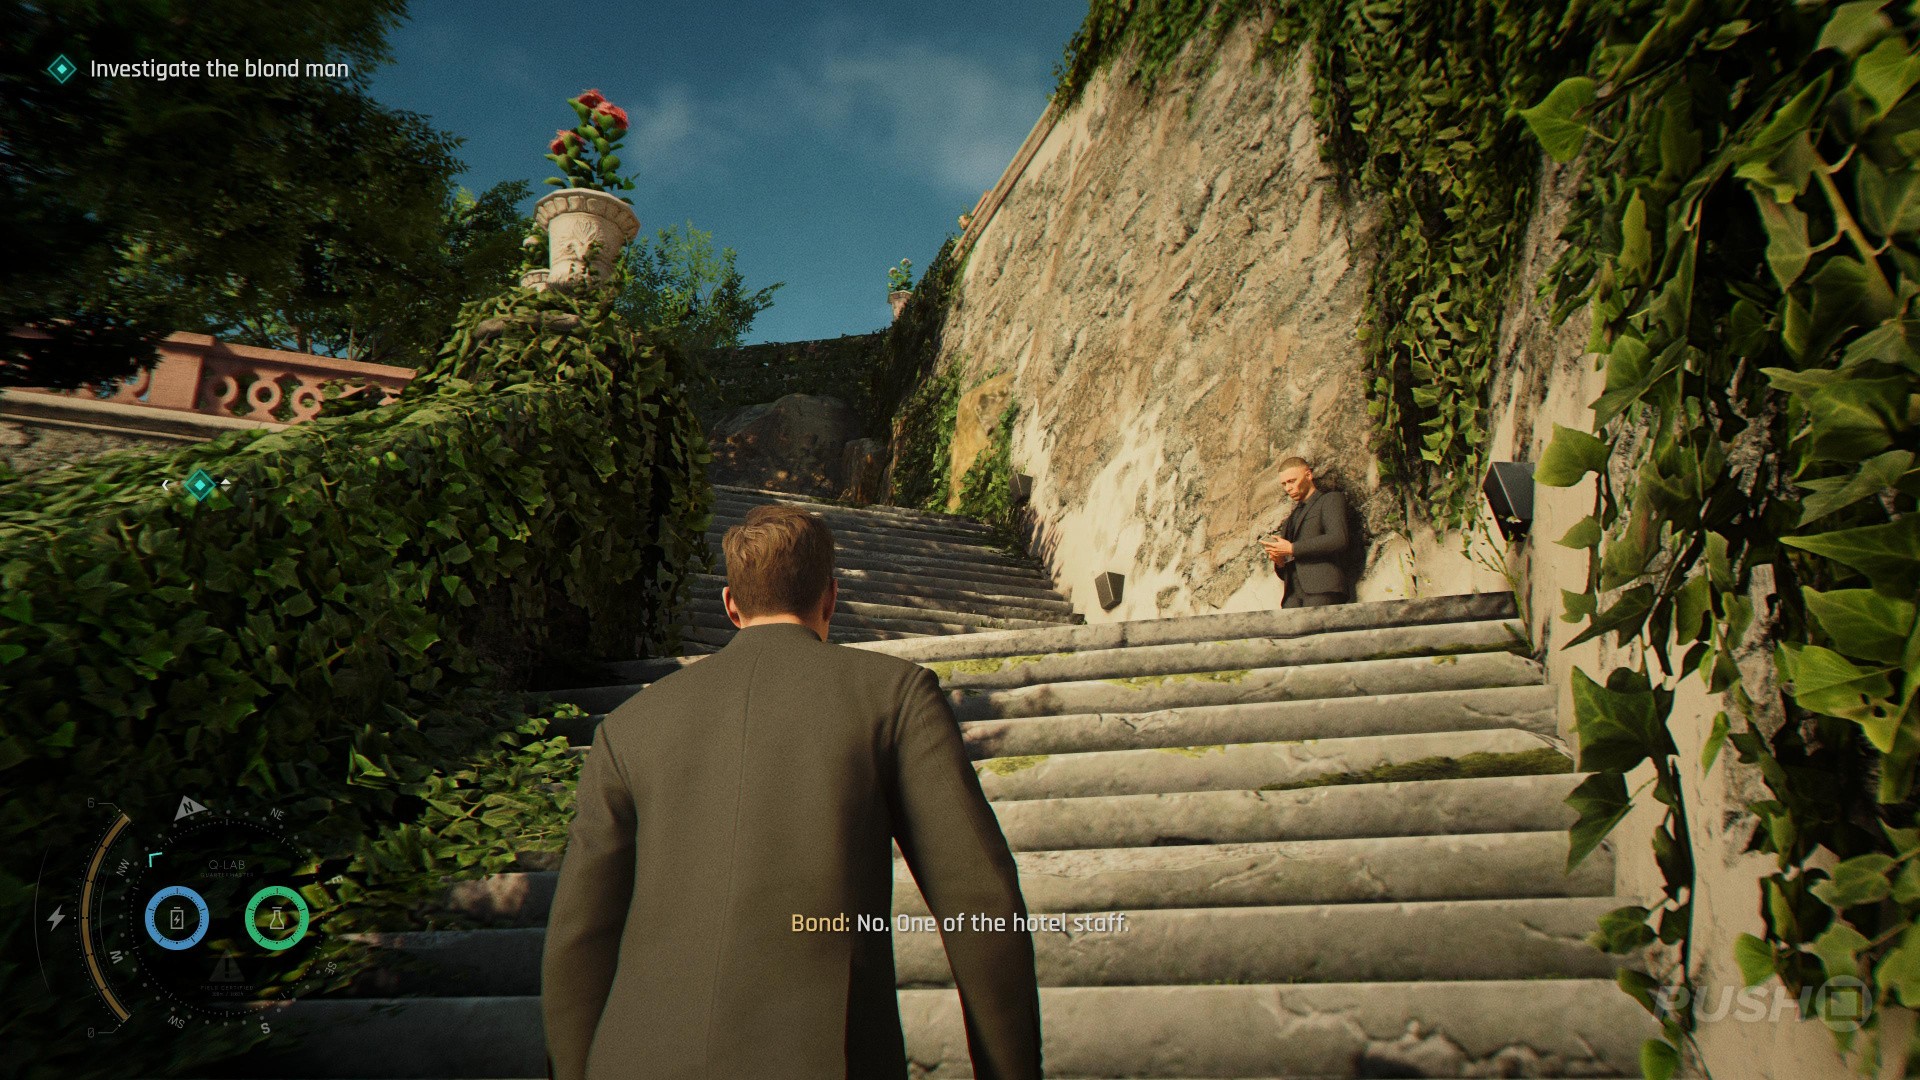
  • After spotting the suspicious bellhop, take the stairs ahead to the top
  • Follow the railing to a staircase on the left and go down
  • You'll find the collectible on one of the railings at the bottom of the stairs

Legacy: Chess Biography
007 First Light: All the Time in the World Walkthrough - All Collectibles Locations 5
Image: Push Square
007 First Light: All the Time in the World Walkthrough - All Collectibles Locations 6
Image: Push Square
007 First Light: All the Time in the World Walkthrough - All Collectibles Locations 7
Image: Push Square
007 First Light: All the Time in the World Walkthrough - All Collectibles Locations 8
Image: Push Square
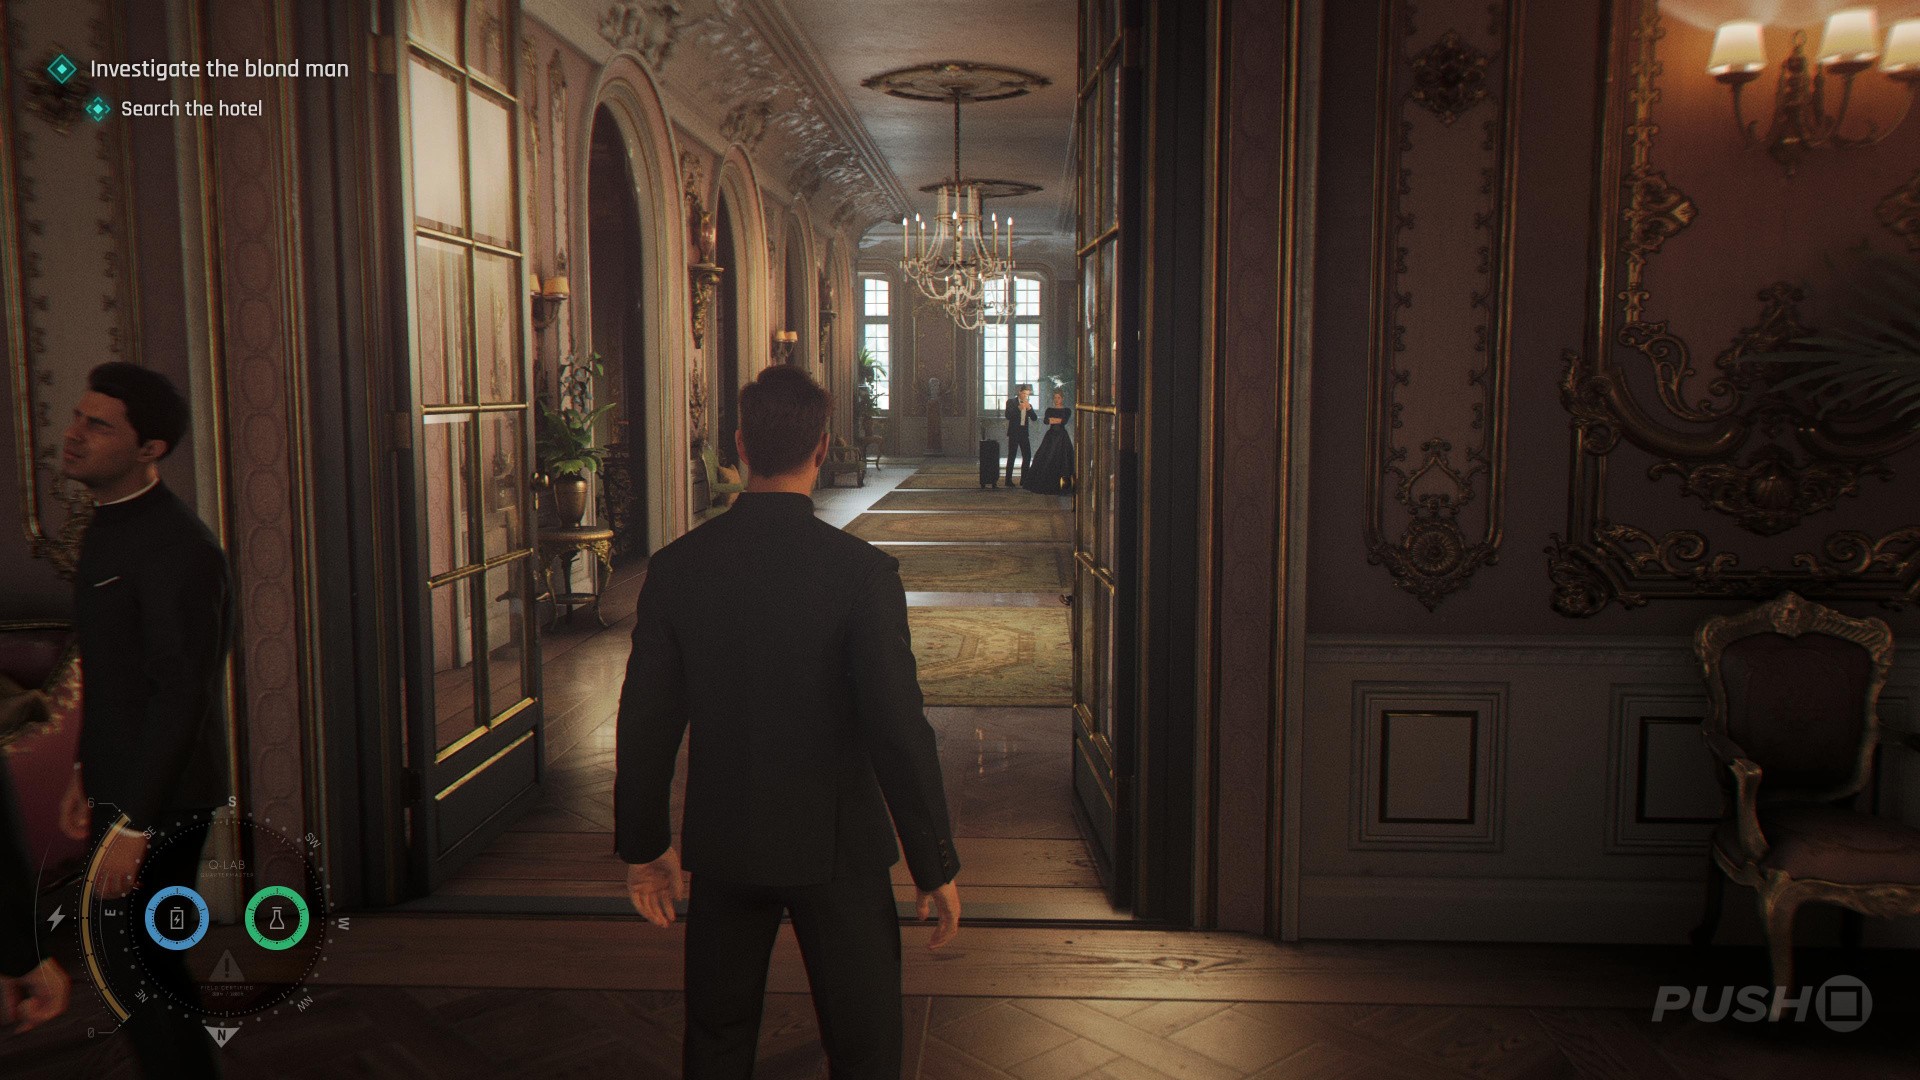
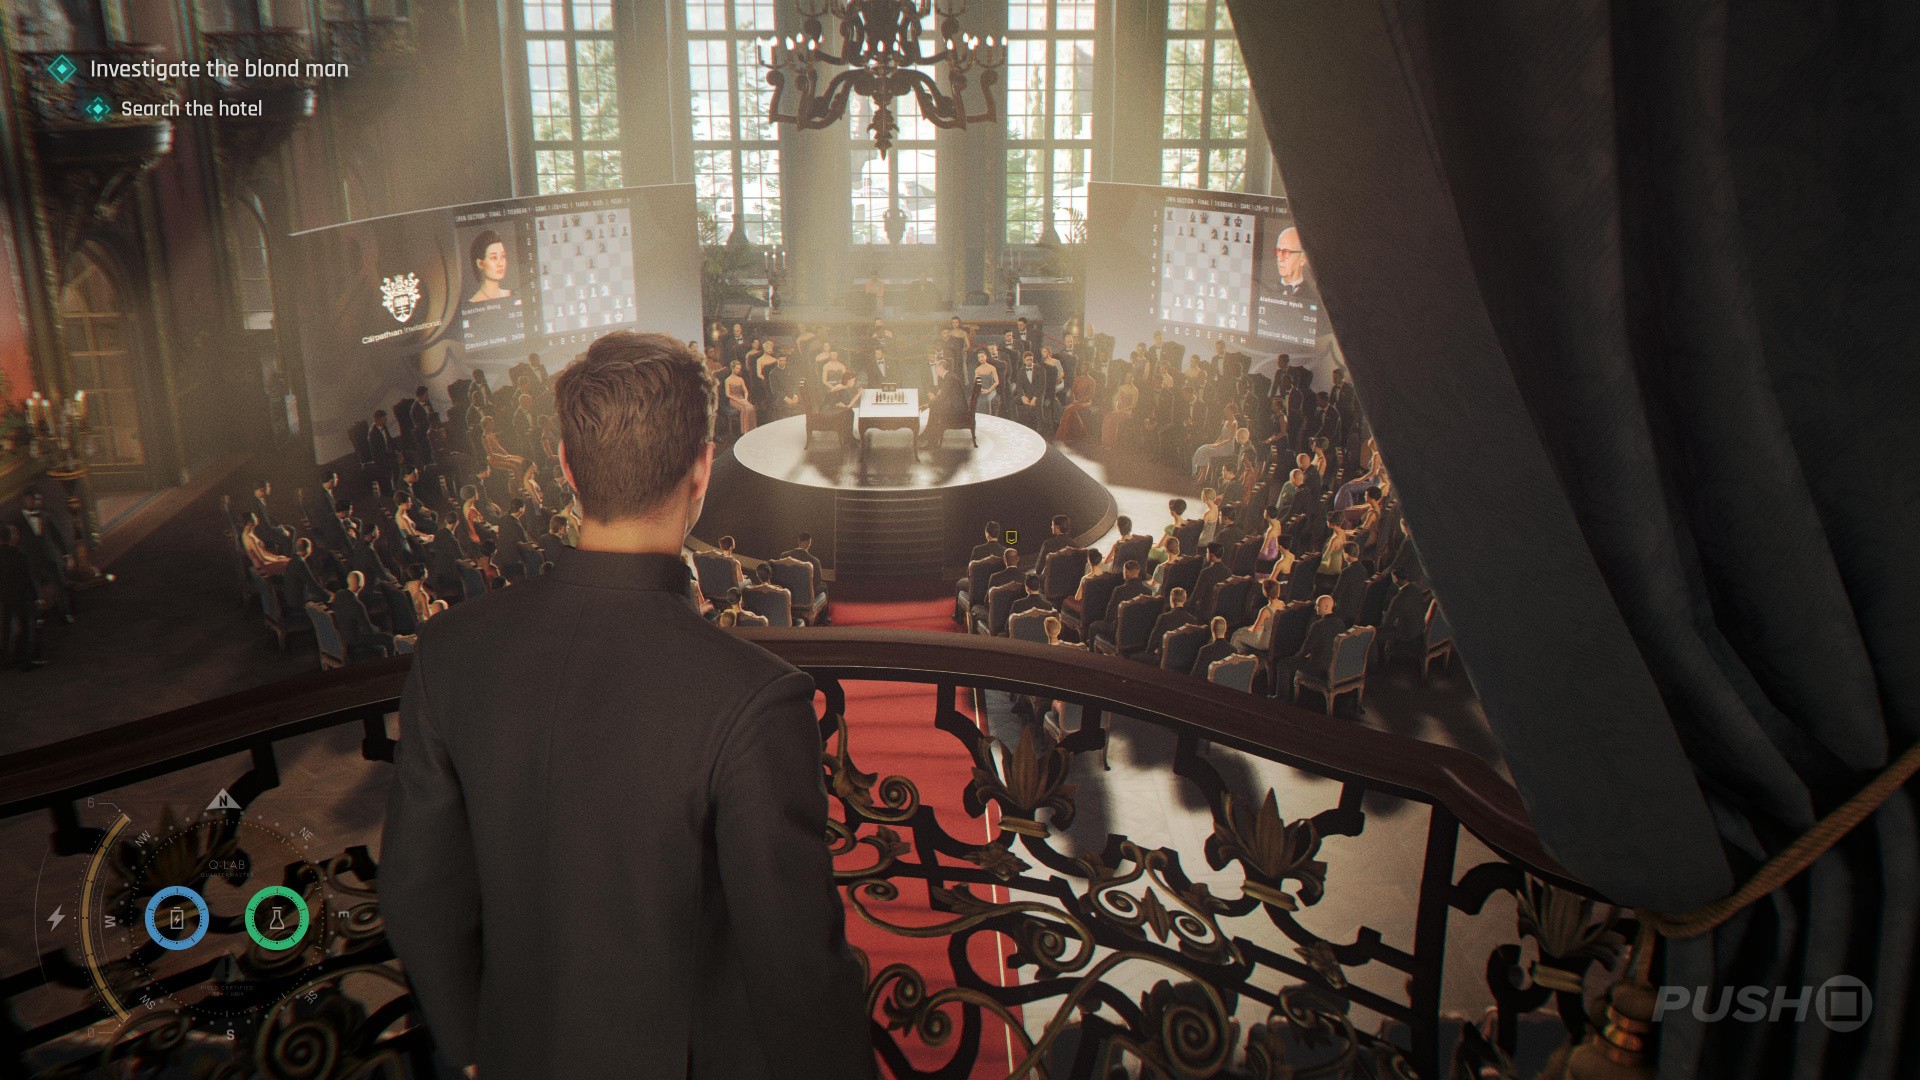
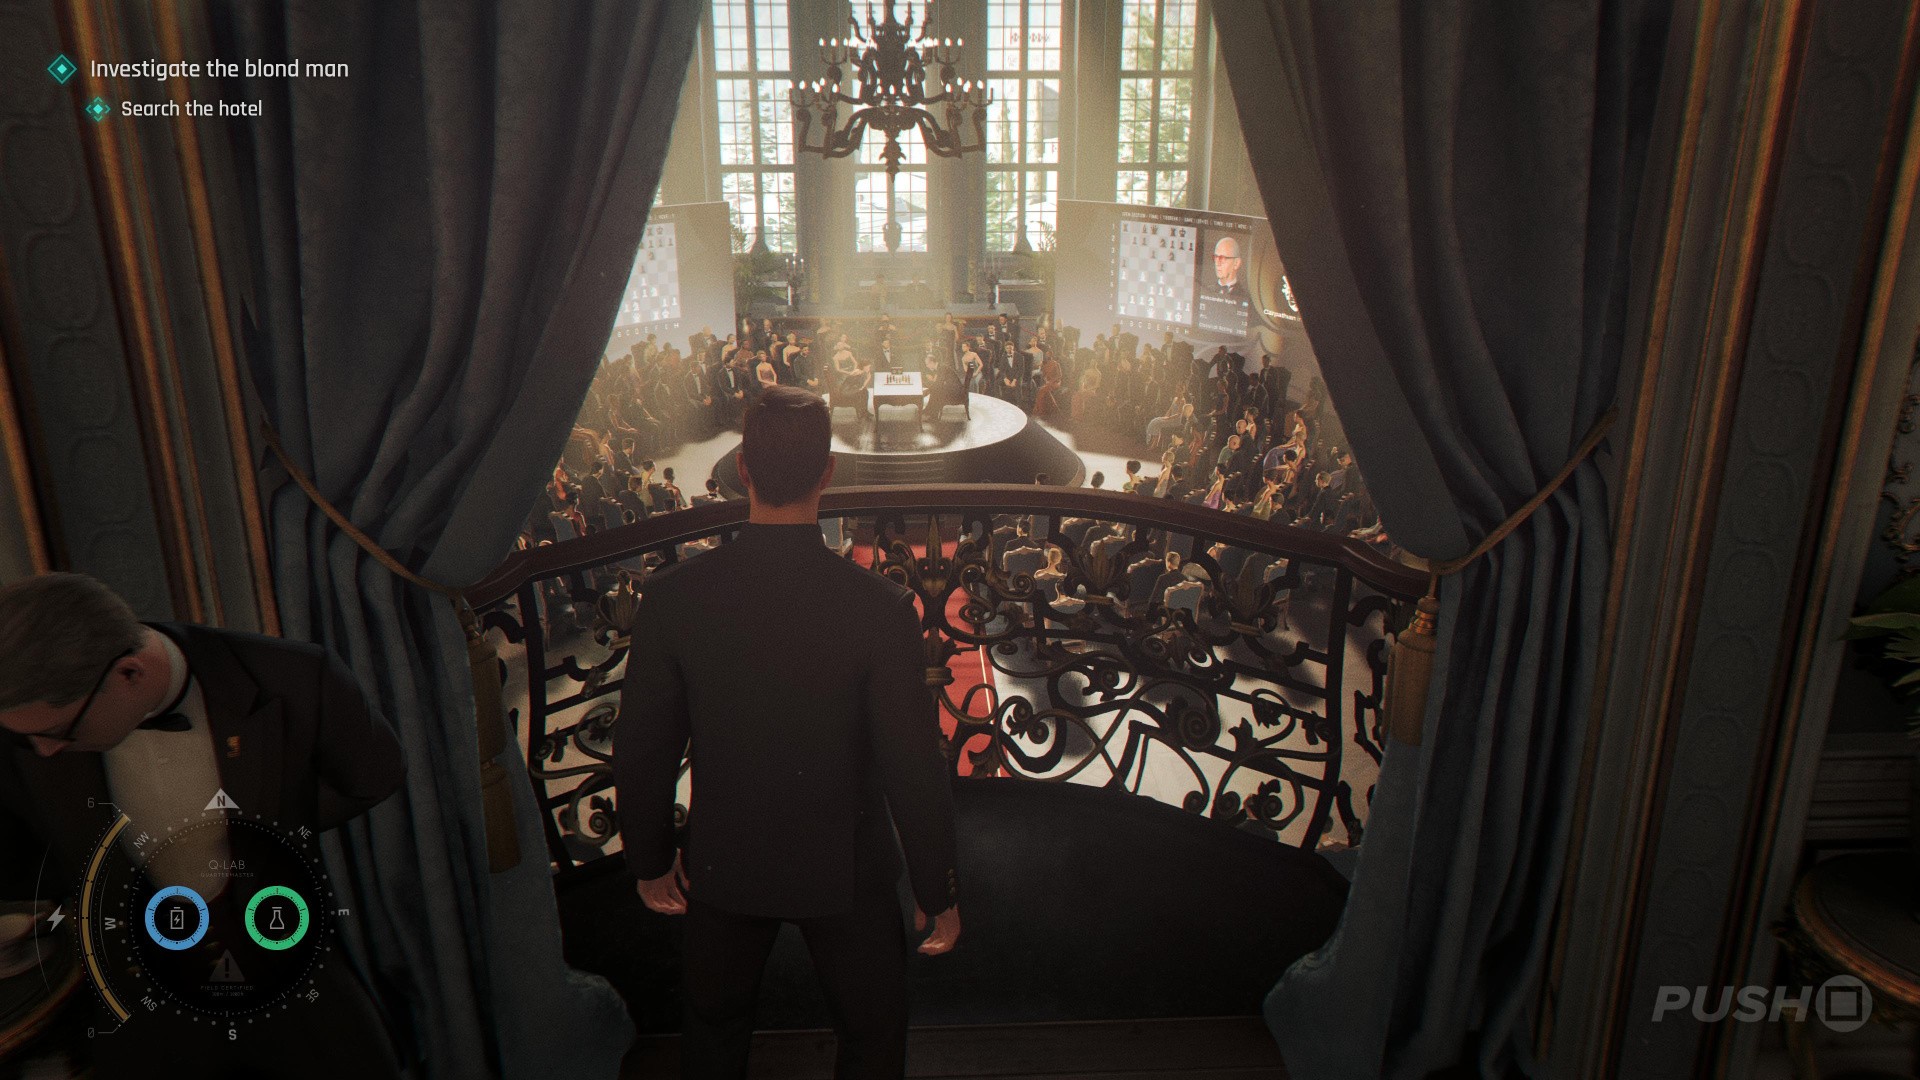
  • After getting your first view of the chess tournament, take the staircase on the left
  • At the bottom of the stairs take a right where you can eavesdrop on an elderly lady
  • At the end of the hallway, in the room at the back, a man is talking about Aston Martins
  • The collectible is on the table, next to the long sofa

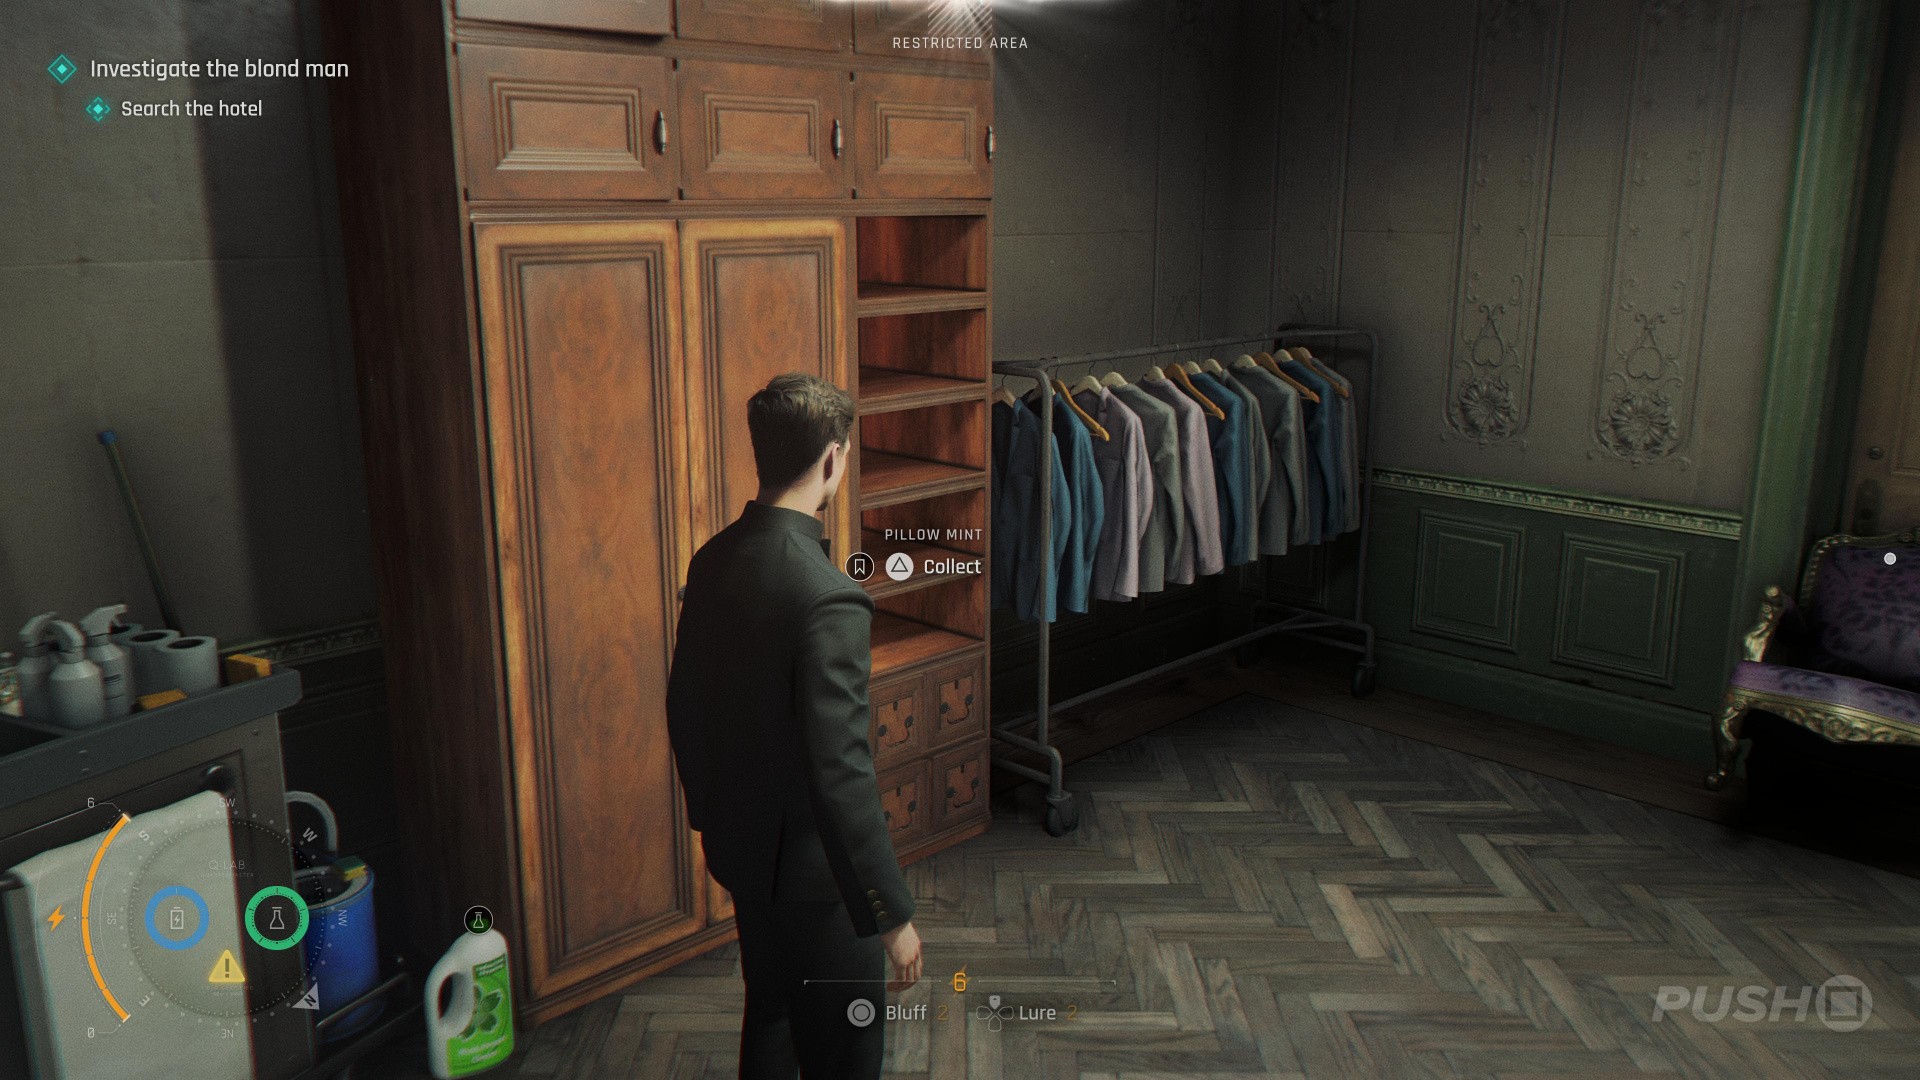
Memento: Pillow Mint
007 First Light: All the Time in the World Walkthrough - All Collectibles Locations 9
Image: Push Square
007 First Light: All the Time in the World Walkthrough - All Collectibles Locations 10
Image: Push Square
007 First Light: All the Time in the World Walkthrough - All Collectibles Locations 11
Image: Push Square
007 First Light: All the Time in the World Walkthrough - All Collectibles Locations 12
Image: Push Square
007 First Light: All the Time in the World Walkthrough - All Collectibles Locations 13
Image: Push Square
007 First Light: All the Time in the World Walkthrough - All Collectibles Locations 14
Image: Push Square
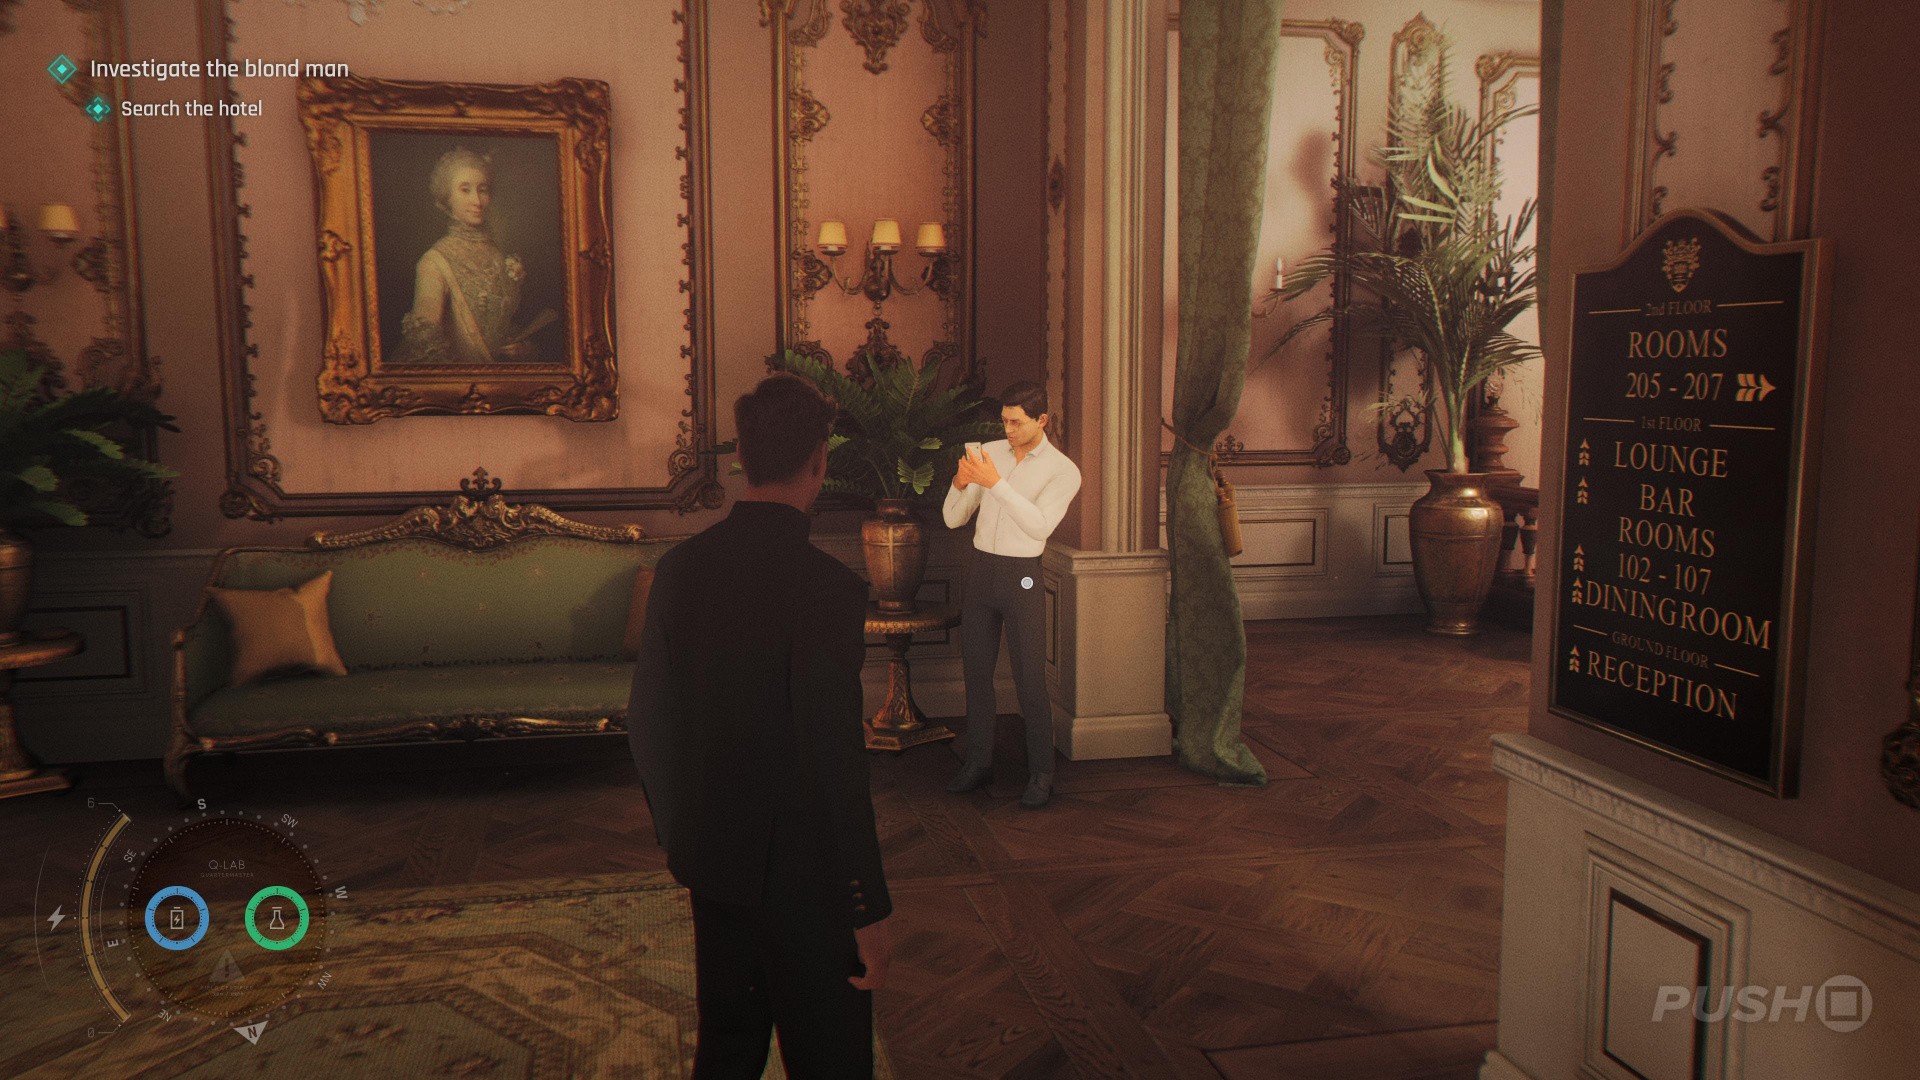
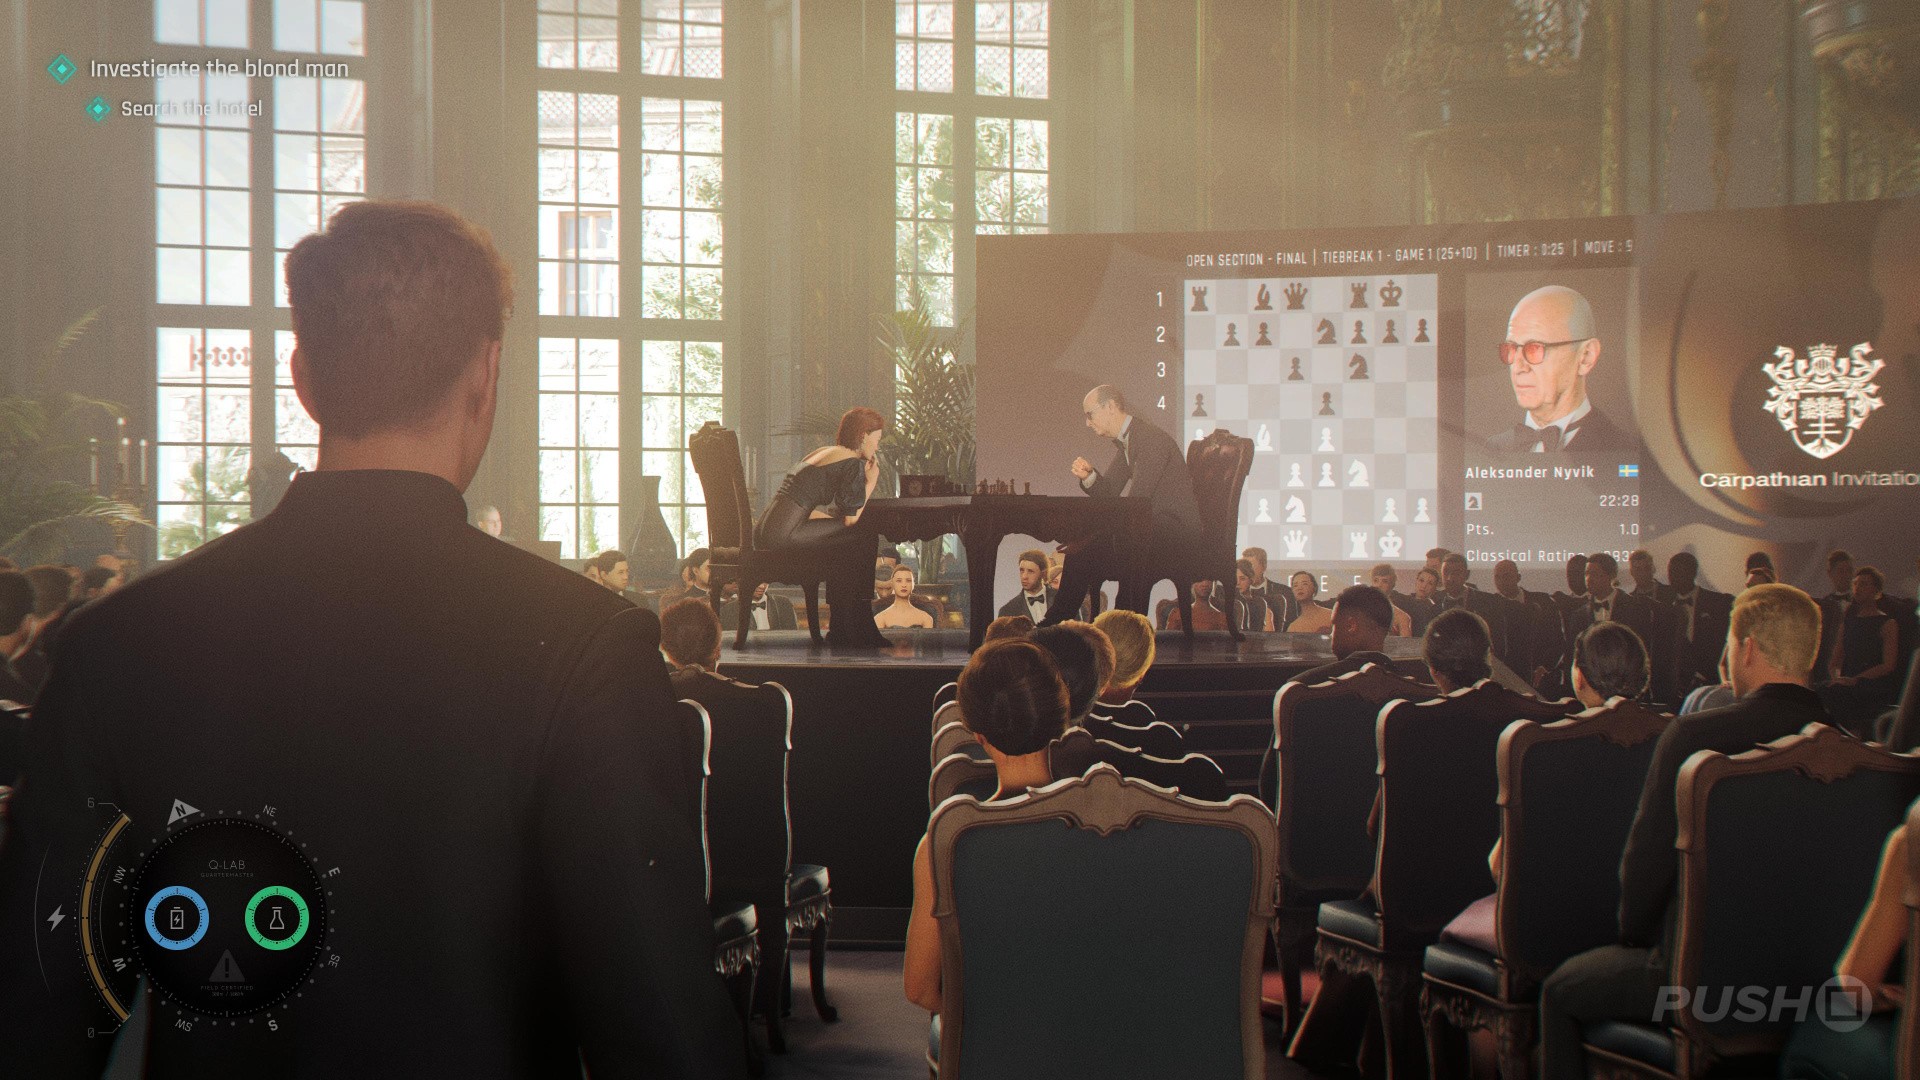
  • Return to the spot where you first got your glimpse of the chess tournament
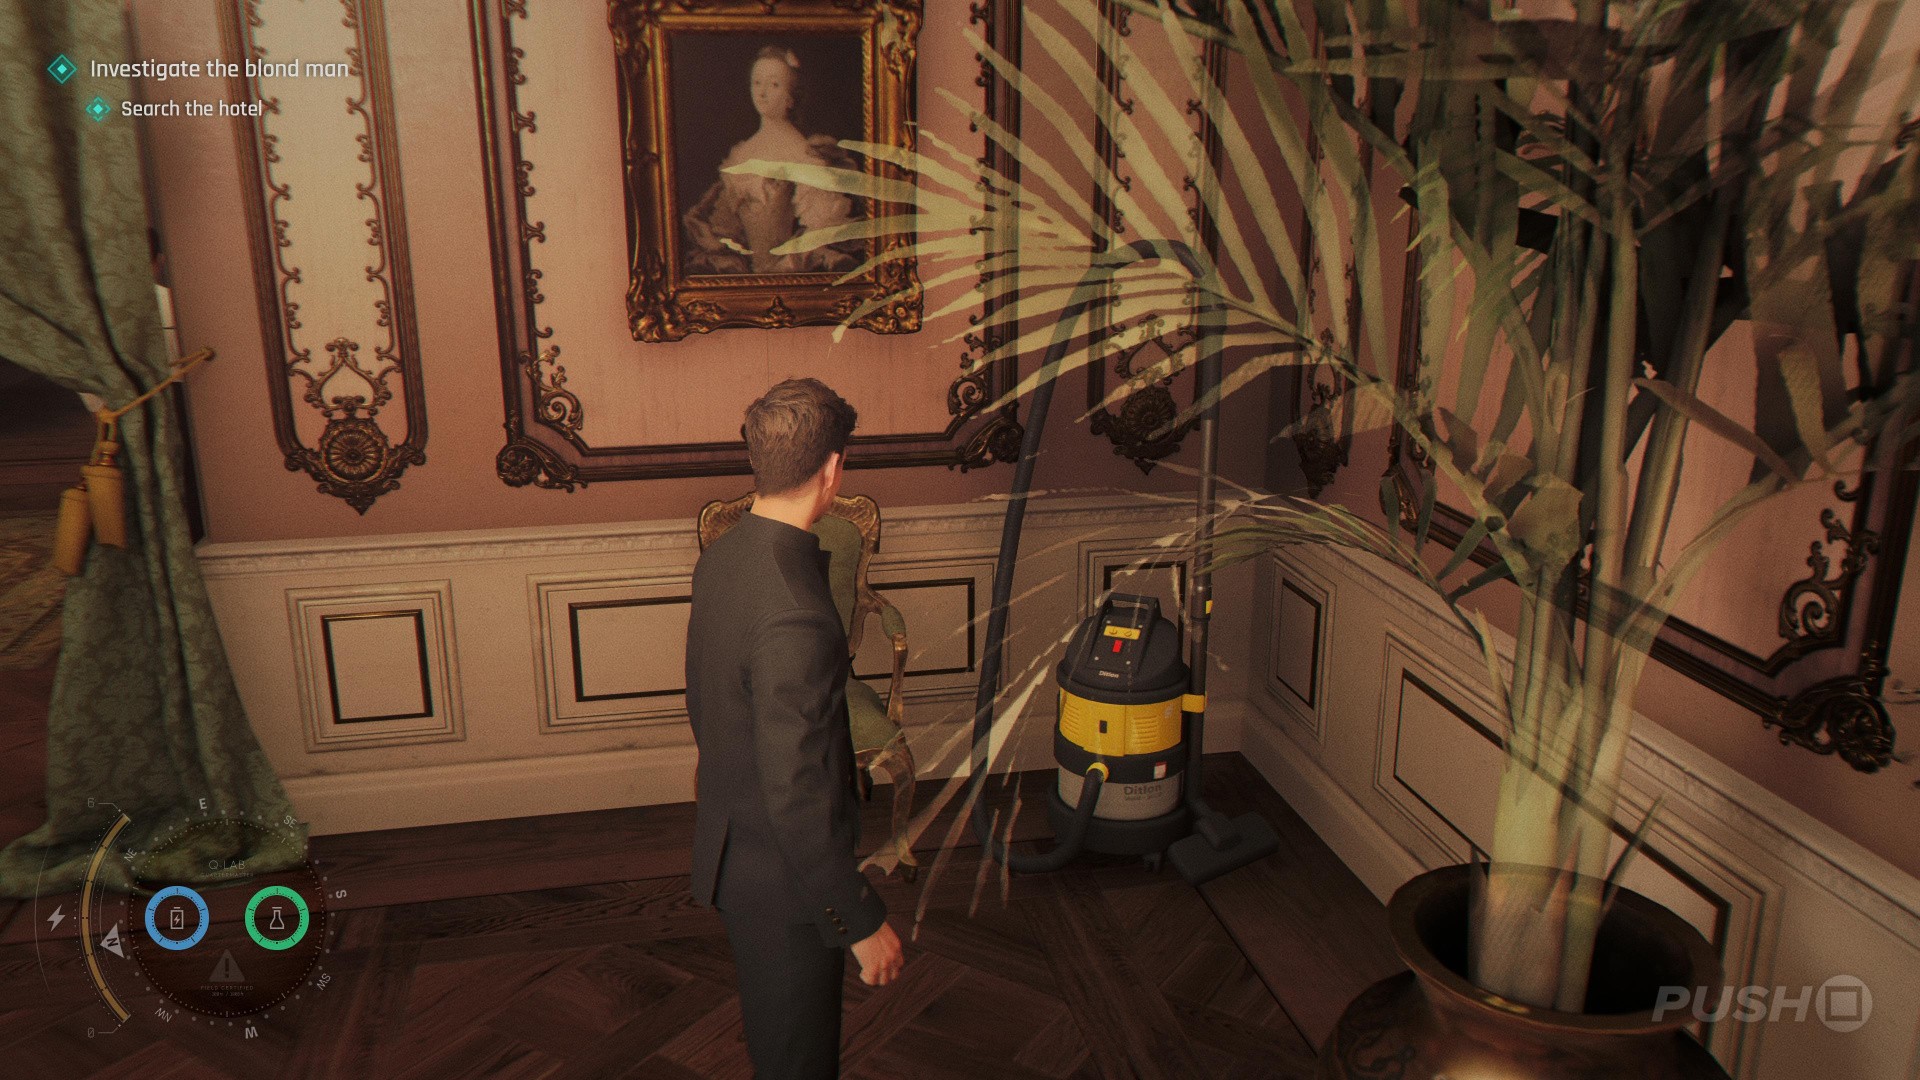
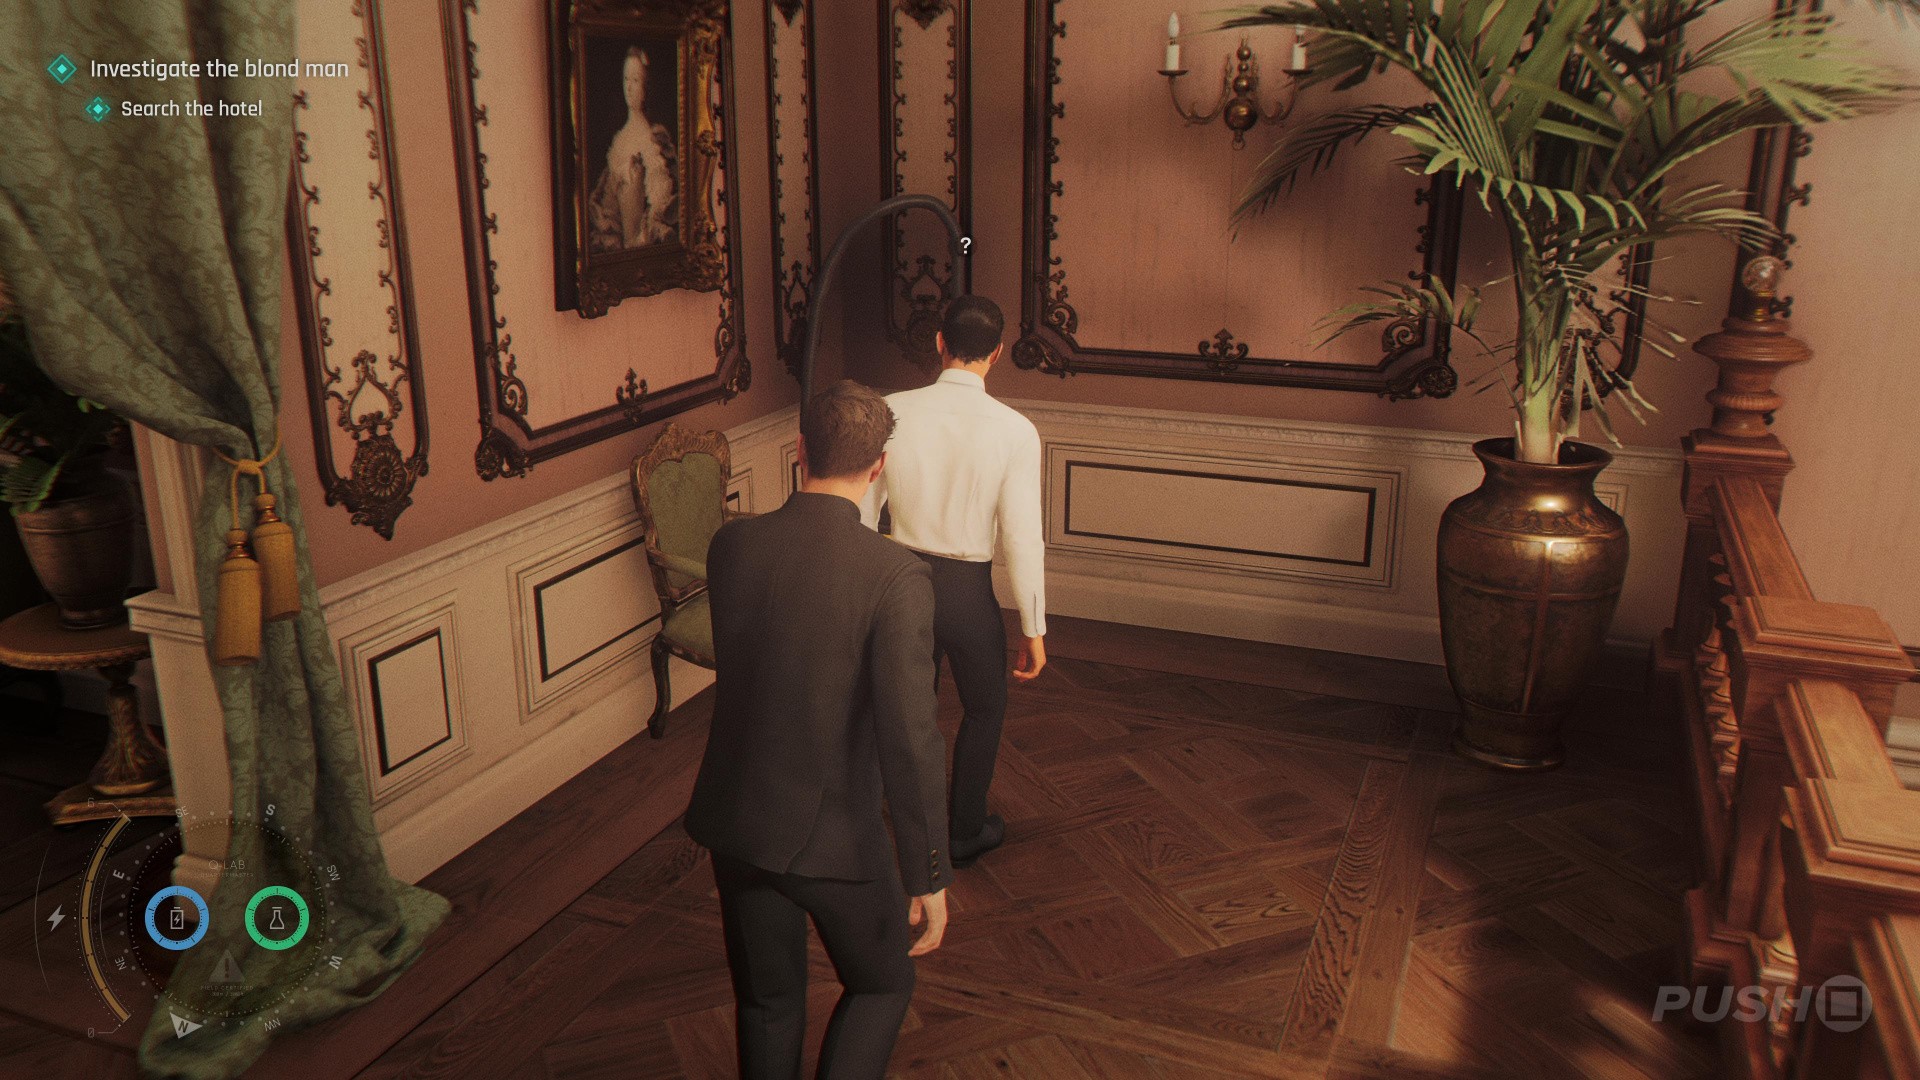
  • In this area you'll find a man in a white shirt and glasses wandering around
  • Wait for him to stop next to the doorway near the staircase
  • Turn on the vaccuum cleaner at the top of the stairs and pickpocket him
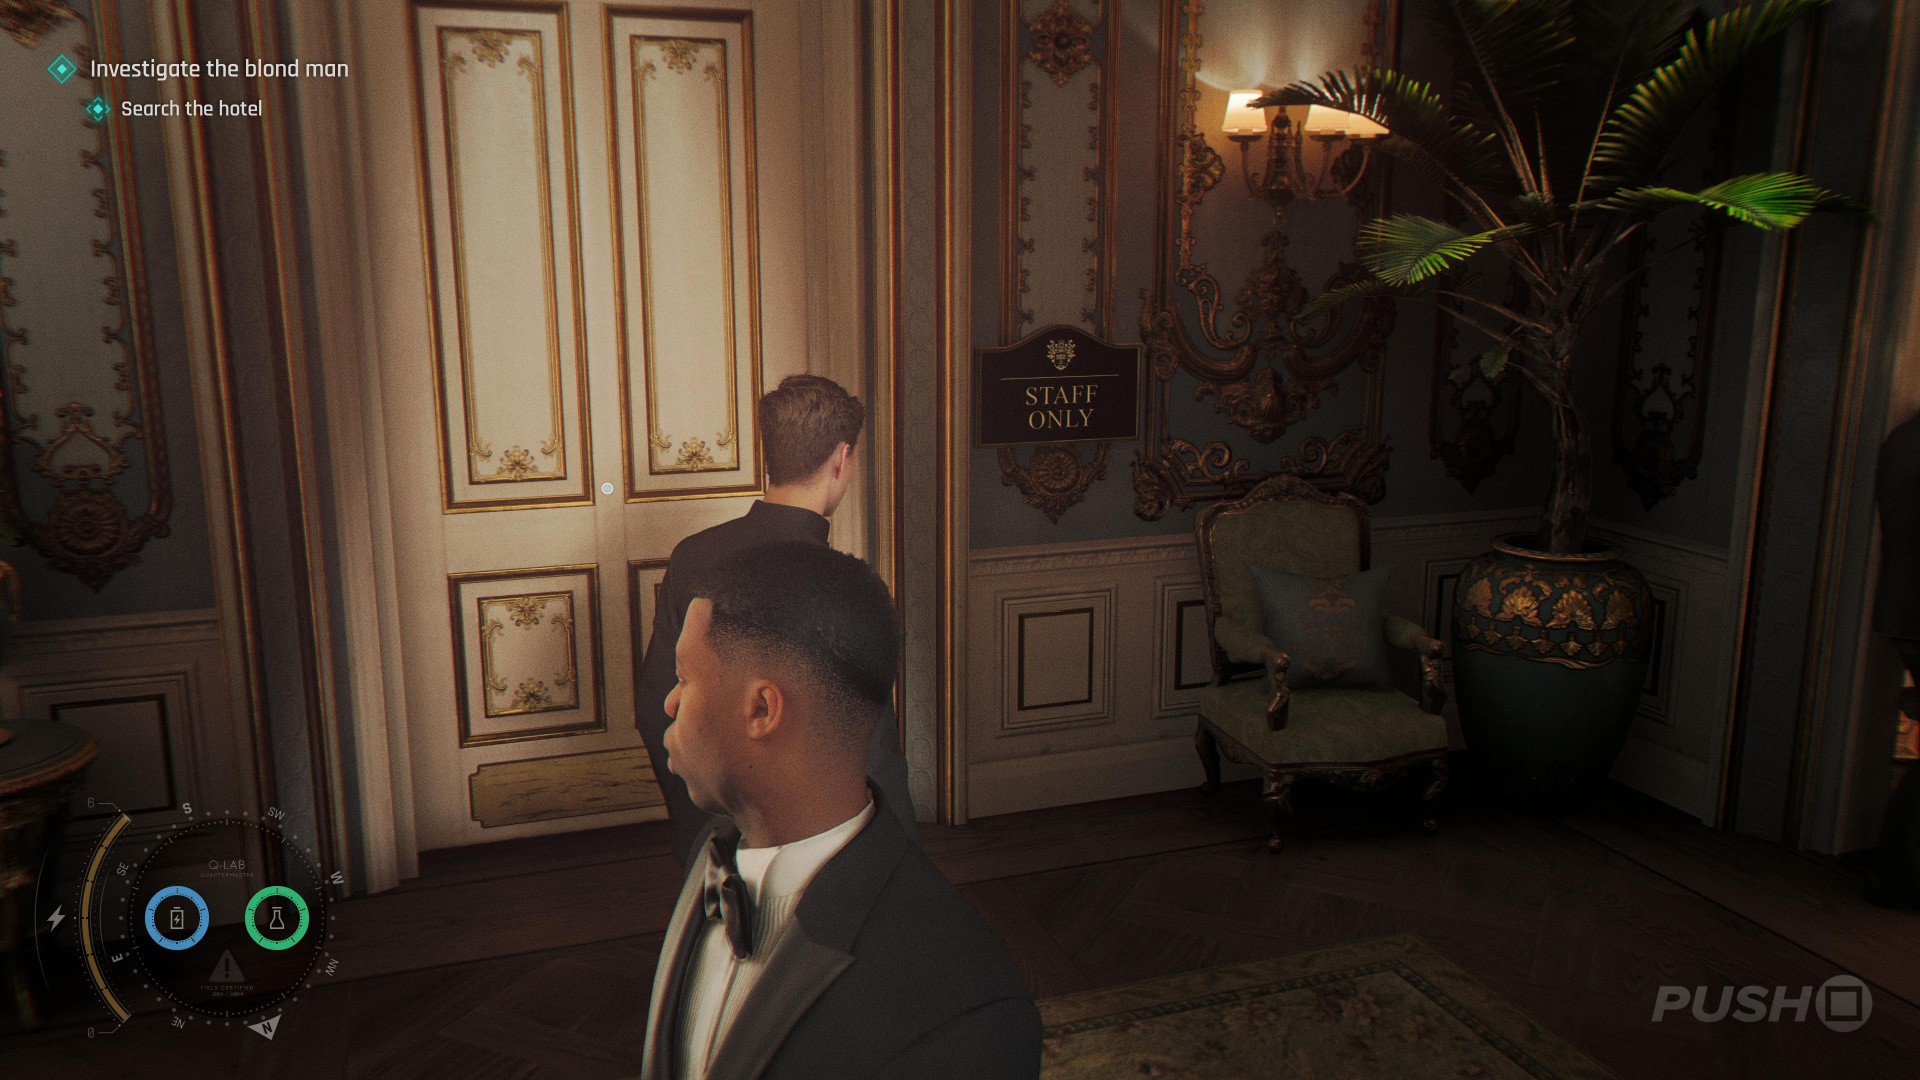
  • Enter the 'Staff Only' room using the key opposite the balcony
  • The collectible is on the wooden cabinet left of a chair blocking the door

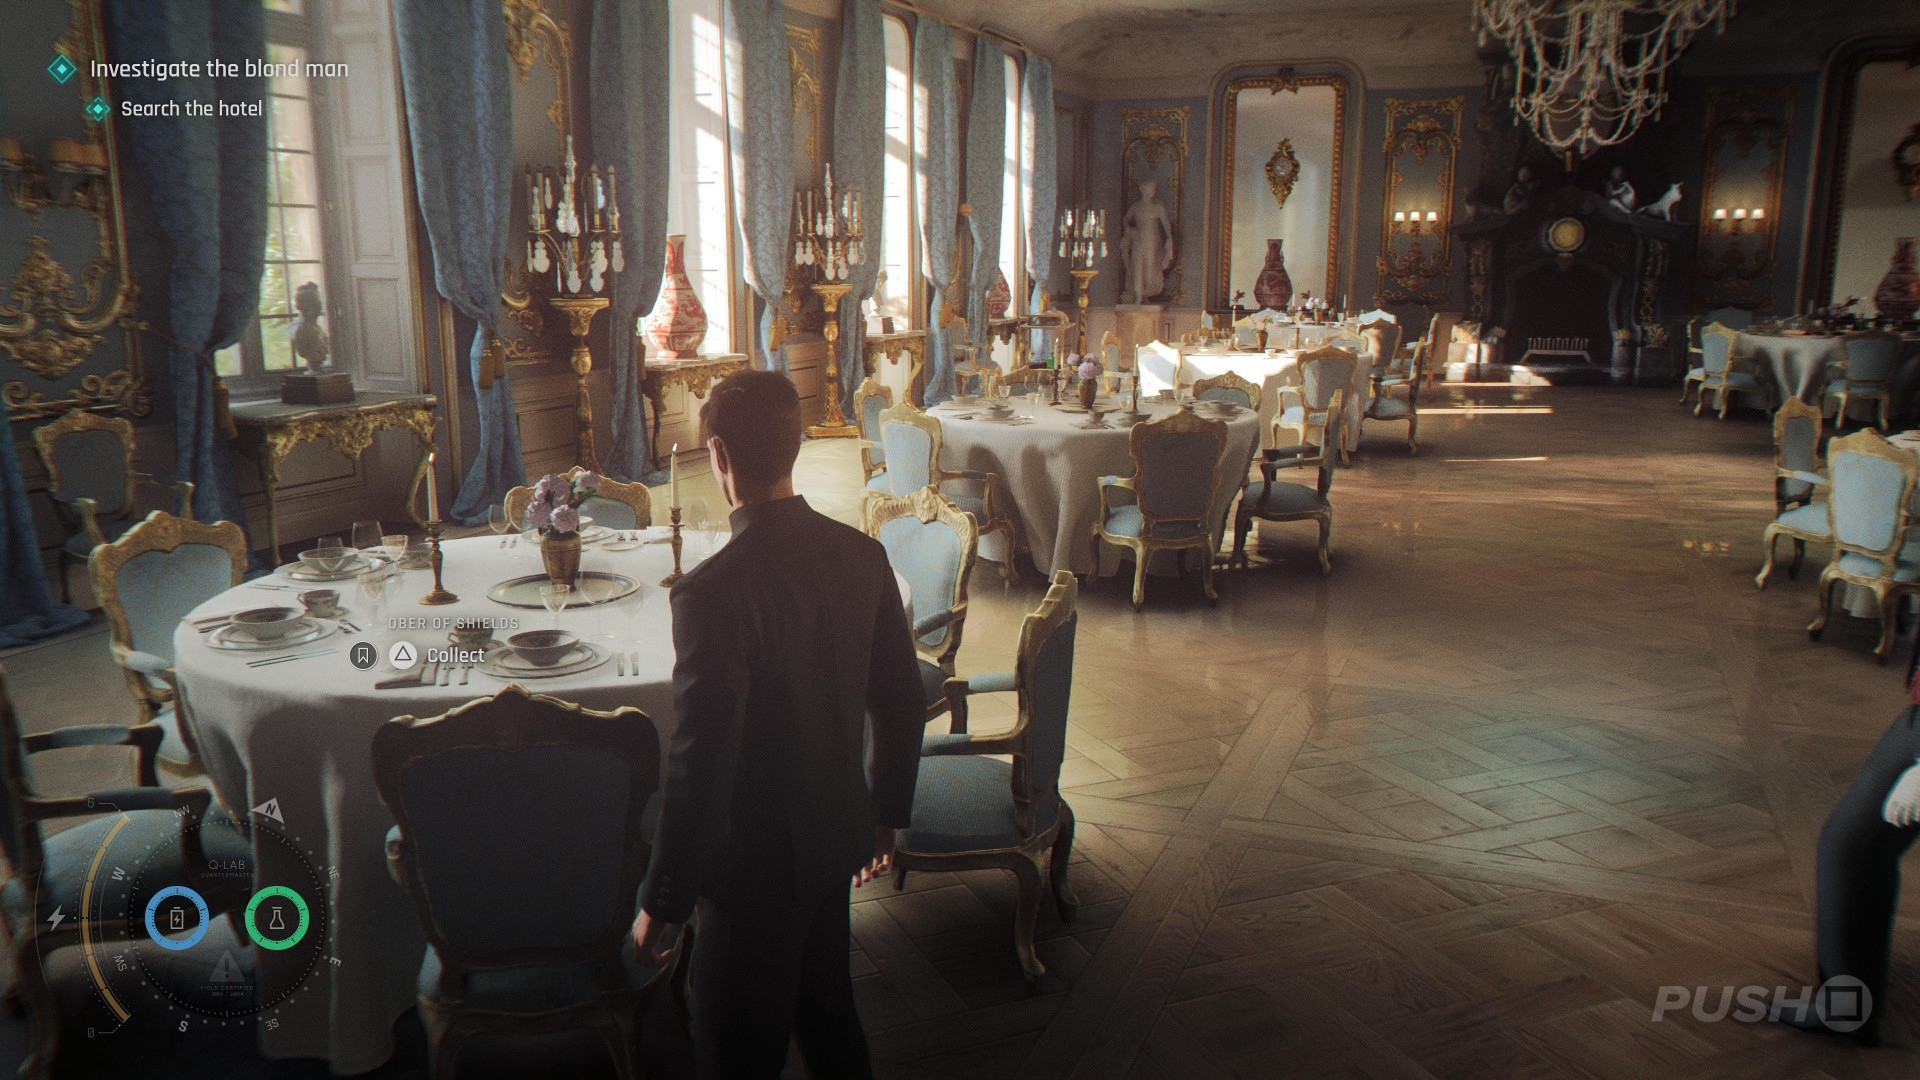
Card: Ober of Shields
007 First Light: All the Time in the World Walkthrough - All Collectibles Locations 15
Image: Push Square
007 First Light: All the Time in the World Walkthrough - All Collectibles Locations 16
Image: Push Square
007 First Light: All the Time in the World Walkthrough - All Collectibles Locations 17
Image: Push Square
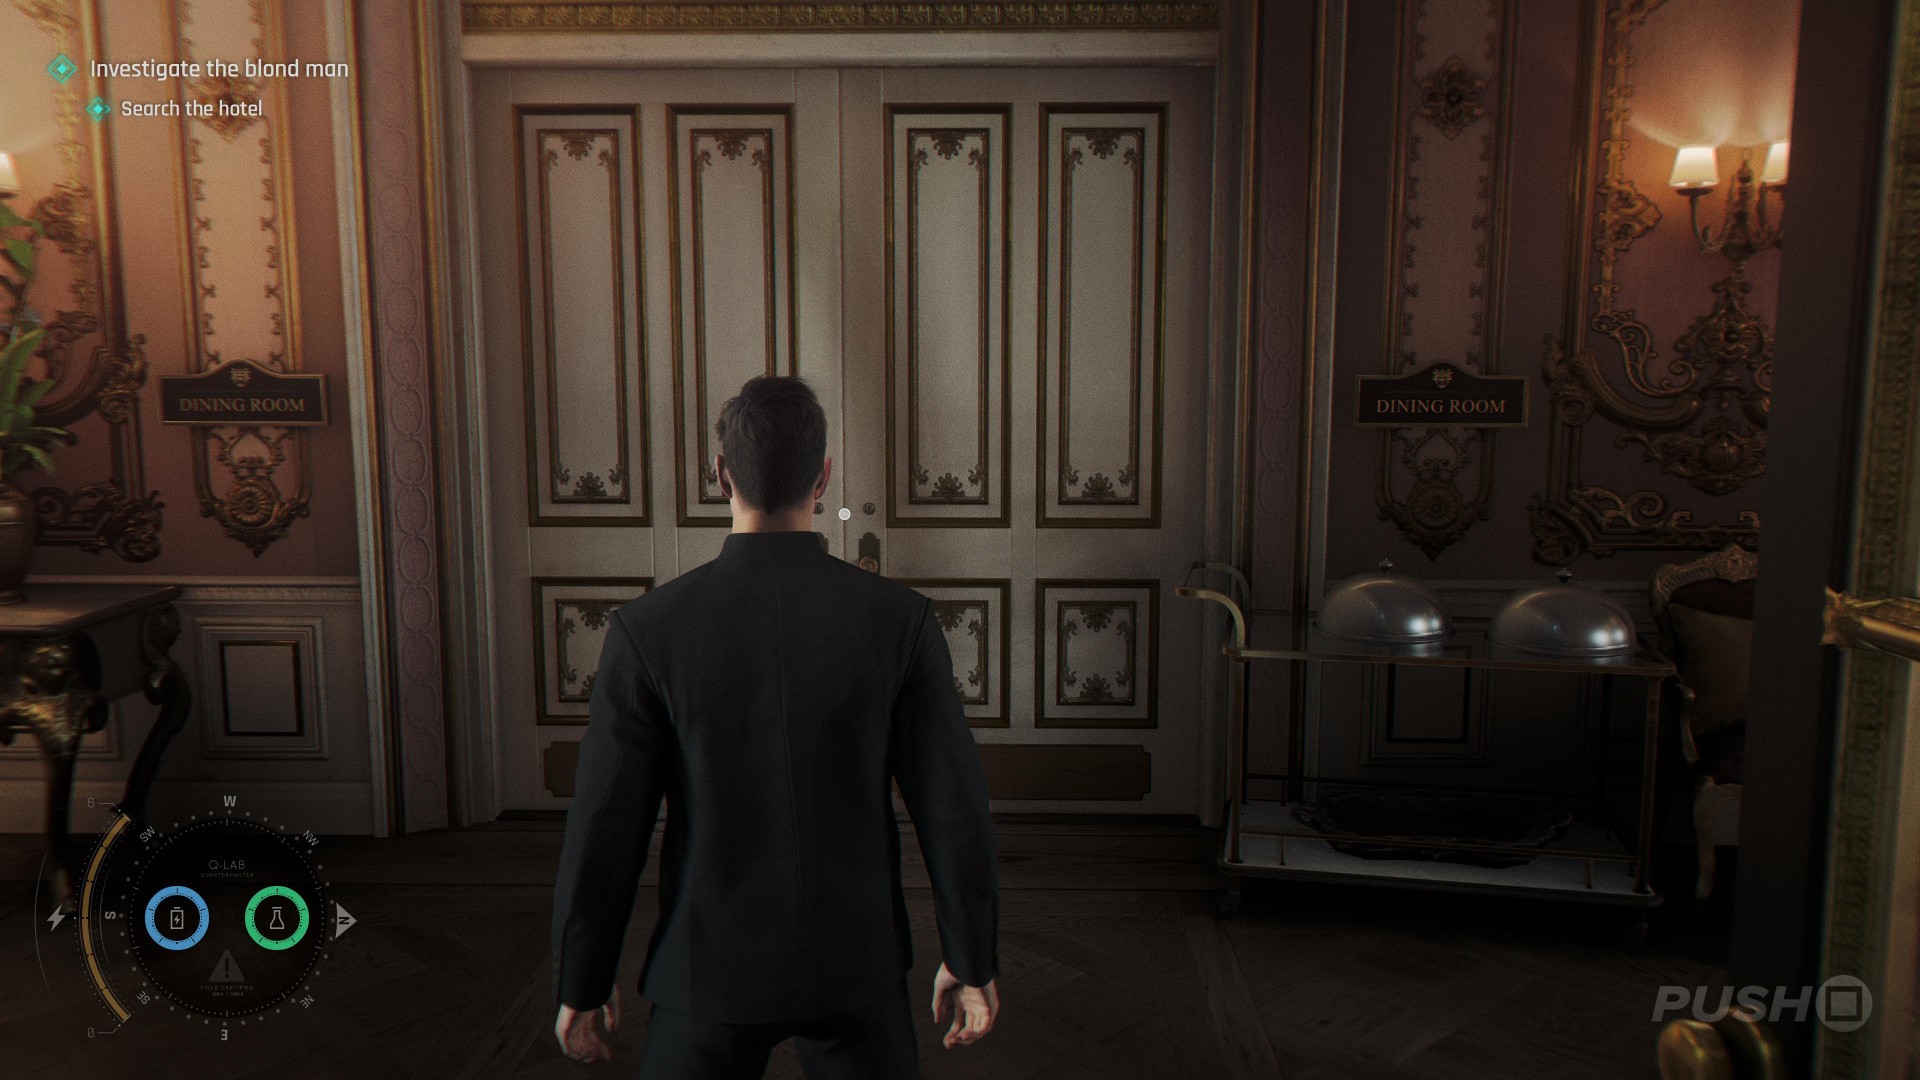
  • From the main room where the chess tournament is taking place, go left to the dining room
  • The collectible is on the back-left dining table

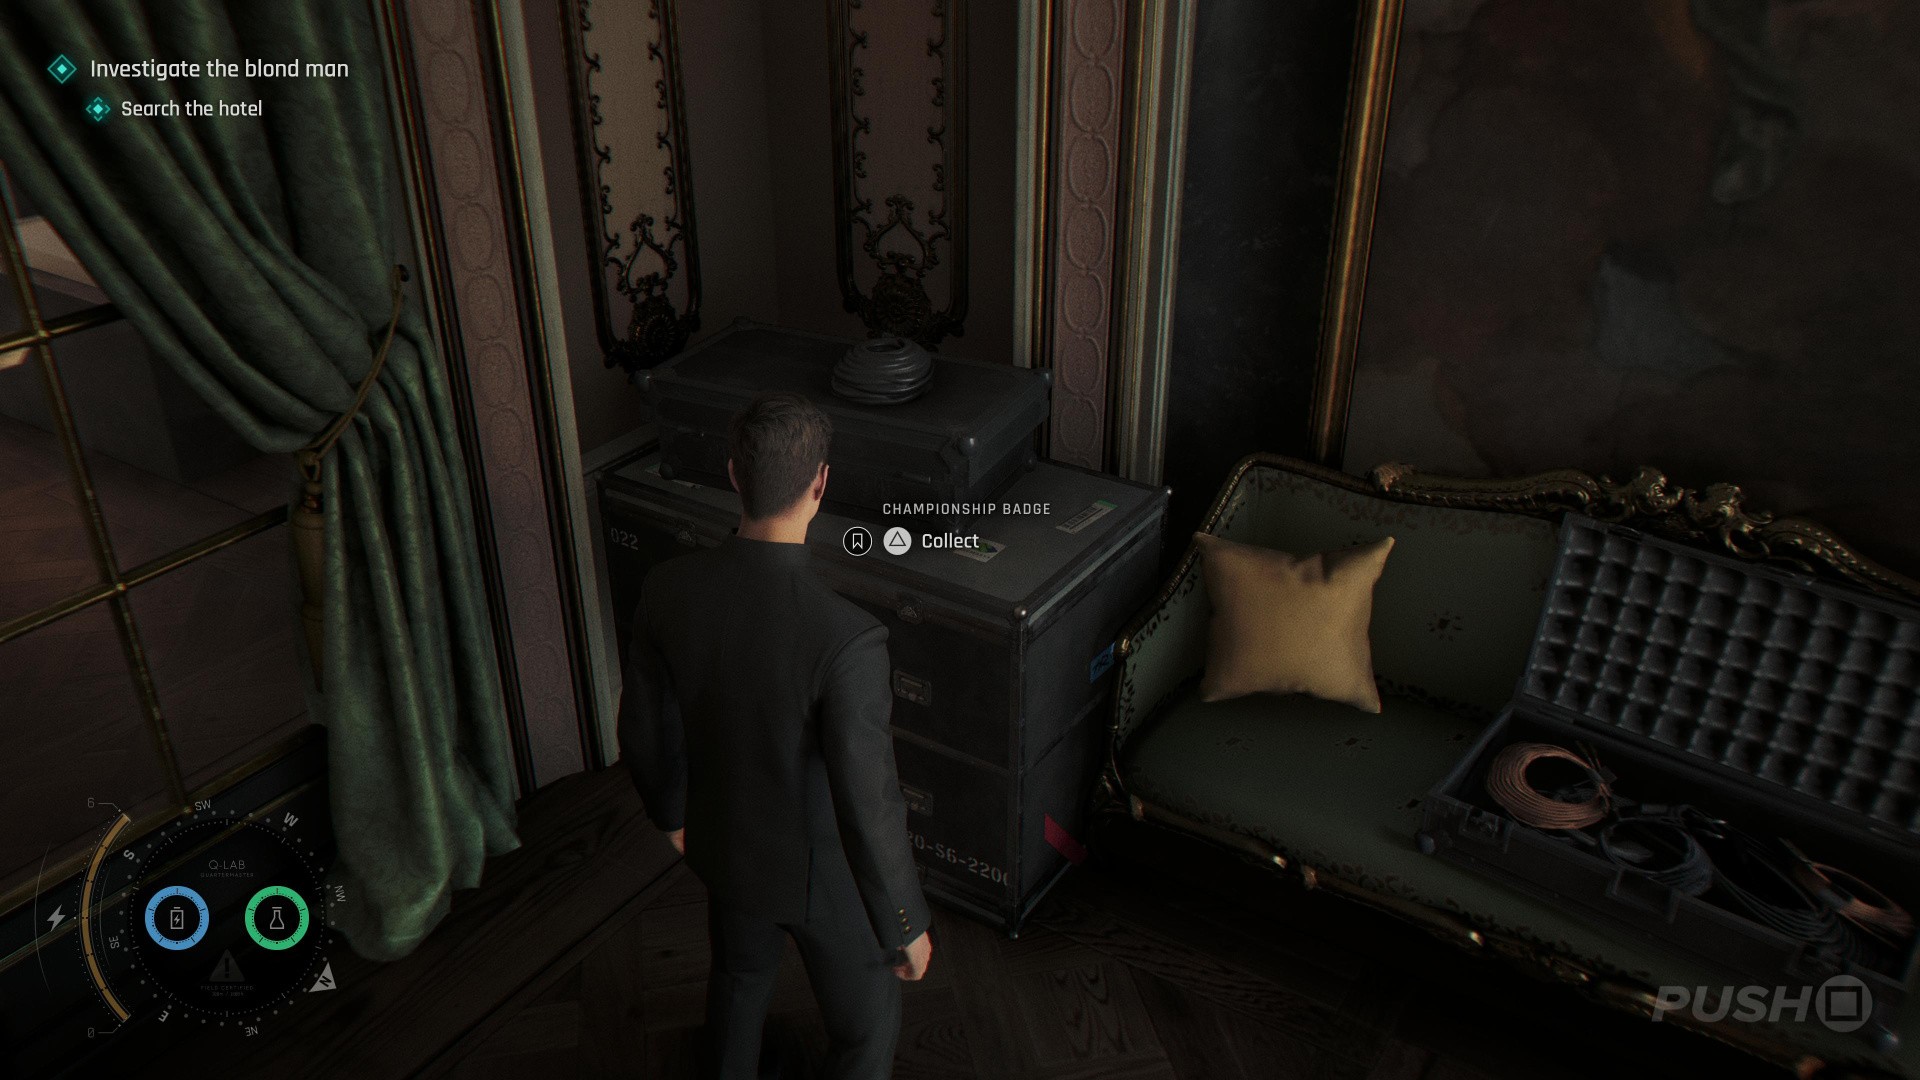
Memento: Championship Badge
007 First Light: All the Time in the World Walkthrough - All Collectibles Locations 18
Image: Push Square
007 First Light: All the Time in the World Walkthrough - All Collectibles Locations 19
Image: Push Square
007 First Light: All the Time in the World Walkthrough - All Collectibles Locations 20
Image: Push Square
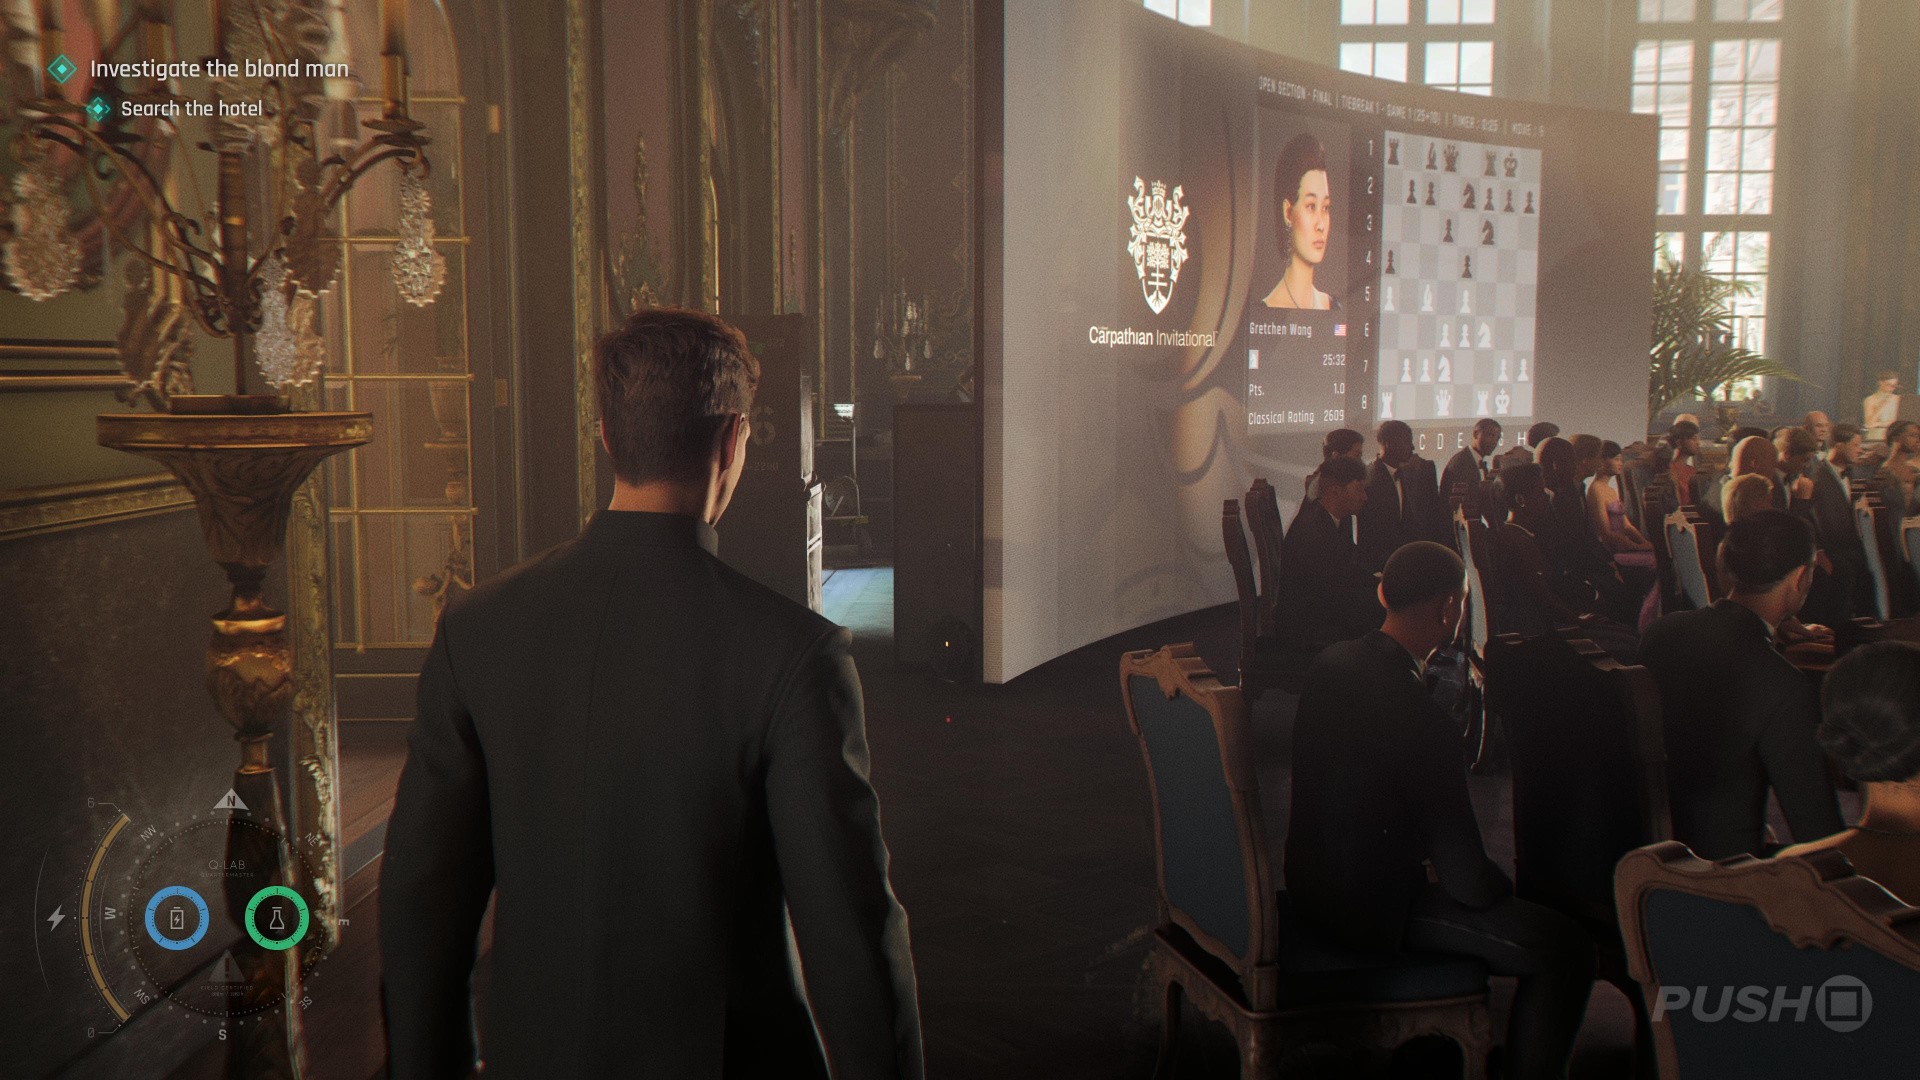
  • Return to the main hall where the chess tournament is taking place
  • On the left, behind the panel showing Gretchen Wong's progress, slip between the two boxes
  • Immediately turn left and you'll find the collectible on the box

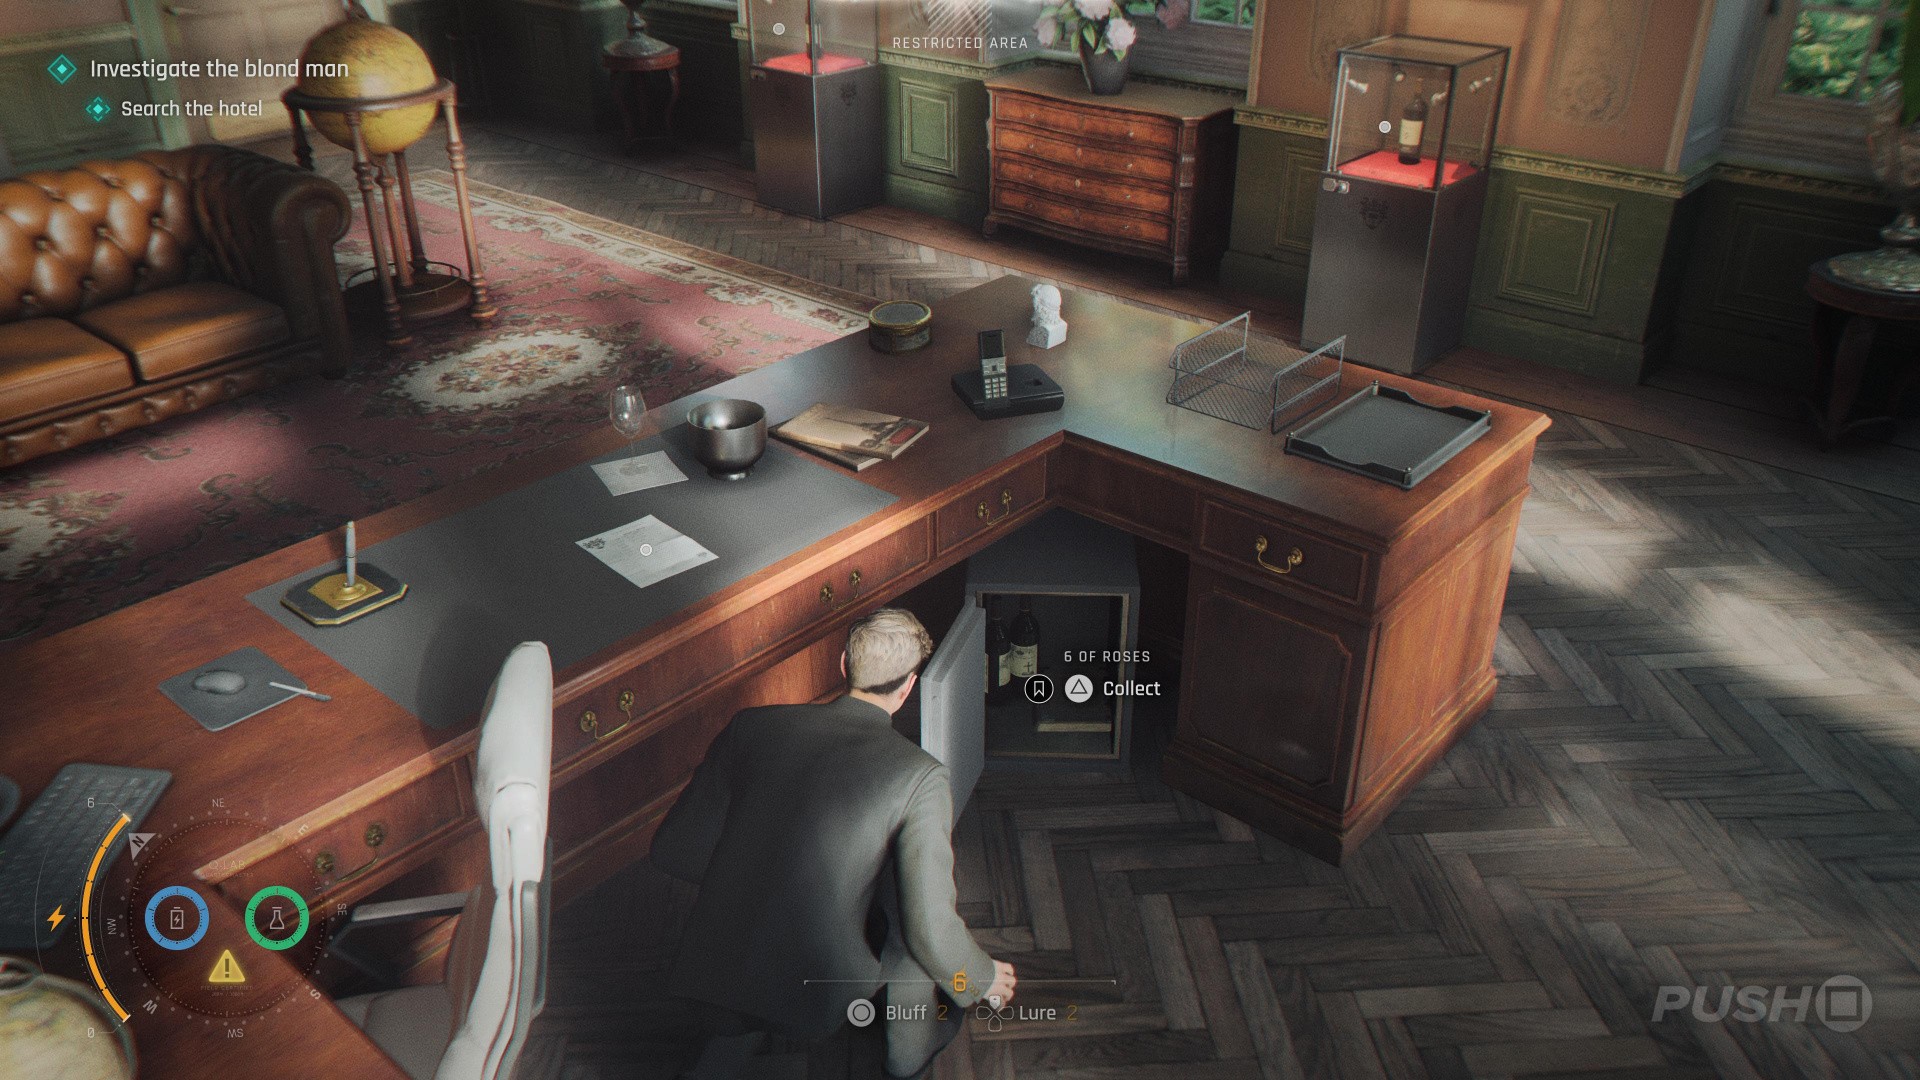
Card: 6 of Roses
007 First Light: All the Time in the World Walkthrough - All Collectibles Locations 21
Image: Push Square
007 First Light: All the Time in the World Walkthrough - All Collectibles Locations 22
Image: Push Square
007 First Light: All the Time in the World Walkthrough - All Collectibles Locations 23
Image: Push Square
007 First Light: All the Time in the World Walkthrough - All Collectibles Locations 24
Image: Push Square
007 First Light: All the Time in the World Walkthrough - All Collectibles Locations 25
Image: Push Square
007 First Light: All the Time in the World Walkthrough - All Collectibles Locations 26
Image: Push Square
007 First Light: All the Time in the World Walkthrough - All Collectibles Locations 27
Image: Push Square
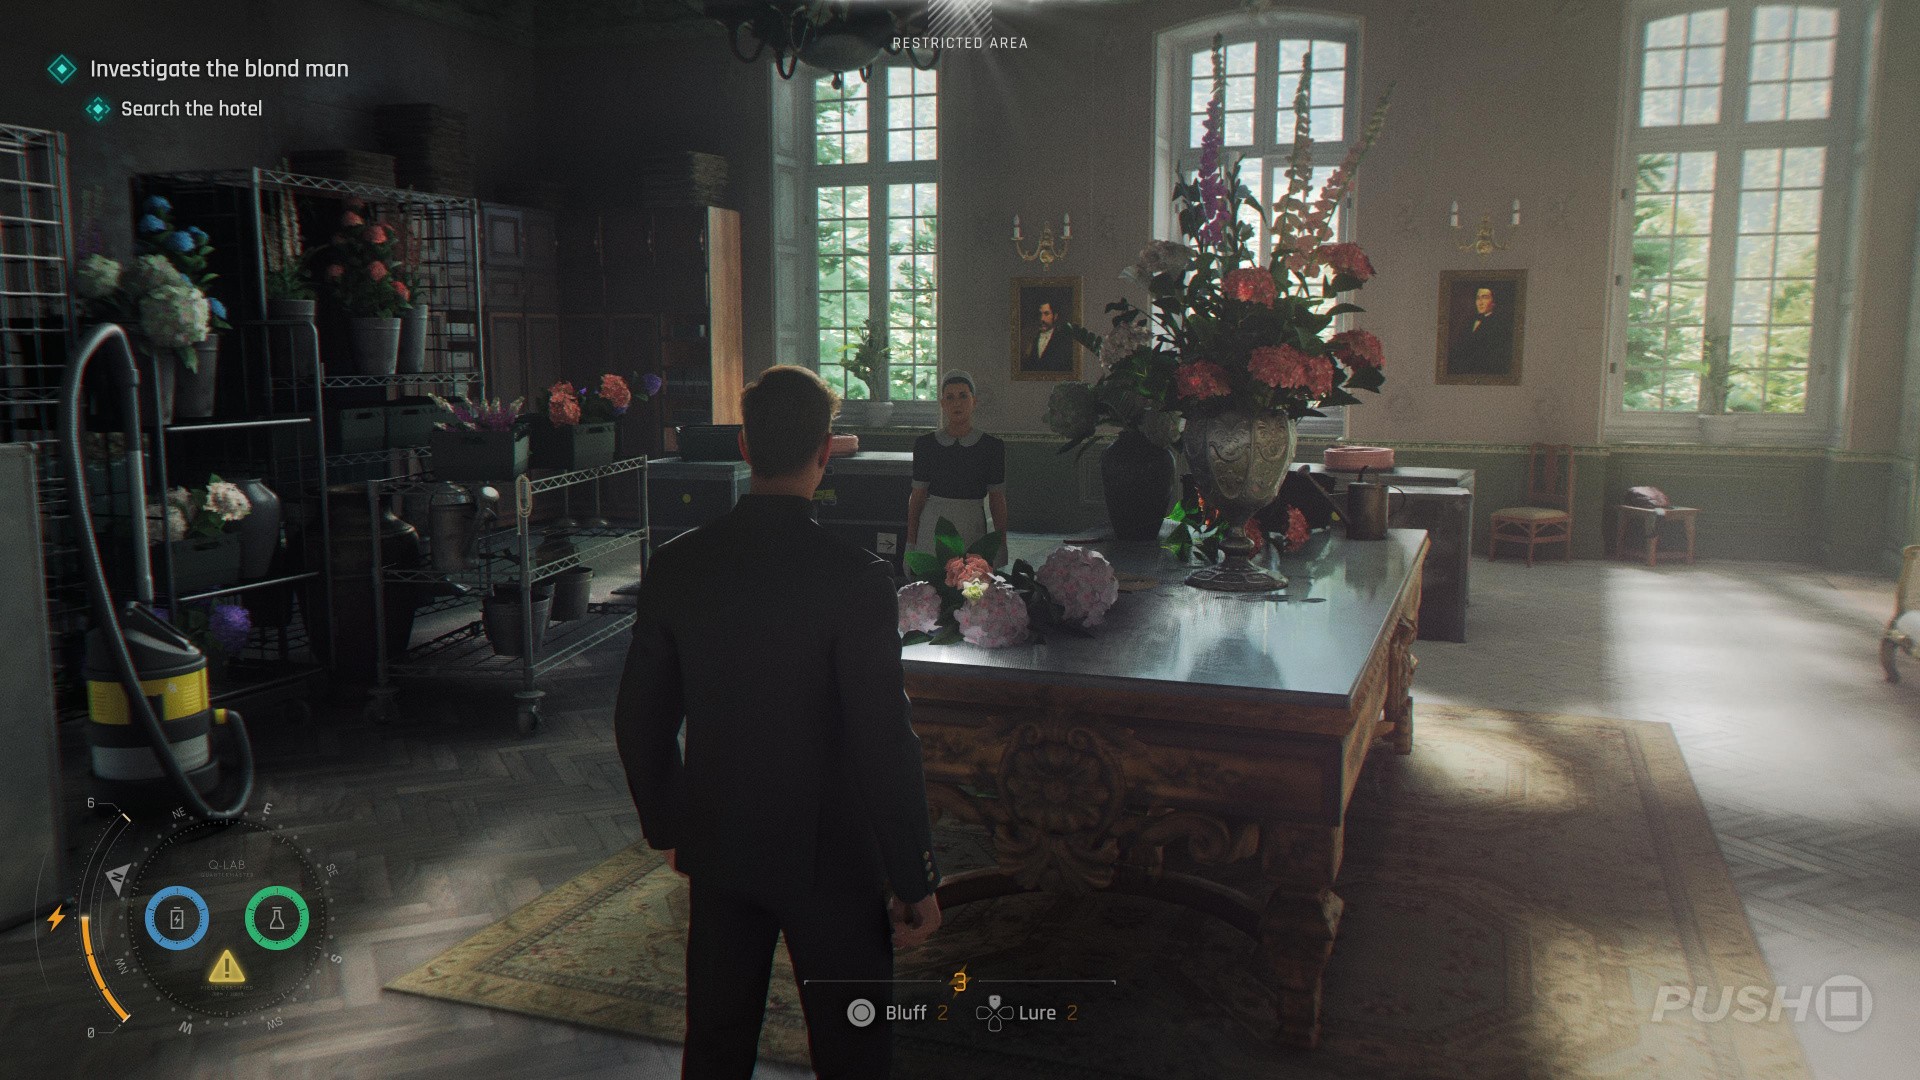
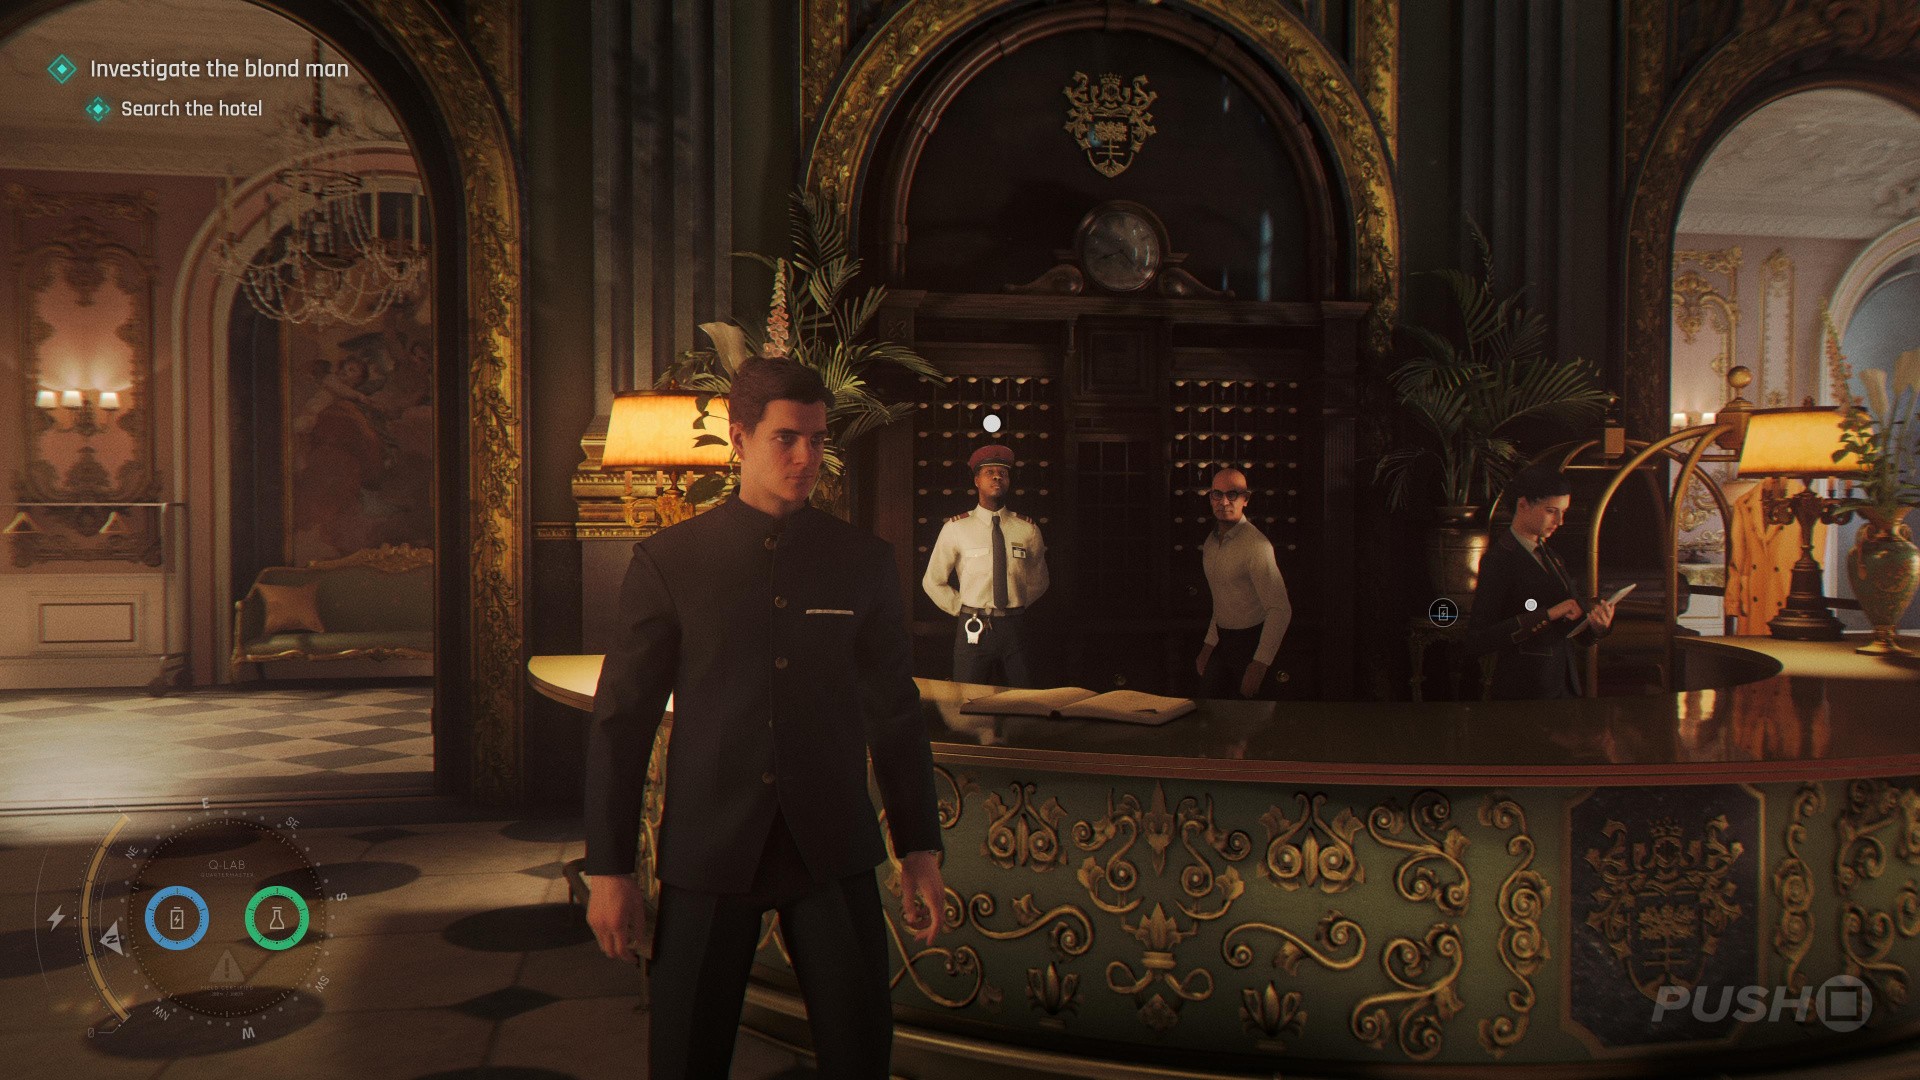
  • Go downstairs to the reception area
  • Behind the reception, go through the big white doors
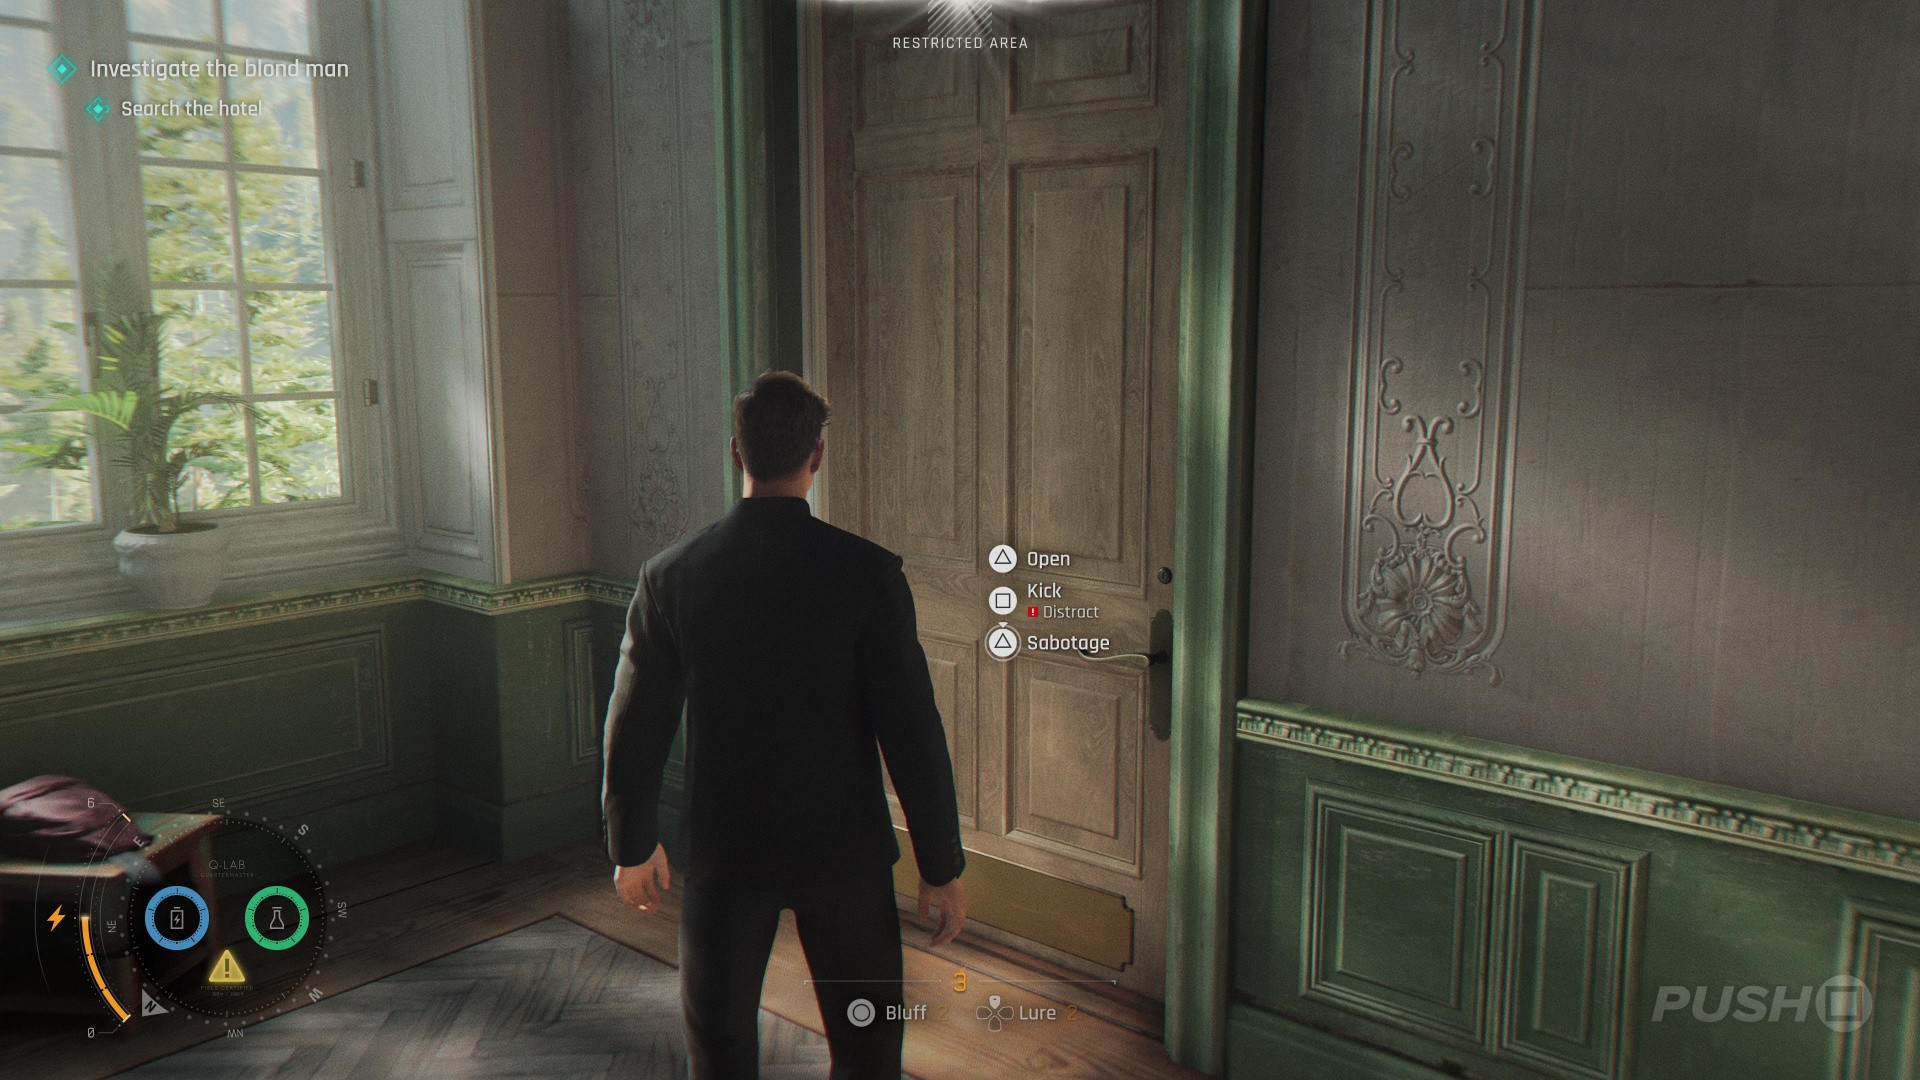
  • Enter the 'Staff Only' area with the maids inside and bluff
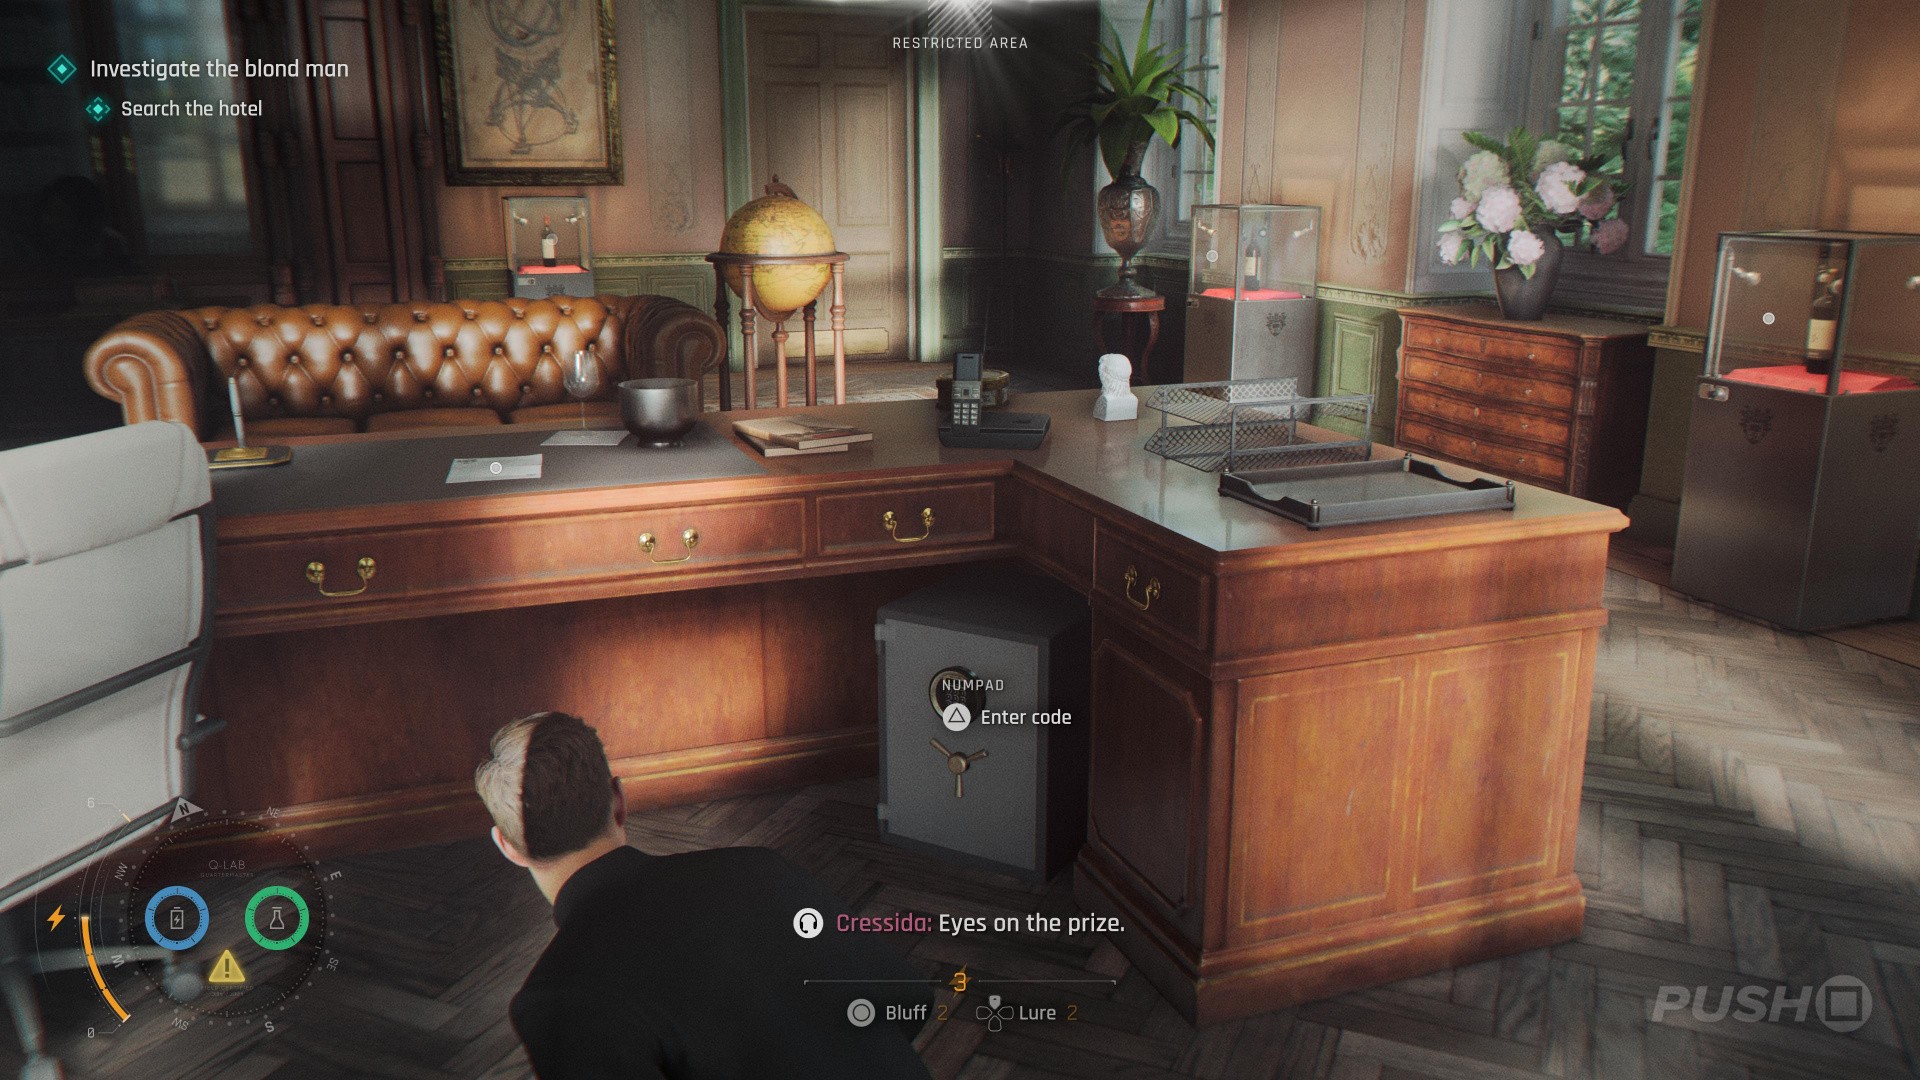
  • Go through the door on the right at the rear of the room
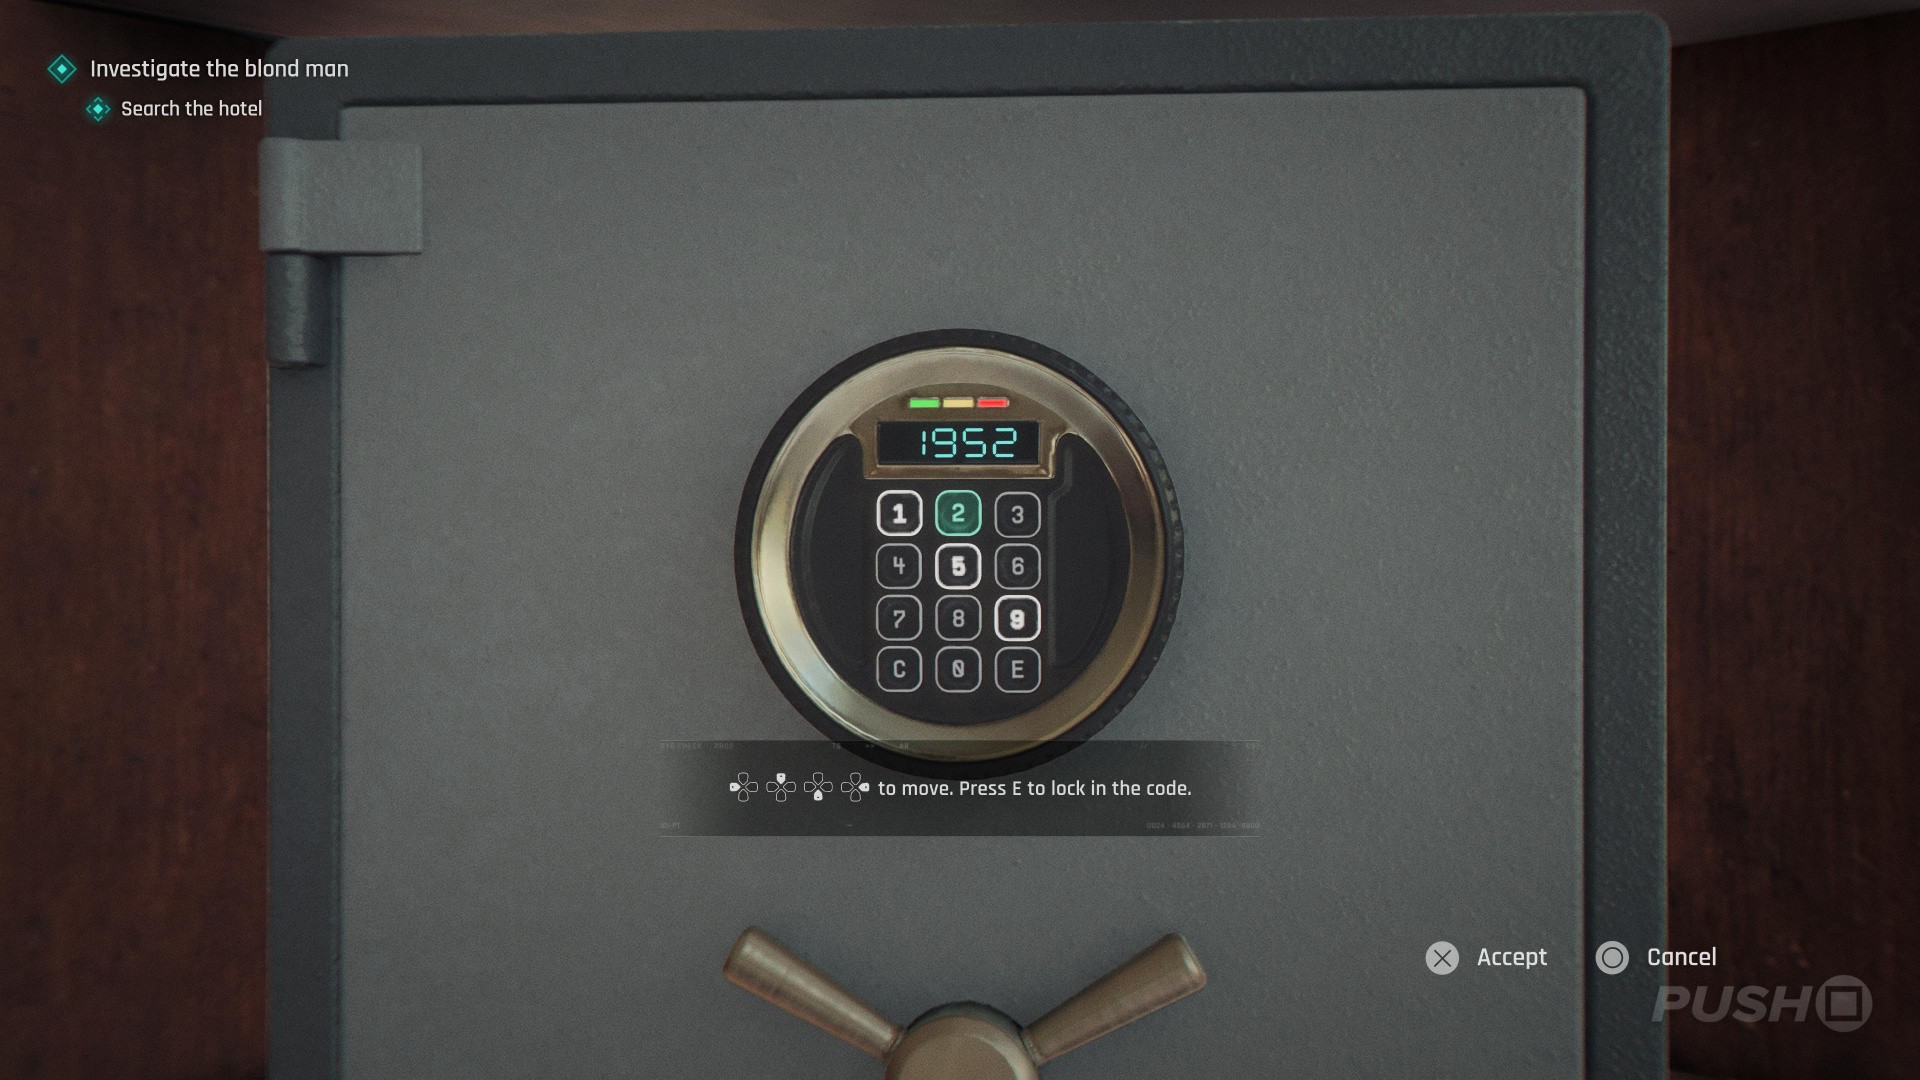
  • Beneath the desk is a safe
  • The safe code is 1952, which is the year of the middle bottle of wine
  • Open the safe for the cellar key and the collectible

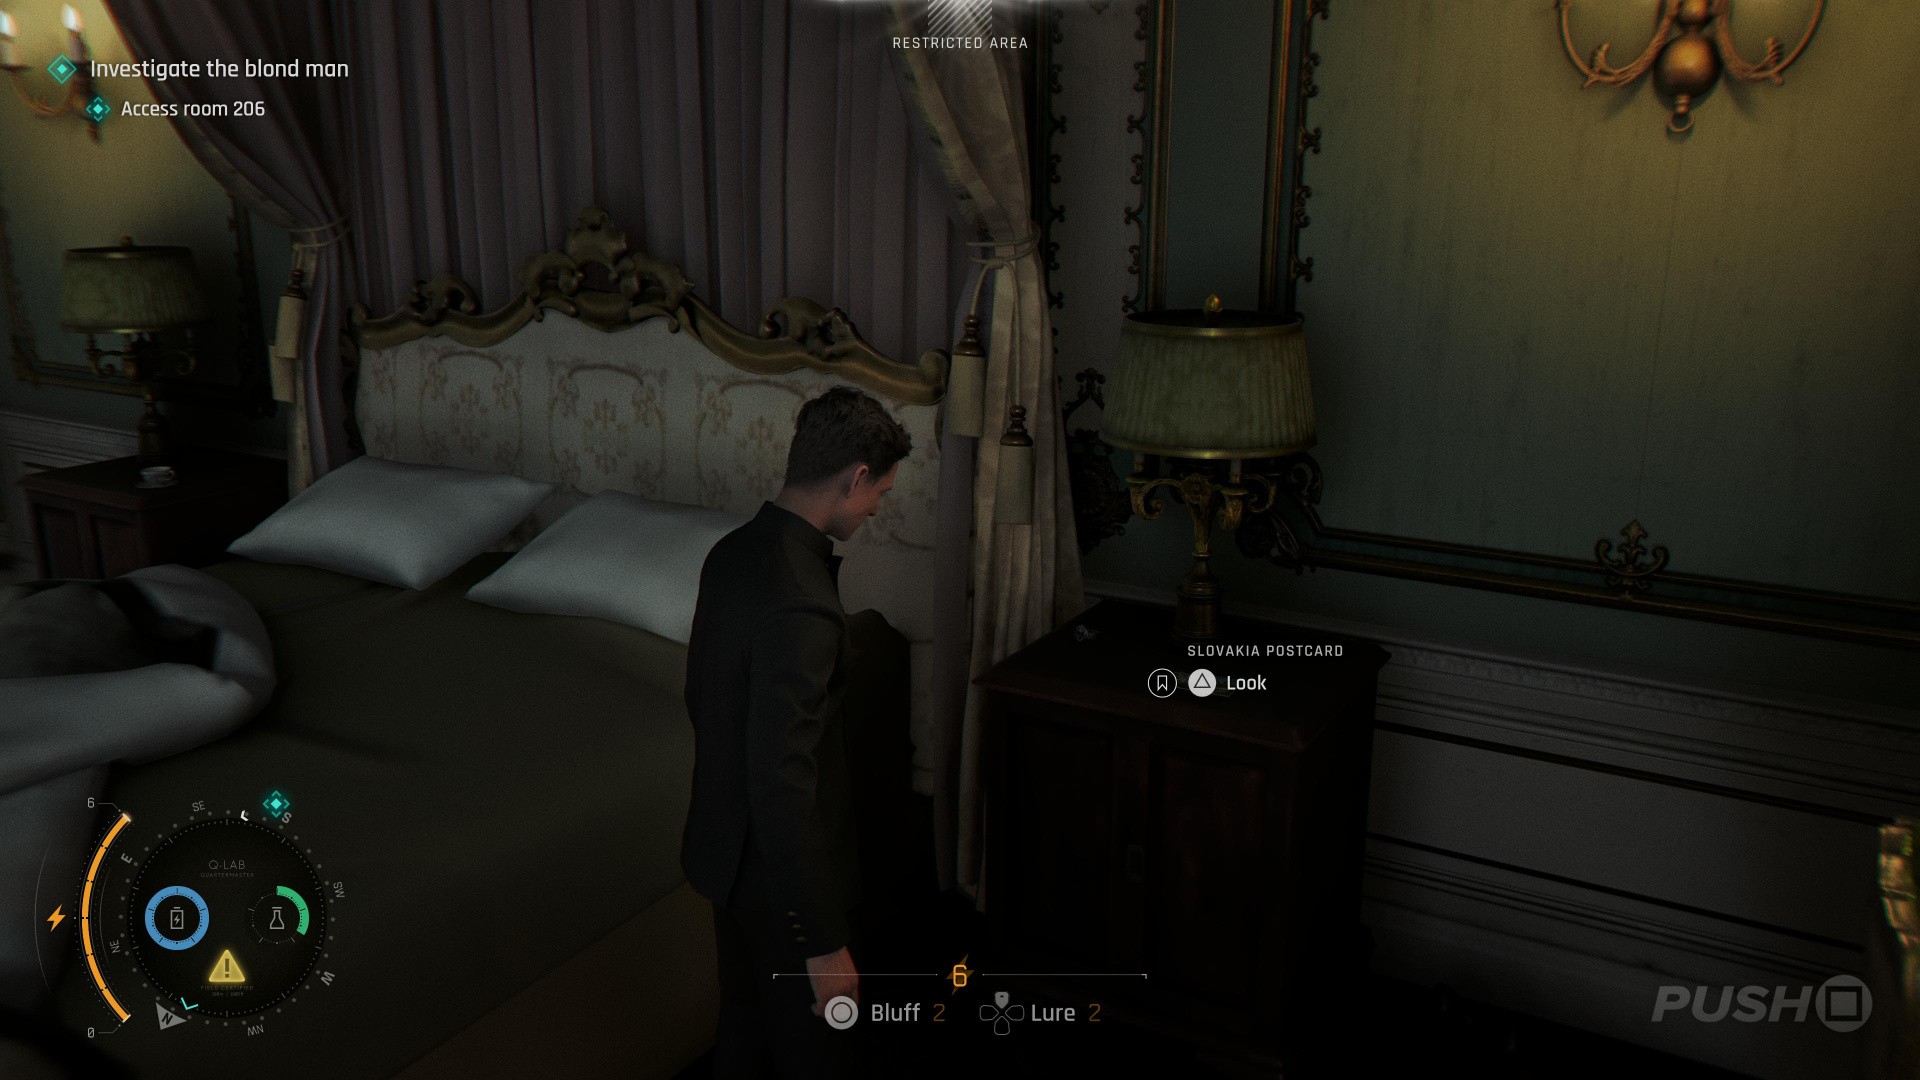
Postcard: Slovakia Postcard
007 First Light: All the Time in the World Walkthrough - All Collectibles Locations 28
Image: Push Square
007 First Light: All the Time in the World Walkthrough - All Collectibles Locations 29
Image: Push Square
007 First Light: All the Time in the World Walkthrough - All Collectibles Locations 30
Image: Push Square
007 First Light: All the Time in the World Walkthrough - All Collectibles Locations 31
Image: Push Square
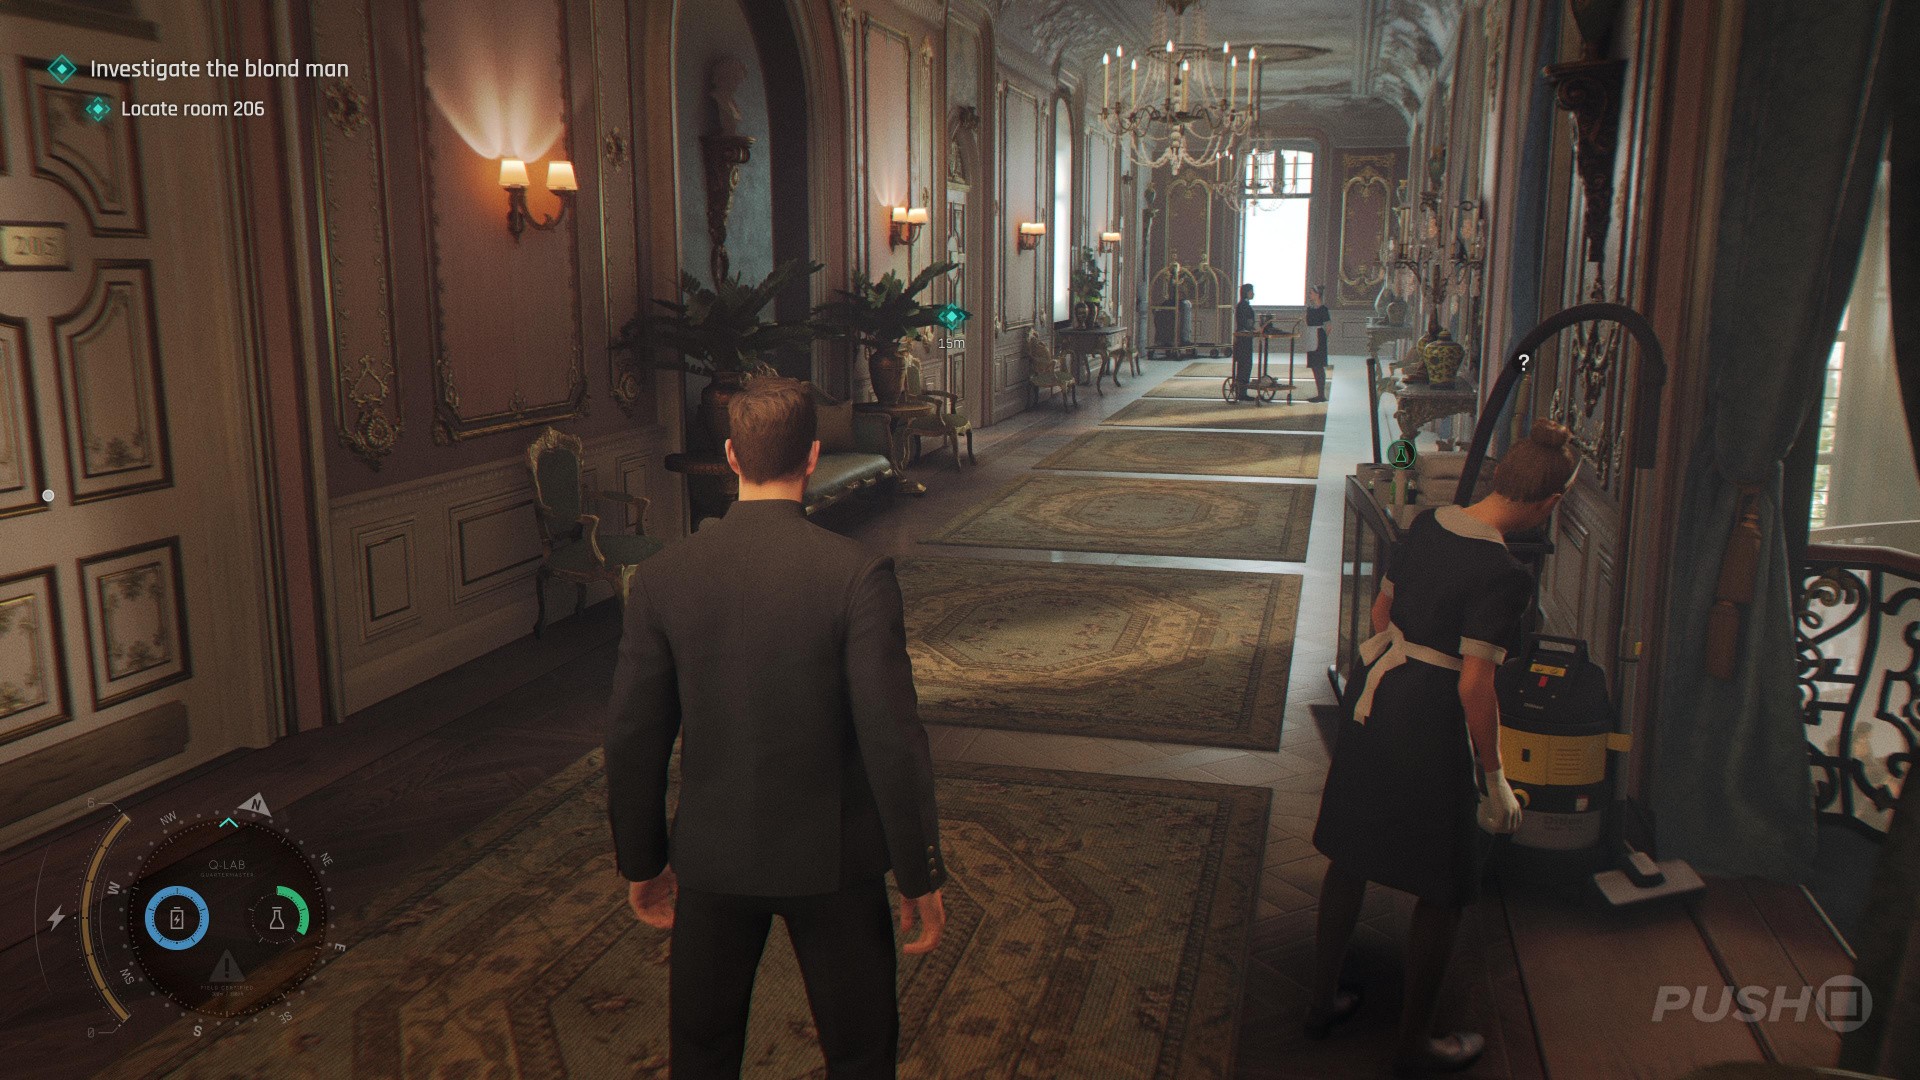
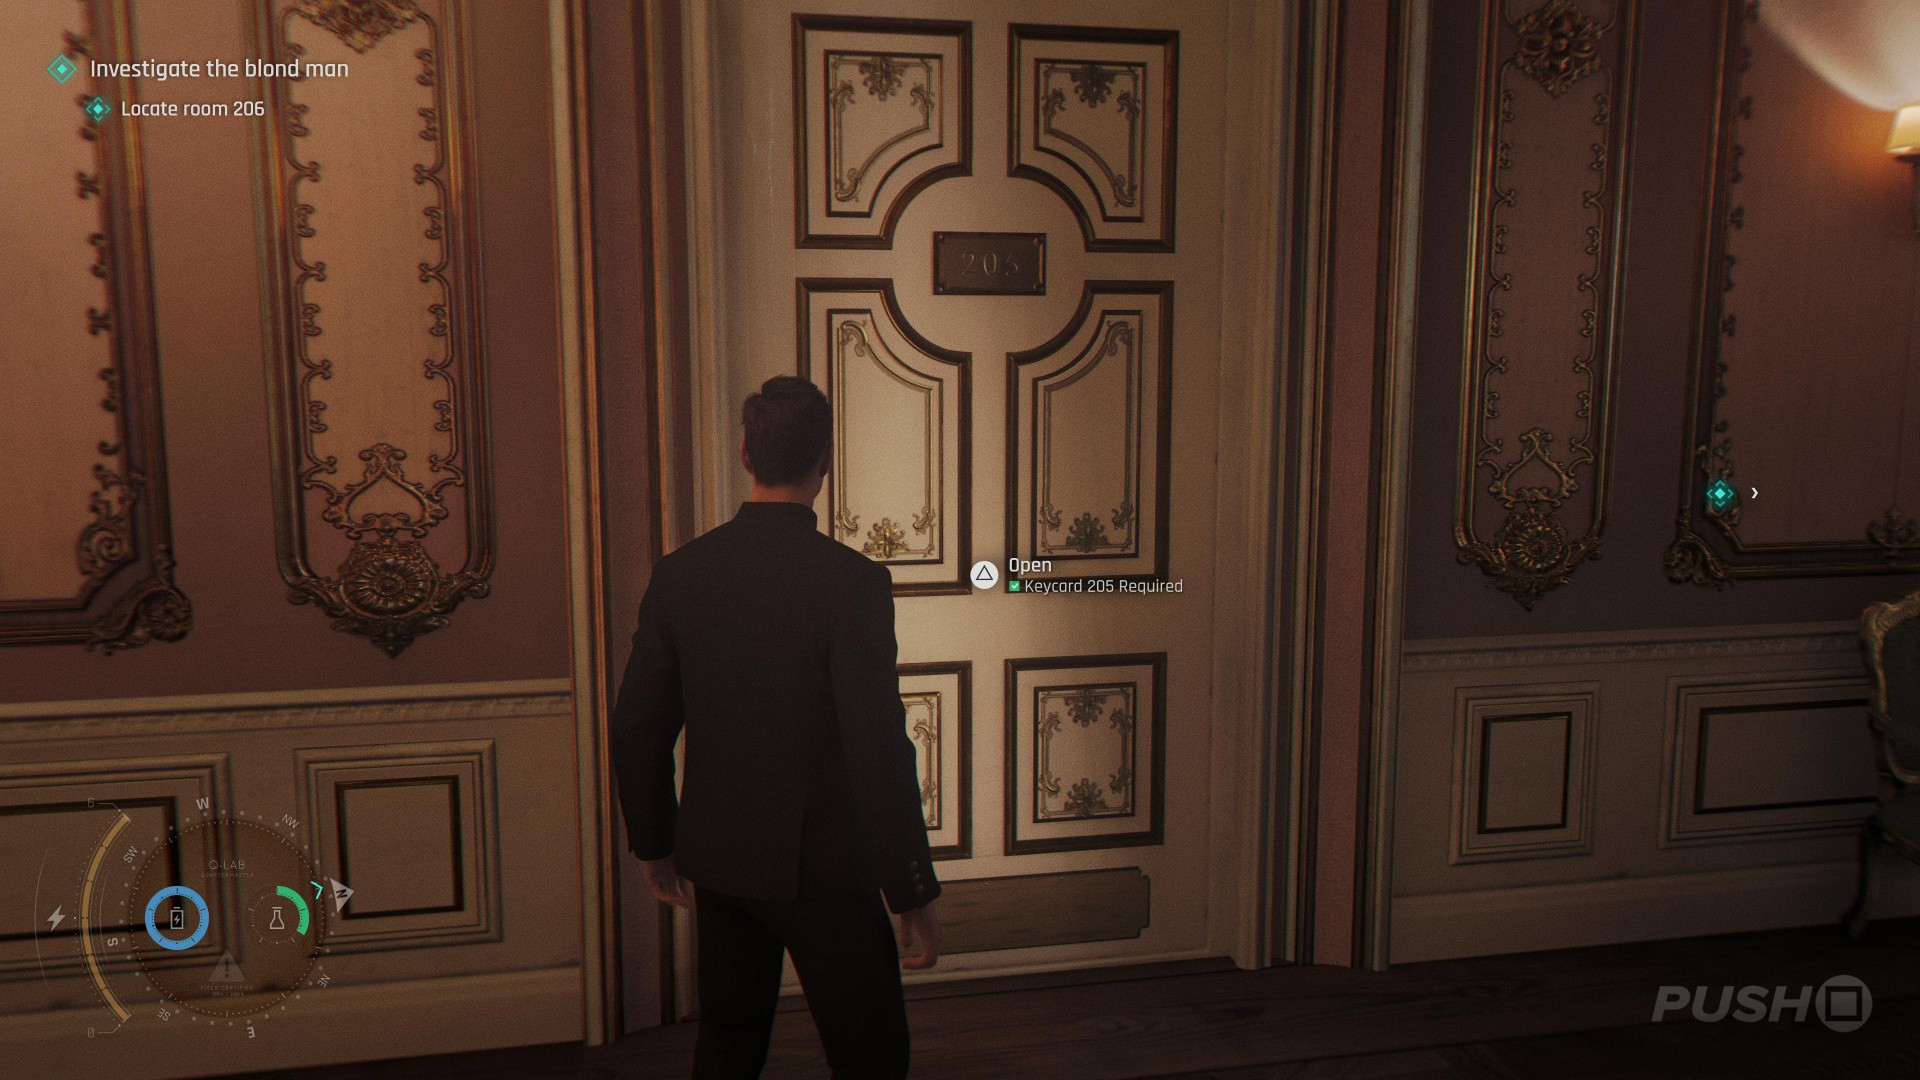
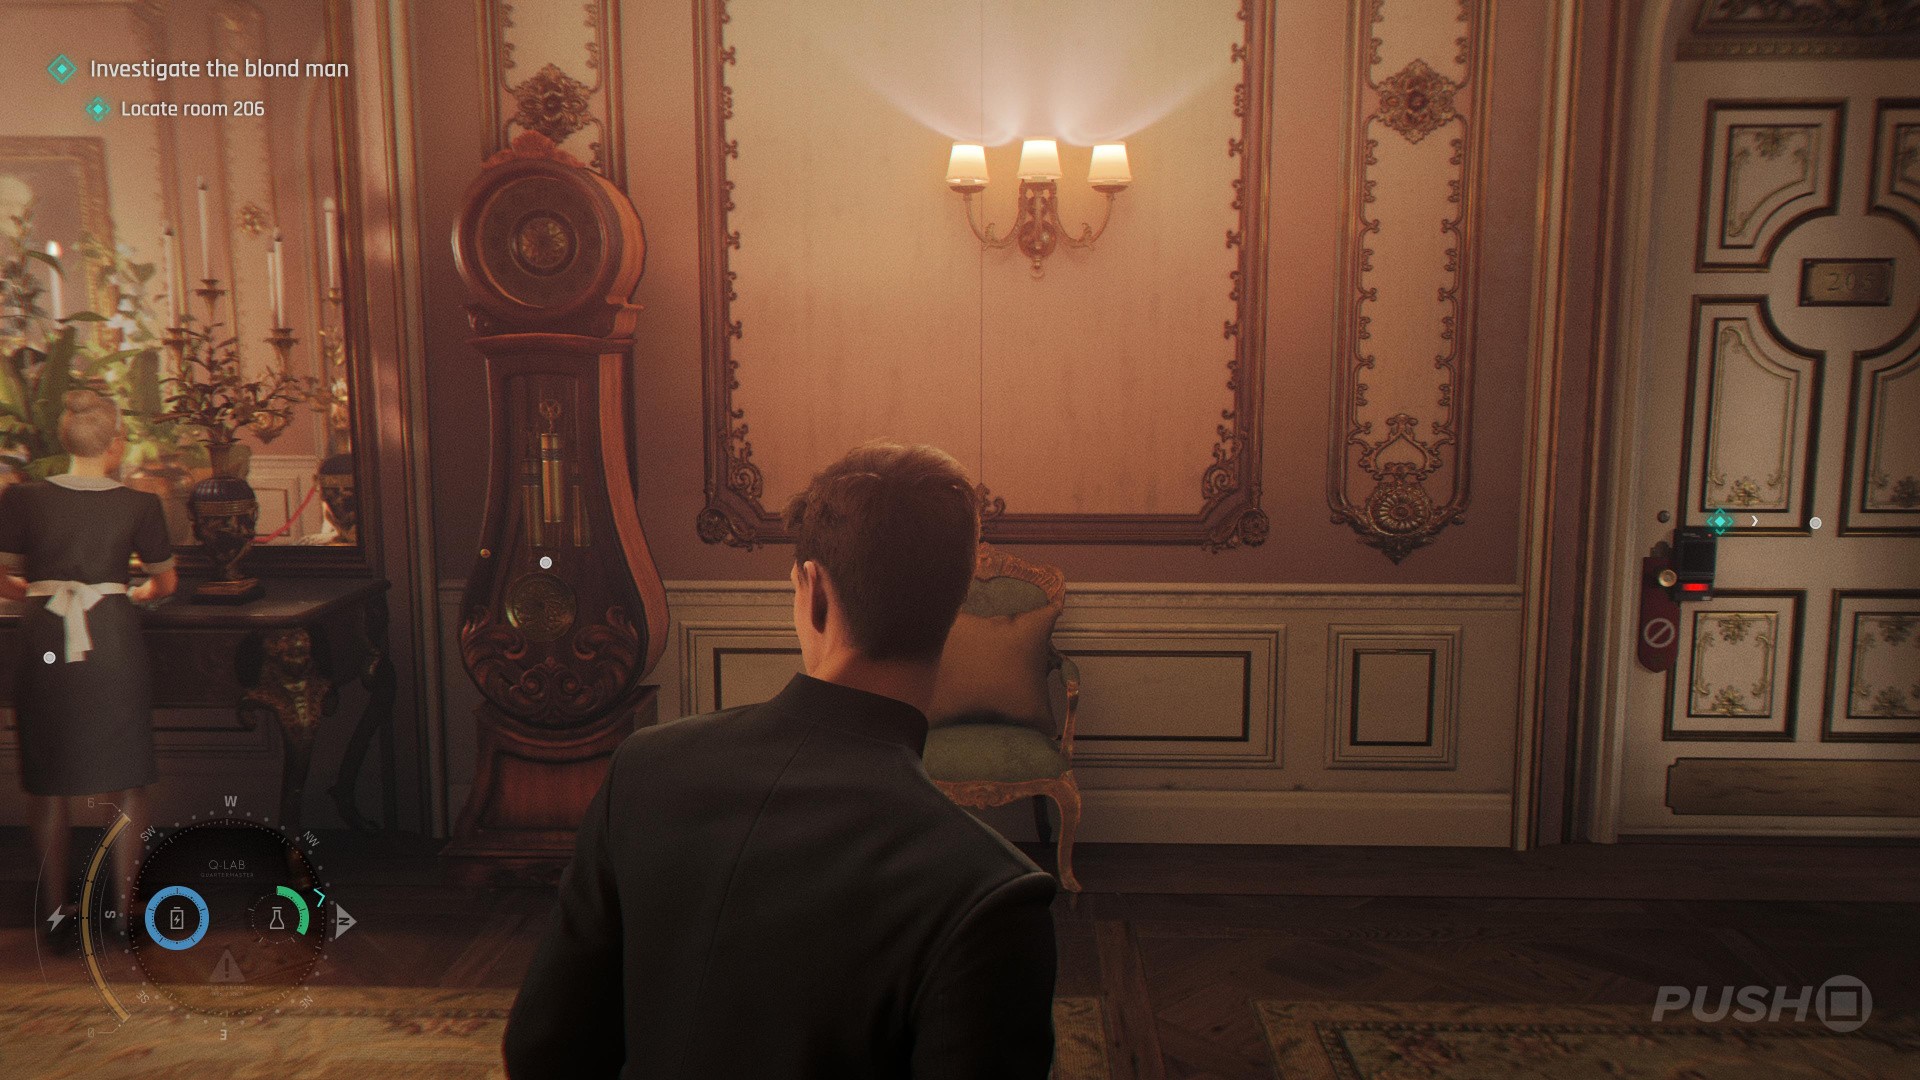
  • After the laundry section and learning about Joseph Locke, head to Room 206
  • In this corridor is a maid lingering around Room 205 with a keycard
  • Turn on the nearby vaccuum cleaner to distract her and pickpocket her keycard
  • Go inside Room 205 and the collectible is on the bedside table

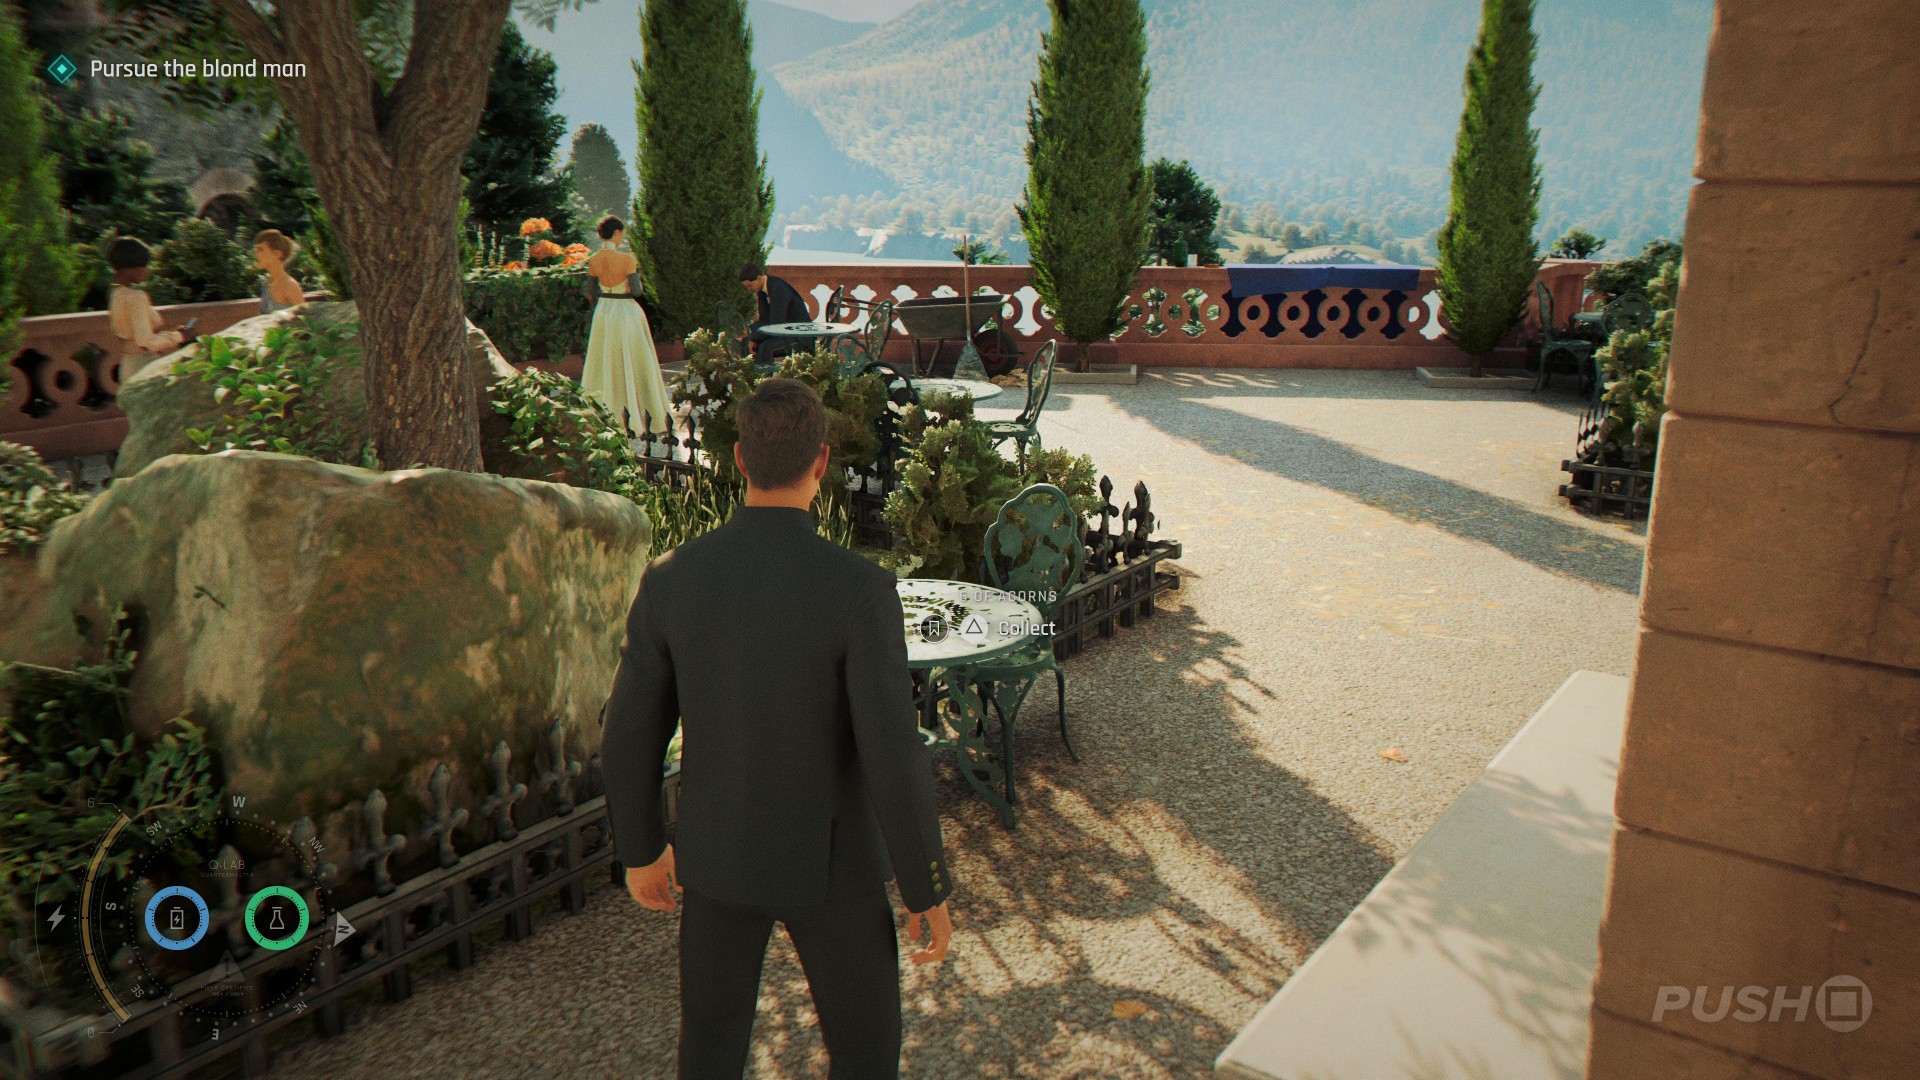
Card: 6 of Acorns
007 First Light: All the Time in the World Walkthrough - All Collectibles Locations 32
Image: Push Square
007 First Light: All the Time in the World Walkthrough - All Collectibles Locations 33
Image: Push Square
007 First Light: All the Time in the World Walkthrough - All Collectibles Locations 34
Image: Push Square
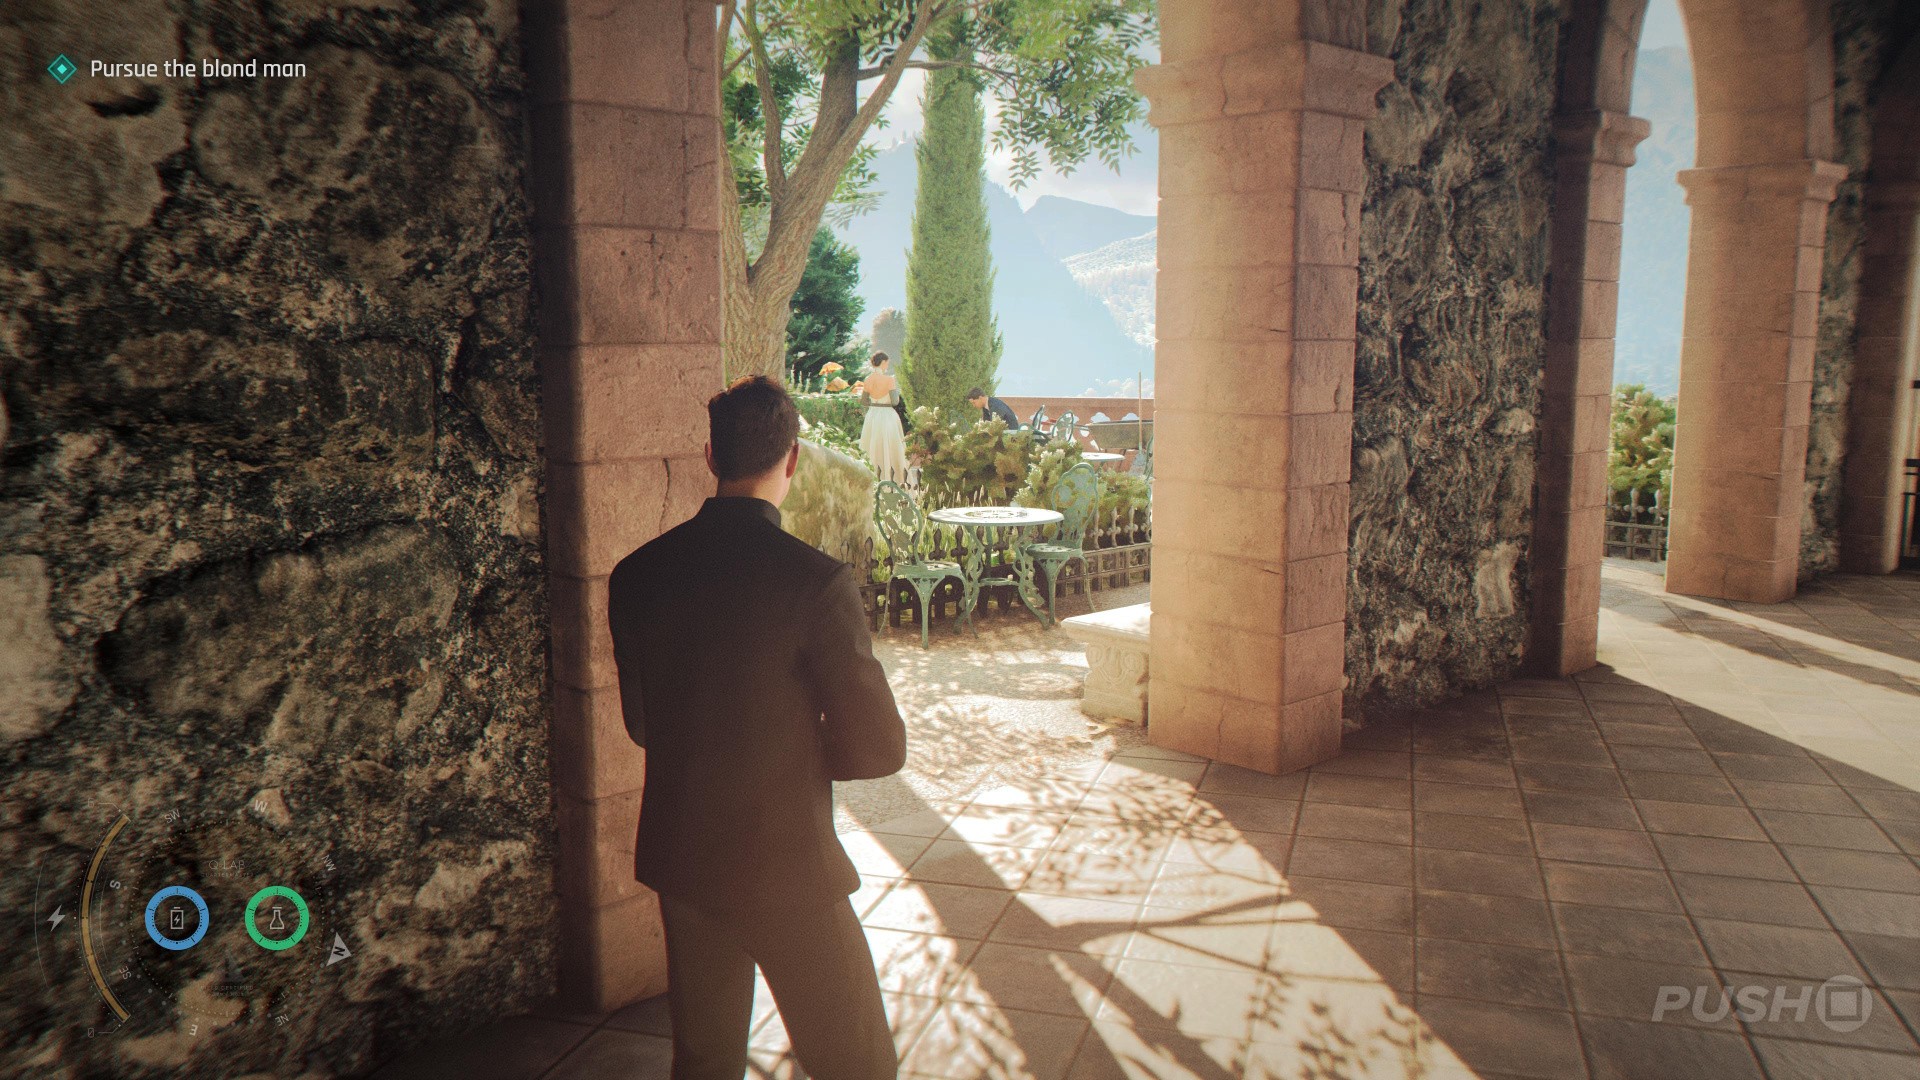
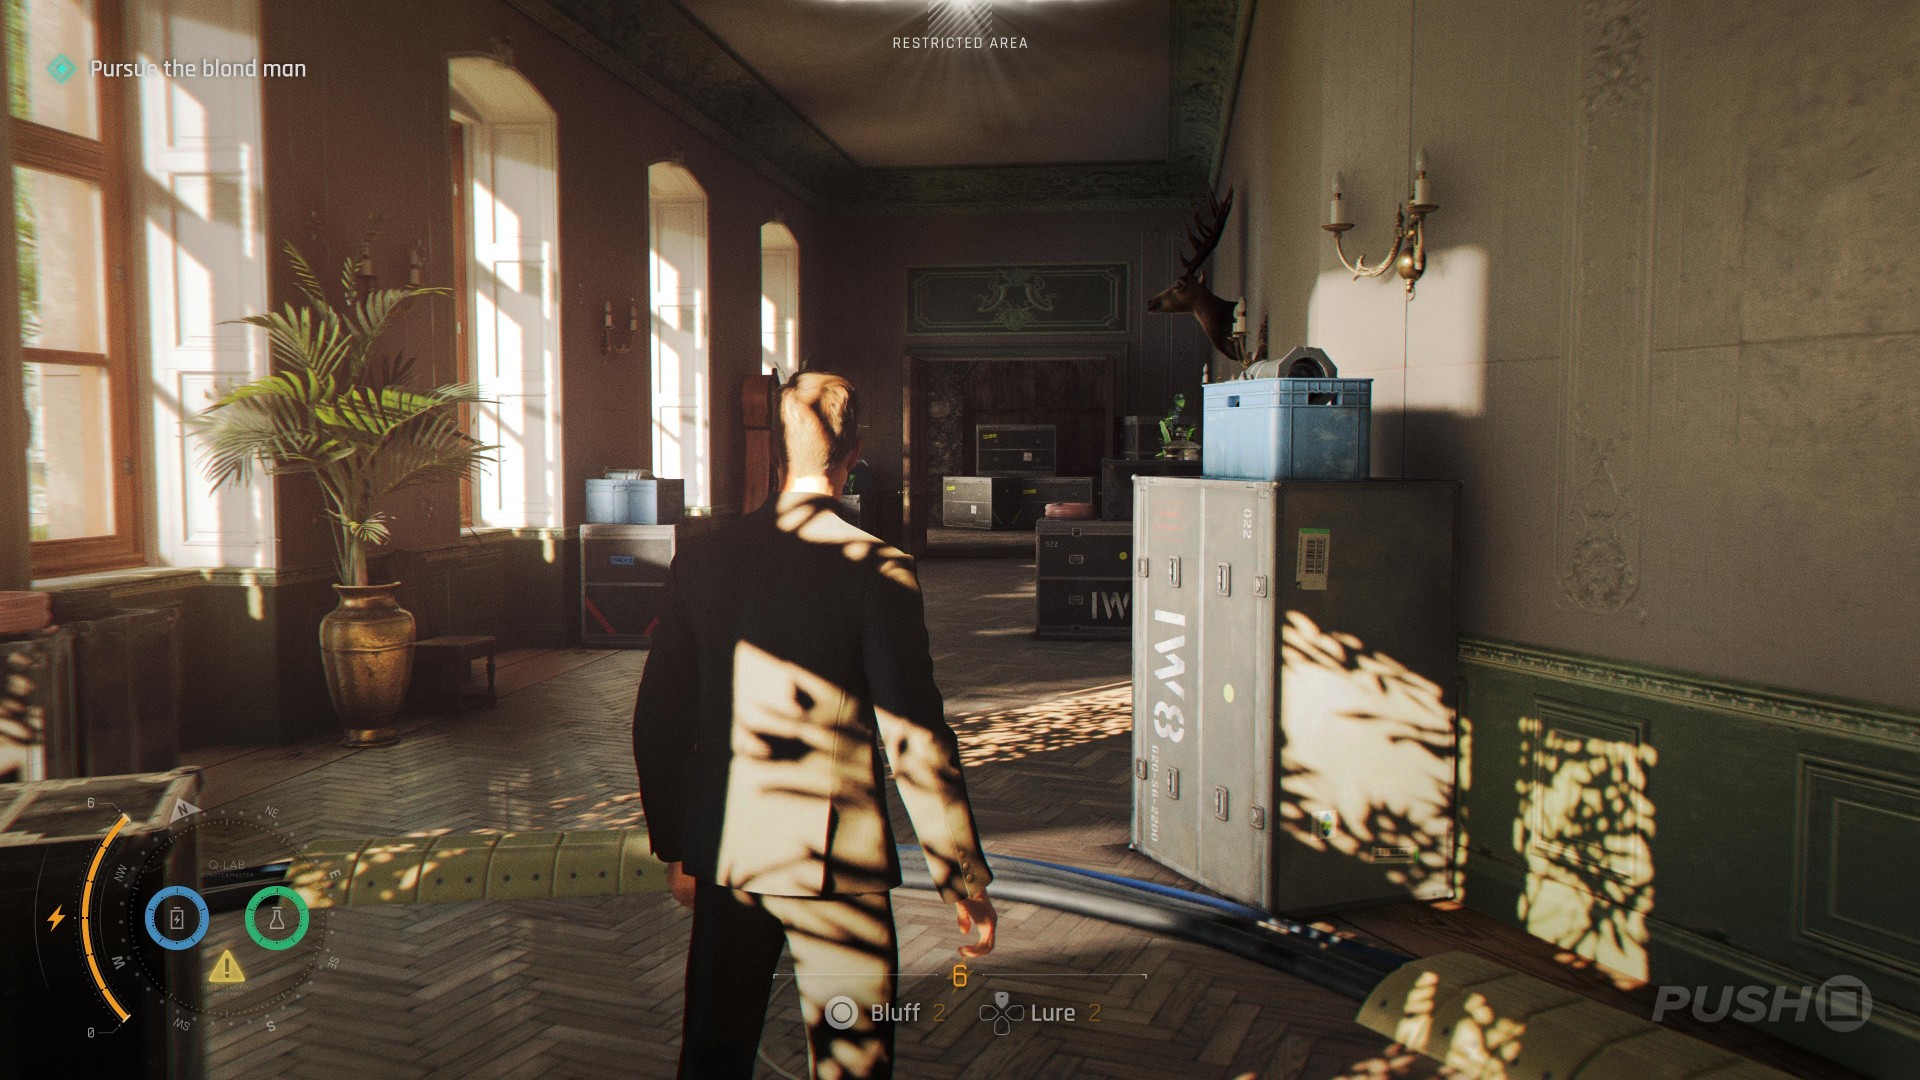
  • After eavesdropping on the security staff inspecting the power generator, follow the corridor to the end
  • Turn left out into the courtyard area
  • The collectible is on the garden table immediately in front of you

Card: 7 of Bells
007 First Light: All the Time in the World Walkthrough - All Collectibles Locations 35
Image: Push Square
007 First Light: All the Time in the World Walkthrough - All Collectibles Locations 36
Image: Push Square
007 First Light: All the Time in the World Walkthrough - All Collectibles Locations 37
Image: Push Square
007 First Light: All the Time in the World Walkthrough - All Collectibles Locations 38
Image: Push Square
007 First Light: All the Time in the World Walkthrough - All Collectibles Locations 39
Image: Push Square
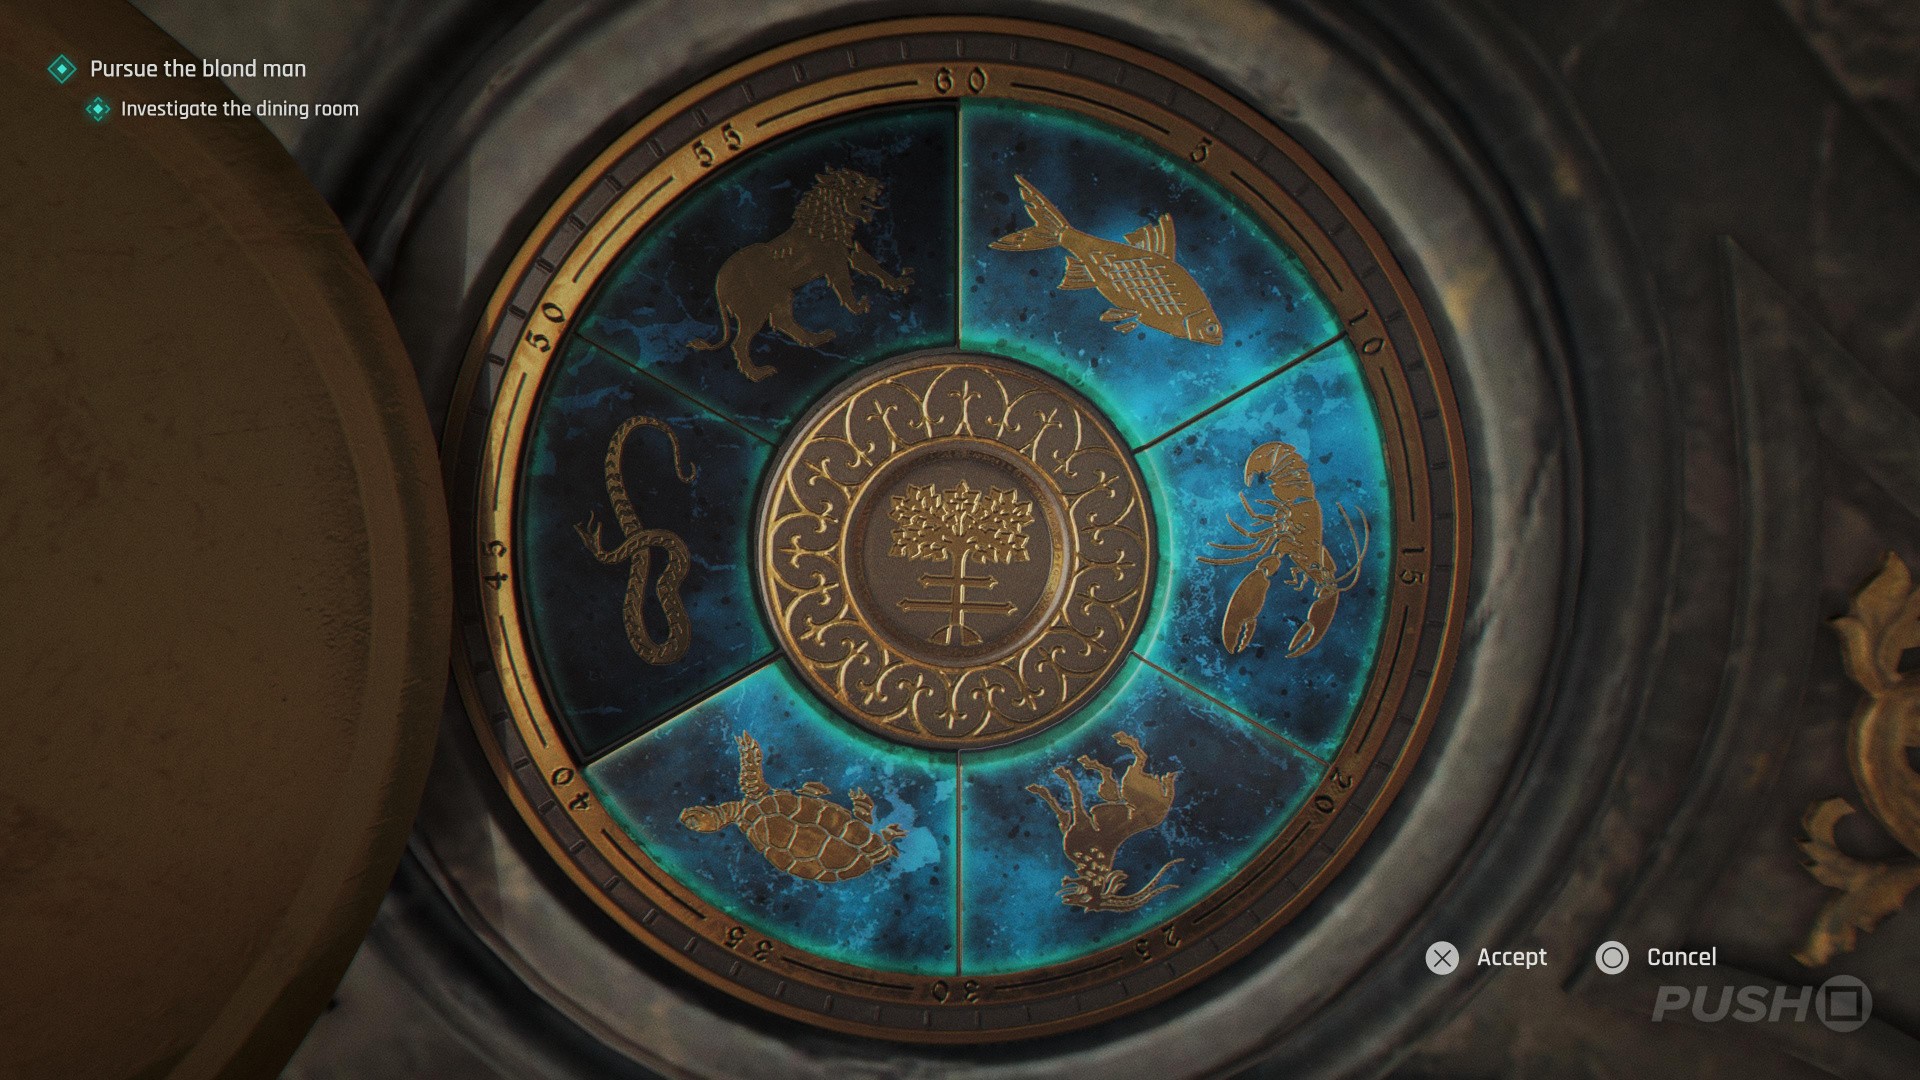
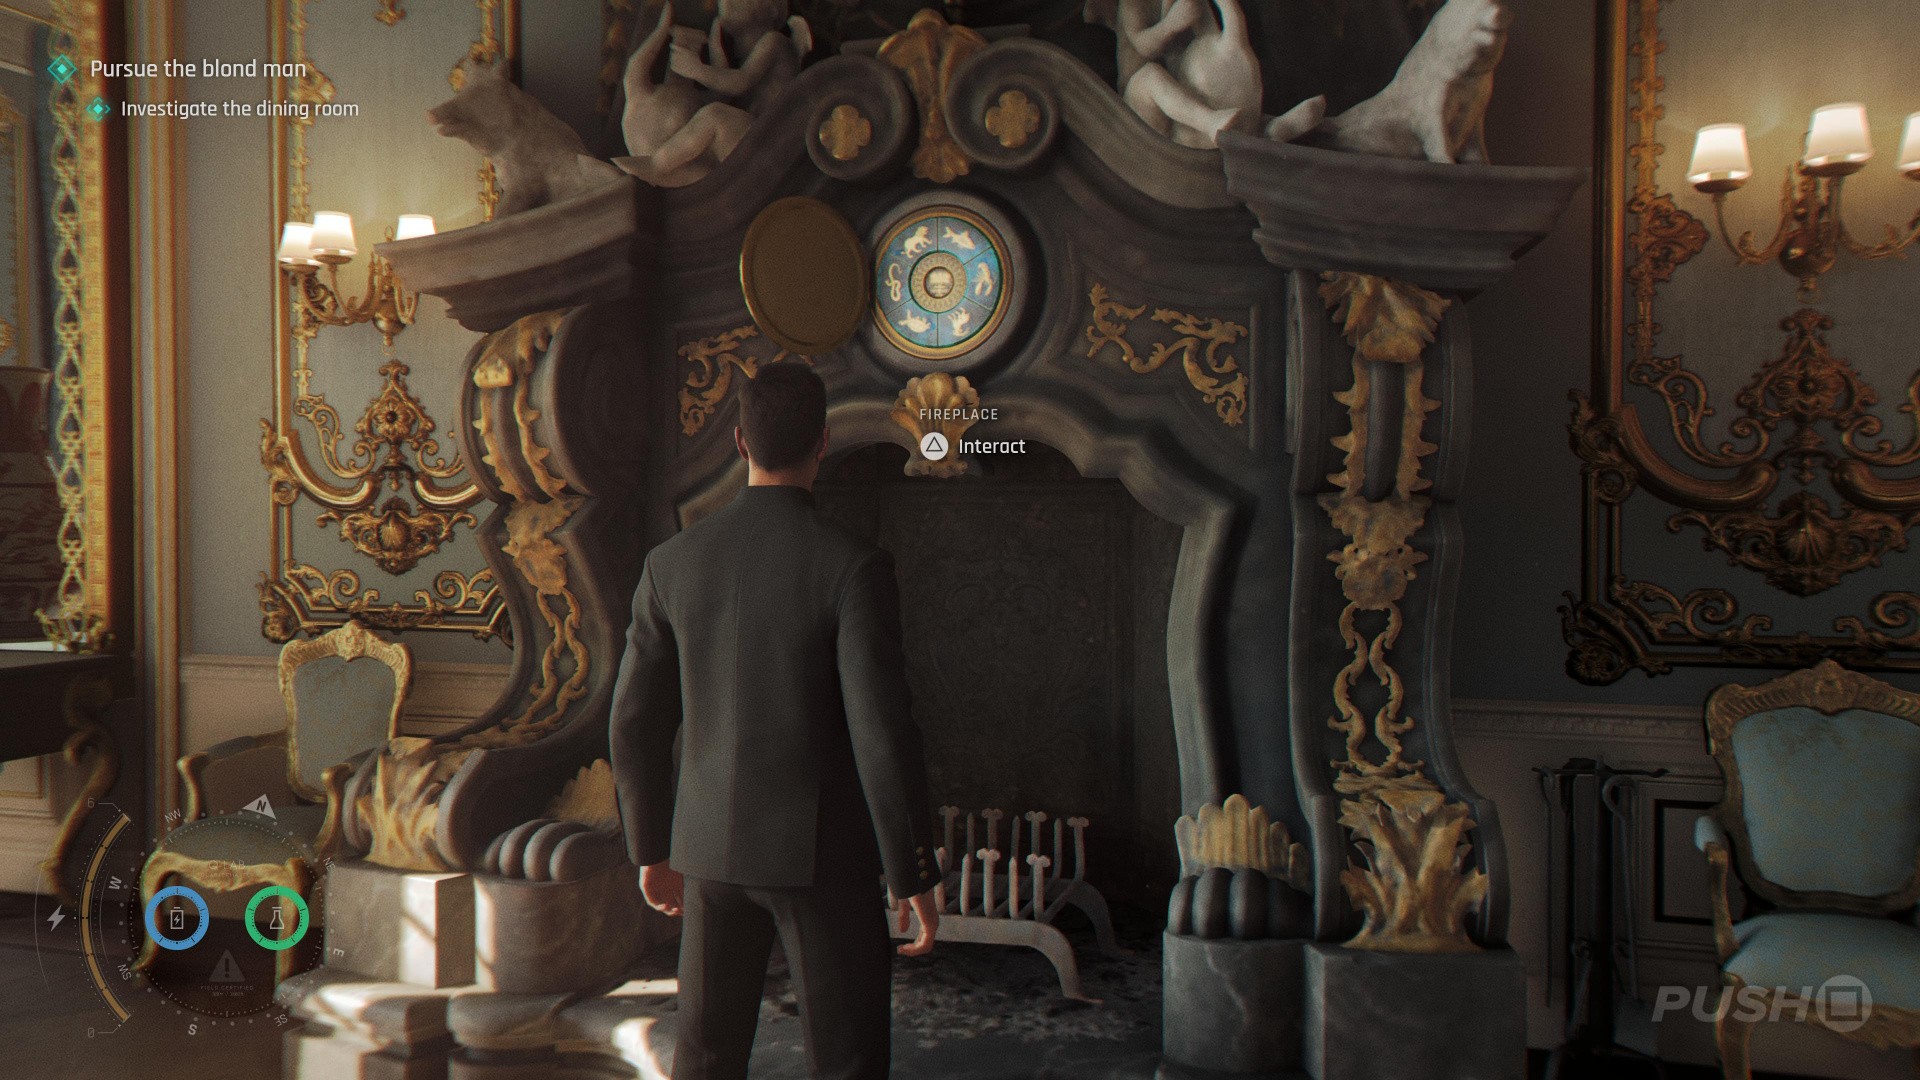
  • Follow the suspicious blond person into the dining room to start a puzzle
  • The solution to the fireplace puzzle is Lion > Snake > Goat
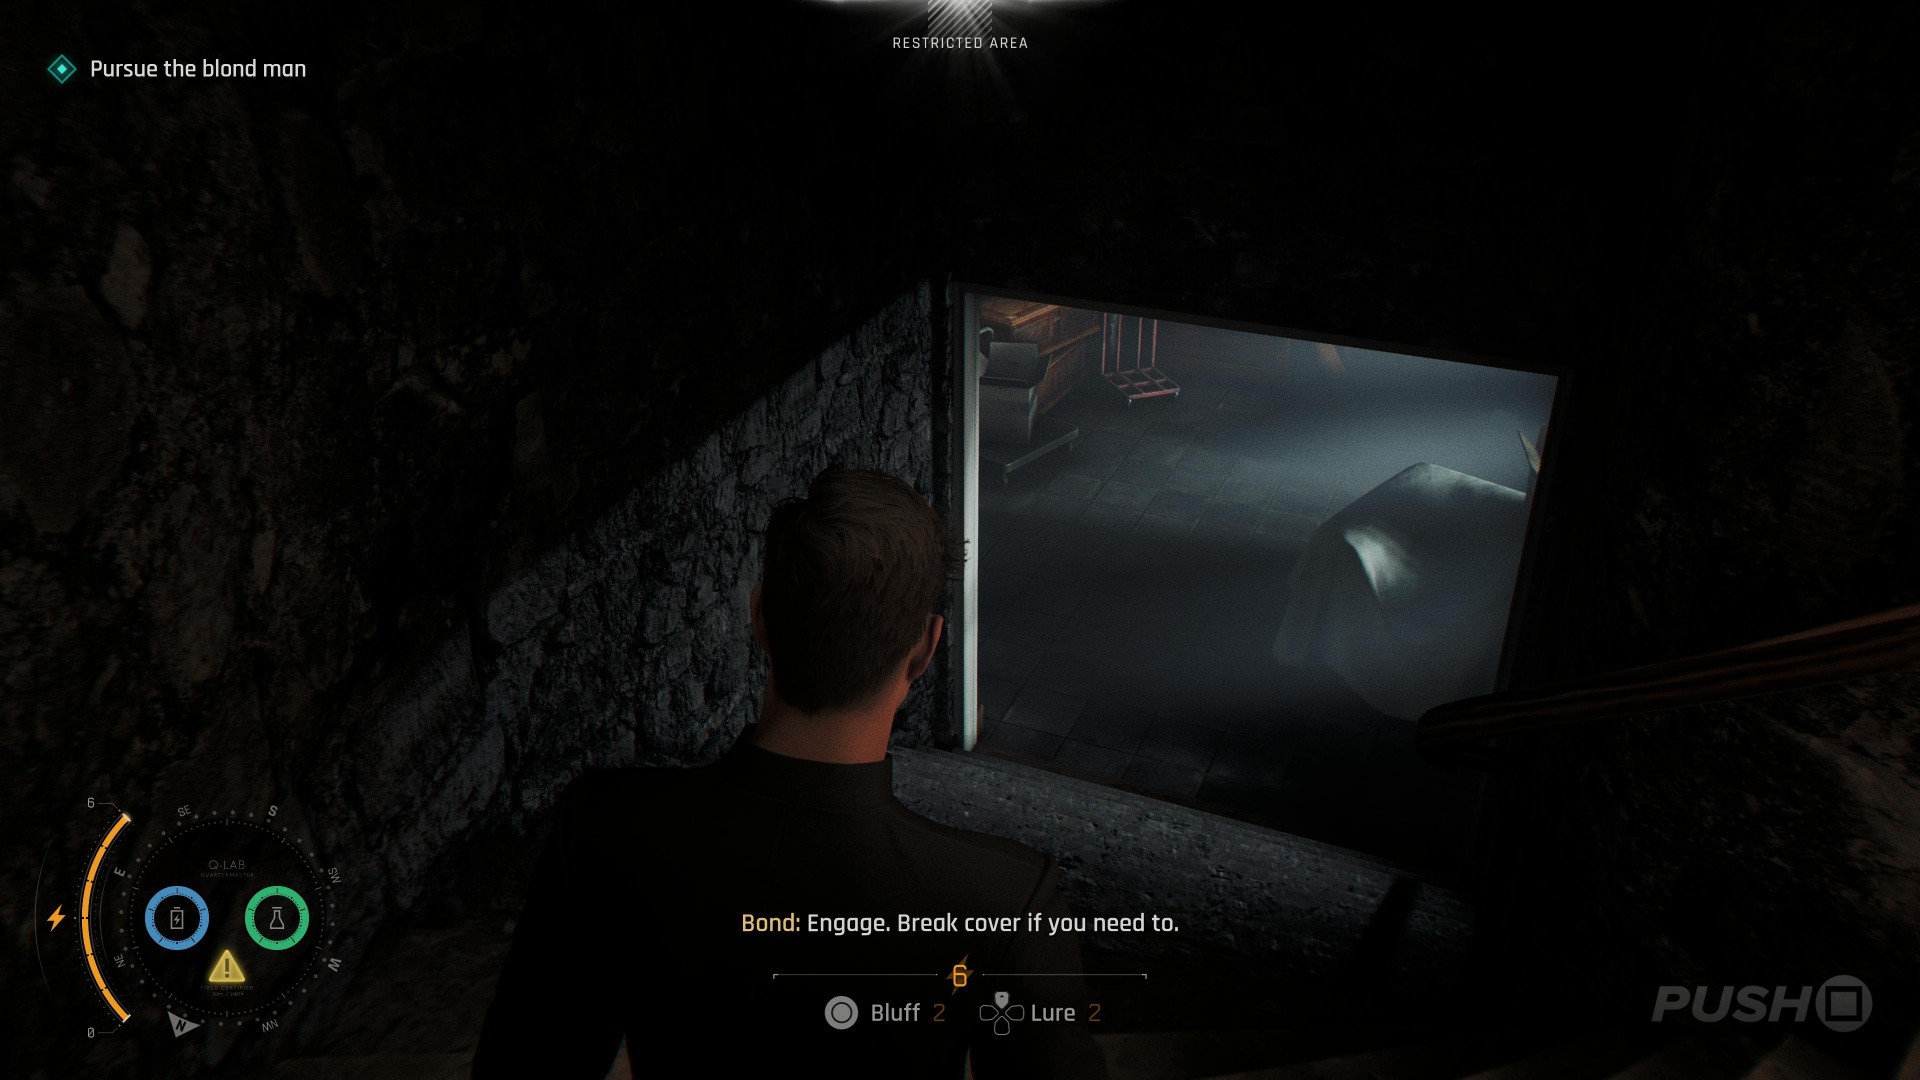
  • Follow the stairs down into the wine cellar and vault over the table
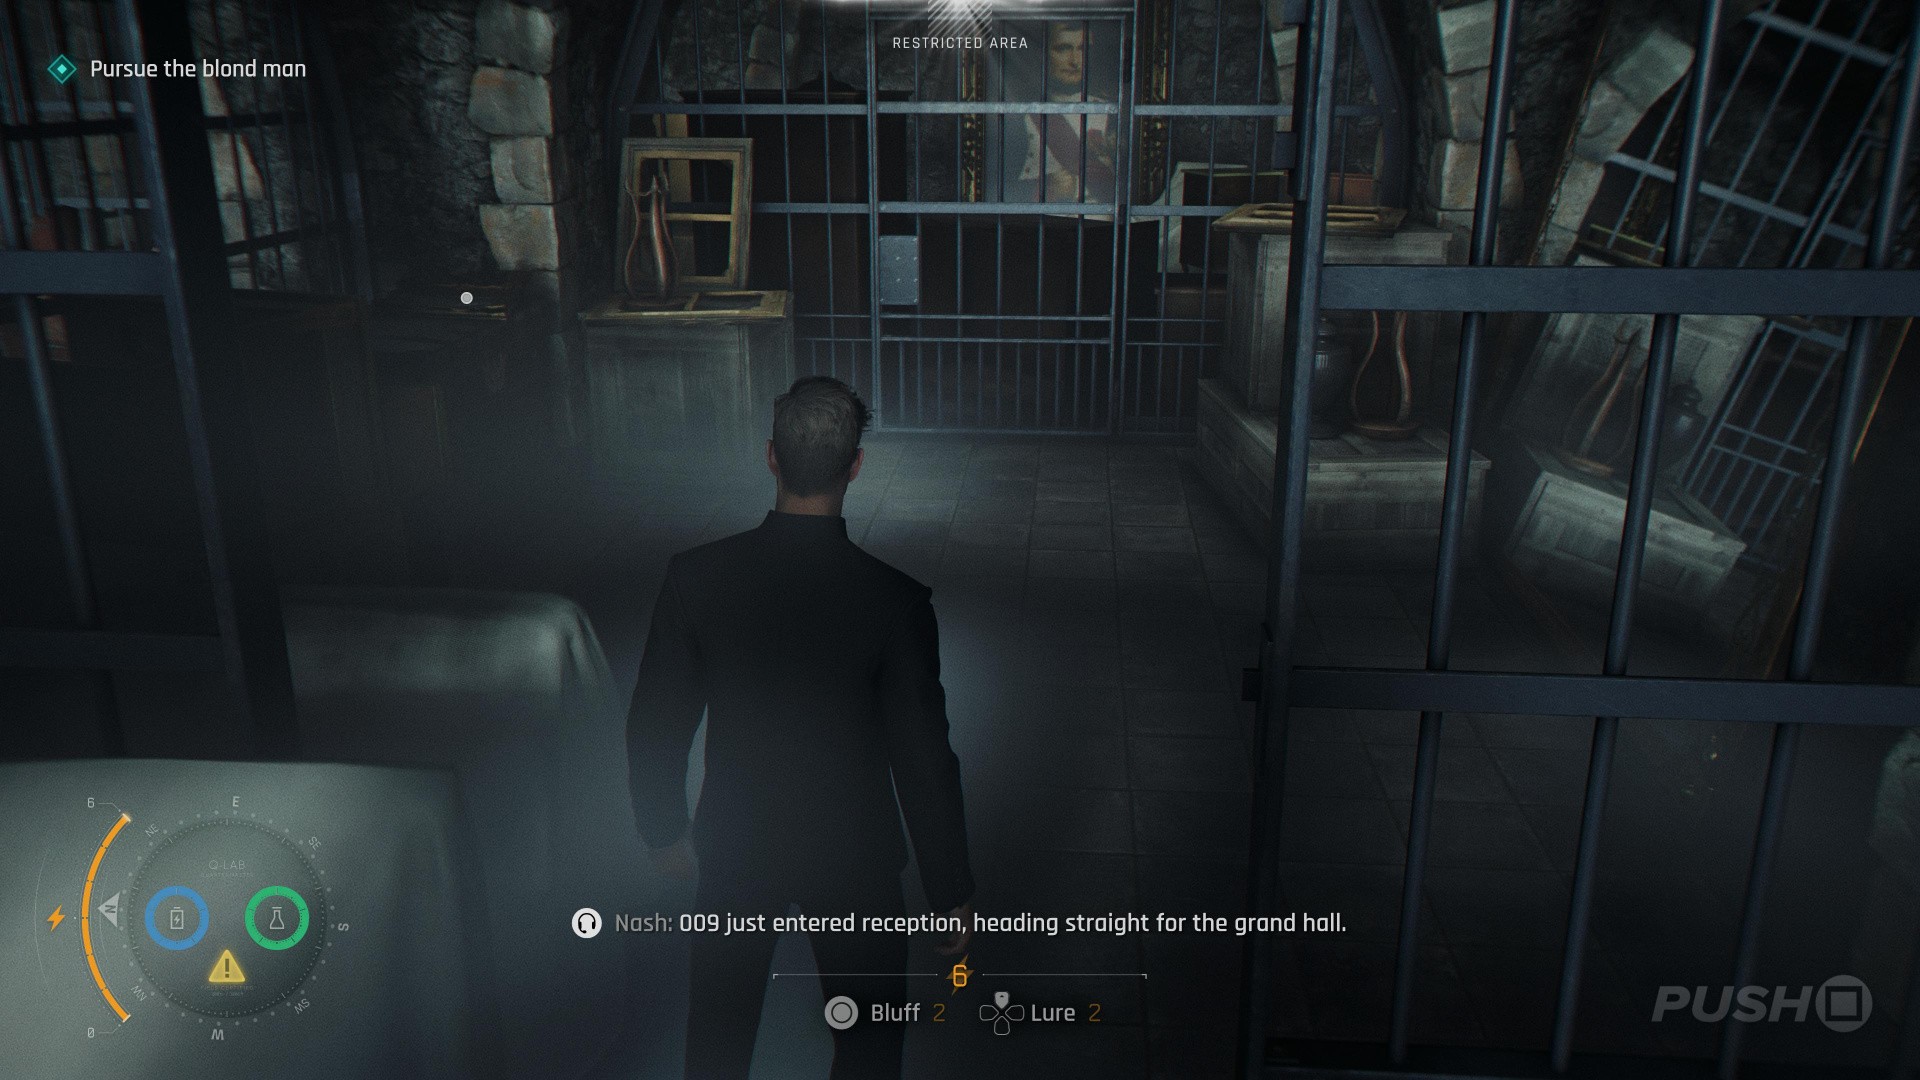
  • Take a left and then another left into the room with prison bars
  • The collectible is on top of a painting on a box in the back left corner of this area

Subscribe to Push Square on YouTube171k

How did you enjoy your excursion to Slovakia? Take a look at our 007 First Light guide, and let us know in the comments section below.