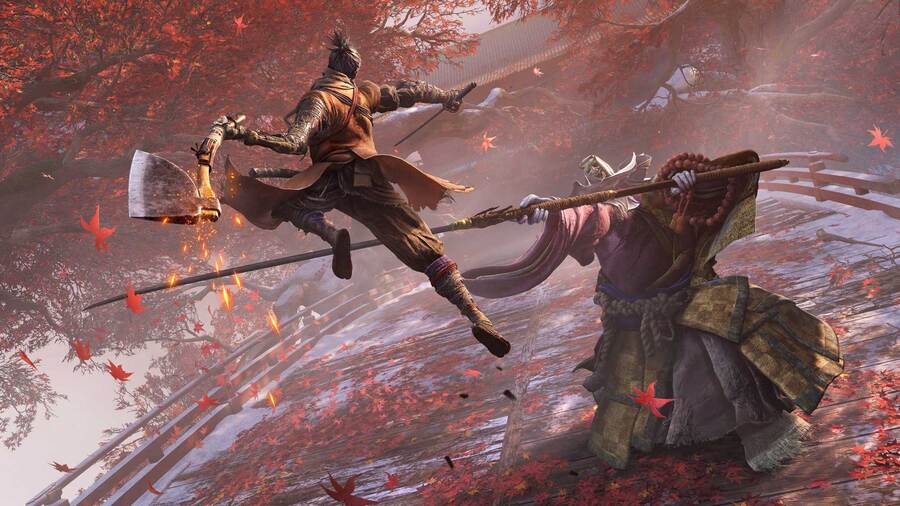
How do you kill the Corrupted Monk boss in Sekiro: Shadows Die Twice? This boss fight was shown off before the game was released, but that doesn't make it an easy win. As you make your way towards the Fountainhead Palace area of the game, you'll encounter the true Corrupted Monk on a large bridge. We say the true Corrupted Monk, because you actually fight a weaker version of this boss a little earlier in the game at Mibu Village. For this guide, we'll talk you through both encounters with the Corrupted Monk.
Sekiro: Shadows Die Twice - How to beat the Corrupted Monk near Mibu Village
After fending off the O'rin of the Water mini boss near the Water Mill Sculptor's Idol, you'll enter a suspiciously open area with no enemies in it. This is your arena for the first battle with the Corrupted Monk. She only has one health bar here, so it isn't too tough of a fight, but she deals a lot of damage with each attack.
Fortunately, she telegraphs most of her attacks with dramatic movements, making the majority of slashes and sweeps easy to dodge or deflect despite the huge range on her weapon. We found she used her unblockable sweep move a lot, so use this as an opportunity to build posture damage by jumping over it and jumping again off of her. However, be careful -- she will also use an unblockable thrust. This can be subdued with the Mikiri Counter, as always, but it's not that easy to recognise, so you might be better off sidestepping it.
Shinobi Firecracker is useful here if you need a bit of breathing room. You won't deal a lot of damage to the Corrupted Monk but her posture will fill up pretty quickly if you can parry her big sweeping attacks. With only one Death Blow necessary, this is one of the easier boss fights in Sekiro.
For winning, you'll get the Corrupted Monk Memory, the Mibu Breathing Technique (which allows you to swim underwater indefinitely), and 5,500 XP.
Sekiro: Shadows Die Twice - How to beat the true Corrupted Monk at Fountainhead Palace
Unlike most bosses in Sekiro, the true Corrupted Monk has three health bars, not two. This makes it one of the longer fights, so be prepared for a hard battle. It's a step up from the first fight, that's for sure.
For the first phase, you need to chip away at her health bar so that the posture bar can fill more quickly. Using an Ako's Sugar will help. Use Mikiri Counter on the thrust attack, but otherwise dodge and deflect and look for opportunities to bring the health meter down. Focusing just on posture will be very difficult until her health is lowered, although it's not impossible. Deflecting isn't too tricky as she telegraphs a lot, as in the first fight. She's also fond of an unblockable sweep attack, so jump over this and jump off her again.
In phase two, she'll disappear and summon illusions to harm you. You can use Snap Seeds to get rid of them or use your grappling hook to avoid them. It's actually possible to get a vertical Death Blow in this part of the fight; grapple up to the highest point at the far end. When she comes back after her illusion attack, you should be able to remove a health bar easily. Otherwise, this phase isn't too different to the first.
Phase three is pretty similar too, but she now has an unblockable attack that deals Terror status effect. This can be very deadly, so avoid this as best you can. Use Pacifying Agent to prevent Terror build up. Throughout the fight, you can use the Shinobi Firecracker to stun the Corrupted Monk to get some cheeky hits in.
Once she's down and out, you'll get the True Monk Memory, the Dragon's Tally Board key item, and 8,000 XP.


Comments 0
Wow, no comments yet... why not be the first?
Leave A Comment
Hold on there, you need to login to post a comment...