
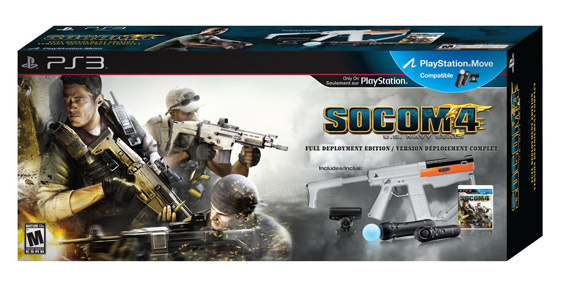
SOCOM 4: U.S. Navy SEALs has been on store shelves for nearly a week now, and the bulk of the game has been crippled by the untimely PSN server issues. Even though blasting away with Move and Sharp Shooter online isn’t currently possible, the offline Campaign is still readily available. We at Movemodo have been diligently working on fine-tuning our Move and Sharp Shooter settings in SOCOM 4 to be ready when the online war starts raging. Once again, we want to share with you, fellow Movers, our personal settings to help you gain an edge with Move and Sharp Shooter in SOCOM 4.
Customisation
Customising the controls to one's preference in SOCOM 4 is going to be a necessity for most. Everyone will have a different play style, and therefore a different setup. This guide is meant to help give a better understanding of what these settings mean, and how to get a decent starting point to work from on finding the best possible settings to fit your play style. Where configuring Killzone 3 for PlayStation Move was easy, this isn’t the case in here. Don’t bail on us just yet soldiers, we’ll have you on the battlefield in no time!
Definitions
Not quite sure what the ream of options means when it comes to tweaking the settings to just the right level? Here's our explanation of what every slider does, though of course a certain amount of experimentation is still recommended to find how each setting affects your aim.
- Turn Speed: This setting determines how quickly the camera turns on a horizontal plane.
- Pitch Speed: This setting determines how quickly the camera turns on a vertical plane.
- Pointer Sensitivity: This setting determines how quickly the on-screen pointer moves.
- Deadzones: The area in the centre of the screen where the cursor can be moved without moving the camera.
- Normal Gameplay Sensitivities: These settings change the deadzones when in normal gameplay.
- Aim Mode Sensitivities: These settings change the deadzones when Aiming Down the Sights (ADS).
- Scope Sensitivities: These settings change the deadzones when aiming through a scoped weapon.
- Pitch Area: This setting adjusts the size of the vertical deadzone.
- Turning Area: This setting adjusts the size of the horizontal deadzone.
Understanding the Setup Scales In This Guide
SOCOM 4 uses horizontal slider scales to adjust the multiple sensitivities. These scales do not feature numbers – which would be great for this guide – but instead we are using estimated percentages. For this guide the far left of the scale is 0% and the far right of the scale is 100%.
PlayStation Move Guide
- Controller Pre-sets: This option allows the ability to choose between four different pre-set control schemes. The different schemes mainly change what buttons aim, fire and throw grenades.
(a) Default: ADS (Move), Fire (Trigger) and Grenade (L1)
(b) Standard Aim: ADS (L1), Fire (Trigger), Grenade (Move)
(c) Arcade: ADS (Trigger), Fire (Move) and Grenade (Move)
(d) Standard Arcade: ADS (L1), Fire (Move) and Grenade (Trigger)
Play Style:These setting offer pre-set setups for using PlayStation Move. There are four options available with one of those being the Custom option for alteration by the player.

(a) Casual: This setting offers large deadzones and slow turn/pitch speeds, as well as slow pointer sensitivity. This setting should only be used by those unfamiliar with Move.
(b) Standard: This setting offers a balanced setup overall and these settings work great for first starting up the game.
(c) Competitive: Despite the name, this setting make it much harder to play the game with. We recommend staying away from these settings as everything is entirely too sensitive.
The Quick Select Button Explained
The Quick Select Button is the L2 Button when using the Move/Navi Setup on the Default Settings. Quickly tapping the L2 button will swap between the primary guns, and holding the L2 button will bring up a quick select screen in real-time so be careful when in the heat of battle. The X and O buttons select between the two primary weapons and if the buttons are pressed twice it will select between single-shot and full automatic firing modes, if available on the selected weapon. Lastly, the left and right buttons on the D-Pad swap between grenade types.
Movemodo’s Preferred Settings
We’ve found a setup here that’s not much different than the settings we used in Killzone 3. Most of the environments in SOCOM are multi-tiered and the constant need for quick controls in all directions is just a prevalent here as it is in Killzone 3. The pre-set control options are alright to start off with, but we highly recommend getting away from the pre-set control schemes and creating a Custom control scheme with smaller deadzones and lower speeds and sensitivities.
- Controller Pre-sets: Default
- Play Style: Custom
- Turn Speed: 30%
- Pitch Speed: 35%
- Pointer Sensitivity: 50%
Normal Gameplay Sensitivities:
- Pitch Area: 70%
- Turning Area: 85%
- Aim Mode Sensitivities:
- Pitch Area: 55%
- Turning Area: 65%
Scope Sensitivities:
- Pitch Area: 55%
- Turning Area: 55%
Sharp Shooter Guide
When inserting the Move controller into the Sharp Shooter, the game recognises the Sharp Shooter is active and the settings atomically change to Sharp Shooter instead of Move. Unlike Killzone 3, the need to change setting preferences between Move and Sharp Shooter has been remedied here.
Controller Pre-sets: This setting is shown but cannot be changed from Default.
Play Style: These settings offer pre-set setups for using the Sharp Shooter. There are four options available with one of those being the Custom option – customised by the player. Also, note that the three pre-set control schemes offer the exact same Turn/Pitch Speeds as well as Pointer Sensitivities.
(a) Sharp Shooter Casual: In this control scheme a unique camera mode called ‘Focal’ is utilised: pressing the L2 button instantly stops the camera when panning. Also, if the L2 button is held down the camera will move in sequence with the Sharp Shooter movements instead of using deadzones. Relatively smaller deadzones are used here from the Standard and Competitive setups, which are the same.
(b) Sharp Shooter Standard: In this control scheme another unique camera mode called ‘Modal’ is utilised. The L2 button can be pressed to make fine camera adjustment when the cursor is close to the centre of the screen. This mode tracks the Sharp Shooter the same way as in Focal mode, but here it is slower and smoother.
(c) Sharp Shooter Competitive: In this control scheme the ‘Quick’ camera mode is utilised, and it’s the same as the Modal but it’s extremely sensitive and moves the camera very quickly.
Movemodo’s Preferred Settings
We utilise drastically different deadzones than what the pre-set control schemes offer. The ability to choose between the different Turn Modes is available, but once a Custom setup is chosen it always swaps back to Quick upon entering the game. This is most likely a glitch and will be fixed, but at the moment we have to use Quick, and therefore don’t use the L2 button at all when using the Sharp Shooter. If the option to use Modal becomes available, we will definitely start using that option.
- Play Style: Sharp Shooter Custom
- Turn Mode: Quick
- Turn Speed: 40%
- Pitch Speed: 40%
- Pointer Sensitivity: 40%
Normal Gameplay Sensitivities:
- Pitch Area: 80%
- Turning Area: 90%
- Aim Mode Sensitivities:
- Pitch Area: 80%
- Turning Area: 90%
Scope Sensitivities:
- Pitch Area: 55%
- Turning Area: 55%
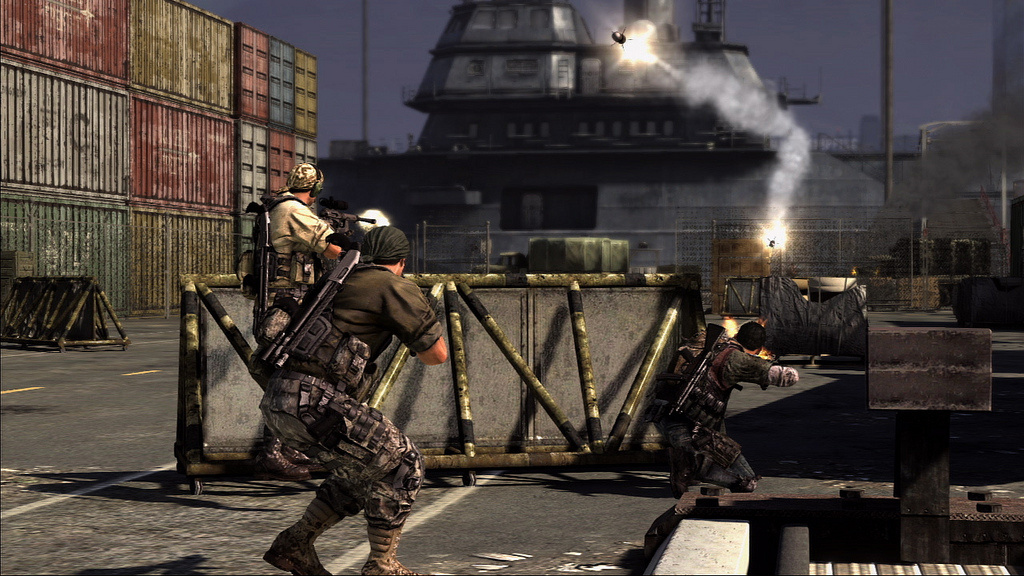
Strategies
Whether using the Move/Navi setup or Sharp Shooter, SOCOM 4 isn’t a simple run-and-gun affair, it’s a tactical shooter. Moving quickly to and from cover and using the deadly accuracy provided with both of these control schemes is the best advice we can give. Also, if it seems that too many shots are missing the enemies then it’s highly likely that the Pointer Sensitivity is set too high and needs to be lowered. Advanced Move users will likely get more up close and personal with enemies, but we recommend those starting out with these control schemes to take it nice and slow at first, and most importantly of all, have fun!
Do you have your own deceptive strategy, or maybe you’ve found that perfect setup that just has to be shared with the world? Please feel free to do so in our comments section below and we hope to see you in battle.


Comments 4
Thanks this information was very helpful these setting are good I tried them both
Thanks guys, I spent hours fine-tuning these setting to my preference, and trust me when I say this - correct settings play a major role here!
Hi all. I like my configuration. Choose modal when using the sharpshooter. The trick to turning fast is utilizing the l2 (quickturn) button. I was having trouble remembering to use that button to turn around, and then it hit me. Tape it down. so then its always engaged. Now this negates all other settings other than look and pitch speeds as well as well as pointer sensitvity. I have my look and pitch at 100% and sensitivity at about 60%.This trick makes it feel like using a cotroller in the previous socoms .Just think of the sensitivity as the deadzone.Be preparred to over correct , all I can say is controlled micro movements. this trick makes it extremely resposive... if you desire less movement you can adjust the sensitivty and it affects your look and pitch speeds.
Hi Movemodo! Your post inspired me, like the iWaggler3D post about SOCOM 4[1], to write for Zypper Devs. So, I create post in official SOCOM 4 forum[2] and I want your opinion and support. You can write a message in post thread and update your post to request of your users to support the suggest writing there.
[1] http://www.iwaggle3d.com/2011/04/video-iwatch-how-socom-4-could-control.html
[2] http://forums.socom.com/t5/SOCOM-4-Issues-and-Exploits/MOVE-SHARPSHOOTER-Quick-turn-option-in-next-patch/td-p/2009988
Thanks a lot for your time.
Show Comments
Leave A Comment
Hold on there, you need to login to post a comment...