Do you need an Outbreak walkthrough for The Callisto Protocol? Outbreak is the second chapter in the game and sees Jacob locked up in Black Iron Prison after crash landing on Callisto. As part of our The Callisto Protocol guide, we're going to share an Outbreak walkthrough that helps you through every part of the level, including puzzles and combat. There are 3 Audio Logs in this chapter.
The Callisto Protocol: Outbreak Walkthrough

After crash landing on Callisto, Jacob is taken prisoner at the Black Iron Prison and has a C.O.R.E. Device attached to him. When you regain control, you'll be locked up in a cell. Told to explore it, have a quick look around before a small purple box appears on the floor next to the bed. Interact with it and you'll learn it's just a nightmare, but Jacob is still very much locked up.
Once he wakes, it appears there's an emergency in the prison and the door holding you captive will be opened. Follow the linear path to your right and then go down the stairs at the end, with an inmate to talk to on the floor below. He'll ask you to help him break out of his own cell and hands you a Shiv, at which point the Desperate Times Trophy will unlock. Now climb over the rubble to your right and interact with the panel to the left of the locked cell block doors. Shimmy through the gap created before the doors close again.
On the other side, walk across the bridge to your right to get closer to the control room, following the path around until you find another panel to interact with to unlock the door next to you. In the control room, you'll get tutorials for both dodging and melee attacks, so simply follow the prompts on the screen. Once complete, there'll be a proper enemy in the room with you. Using dodges and your melee attack, kill the monster. When it's dead, interact with the computer to unlock Elias's cell.
Return to Elias using the same path you used to reach the control room, who will tell you to meet him on the floor above. You must find an elevator to get there, so head down the newly opened path. Along the way you'll encounter another enemy, so once again use dodges and your Crowbar to take it down. This will probably be the fight where you learn The Callisto Protocol is actually quite a tough game — even on the normal difficulty. We recommend taking the encounter slowly and always prioritising dodging and blocking over attacking. Only land a hit when you're certain there's enough time to compose yourself after. Stomp on the corpse once you're done to regain some health, then take the lift at the end of the path down.
Exit to your left and work through the wreckage left in the cafeteria, crouching underneath some rubble to make it to the other side of a blockage. On the other side is another enemy to kill and a Health Injector to grab off the wall. Use it if you're low on health. Just beyond you is the elevator you're looking for, but it heads down instead of up.
You'll find yourself in solitary, which is said to house more dangerous inmates. Follow the path along, through some cages, and pick up the Energy Convertor on top of the crate. Then open the door to your left via the quick time event. In cell C1, which is on your immediate left, there are some Callisto Credits to find. Cross over to cell C4, shimmy inside, and stomp on the box on the floor. Inside are more Callisto Credits. Then return to the main corridor and open the set of double doors ahead.
Subscribe to Push Square on YouTube168k
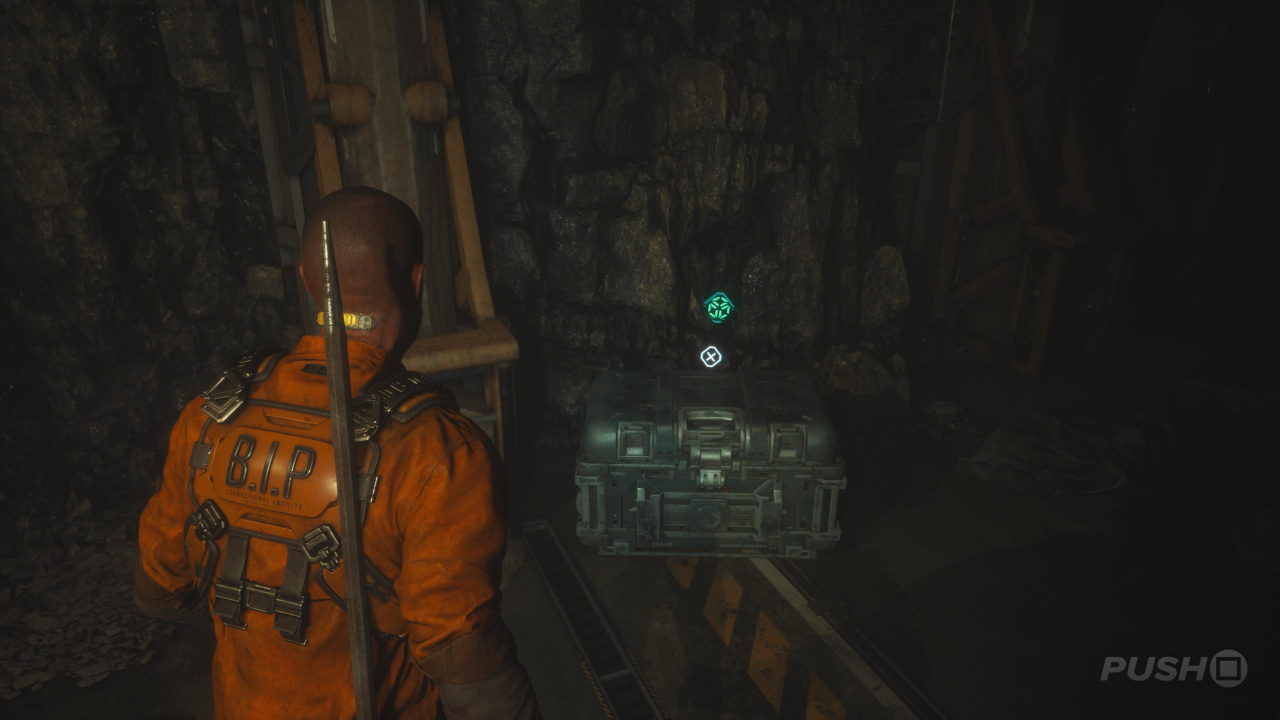
On the other side, enter cell C9 to find even more Callisto Credits. Go back to the main corridor, push open another set of doors, and then follow the path along. You'll receive a radio call at this point, and there'll be a chest on your right to open containing a Health Injector and Callisto Credits. Once you've got them, head left and use the panel to call the elevator. You'll hear an enemy scurrying about in the vents, but it never actually appears.
On the next floor, a quick cutscene will reveal the security units are killing inmates, so you'll need to sneak past them. Climb into the vent on the left and wait for the security unit to leave before getting out the other side. Crouch down and sneak past the security unit to the other side of the room. Head through the door, then interact with the panel ahead to be able to get past the next door. Follow the path to the next door, ensuring you stay crouched at all times. The security unit will now leave the area, allowing you to explore.
First, take a right and head through the door labelled Surgery M112. On your immediate right will be Audio Log #1: Mahler's Appointment.
Audio Log #1: Mahler's Appointment
After sneaking by the security unit, it will eventually leave and allow you to explore the area. Take a right into the door labelled Surgery M112 and Audio Log #1: Mahler's Appointment will be on your immediate right.
There's also a chest in the centre of this room, but rather than useful items inside, you'll find an enemy. Kill it via the quick time event, then grab the Gate Fuse off the wall next to the door you used to enter. Follow the corridor into another room, which leads back into the main hall. Turn right and interact with the panel next to the locked door, grabbing the Health injector on the wall on your way. Inside are two lockers you can open for Health Gel and Callisto Credits. Enter the other door here and place the Gate Fuse in the first console you find on your right. It unlocks the door just to the left. Inside you'll find an Energy Convertor and a Health Injector.
Exit and take the Gate Fuse out of the console. Now continue along the path and head into Lockerroom M121. This is a large area where you can find lots of Callisto Credits. However, when you go to leave, three enemies will appear from the floor grates. Once they're dead, return all the way back to the room where you found Audio Log #1: Mahler's Appointment and head up the stairs there. Place the Gate Fuse in the console and open up the Mezzanine M123 door.
Kill the enemy that appears on the other side, then follow the path into Security Control M125. Two lots of Health Gel can be found inside, then after listening to the hologram, crawl through the vent on the left. Climb up and through another vent to find two enemies you'll need to face at the same time.
Once you've killed one of them, the other will escape into the vents. Take a breather and then crawl into a vent yourself on the right. In the control room, Jacob will pick up a Stun Baton, giving you a new melee weapon. To unlock the door to Access Hall P261, interact with the computer. An enemy will jump out of the floor vent when you head over to the unlocked door, so be prepared. The path ahead is completely linear, so just follow it until you get back out into the open and see the Watchtower.
Now hang a right, taking the Health Injector off the wall as you go. Next to the bridge you'd normally use to cross over to the Watchtower, there are four enemies ahead that will pose quite a challenge. If you manage to kill them all, you can head into the cell Elias was in and grab Audio Log #2: Elias's Anticipation.
Audio Log #2: Elias's Anticipation
Once you've returned to the Watchtower area with the Stun Baton, you'll need to retrace your steps and find four enemies to kill next to the bridge that used to lead to the Watchtower. If you manage to, enter Elias's cell and you'll find Audio Log #2: Elias's Anticipation.
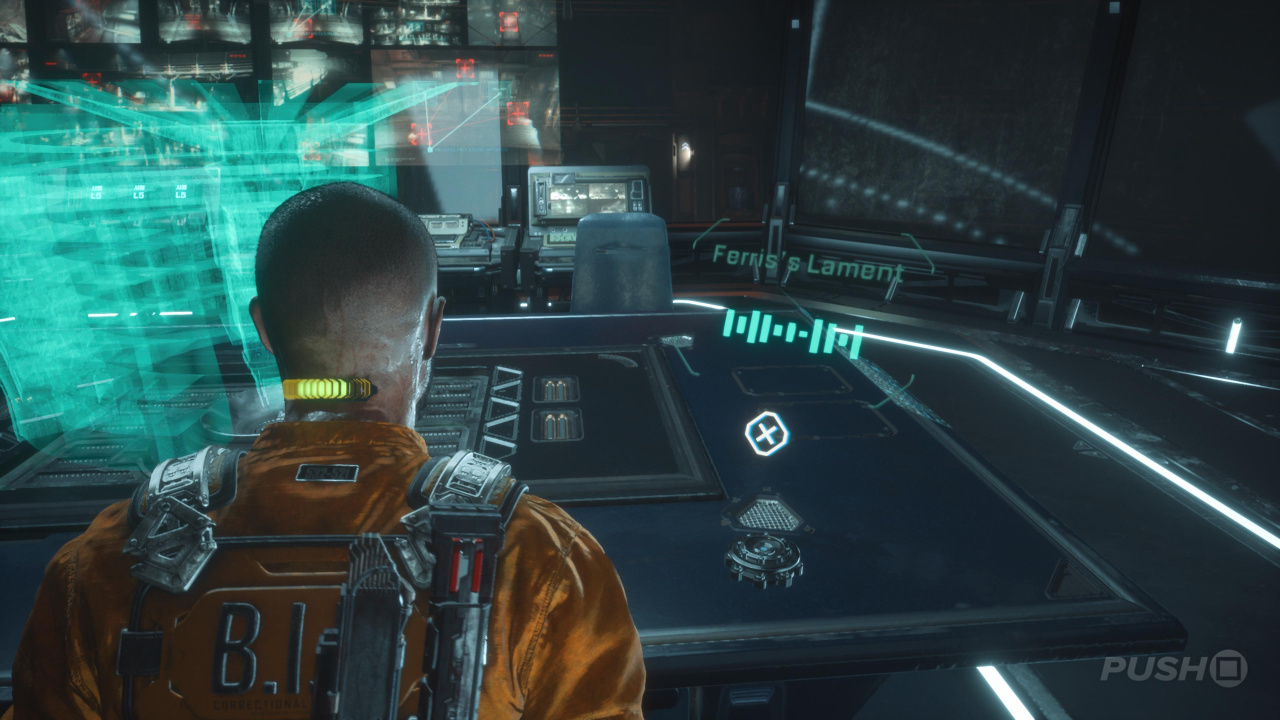
Once you've grabbed it, head up the stairs and take the lift at the end of the path on your left. Head inside and you'll see Cpt. Ferris on the other side of a glass wall. Sneak by him, interact with the panel, and a cutscene will play. When you regain control, take Audio Log #3: Ferris's Lament off the table in the middle of the room.
Audio Log #3: Ferris's Lament
After the cutscene where Cpt. Ferris falls out of the Watchtower, you'll regain control and Audio Log #3: Ferris's Lament will be right in front of you on the table.
Exit the room via the door you unlocked before the cutscene started, then head through a security gate and the chapter will finish.
The Callisto Protocol: Outbreak Objectives
- Explore the Cell
- Escape
- Cross Bridge to the Control Room
- Open Elias's Cell
- Return to Elias
- Find the Elevator
- Move Through Solitary
- Sneak Past the Security Units
- Find the Weapons Lockup
- Return to the Watchtower
- Sneak Past Cpt. Ferris
- Find exit
Was our Outbreak Walkthrough for The Callisto Protocol helpful? Refer to our The Callisto Protocol guide for much more information, and share any further tips in the comments below.


Comments 1
This guide (as well as every single other one) would benefit from changing these locations. The 1st and 3rd bios are in different locations thanks to a recent patch. Not sure why the dev would change the locations like that, but even PowerPyx acknowledges 11 have moved, but doesn't update their guide properly to reflect it in the walkthrough. Pretty dull game overall unfortunately.
Show Comments
Leave A Comment
Hold on there, you need to login to post a comment...