
Midtown is the 10th chapter in Stray, taking place after you beat Antvillage. It's another large, open level with lots to see and do. As part of our Stray guide, we have a full walkthrough of Midtown, explaining how to get through the chapter's main path. If you're looking for collectibles in Midtown, see our guide: Stray: All Collectibles Locations.
Stray: Midtown Walkthrough
Here's our full Stray Midtown walkthrough.
How to Reach Midtown
You begin the chapter just below Midtown, in what used to be a subway system. Walk through this short section — a cutscene will play when you reach the train. You'll get a B-12 Memory straight after this cutscene. Go to the other side of the platform and up the stairs. Another B-12 Memory can be found to your right. Continue through to the street ahead and take a right to see the neon-lit shopping district of Midtown.
How to Find Clementine
Clementine is the robot you need to find in order to advance. The photograph you received in Antvillage has useful information on the back, as B-12 will tell you. To find Clementine, head up the main street until you reach a large hologram. Turn right and continue through a tunnel into an apartment complex. Go up two floors. Clementine's apartment is in a corner with the door boarded up. You can get inside through a small gap in the wall. Hop down and walk through until you meet Clementine.
She'll tell you about a contact who is going to help with her plan. You're instructed to take a note to a robot wearing a bomber jacket and a gold chain.
Where to Find Clementine's Contact
Clementine's ally is back out in the shopping district, so make your way back to that street. From the big hologram, head left and continue down the steps. You'll see a white and blue sign above with an arrow directing you down an alley. Head this way to meet Clementine's contact, named Blazer. Talk to him and show him the note.
He will explain the Atomic Battery you need is powering the Neco Corp factory, and getting inside will be hard because of heightened security. You need to bring Blazer a Worker Jacket and a Worker Helmet so he can get inside.
How to Get the Worker Jacket
The Worker Jacket is inside the clothing store, displayed in the window. If you talk to the owner, he'll lament kids playing loud music. In the changing room is a boom box, but you can't interact with it yet.
Return to Clementine's apartment complex. As you enter, there are three robots, one of which has some cassette tapes. If you try to take one, the robot will explain there are three security cameras watching their movements. You need to get rid of these security cameras. All of them can be reached from the next floor up.
Camera #1
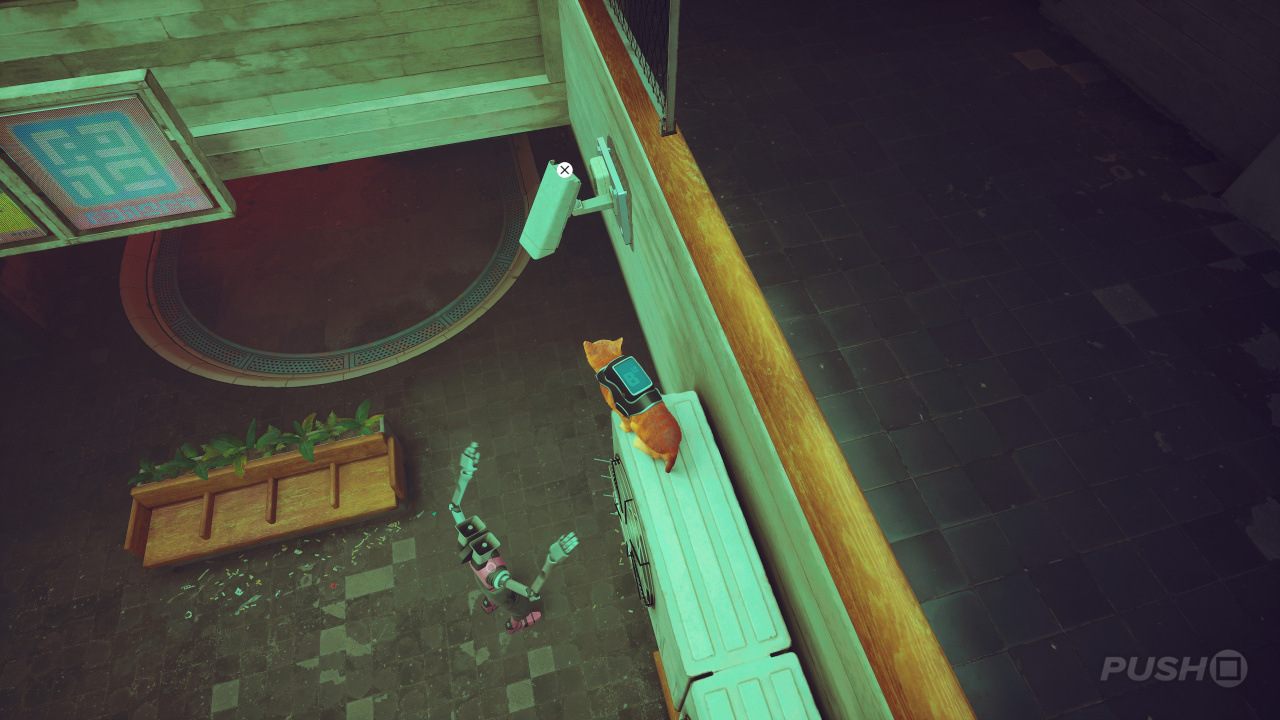
Go up the stairs and turn left. Carry on until you get to the second railing, where a tree is visible. Hop to the railing and walk along, then jump onto the camera and back off again.
Camera #2
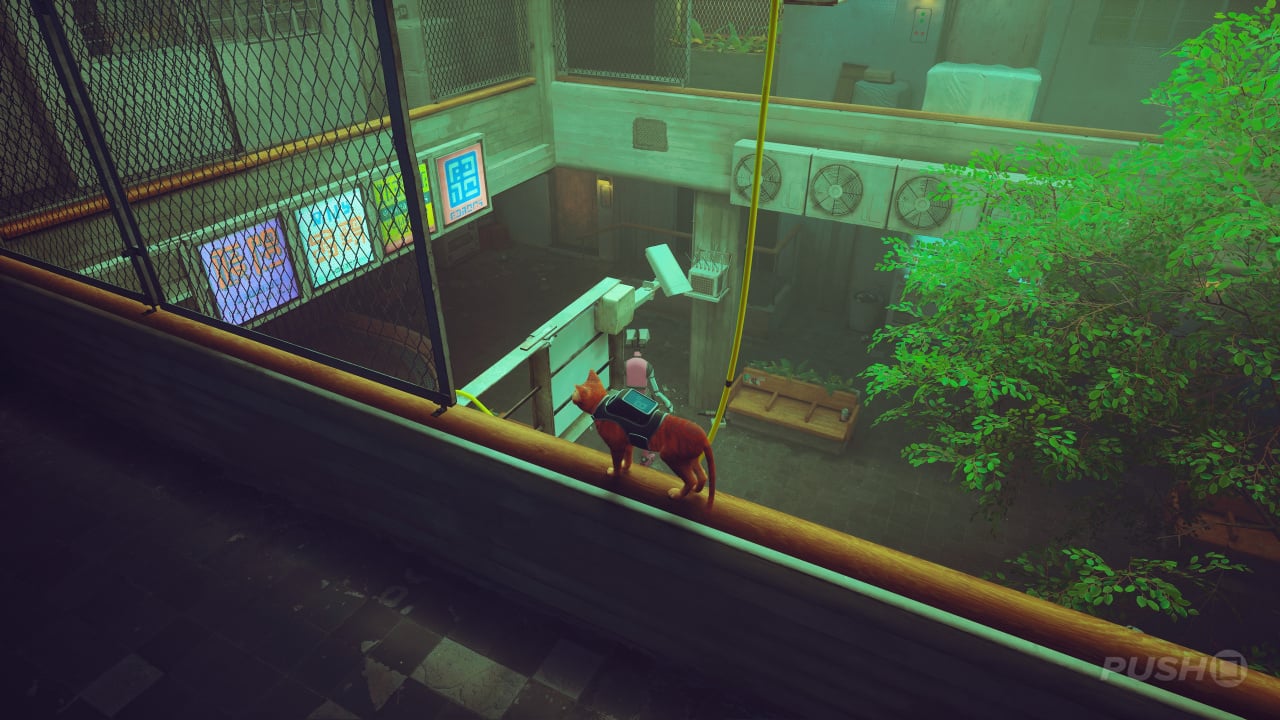
From Camera #1's location, get back onto the walkway and go around to the other side. You'll see a yellow wire dangling down. Jump to the railing, then onto the sign, where you can reach the camera.
Camera #3
From Camera #2's location, get back onto the walkway and go to the right. You should see another camera on the back wall. There's a simple path up to it; jump up to it using the box and then the shelf.
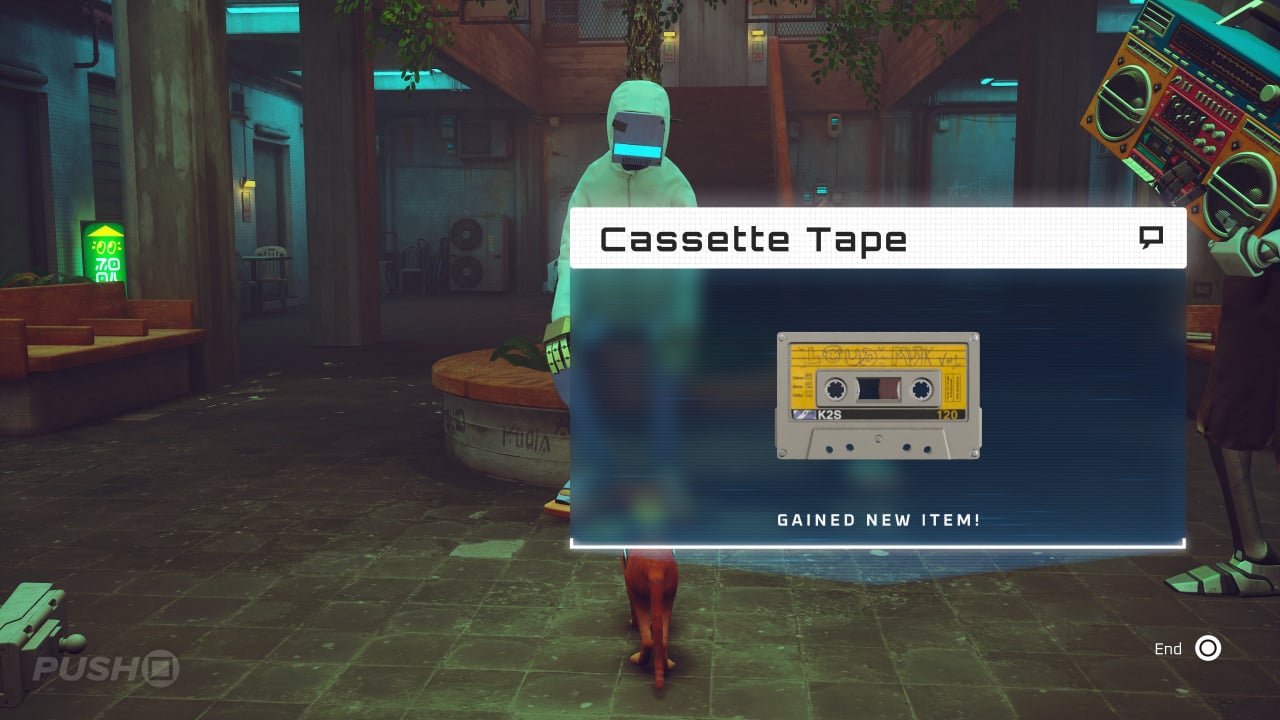
Head back down the stairs and talk to Simon again. He'll reward you with the cassette tape.
Take the cassette tape back to the clothing store. Head back out to the big hologram, then go left to find it again. Return to the changing room and insert the tape to the boom box. This will attract the attention of the shop owner. While he's distracted, go to the main part of the shop and approach the pink jacket in the right-hand window. Steal it.
How to Get the Worker Helmet
Go to the big hologram, and next to it is a small hat shop with the Worker Helmet in the window. You can't just walk in though, as the owner will shoo you away. Nearby is a robot named Oskoor who says his co-worker, Stuplachee, is slacking off at the bar.
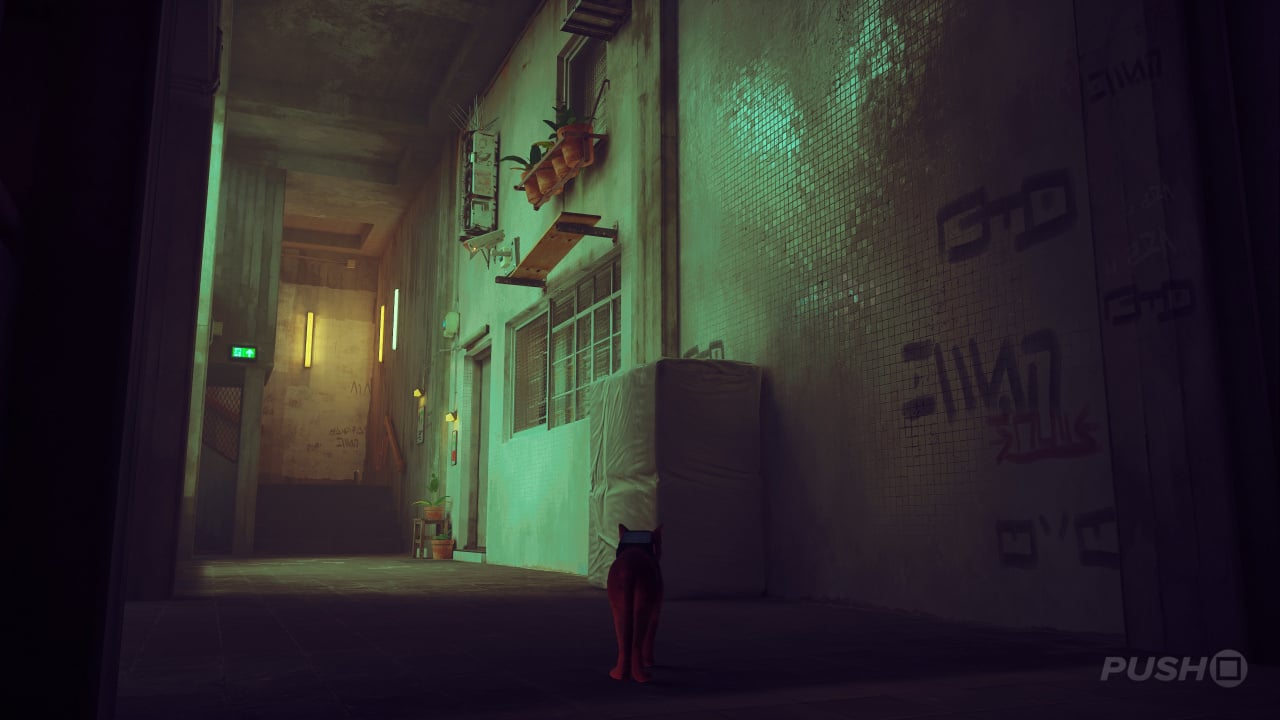
To find the bar, head left from the hat shop and go into the door lit by a red neon sign. Walk through to the back room, where Stuplachee is asleep. To wake him, climb up to the shelf above him, where you'll find a crate with beer bottles in it. Give it a swipe to knock them down and wake him up. He will stagger back to the hat shop.
Go back as well, and jump inside the box by Oskoor. After being told off, Stuplachee will pick the box up and take it into the hat shop. Once he puts it down you can jump out and steal the Worker Helmet from the window. Exit the shop via the flap to the left of the window.
Return to Blazer and show him both items. He will put them on and tell you to get inside a box, and he'll carry you into the facility.
How to Get the Battery in the Neco Corp Factory
Once Blazer carries you into the factory, jump out of the box and head under the barriers. From this point on, you need to watch out for security drones patrolling the factory. You can use conveniently placed boxes to hide from them as they pass.
You'll come to a point with two drones. To get past the right-hand drone facing you, head to the left and use the floating barrels to get across.
In the next room is a worker robot who has lost his keys. Helping him will lead to the Neco Badge — hit the link for more info. Go forward and, when it's clear, jump up to the platform with the big switch. Pushing this opens a big door, but to get back around you'll need to use a pipe to jump to the other side first.
In the next room, a drone's sight covers most of the floor. An object will pass through and block this for a brief moment, so use this to get inside the room to the left. After crossing the barrels, head left to find a switch in a dark corner. Push it and it'll open a shortcut to an earlier room.
Next you need to stay in the shadow of those big crates again to get past more security. You'll come to an opening that's covered by lasers, and beyond them is the Atomic Battery you need. To get through, find the barrel on its side nearby and walk inside it to pass through the laser gate undetected.
In this room, you'll find three floor switches as well as a box you can turn on or off. Turning it on will make it follow you. To start with, bring the box to the left-hand switch. Next, jump onto it and use it to get over into a fenced off area. Here you'll find another box. Push the switch to open the door.
Bring the new box to where the original one was when you found it. So, both side switches are active. Now, go back into the barrel and roll it onto the final switch. With all three down, you can take the battery. After a short cutscene, head out the doorway and turn left to take a bucket lift across and out of the factory.
Return to Clementine. As you approach her place, a security team is now searching the building, and that means more drones. Stay in stealth, hiding behind benches and other objects as you work your way up the apartment block.
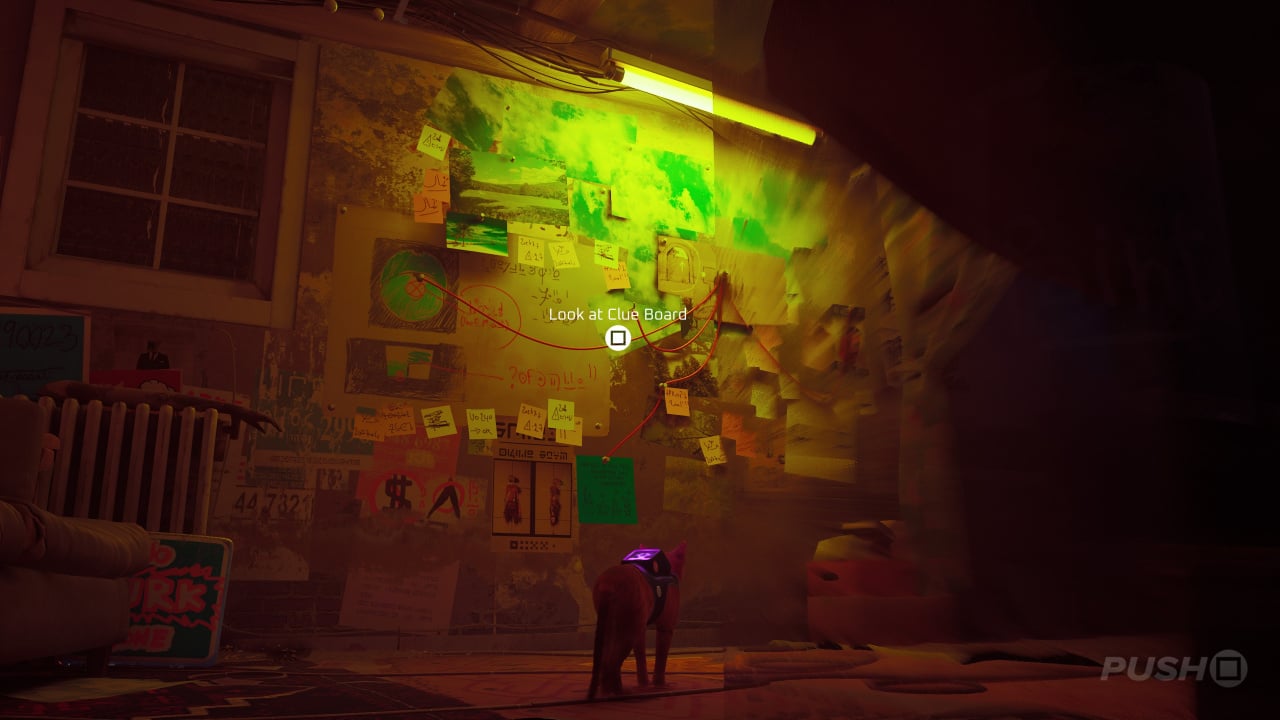
Once you're inside Clementine's apartment, go to the last room she was in and look at the clue board. You'll receive a message, showing you four objects in the apartment you need to find. These will reveal where she went.
The objects (above pictured) are an incense burner, a gemstone, a traffic cone on a mannequin, and a lava lamp. Once you've found them all, you'll need to head to the nightclub. Be careful — as you head out, those drones are still patrolling. Return to the big hologram at the town centre, take a left, and the nightclub is on the left indicated by a pink, circular neon sign.
How to Find Clementine in the Nightclub
You can't get into the main entrance of the club. Go past it around the back of it to the left. Jump to a dumpster on the right, get onto a blue awning, and follow the path around to a small window, where a robot will let you in.
Over on the right is a robot named Fripp. They say they'll give you a lever if you get them a drink. Head to the bar and on the left-hand side is a yellow drink you can take. Give this to Fripp to get the lever.
This lever is used to repair the hologram on the left side of the stage. Push the switch and then hop on top of the hologram stand. The DJ will come and pull the lever back up, and you can reach the upper level.
There are three buttons on the control desk here. Use them to make a path using the light fittings. It should look like the above image. Use this path to get to the balcony where Blazer is. Cutscene time!
Stray: Midtown Collectibles
If you're still tracking down collectibles in Midtown, here's where you'll find them all:
Did you enjoy Midtown in Stray? Let us know your thoughts in the comments section below, and check out our Stray guide for lots more.


Comments 0
Wow, no comments yet... why not be the first?
Leave A Comment
Hold on there, you need to login to post a comment...