Do you need a Chamber of Detachment walkthrough for Star Wars Jedi: Survivor? As part of our Star Wars Jedi: Survivor guide, we're covering all Jedi Chambers and providing a step-by-step guide to completing them. We shall cover puzzle solutions, combat strategies, and offer advice on how to tackle everything you'll encounter within each Jedi Chamber.
Star Wars Jedi: Survivor: Chamber of Detachment Walkthrough
Below you'll find a complete Chamber of Detachment walkthrough, covering where to find the Jedi Chamber and then how to complete it. Continue reading to discover how to finish this Jedi Chamber.
Where to Find the Chamber of Detachment
It's possible for the Chamber of Detachment to be marked on your map via a Rumor called Explore the High Republic Chamber on the Mountain, given to you by Toa. If not, head to the Mountain Ascent area, and work your way to the bit right at the end, just before a series of wall runs would take you to the Fogged Expanse. Drop down into the river bed and run through the waterfall. The Chamber of Detachment will be on the other side.
Chamber of Detachment Walkthrough
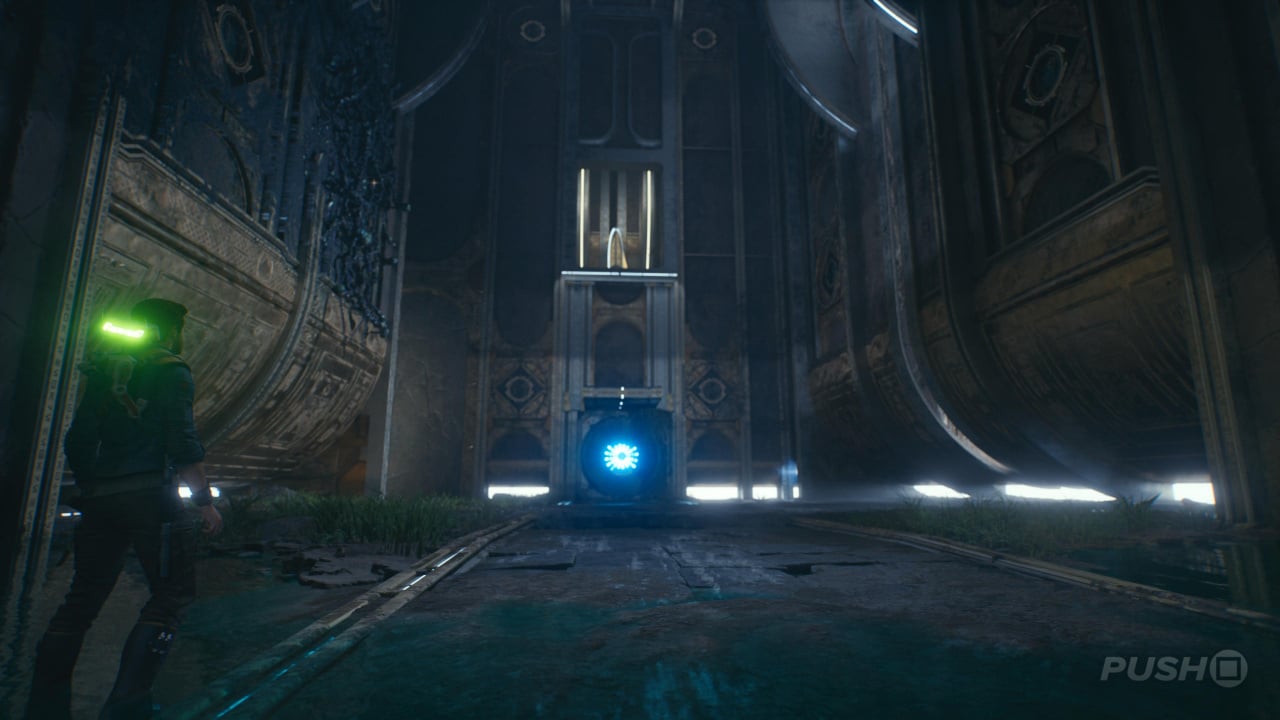
After taking the elevator down into the Chamber of Detachment, you'll come into a room with an Orb Coupler and three sets of vines on the left-hand and back wall. Begin by using Pull on the large rock opposite you to reveal an Orb. Pick it up and place it in the Orb Coupler in the corner. This will create a laser for you to use, but take into account the spinning plate that will temporarily disable access.
Subscribe to Push Square on YouTube169k
Next, you'll notice there's another large rock in the room; it's behind the set of destroyable vines on the back wall, and we've just uncovered a laser to use. To destroy the vines, you need to time the movement of the first large rock with the laser. Cover the side facing the laser with BD-1's Koboh Grinder, then Pull the rock as soon as the laser is blocked by the spinning plate. As long as you time it correctly, the laser will hit the material BD-1 shoots and then move on to destroy the vines blocking the second rock.
To finish the puzzle, you need to time your Pulls on the two big rocks so that the lift on the wall is on the floor when one of the rocks is being pushed onto it. That way, it can slide on top and then you can use it to climb up to the exit. This can be quite finicky, but if you can line up the rock that's going onto the lift close to it, then you should get the timing down. At the top will be an Essence and the Chamber of Detachment will be complete.
Did you find our Chamber of Detachment Walkthrough for Star Wars Jedi: Survivor useful? Click through to our Star Wars Jedi: Survivor guide for more information and share any further tips in the comments below.


Comments 0
Wow, no comments yet... why not be the first?
Leave A Comment
Hold on there, you need to login to post a comment...