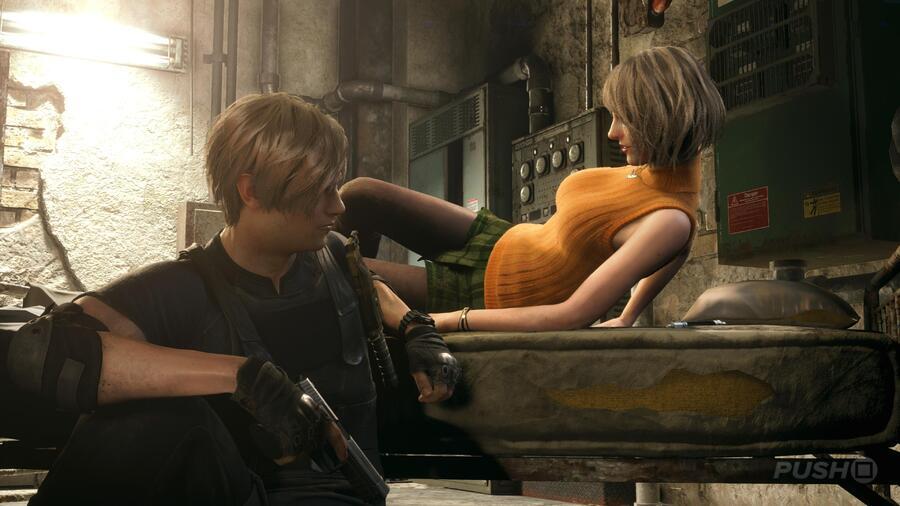
Do you need a Chapter 14 walkthrough for Resident Evil 4? This is the fourteenth of 16 Chapters in the game, which form the Main Story. As part of our Resident Evil 4 Remake guide, we're going to share our in-depth Chapter 14 walkthrough. It will cover every enemy encounter, puzzle solutions, highlight Collectibles, mention Blue Request Notes, and touch on any other points of interest. The walkthrough is broken down into the main objectives the game tells you to complete.

Leon reunites with Ashley on an isolated island controlled by the cult, but they're running out of time. The plaga parasites within them continue to grow at a horrific rate.

Resident Evil 4 Remake: Chapter 14 Walkthrough

Resident Evil 4 Remake: Chpater 14 Walkthrough 1
Image: Push Square

Leon has once again managed to rescue Ashley from the hands of the cult, so now it's time to get the parasites slowly taking over their bodies removed. To do that, they must head to the summit of the Island.

Make Your Way to the Summit

After the cutscene introducing Chapter 14, check the Holding Cell that Ashley was in for the Crystal Ore. You can also get some Handgun Ammo and Gunpowder. Now Ashley is with you, you can give her a boost over the wall outside and get into Facility 1 Storage. There are some Pesetas in the breakable barrels, and then you can grab a Blue Request Note called Destroy the Blue Medallions 5, which can be completed in the area ahead.

Buy anything you need from the Merchant, or upgrade your weapons, then head out into the Cargo Depot. Go up the stairs and then drop down into the area below the big wrecking ball. Some Soldiers are patrolling this area, so deal with them as you make your way to the other side and up the stairs and through the door into Facility 2.

There'll be more Soldiers inside to kill, and after that, you can take the stairs to a small control room with a lever inside. Command Ashley to use it, then drop down and go through the gate that's now opened. Take the left-hand path, unlock the door, and then Ashley can rejoin you. Just be warned more Soldiers will spawn at this point so you need to be quick about it.

Now go upstairs to deal with even more Soldiers, then drop down into the sewers in the other room. You can then open the door by timing your lever pull alongside Ashley's; make sure you press the button when the indicator is in the red area. In the next room, grab the supplies and you'll likely hear a Regenerador is nearby. Therefore, equip the Biosensor Scope to your chosen weapon and be ready to target those parasites. It'll crawl out of a vent just up ahead, and this particular one will actually have a second lease on life. Once you've killed the first set of parasites, one more will appear in its head. You'll then need to line up your lever pulls again to enter the Waste Disposal.

Grab the supplies, then command Ashley to use the wheel and raise the bridge. Follow the path around, smashing breakable barrels and boxes for supplies as you go, and interact with the terminal on the back wall. This will redirect power to the Electronic Lock Terminal, but also alert a number of Soldiers. Since Ashley is on the side they're spawning, quickly shoot them all through the metal railings. After killing four Soldiers, a Regenerador will suddenly appear on your side. Kill it, then make your way back to the Electronic Lock Terminal. For the solution, refer to our All Combination Lock and Electronic Lock Terminal Solutions guide.

Beyond the gate are some Handgun Ammo and Shotgun Shells, as well as another possessed Soldier to kill. On the other side of the door will be the Merchant and a Blue Request Note named Even More Pest Control. Complete that, then drop down onto the second floor of the Cargo Depot where the wrecking ball is.

We strongly recommend gathering all the supplies in this area before interacting with the wrecking ball, because you'll need to fend off lots of Soldiers shortly.

Protect Ashley Until the Wall Is Destroyed

Once you order Ashley into the wrecking ball, you'll need to defend her while she destroys the wall blocking your path. Lots of Soldiers will stream into the combat arena, so deal with as many as possible while protecting Ashley. The enemies will try and open her side door, so always keep an eye on it and never stray too far from the wrecking ball. Make use of the red barrels, and save your Shotgun Shells for the Brute. When the alarm rings, one final wave of Soldiers and enemies will rush your position. A quick cutscene of the wall being destroyed then signals the end of the encounter.

Make Your Way to the Summit

Go through the hole in the wall, take all the supplies and the Blue Request Note called The Wandering Dead, then open up the gate leading back to the lower level of the Cargo Depot for easy access to previous areas. If you want immediate progress, though, interact with the control panel here to call the Elevator down.

At the top, you can climb through the control room and enter the Amber Storeroom. Interact with the big piece of Amber in the corner for a cutscene in which Ashley is yet again captured.

Go After Ashley

Leave the Amber Storeroom and enter the Campsite, taking the first path on the right. You'll see some Soldiers ahead, but it's worth exploring this area for a Clockwork Castellan. In addition, take all the supplies in the little office, then drop down to the area below and take the Gold Bar (L). Carry on through the tent, taking all the supplies and reading and listening to the Files. It's now time for the showdown with Krauser.

After the cutscene, Krauser will be raining down bullets and explosions onto your position. For now, the only thing you can do is run away. Follow the path to your left, using the debris for cover. Take the stairs up, and you'll notice a crank that'll open the door below. However, Krauser will be attacking you the entire time. You need to fight back at this point, using weapons like the Striker to deal heavy damage at once. Eventually, Krasuer will throw a Flash Grenade and escape. This means you're safe to use the crank and open up the passage ahead.

In the next part of the Ruins, there'll be laser tripwires to avoid and shoot, and Krasuer will also try to sneak up on you. There'll also be turrets mounted to the wall, which can be shot. Eventually, you'll come out in the open along a long path of road with Krauser at the end shooting explosive arrows at you. Use the cover to move up, and you can also distract him by shooting him when you get close to the end. In the next room, you'll need to deal enough damage until Krasuer retreats in a cutscene and transforms into a monster.

Next, make your way through the Ruins as Krauser jumps out at you and attacks. You can choose to attack back, but it's difficult to have enough time to stagger him with damage. Just stay alive and come out the other side and climb the ladder for the final showdown.

Defeat Krauser

This is where the boss encounter ends. Krauser will deflect some of your attacks to the body with his shield-like arm, so aim around it and eventually, he'll stagger, allowing you to get up close and personal. Weapons like the Striker and LE 5 work well here, allowing you to deal lots of damage quickly.

If you get too close to the sides of the arena, Krauser will knock you off and you'll have to use up some Combat Knife stamina to get back on level terms. After dealing enough damage, Krauser will die for good in a cutscene. You'll get his Fighting Knife as a reward.

Go After Ashley

Now he's dead, you can get back to rescuing Ashley, so cross over the drawbridge to complete Chapter 14.


Did you find our Chapter 14 walkthrough for Resident Evil 4 useful? Click through to our Resident Evil 4 Remake guide for more information and share any further tips in the comments below.