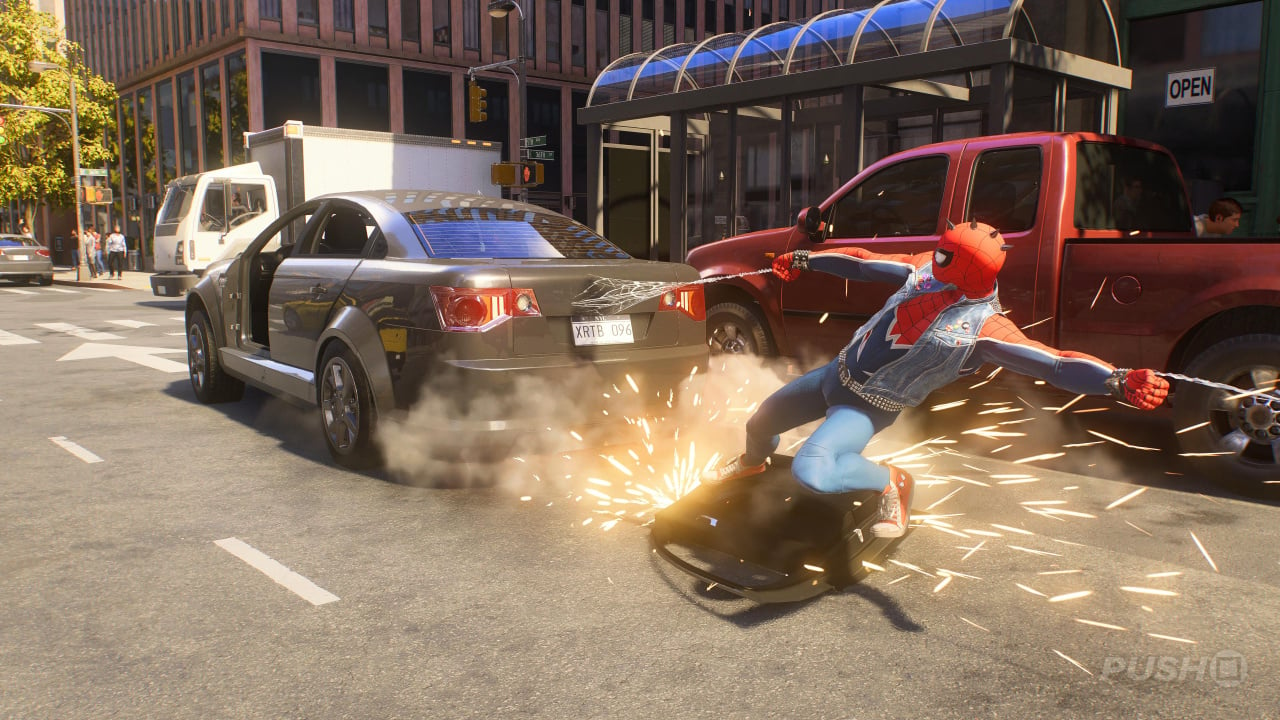
Do you need some Marvel's Spider-Man 2 tips? Games from Insomniac are generally pretty approachable for gamers of any ability, but there's still some guidance even the veteran players will want to take on board before they start Marvel's Spider-Man 2. As such, we have some tips to share that will help you much better understand the game's structure and some of its quirks. As part of our Marvel's Spider-Man 2 guide, we are going to share some Marvel's Spider-Man 2 tips — 7 things I wish I knew before playing.
Subscribe to Push Square on YouTube168k
Marvel's Spider-Man 2 Tips: 7 Things I Wish I Knew Before Playing
Below you'll find a selection of Marvel's Spider-Man 2 tips to help you better understand the contents of the game. Note that if you are ever having trouble with the general difficulty of combat, you can change difficulty options in the Settings menu, and a large assortment of Accessibility Options is also on offer. Activating any of them won't disable Trophies.
Collectible Unlocks Are Tied to the Main Story
As soon as you gain access to the full open world, your first inkling is probably going to be to explore it. Feel free to, but do so in the knowledge you won't find many optional activities or Collectibles — at first. This is because a lot of the Side Content and Collectibles are unlocked as you progress through the Main Story rather than being available right from the off. As such, we recommend sticking with the Main Story until your Map is populated with icons.
You Need to Earn Fast Travel
Many open world games over the past decade have made fast travel a standard — almost a necessity — but that is not the case here. Fast Travel is something you'll need to earn. When you hover over any of the District, it'll show you a list of all the Missions and Collectibles available there. Above them is the District Progress bar, and you need to fill it to at least halfway to unlock Fast Travel to that District. This is done by completing the activities listed.
Ignore the Shared Skills Tree at First
When you gain access to the Skills trees for Peter and Miles, you'd probably assume the Shared tree is the one to invest in because the upgrades benefit both of them. However, the Shared Skills aren't really that good — in the early game, at least. If you find yourself gravitating towards either Peter or Miles, invest in their personal Skills first before considering the Shared ones. You'll unlock much better powers and abilities earlier on this way.
Look Out for Blue and Gold Stash Boxes in the Open World
As you're swinging about, you'll likely spot blue, glowing Stash Boxes — particularly on rooftops. Opening these rewards a small handful of Tech Parts, which you can use to either unlock a new Suit or purchase some Upgrades. Then there are also gold Stash Boxes, which contain Rare Tech Parts.
All the Boss Fights Have Checkpoints
You'll come up against a variety of bosses during your time with the game, and many of them play out across multiple phases. You can check this by looking at the left-hand side of the boss' health bar at the top of the screen. If there's more than one phase, you'll spot small red dots next to the boss' HP. The amount of red dots you can see is how many phases there are, but you don't need to go through them all in one go. All boss encounters have checkpoints after each phase, so you won't lose too much progress if you die.
You Can Spam L1 for a Guaranteed Parry
Parrying enemy attacks is a new feature in the PS5 sequel, telegraphed by a red alert indicator around a bad guy when they're about to go in for the kill. You can parry these attacks by pressing L1 at the right time, but the mechanic is simple enough to where you can just repeatedly press L1 to guarantee yourself a successful parry. This sets you up for a powerful load of attacks on the enemy.
You Can Skip Puzzles
Every so often, the game will make you solve a puzzle in order to progress. This usually involves destroying corrupted atoms or placing molecules in the correct sequence. If you're struggling with one, though, you can simple bring up the pause menu and there'll be a new option midway down the list that allows you to skip the puzzle entirely. This isn't an option tied to the Accessibility Options; it's always there even if you're playing on the default difficulty.
Did you find our selection of Marvel's Spider-Man 2 tips useful? Feel free to share your own tips in the comments below, and check out our Marvel's Spider-Man 2 guide for much more help and information.


Comments 0
Wow, no comments yet... why not be the first?
Leave A Comment
Hold on there, you need to login to post a comment...