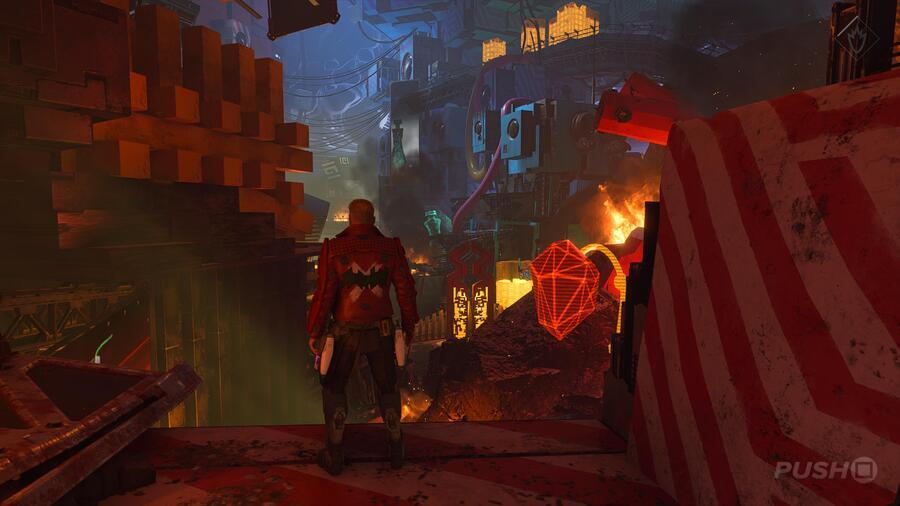
Where do you find all the Outfits and Guardian Collectibles in Chapter 12 of Marvel's Guardians of the Galaxy? It's back to Knowhere for the team as they try to find Cosmo. As part of our Marvel's Guardians of the Galaxy guide, we are going to reveal the locations of all collectibles in Chapter 12 in the order you will discover them.
Marvel's Guardians of the Galaxy: Chapter 12 - All Collectibles: Outfits, Guardian Collectibles

On this page, we're going to list all Outfits and Guardian Collectibles in Chapter 12 of Marvel's Guardians of the Galaxy in the order you will discover them. Chapter 12 contains 5 Outfits and 1 Guardian Collectible.
Outfit #1: Thanos Imperative
After exiting the Milano and dealing with the enemies who come to greet you, have Drax move the large yellow box placed underneath some machinery with his ability. Hop on top then jump the gap to find Outfit #1: Thanos Imperative.
Outfit #2: The Smuggler
Once you've dealt with the first combat scene in the Marketplace, follow the main path and you'll quickly find a locked door you can use Wind Shot on. Do so and Outfit #2: The Smuggler will be inside.
Guardian Collectible #1: Glarnot Mask
In the next section of the Marketplace, after opening a door with Wind Shot and moving something blocking your path, you'll come across a load of wires that require Gamora's ability. Before you do that, however, look to your left and you'll spot some enemies. Defeat them and drop down the gap in the barriers on the righthand side of the area. Shoot the openings in the pipe producing gas on your right and then cross. Guardian Collectible #1: Glarnot Mask is right there.
Outfit #3: Impaler
Shortly after Guardian Collectible #1: Glarnot Mask, you'll shimmy across a ledge and the team will gather up at a dead end so that you can push aside something blocking the path. Before progressing, you should double back a bit and look at the open space to the left. There's a piece of the building you can use Wind Shot on, and then Groot's ability forms a path over there. Follow the path around to a locked door, but look above it and shoot the loose covering off. Then use Lightning Shot to open the door. In the next room, shoot the malfunctioning hatch with Lightning Shot and order Rocket to crawl through the vent. He'll eventually turn off the power, allowing you to cross and pick up Outfit #3: Impaler.
Outfit #4: Casual Kill
After yet another combat scene, you'll need to progress by having Drax use his ability and punch a hole in the ground. Slide down and you'll be faced with a gap and a large sign depicting builders. Turn around and you'll notice a crawlspace. Head on through and Outfit #4: Casual Kill will be on the other side.
Outfit #5: Apocalypse-Lord
Following the cutscene with Cosmo, you'll eventually come across a combat sequence in a snowy area with a large hole in the middle. Once that's complete, you'll require Drax's ability to lift platforms to progress. Once you're up on the new level, head to the right and use Gamora's ability to reach a higher level. Up on the platform will be Outfit #5: Apocalypse-Lord.
Did you find all the Outfits and Guardian Collectibles in Chapter 12 of Marvel's Guardians of the Galaxy? Take a look at our Marvel's Guardians of the Galaxy guide for more information or click through to Marvel's Guardians of the Galaxy: Chapter 13 - All Collectibles: Outfits, Guardian Collectibles to continue finding all the collectibles.


Comments 0
Wow, no comments yet... why not be the first?
Leave A Comment
Hold on there, you need to login to post a comment...