Looking for a The Lost Treasure walkthrough for God of War Ragnarok? The Lost Treasure is a Favour, which are Ragnarok's equivalent of side-quests. As part of our God of War Ragnarok guide, we're going to share our full Spirit of Rebellion walkthrough, which includes puzzle solutions, combat strategies, and any other key areas of interest.
God of War Ragnarok: The Lost Treasure Walkthrough
You'll discover The Lost Treasure on Dragon Beach in Svartalfheim, likely while attempting to complete another Favour named Spirit of Rebellion. After using the Draupnir Spear to reach higher ground, speak to the spirit who calls on you for help to trigger The Lost Treasure. You can continue to follow the instructions for Spirit of Rebellion if you like, because you'll need to head to Alberich Hollow to complete this Favour. Once you reach the giant dwarven statue, head into the cave just off to its left. There are Bergsras and Grims waiting for you down here, so take care of them. Then pick up the explosive rock just on the left of the path to clear away the debris. Continue deeper into the cave.
There are Nokken powering up a couple of Grims down here. One of the Nokkens is hidden away among some debris, just in the middle of the path. So, grab an explosive rock like you did earlier, and lob it at the debris to kill it. Then you can deal with the Grims. There's one of Odin's Ravens just off to the left, if you want to get it before moving on. Pick up another explosive rock and clear away the debris ahead.
Boss Fight: How to Beat Ormstunga
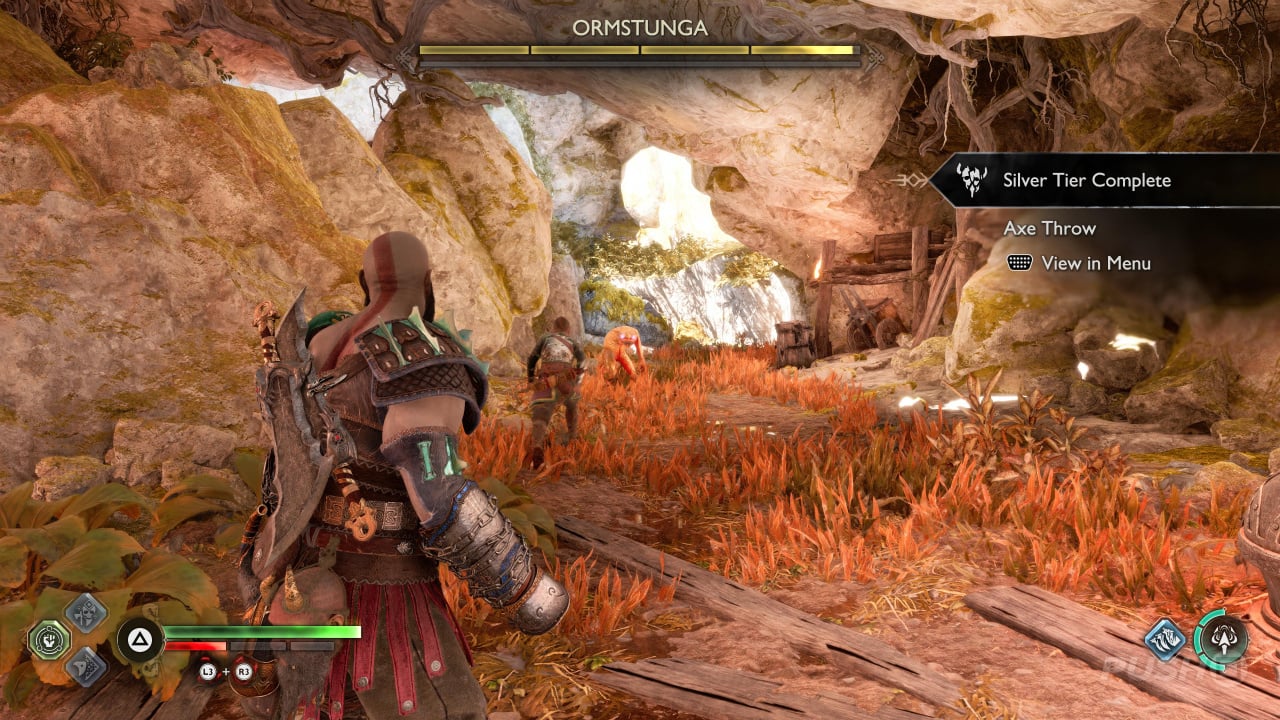
While Ormstunga doesn't look particularly menacing, he can be a pesky foe, scuttling to-and-fro around the arena and never staying still. His primary attack is to leap towards you and swipe at you, which can be easily parried. If he does a somersault, however, you'll need to dodge roll out of the way. He'll also spit poison on the ground, which is obviously best avoided. The most difficult part of this fight is keeping track of him, as he's pretty quick, so make sure you're locked on. It's best to hit him hard in short flurries, rather than swing relentlessly at him, because he'll move out of the way and counter-attack if you get locked into animations. You'll get a new Enchantment, the Emblem of Elusion, for defeating him. You'll also get some Svefnthorn. After you're done with the fight, you can climb up the ledge on the left for an Yggdrasil Rift, which includes one of The Lost Lindwyrms required for another Favour. Interact with it once more for some Dust of Realms and Lindwyrm Scales, as well as a Gale Spark.
Grab another explosive rock and throw it at the debris, just over the ledge opposite where the Yggdrasil Rift was. Then lift the rock at the end of the path to continue onwards. At the end of the path is a Legendary Chest with Hacksilver and a Folkvangr Whetstone inside. Once you're done, climb down the metal chain to the beach. On the left, at the bottom, is a door you can chisel through with a red chest on the other side. Open it for Hacksilver and Slag Deposits.
Now get in the boat and travel north to Alberich Island. Disembark once you reach the beach here. There are enemies waiting for you here, so be sure to take care of them. Before you interact with the Berserker Gravestone, part of the Fit for a King Favour, there's a Nornir Chest you can open for an Idunn Apple. When you're ready, interact with the gravestone.
Boss Fight: How to Beat Beigadr the Feared
Time for another Berserker Soul, part of the Favour named Fit for a King. This time it's Beigadr the Feared, an electrically charged warrior who's a pain in the ass. He'll teleport into puffs of green smoke, giving him impressive range all around the arena. You're going to want to be locked on for the fight, so hit the R3 button. One of his attacks will see him swiping at you twice with his fist, so time it up and parry this attack. Punish him when staggered, and he'll likely teleport out of the way. When he's created some distance between you, he'll either target you with electric orbs, which can be parried twice, or send shockwaves through the ground which you'll need to dodge roll. Sometimes he'll also float in the air and send four orbs your way at once, so be sure to guard against these.
That's not all you'll need to pay attention to, however! Beigadr the Feared will also occasionally leap into the ground and detonate the floor, so you need to dodge roll at the last second to avoid this. And he'll also summon electrical circles on the ground, which you'll need to weave in and out of. It's a tough fight, but throw everything you've got at him and remain mobile, parrying when required. The worst thing you can do is get stunned by an electrical status, so make sure you're parrying those orbs when he flings them and staying out of the way of any shockwaves he sends through the ground. You'll get an Enchantment, named Asgard's Might, Shattered Runes, Bonded Leather, and Tempered Remnants for your troubles. You'll also collect a sword hilt which you'll need to continue The Lost Treasure.
On Alberich Island, throw the Draupnir Spear at the hole spouting air to advance up to higher ground, and speak with the spirit's son. Head up the hill, and there's some Soundstone just to the left, so instruct Atreus to fire a Sonic Arrow at it to clear the way. Just ahead is one of Odin's Ravens, so defeat that if you want to. Drop down and throw a spear at the rock blocking the geyser to the right, and then detonate it. This will raise the lift, allowing you to hookshot to the other side. There's another Yggdrasil Rift here with another one of The Lost Lindwyrms inside, so make sure you grab that before moving on. Reach back inside once you've trapped it for more Hacksilver, Lindwyrm Scales, and Dust of Realms, as well as a Gale Spark. Hookshot across, and on the ground to the left, you'll find a Treasure Map named Washed Ashore.
Climb up the wall and just to the right is a rock you can destroy with the Draupnir Spear. Once you've destroyed it, pull the chain and freeze the cog. Then hookshot back across to the previous platform and destroy the rock opposite using the Draupnir Spear.
Hookshot back across to the chain, pull it and have Atreus shoot a Sigil Arrow at the cog. Then freeze it with your Leviathan Axe. Recall your axe and freeze the geyser, which will lower the previously unreachable hookshot point, allowing you to cross. Reclaim your axe once you're on the lift to rise up. There are some Wretches up here, so take care of them, and collect the Hacksilver on the corpse to the left.
Jump to the climbing point to make your way to the Legendary Chest that Atreus pointed out earlier. Open it for a Jewel of Yggdrasil, a Whispering Slab, and 45,000 Hacksilver! Abseil back down to Alberich Island, and get in your boat. You need to sail all the way back to Dragon Beach, which is south, to speak with the spirit. After the conversation is over, you'll complete The Lost Treasure.
God of War Ragnarok: The Lost Treasure Objectives
- Find the Spirit's son
- Find the treasure in Alberich Hollow
- Find the treasure on Alberich Island
- Return to the Father Spirit
God of War Ragnarok: The Lost Treasure Rewards
- Kratos: 3,000 XP
- Atreus: 750 XP
- Alberich's Treasure
Did you find our The Lost Treasure walkthrough for God of War Ragnarok useful? Refer to our God of War Ragnarok guide for more information, and let us know in the comments section below.


Comments 0
Wow, no comments yet... why not be the first?
Leave A Comment
Hold on there, you need to login to post a comment...