Chapter 2 - A New Journey Begins is the second Main Chapter in Final Fantasy 7 Rebirth, and picks up right after the conclusion of Chapter 1 - Fall of a Hero. As part of our Final Fantasy 7 Rebirth guide, we're going to provide a comprehensive Chapter 2 Walkthrough, which will detail everything you need to know about A New Journey Begins.
Final Fantasy 7 Rebirth: Chapter 2 Walkthrough - A New Journey Begins
The morning after Cloud's retelling of the events at Mt. Nibel, he awakens to find himself alone. Open the door and Cloud will be gifted the Queen's Blood starter deck, which is the new card game. Complete the tutorial, then head downstairs and speak to Broden. He'll explain you've been given the day off, but you need to spend it making sure your gear is ready for the journey ahead.
Leave the inn and Red XIII will join your party in the cutscene. You're now free to explore Kalm, with the bookstore in the east, the weapon vendor to the north, and your party in the centre next to the water tower. At the weapons vendor, you'll first learn how to upgrade your weapons, then be offered the chance to buy extra pieces of gear. The bookstore tutorials Folios, which is where you'll source new character upgrades and abilities.
Subscribe to Push Square on YouTube168k
As you're walking around, you'll bump into Tifa and Aerith, and you can improve your relationship with both of them by picking the right dialogue option. For the former, you want "The place I made that promise to you", while Aerith shall respond well to "Sure. Lets." If you head to the gate in the southwest corner of Kalm, you can find Red XIII, who responds positively to "I knew I could count on you." To find Barret, return to Tifa and look north to spot a staircase you can take down to a pub. He's sitting at the bar, and responds well to "First one'll taste good."
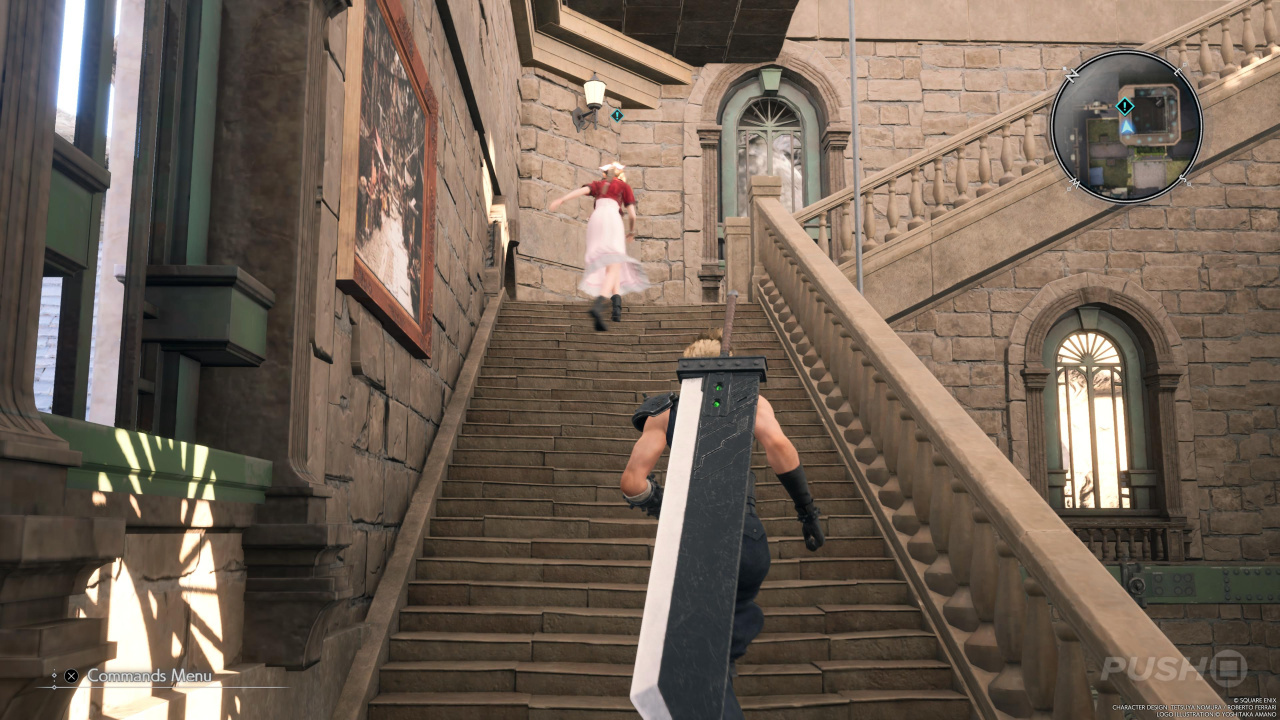
Having selected the right dialogue option during your chat with Aerith, you'll be prompted towards the clock tower in the north. Go there when you're ready and approach Aerith. Follow Aerith up the clock tower to the top and approach her to trigger a cutscene where Shinra forces descend on Kalm. Run back down the clock tower, using the pole to quickly descend.
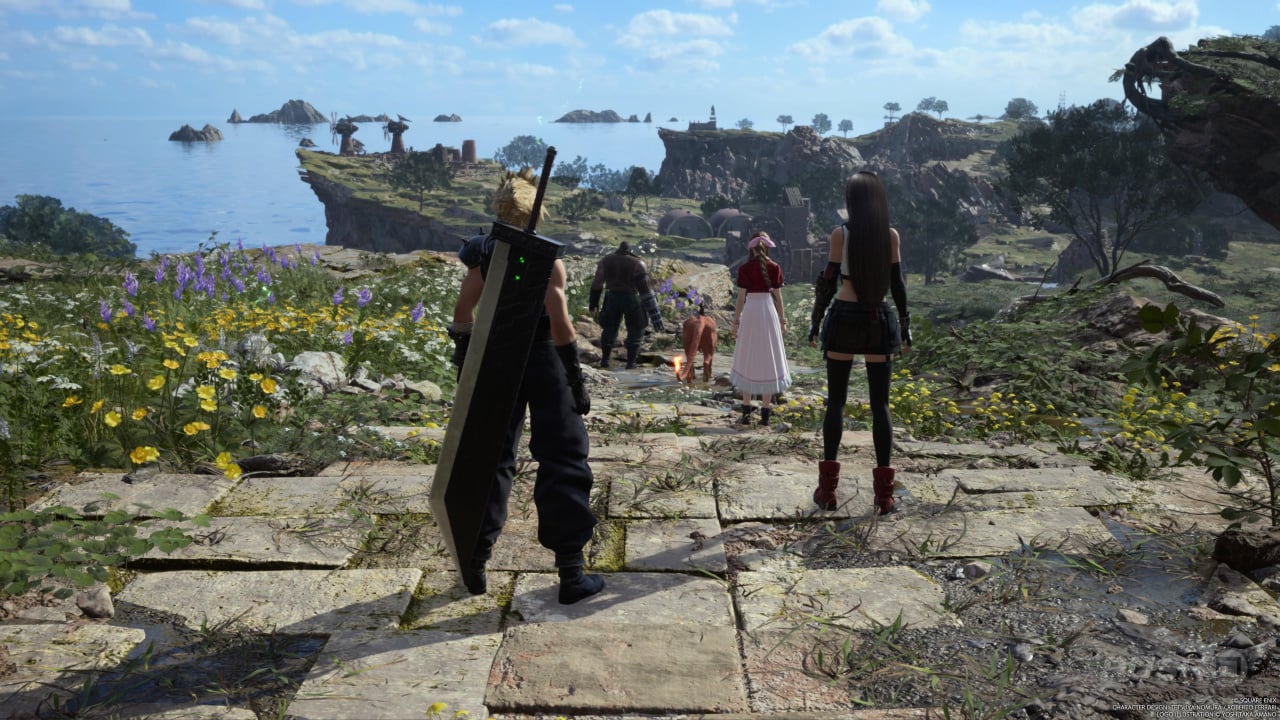
As Broden asks you to deal with the situation without resorting to violence, follow him past the soldiers until you encounter two on a bridge. Broden will distract them, allowing you to climb up above and pass them. Drop back down to Broden at the end of the wooden path, then follow him to the inn. He'll reveal a secret exit you can take to leave Kalm, and give you an Item Transmuter. Go down the ladder Broden reveals and you'll meet the rest of the team. Go through the underground passage and open the double doors you find to reveal a new region: the Grasslands.
This is a significantly bigger and wider area than anything before it — including Final Fantasy 7 Remake — so with a pin placed to the east at the Coconspirator, feel free to explore the land to your heart's content. There are some battles you can get into, items to collect, and a few locations to discover. When you're ready, head for the orange pin on your map. Speak to the Farmer out front, then head for the new objective marker to find somewhere to rest, completing the Cache Location along the way. Take the Sleek Saber from the chest and equip it on Cloud when you get there, then approach the dock for a cutscene.
Tifa and Aerith will suggest renting some Chocobos, with a ranch situated to the east of your position. Follow the objective marker there and speak to Bill. He'll direct you to Billy, who's in the Chocobo stable. He'll task you with capturing a runaway Chocobo, but first, talk to Chloe at the counter and grab the Timeless Rod from the chest to the right for Aerith.
Now leave Bill's Ranch and take a left; you should now notice some yellow feathers and prints in the mud. Follow these tracks to find the runaway Chocobo. You must now capture the Chocobo by sneaking past the two standing nearby using the yellow flowers. When you get close to Piko, distract it by throwing a rock and then sneak up on it and press the Triangle button to catch it. A cutscene will see Piko return to Bill's Ranch, so head back there yourself also.
When you get back, talk to Billy. He'll be preparing Piko for the journey, giving you a chance to talk to Chloe in the back and complete the Discovery associated with Golden Plumes. You can trade them for a Helmet, Breastplate, or Greaves for Piko. Exit the stable and Chadley from Final Fantasy 7 Remake will appear looking for more Battle Intel. He'll direct you to a Remnawave Tower, which will reveal new activities to complete on the map related to World Intel.
Once that's all been explained, there'll be new markers on your map and you can go back to the stable to check on Piko. You'll be given a Chocowhistle to summon your Chocobo, and then you'll get a tutorial teaching you how to ride one. During this time, you can complete the Discovery for The Chocoboutique, which allows you to customise your Chocobo. When you hop on your Chocobo, you can complete a few time trials for prizes, which are worth obtaining.
At this point, the game allows you to do whatever you like next. Now you have a Chocobo, you can cross the swamp you were at before, which is part of the main story. Alternatively, there's your first Side Quest at Bill's Ranch to complete called Flowers from the Hill, or you can knock out some World Intel.