In the seventh and final part of our Elden Ring walkthrough, we'll be guiding you through Crumbling Farum Azula. This area is accessed directly after the conclusion to the Mountaintops of the Giants region. The main objective here is to make it to the grand coliseum in the centre of the area and defeat what lurks there. As usual, we will be sharing the most straightforward route to completing your tasks at hand. Feel free to explore elsewhere and then rejoin this guide when you're ready to press on.
Detailed below is how to complete Crumbling Farum Azula. We've broken the guide down into easy to follow steps that will get you on your way to completing everything you need to do here.
Explore Crumbling Farum Azula
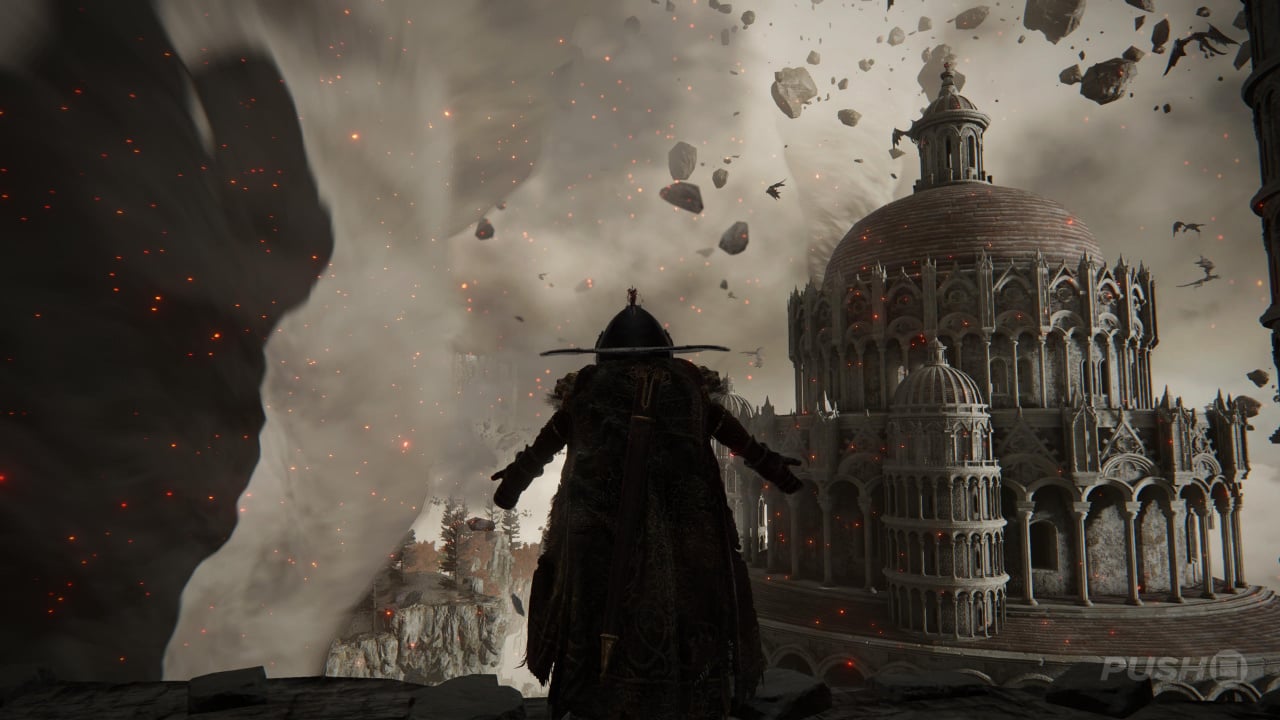
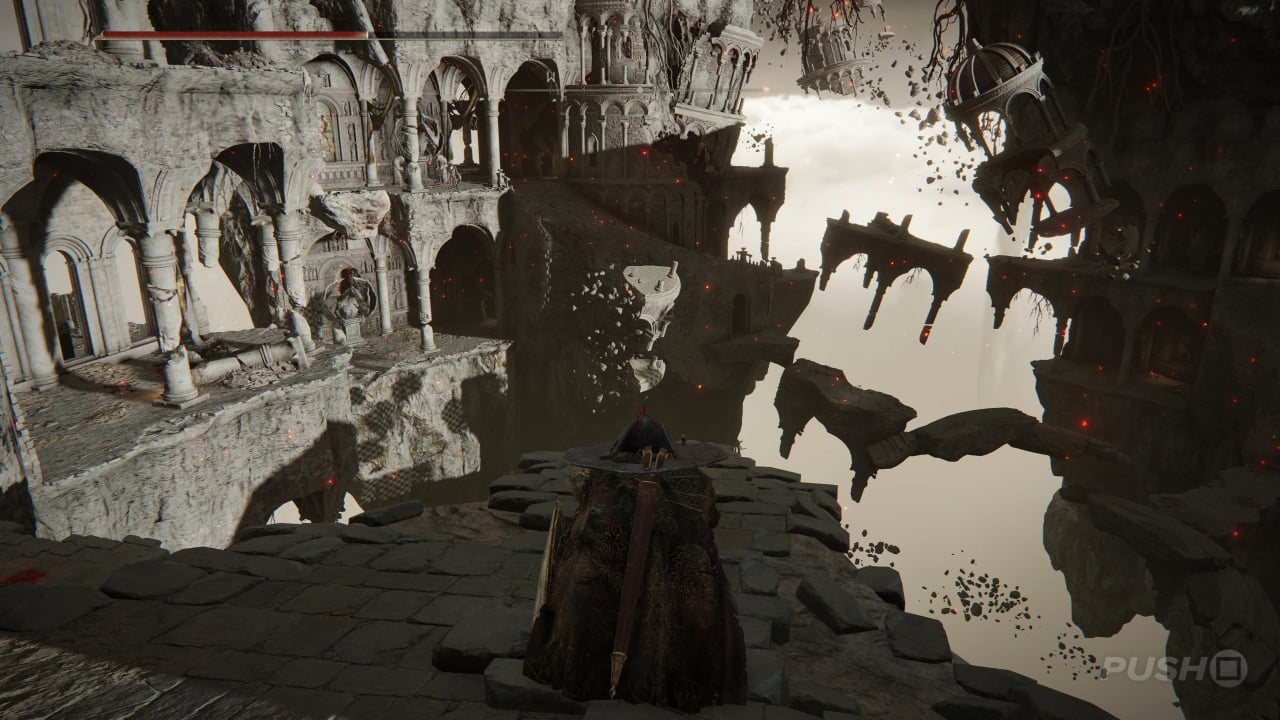
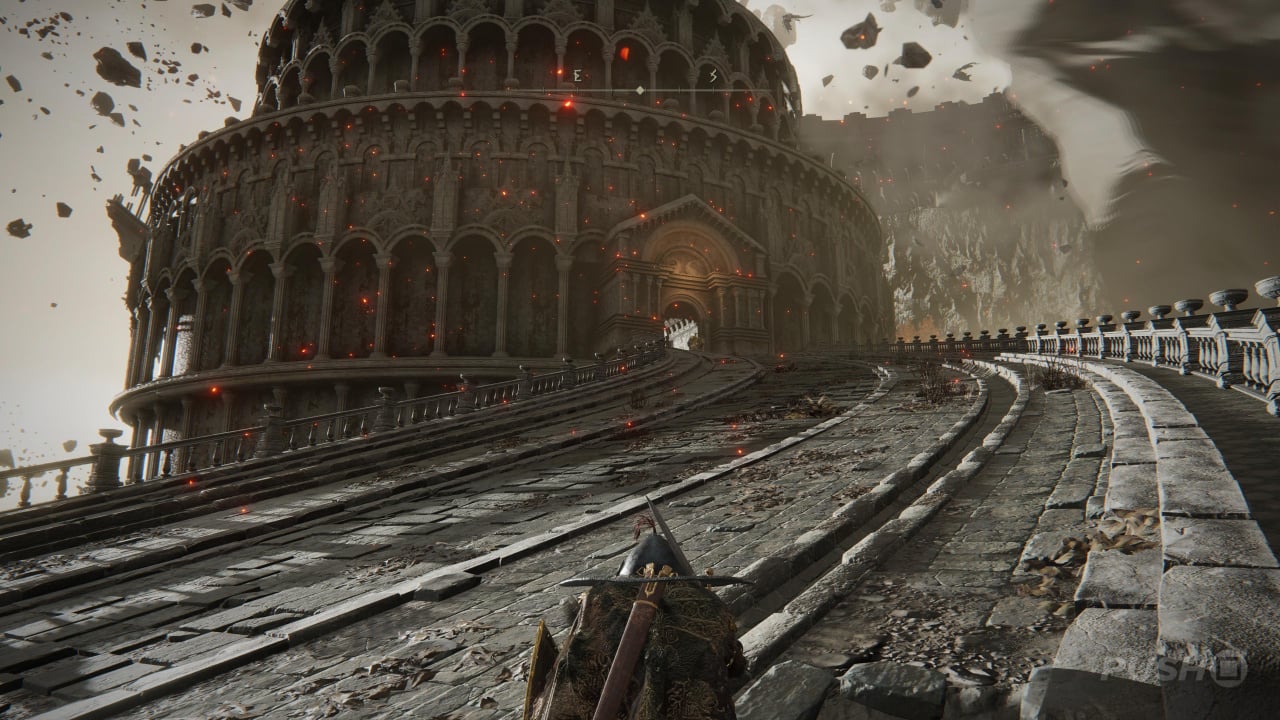
Directly after the cutscene involving your character and Melina in the Mountaintops of the Giants, you'll be transported automatically to Crumbling Farum Azula. This is a place high up in the sky with whirlwinds circling all around it. From the ledge you begin on, follow it to its end and then look to your right. Drop down onto the ledges below you and then onto the balcony. Ahead of you will be your first proper glimpse of the area.
Now follow the path down to your left until you come to a sort of temple corridor packed full of Beastmen of Farum Azula. You fought just one of them as a boss fight back in Limgrave, but now there's a whole army of them. And they're happy to gang up on you. Try to draw their attention one by one to make this a manageable fight, avoiding fighting them all at once.
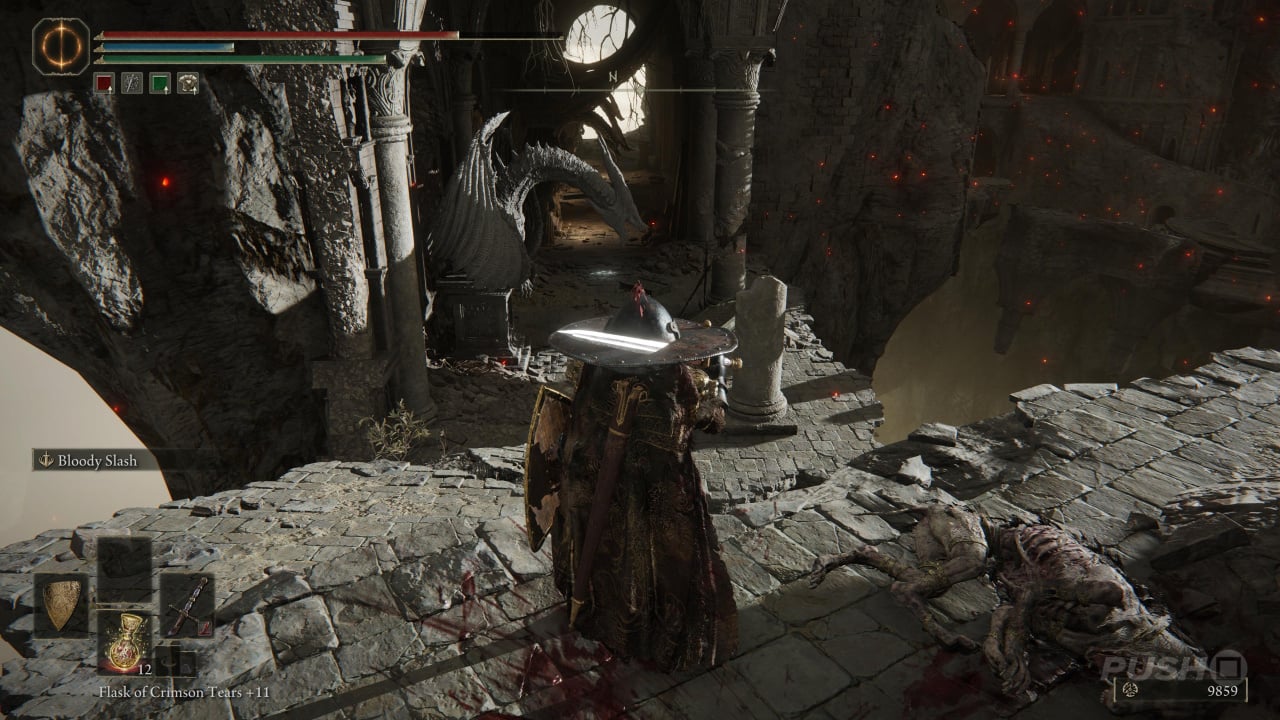
Once you're through, there'll be a Site of Grace on your left in the corridor. Two lit torches on the wall mark it. With this checkpoint in hand, push further on. Jump down onto the top of some ruins and a dragon should appear just ahead of you. You can either fight it or skip it and move on: your choice. At the end of the path will be two open doorways you can take to find another Site of Grace. Rest up here.
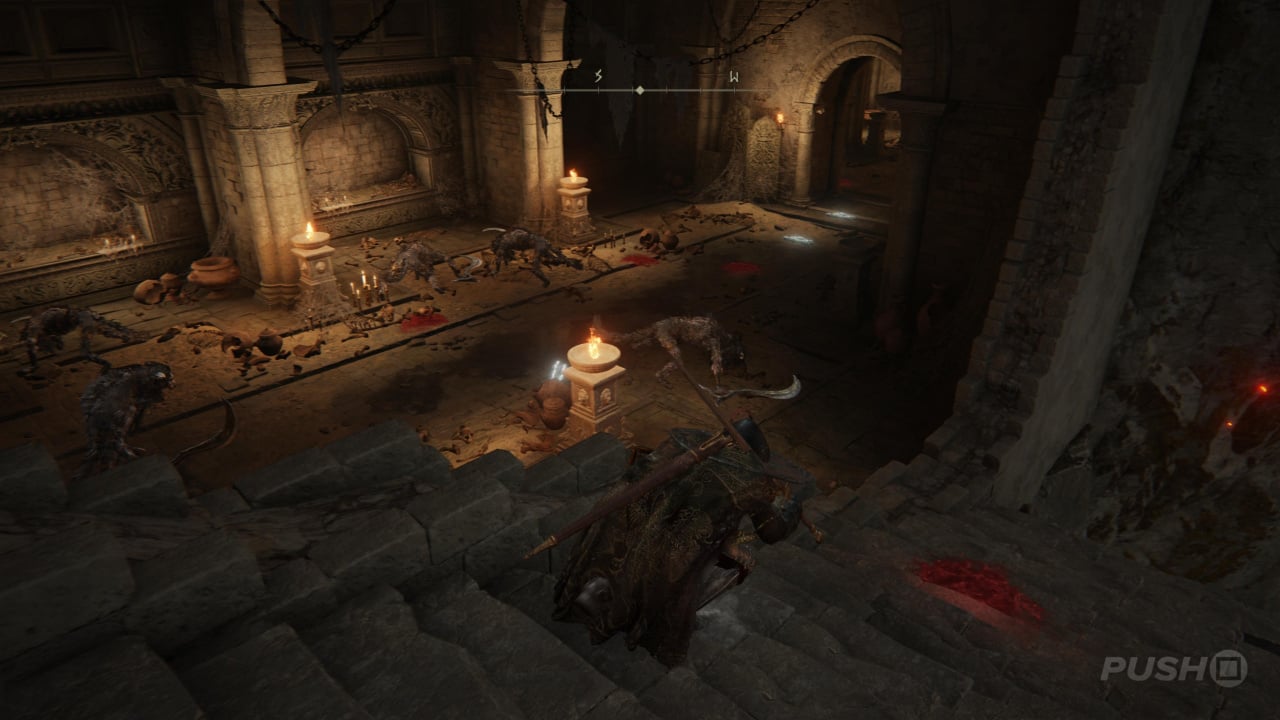
Ahead of you is a room full of graves and two more Beastmen — one patrolling and the other taking a nap. You can kill them or sneak right on by. Take the stairs down to the main hall, which is full of even more Beastmen.
Eliminate them one by one, and then head through the large room to find yet another Site of Grace. Look out over the edge of the Site of Grace and you'll spot where you have to head next. Some light platforming is involved as well as a dragon.
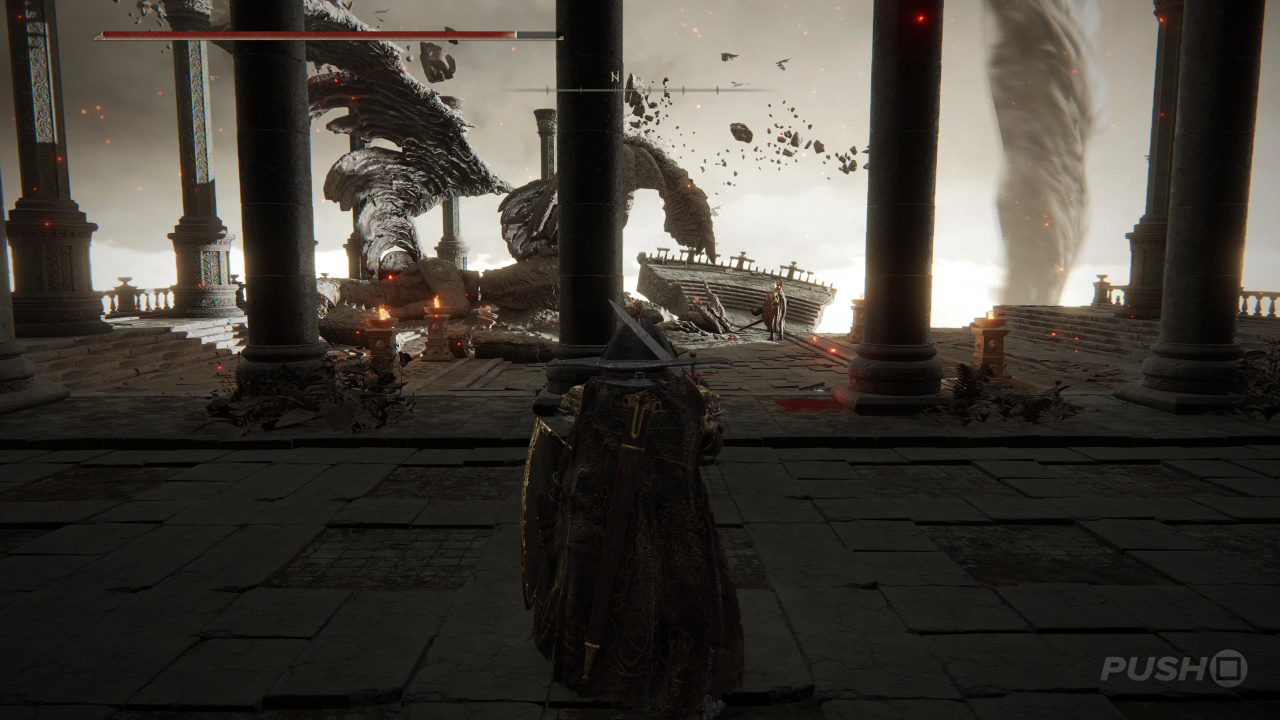
Drop down onto the greenish platform at the bottom with skeletons equipped with spears on top. Kill them all to make this bit slightly easier. Don't forget you have to attack them once more after killing them to make sure they stay down. Now head in the direction of the dragon, using the rubble to plan on the level below where it's perched. It will breathe fire at you, but it's pretty easy to dodge. At the other end of this level will be another Site of Grace, accessed by jumping across more rubble.
Kill Godskin Duo
Head indoors and you'll encounter some very tough soldiers with their own Ashes of War. Be very careful around these because you want to preserve as much of your health as possible for the battle ahead. After killing the first and going down the stairs it was patrolling, take a right down another flight. Through the door ahead is a very hard boss encounter against the Godskin Duo.
For information on how to kill Godskin Duo, click the following link: Elden Ring: How to Beat Godskin Duo.
Push Further Through Crumbling Farum Azula
With the Godskin Duo beaten to a pulp, rest at the new Site of Grace and take the doorway to your left. It's the one the big dragon's head in the ceiling is pointing to. You'll now have a view of the complete path ahead of you.
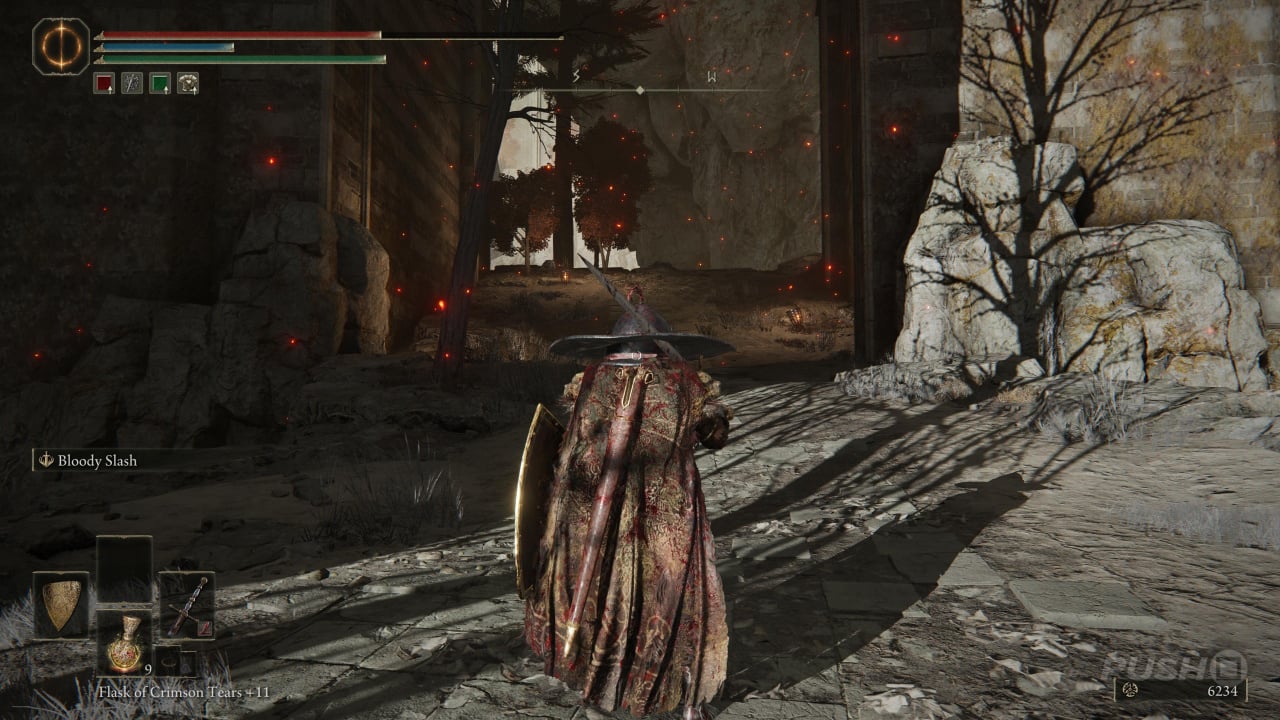
Drop down to the ledge on your left and watch out for the two Beastmen: one throws bladed boomerangs at you and the other attacks head-on. Go down the stairs, then pass through the open windows on your left before you get to the dog munching on some bones. Don't jump too far, however, because you'll likely fall to your death. Instead, drop down carefully and run around the outskirts of the room. At the other end is some rubble you can use to cross over to the next path, with the statue of a dragon greeting you.
Continue along this corridor until you spot a door on your right. Take it and cross over the pieces of building suspended in mid-air to reach the other side. Now, instead of taking the staircase up that you saw on your way down here across the rubble, you must take the passage on your left through to the other side of this structure. You're in the right place if you spot a dragon and a knight standing next to it.
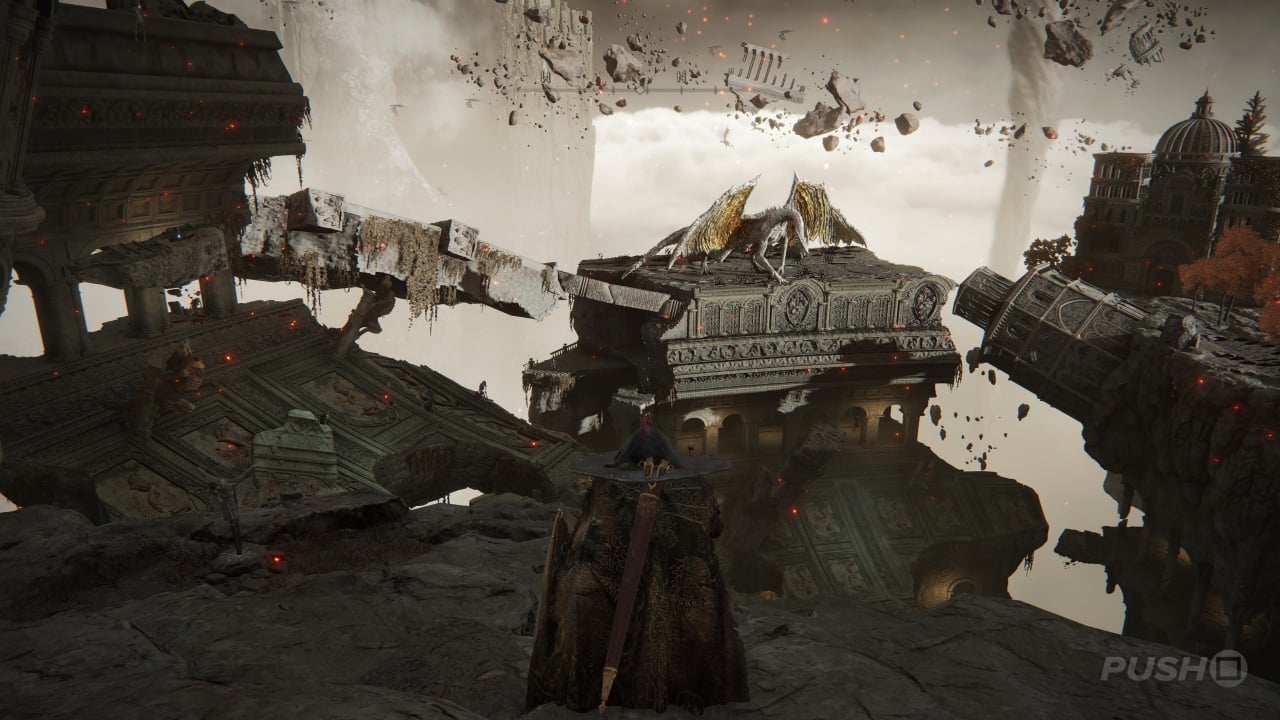
We strongly recommend avoiding the knight entirely and heading for the back right corner of this arena. There's a ledge for you to drop down to and a Site of Grace will be sitting there. Drop down and run along the rooftops, having to deal with a flock of really annoying birds along the way. There'll also be a dragon ahead of you casting down red lightning for you to dodge. You'll need to cross to where it is, at which point the dragon takes flight and leaves (it actually just disappears into thin air, but, you know). If you search the ruins to your left, you'll find a Golden Seed (See Also: Elden Ring: All Golden Seed Locations).
With that picked up, head for the other side of the rocky platform the dragon was stood on. It's the path lit up with embers.
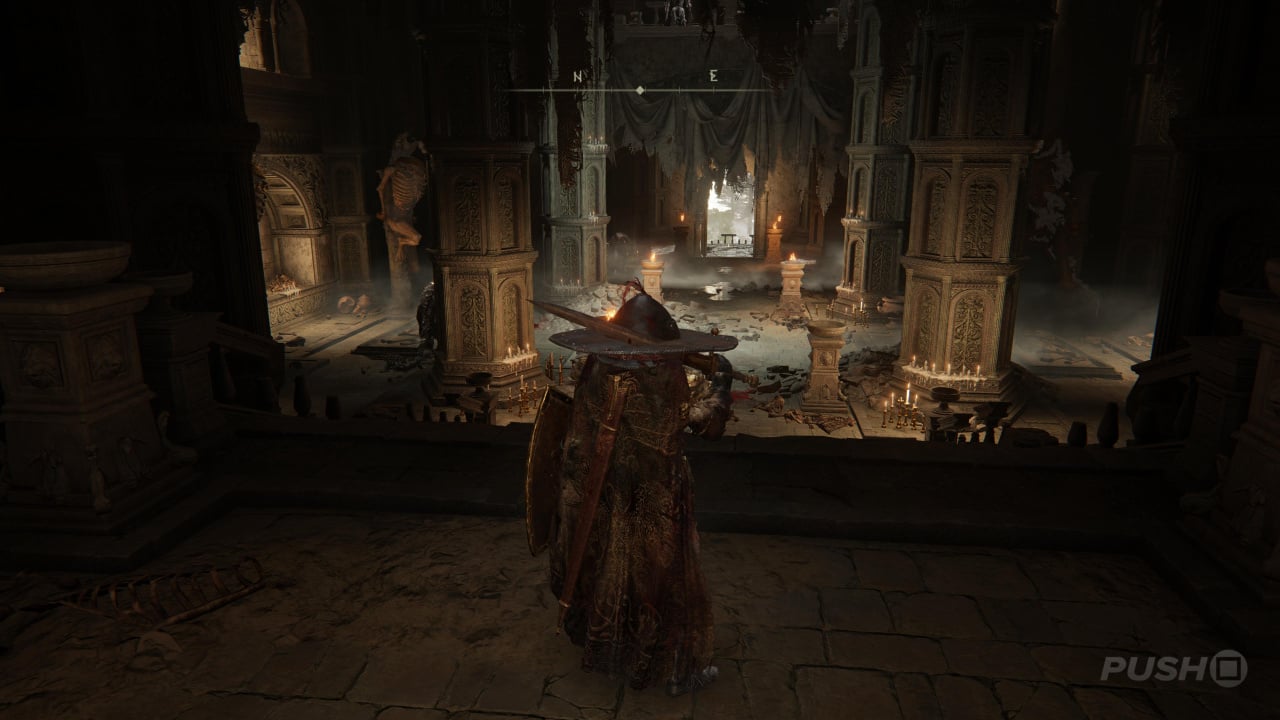
Here there'll be a couple more Beastmen to kill, and then a piece of white rubble you'll have to carefully cross using the pillars still left standing. Also, beware of the Beastman on the other side throwing bladed boomerangs at you. In the small room ahead with an altar on the back wall is yet another group of Beastmen. Try to get these to follow out outside and fight them one by one because you're likely to die trying to kill them all at once.
When they're dead, take the path in the back right corner of the room to a lift that takes you up to a Site of Grace. From here, head up the broken staircase outside and you'll be on the path up to the main arena. Just avoid the Tree Sentinel waiting for you at the top and pass through the fog door.
Kill Beast Clergyman and Maliketh, the Black Blade
You must now take on Beast Clergyman, which transforms into Maliketh, the Black Blade after taking off 50 per cent of its health. For information on how to kill them both, click the following link: Elden Ring: How to Beat Beast Clergyman and Maliketh, the Black Blade.
After downing them, the game will transport you back to Leyndell, Royal Capital. However, the city has changed.
Do you think Crumbling Farum Azula is the best location in the game? Have your say in the comments below and check out our Elden Ring guide for much more help and information.


Comments 0
Wow, no comments yet... why not be the first?
Leave A Comment
Hold on there, you need to login to post a comment...