Do you need a Protector's Duty walkthrough for A Plague Tale: Requiem, including all collectibles? In this A Plague Tale: Requiem guide, we're going to reveal how to achieve 100% completion in Protector's Duty. There are 2 Souvenirs, 1 Flower, and 1 Secret Chest to find in Protector's Duty.
A Plague Tale: Requiem: Protector's Duty Walkthrough
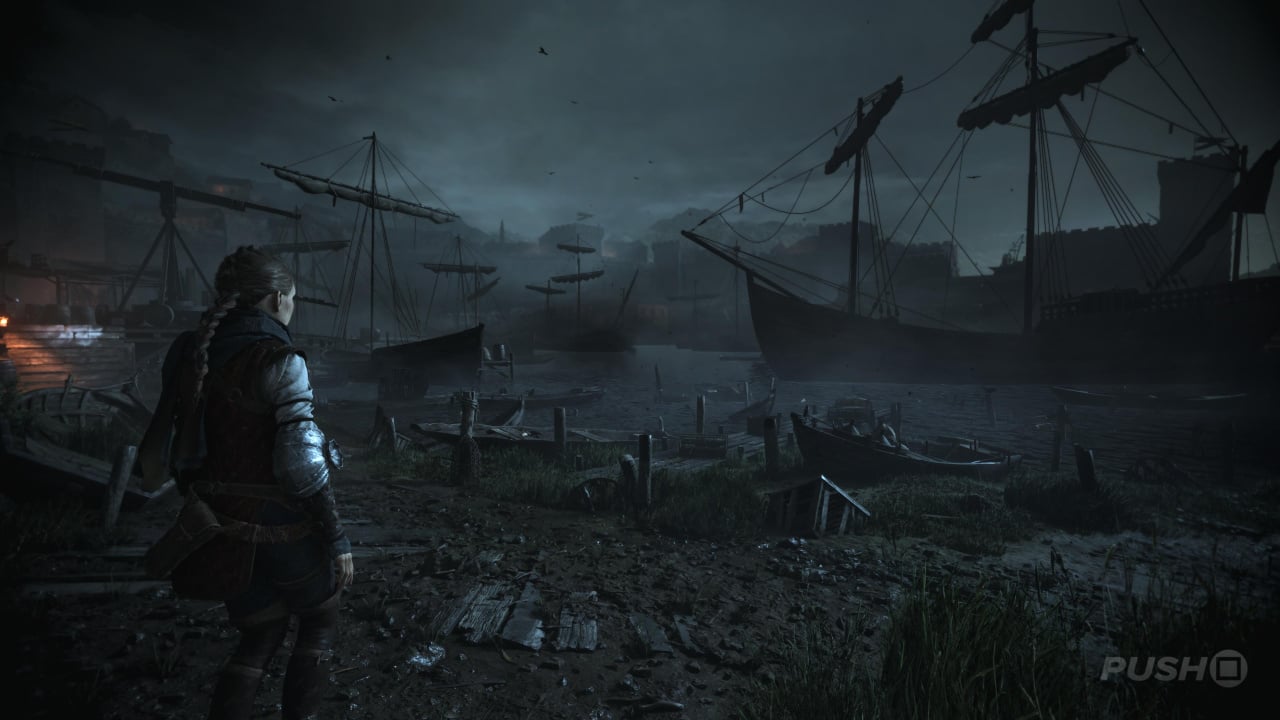
Back in the Red City at the start of the fourth chapter, this time you'll be heading to the docks. Follow Lucas as the guards put the city into lockdown. When you get back inside, follow the stone staircases down and you'll make it to the coastline. Here's where you'll find Flower #1: Gentian.
Flower #1: Gentian
Once you reach the shoreline with all the ships in front of you, the main path will take you to the left. Instead, head right and at the end of the road will be a Gentian on the ground.
With Flower #1: Gentian in your collection, head the other way and climb up to reach the docks. Keep your head down in the next section, sneaking past all the guards by following the linear path. You'll then squeeze through the boxes and barrels, and then climb a ladder. Keep following the path, but once you reach the end, don't go through the trapdoor. Souvenir #1: Silk Treasure is nearby.
Souvenir #1: Silk Treasure
At the end of the docks, shortly after Flower #1: Gentian, is a trapdoor you must drop through to progress. Before doing so, turn around and head through the hole in the wooden wall in between the two barrels. In here you will find a cart you can push to the other side of the room. Climb up to the room above and you'll find a Souvenir to interact with.
When you have the Souvenir, return to the trapdoor and climb down. Two guards are up ahead, and you need to make it to the level above behind them. First, claim the Knife stuck into the cover in the centre of the area, and then head left underneath the stairs. At the end of the path, next to a chest, you'll find yourself behind one of the guards. When the time is right, look to your right and climb up to the level above. Then you can crawl under some wooden beams to your right.
In the next area, the rats will appear. You'll learn how to set Tar on fire here, which creates a large fire for you to safely cross to the next light source. Now set the cart with a brazier on fire. Don't go too far forwards, though, because you have Secret Chest #1 to find.
Secret Chest #1
Once the rats appear at the docks, you'll eventually find a cart to push with a lit brazier in the middle. The main path will want you to push it straight ahead, but if you look to your left, you'll spot another path leading to a ladder. Push the cart over there, climb up, and you'll find a Secret Chest. Don't forget you need a Knife to open it.
Return to the cart after unlocking Secret Chest #1 and push it forward this time. Once you reach the safety of the firepit, leave the cart behind and head into the next area. To reach the building, extinguish the fire to your right and then shoot the hanging fish so the rats have something to feast on.
The puzzle room you find yourself in will soon fill with rats, giving you the chance to put some Tar to proper use. Firstly, unlock the door behind you by shooting the chain through the metal fence. Use the crank inside and Lucas will hop on the platform. Return to the main area and set the pool of Tar on fire. Lucas will throw you ingredients to create Tar, so make some and then throw it at the round pool in front of you using a Pot, then light it with the Sling. You can immediately set the final pool of Tar alight and reunite with Lucas. Exit through the door up the stairs.
Follow the path through an area ravaged by the rats, but don't squeeze through the gap up ahead just yet. You can grab Souvenir #2: A Grain of Sand in this area.
Souvenir #2: A Grain of Sand
After working your way to the other side of the Tar Workshop and running across a bridge destroyed by the rats, don't squeeze through the gap into the next building just yet. Look to your right to spot a chain you can destroy with your Sling. At the end of the pier here will be a Souvenir called A Grain of Sand.
After collecting Souvenir #2: A Grain of Sand, return to the main path and squeeze through the gap to find another puzzle involving Tar, this time accompanied by a guard. To start, allow him to cross by shooting the footbridge. He'll use the crank on his side, releasing the big barrel containing Tar. Use the crank attached to it, and then light the Tar below. Next, have Lucas use the other crank on your side and ride the platform to the next section.
Once the platform has gone as far as it can go, command Lucas to stop using the crank. This will push the platform into place so you can pour Tar into the pool below, and then light it. Next, use the crank you've just gained access to in the new area to reveal the way for the platform in the centre. Once it's all the way up, command Lucas to use his crank again. This will bring the platform forward once more.
Release your crank once the platform has past you, and then command Lucas to stop using his. This positions the platform so you can pour Tar into the pool below, and light it one final time. You now need to help Lucas across, and the guard suggests shooting Tar into the flames to make them bigger. Select your Sling with Tar attached, and shoot the fire closest to Lucas. He'll run to the middle section, at which point you must use the crank on your side to raise the boat blocking Lucas' path. You'll now be reunited with Lucas, but now the guard presents a danger. When he realises who you are, extinguish his torch and the rats will kill him.
The next room houses a Workbench, if you have enough resources for upgrades. After the following cutscene, you must reach Joseph's ship further down the river. The next area presents quite the challenge, with many guards to avoid and rats to take care of. Stick to the tall grass for starters, and use the houses as cover. With their backs turned, extinguish the enemy's torches while they're walking through the rats for some easy kills.
You'll eventually reach an area with a huge fire at the centre, with guards patrolling around it. Use the tall grass once more to remain concealed, and take out any guards not wearing helmets. We recommend taking the high ground on the left, where the archer is. It's easier to remain hidden up here, and provides ample tall grass on the other side for you to sneak through.
There's a guard patrolling the final stretch of this area, with the objective being on the drawbridge. Sneak around him — or kill him — push the door open and you'll reach safety and a Workbench. Approach Jordan to trigger a few cutscenes.
A chase sequence ends the chapter as the rats begin destroying the Red City. It's pretty clearly telegraphed where you need to go, and once you reach the house, another cutscene will put Hugo in your arms, accompanied by your mother. Simply follow the path down to Joseph and his ship and the chapter will end.
Did our Protector's Duty walkthrough for A Plague Tale: Requiem help? Browse our A Plague Tale: Requiem guide for more help and information, including all collectibles.


Comments 0
Wow, no comments yet... why not be the first?
Leave A Comment
Hold on there, you need to login to post a comment...