Do you need a Newcomers walkthrough for A Plague Tale: Requiem, including all collectibles? In this A Plague Tale: Requiem guide, we're going to reveal how to achieve 100% completion in Newcomers. There are 2 Souvenirs and 1 Flower to find in Newcomers.
A Plague Tale: Requiem: Newcomers Walkthrough
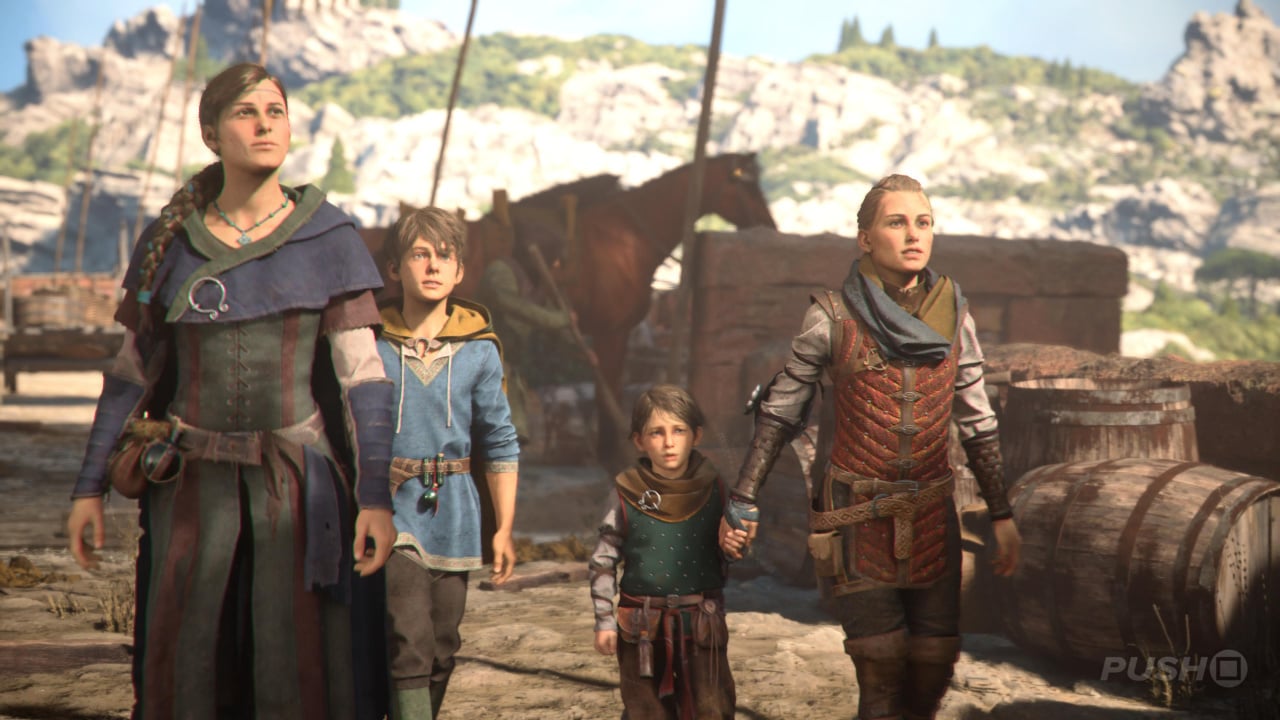
The start of this chapter is fairly open-ended, allowing you to explore certain parts of the Red City and interact with the people who live there. The path will lead you naturally to the house you need to reach, but feel free to mingle with the townsfolk and see what they have to say on the way there. Once you reach the market, be sure to grab Souvenir #1: Best Player.
Souvenir #1: Best Player
After making your way through the market and coming across a stall selling fish, turn to your right and head to the end of the street. Here you'll find a stall where you can play a game and unlock the first Souvenir. Pick up the four Pots in front of you and throw them at the wooden blocks, knocking down as many as you can. You'll be classed as the Best Player of the day if you send enough of them tumbling.
When you're done in the market, continue up the hill and Hugo will want to watch the musical performance for a short while. The alley to your right is where you'll want to head next once he's had enough, and keep on running up the hill. You'll eventually find the house in question (and Lucas) just to the right of the church.
After the cutscene, follow Lucas back down the hill to the market. You need to ask the florist whether she knows where Vaudin is. From the path you enter the marketplace, the florist is on the left-hand side. Talk to her and she'll tell you her husband might know where Vaudin is. He's working next to the fountain on the other side of the market. You're told Vaudin lives near the arena, so take the path there, heading downwards.
The guards won't let you in, so head down to the right and enter through the house at the end. Dead bodies are aplenty on the other side, but push on down the linear path. You'll come to an opening above you that requires a cart to reach it, which you'll find in the other room to your right. Crawl under the cart up ahead, and you'll need to sneak by the guard in the next room.
This next area is a little tricky because you'll need to sneak by multiple guards at once and create distractions as you go. Start by drawing the attention of the first guard by throwing a rock at the toolbox behind him, then crawl under the table to your right. On the other side, take an immediate left and cross to the other wall. You can take this side all the way to the end of the room, giving you a free shot at the guard not wearing a helmet with your Sling.
This will alert the other guard just to the right of him, but since he doesn't know where the attack came from, he'll aimlessly wander the area. Time it correctly and you'll be able to cross to the other side, go up the stairs, and open the door. If you're unlucky and he does head your way, just manoeuvre around him so he doesn't spot you.
You'll drop down into piles of bodies on either side of the road. To escape the stench, you need to reach somewhere well above jumping distance. Head left and you'll spot a cage full of even more bodies, which you should shoot down with your Sling. You can then push it into place and climb up.
At the top of the staircase is a Knife. Pick this up; you'll use it to open Secret Chests. Remove it from the wooden board to reveal a crawlspace. Climb up to your left on the other side, go through the door, and climb down into the area. A few enemies will reveal themselves once you get down there.
The one you really need to watch out for is the archer since they have a fantastic view of the entire area. When he turns his back, take the path to the left and climb up to the higher area. You may attract the attention of one of the guards in the centre, but you shouldn't be sticking around long enough for them to actually be alerted.
Once you're at the top, drop down to your right and you'll spot a guard patrolling underneath a lit brazier. With this back to you, sneak under the table just up ahead. Let him pass, and then crawl out the other side when he's down the end you just came from. Up the two flights of stairs you go, picking up the Pot along the way. You have the option of killing the archer here, but beware it's likely to alert at least one of the other guards. They won't know where you are, but they will start searching.
No matter what you do, head through the doorway ahead of you. Peering through the window here, the door you need to get through is just to your left, but there's one guard nearby. When the time is right, head for the door. You can take a short breather on the other side and grab Souvenir #2: Be at Peace.
Souvenir #2: Be at Peace
Once you've gotten past the large, open area in the arena that has an archer in the middle, you'll pass through more corridors of dead bodies. Follow the path and you'll come to two sets of staircases, one heading left and the other right. Take the right-hand set of stairs, follow it around, and at the end will be a woman lying on a bed who's still alive. Interact with her to unlock the Souvenir.
Return to the set of stairs and this time take the left-hand one. After passing through the next room, you'll discover just how big the arena really is. After climbing down, a cutscene will finally introduce the rat horde to the game, and trigger a very quick chase sequence. Simply run towards the screen to escape this section. You're by no means out of the woods, though, with the rat horde now at your feet.
Take the brazier to your right and begin pushing forward. The rats will retreat as the light reaches them, so you're safe while carrying it. Light the firepit you come to, and then keep on moving forward.
At the end of the room, place the brazier in the stand and then climb up and over. Take a stick and light it using the flame just next to it. Now head straight for the firepit; the stick only stays lit for a short period of time. Light another stick and use it to make it to the next firepit. Here, you'll need to knock down a brazier using your Sling. You can then light one more stick and use it to set fire to the brazier you just knocked down. Throw the stick at the brazier and it'll light the way to the ladder.
Follow the path and walk across the beam. Lucas won't make it, however. Grab a stick, light it, and then make it to the firepit. Light another stick here and then look over to Lucas. There's a firepit just ahead of him that you can throw the lit stick at to create light for him. Throw another stick to him so he can cross over to you. Climb the ladder, exit through the door, and go down the staircase to find a new area.
Next up is the game's biggest puzzle so far. You need to ride the elevator in the centre up, and we'll do that using the two cranks on either side of the room. To start, though, use the crank in the middle. Firstly, head into the room on your left and climb the ladder. Have Lucas use the crank, cross to the other side, and push the cart onto the elevator.
Have Lucas let go of the crank so the elevator goes back down. Then push the cart into position so you can reach the chest up above. Inside you'll find Sulphur.
Now head into the other room (to the right of the main crank) and shimmy along the wall to reach the other side. Shoot the two carcases hanging by chains with your Sling to create a way to cross to the other side, avoiding all the rats. Inside the chest on the other side is Alcohol.
Return to the main area, craft Ignifer, and then shoot the large brazier in the centre of the room to light it. You can now access the other rooms, so head to the right-hand one first.
Begin by lighting the firepit in front of you, a torch to your right, and then throwing an Ignifer Pot on the ground to create enough light to cross. When you're on the other side, shoot the carcass opposite so the rats are distracted, creating a path for you to head upstairs. This gives you access to the first crank, which you should command Lucas to use. There are also a few Pots here to replenish your inventory with.
Now go to the other newly accessible room on the opposite side of the area. Light the firepit, grab any supplies you might need from the chests nearby, and then shoot the firepit with your Sling above you. Light it with Ignifer. Throw an Ignifer Pot at the base of the ladder in front of you so you can safely climb it. You can then use the crank to bring the main elevator all the way to the ground. Sprint over to it and ride it all the way to the top.
You'll be back outside after scaling the long staircase afterwards, with Flower #1: Arrowhead located just after.
Flower #1: Arrowhead
After riding the big elevator with the lit brazier in the centre, you'll follow Lucas until he points out a vegetable garden on your right. He'll kneel down next to a Flower named Arrowhead you can pick up and save for Hugo. This one is difficult to miss.
There are a few chests with supplies inside in the next street if you wish to explore, but when you're ready to push forward, move the piece of wood at the end of the road out the way and squeeze through. There are more enemies in the area ahead, and you'll need to get past them and go through the door at the base of the south tower.
Use the houses on the side as well as the tall grass to stay out of sight. As you get close, soldiers will come running in your direction as they try to escape the rats. Feel free to kill the enemies not wearing helmets, then use an Ignifer Pot to get across to the other side.
There are a few different ways to approach this next step, but there should be enough braziers to light to allow you to reach the door at the end. If you find yourself stuck, Ignifer Pots are great for getting across to other sources of light.
You'll now be in a church, which presents a simple puzzle to progress. You'll need to use your Sling to hit bells to display the correct symbol. Lucas will basically walk you through what to do (he's doing our job!), but here's what the symbols should look like:
Completing the puzzle reveals a hidden passage to your left, and the cutscene that follows completes the chapter.
Did our Newcomers walkthrough for A Plague Tale: Requiem help? Browse our A Plague Tale: Requiem guide for more help and information, including all collectibles.


Comments 0
Wow, no comments yet... why not be the first?
Leave A Comment
Hold on there, you need to login to post a comment...